Podman Desktop Review
In this blog, you will take a closer look at Podman Desktop, a graphical tool when you are working with containers. Enjoy!
Join the DZone community and get the full member experience.
Join For FreeIn this blog, you will take a closer look at Podman Desktop, a graphical tool when you are working with containers. Enjoy!
Introduction
Podman is a container engine, just as Docker is. Podman commands are to be executed by means of a CLI (Command Line Interface), but it would come in handy when a GUI would be available. That is exactly the purpose of Podman Desktop! As stated on the Podman Desktop website: “Podman Desktop is an open source graphical tool enabling you to seamlessly work with containers and Kubernetes from your local environment.”
In the next sections, you will execute most of the commands as executed in the two previous posts. If you are new to Podman, it is strongly advised to read those two posts first before continuing.
Sources used in this blog can be found on GitHub.
Prerequisites
Prerequisites for this blog are:
- Basic Linux knowledge, Ubuntu 22.04 is used during this blog;
- Basic Podman knowledge, see the previous blog posts;
- Podman version 3.4.4 is used in this blog because that is the version available for Ubuntu although the latest stable release is version 4.6.0 at the time of writing.
Installation and Startup
First of all, Podman Desktop needs to be installed, of course. Go to the downloads page.
When using the Download button, a flatpak file will be downloaded. Flatpak is a framework for distributing desktop applications across various Linux distributions. However, this requires you to install flatpak.
A tar.gz file is also available for download, so use this one.
After downloading, extract the file to /opt:
$ sudo tar -xvf podman-desktop-1.2.1.tar.gz -C /opt/In order to start Podman Desktop, you only need to double-click the podman-desktop file.
The Get Started with Podman Desktop screen is shown.
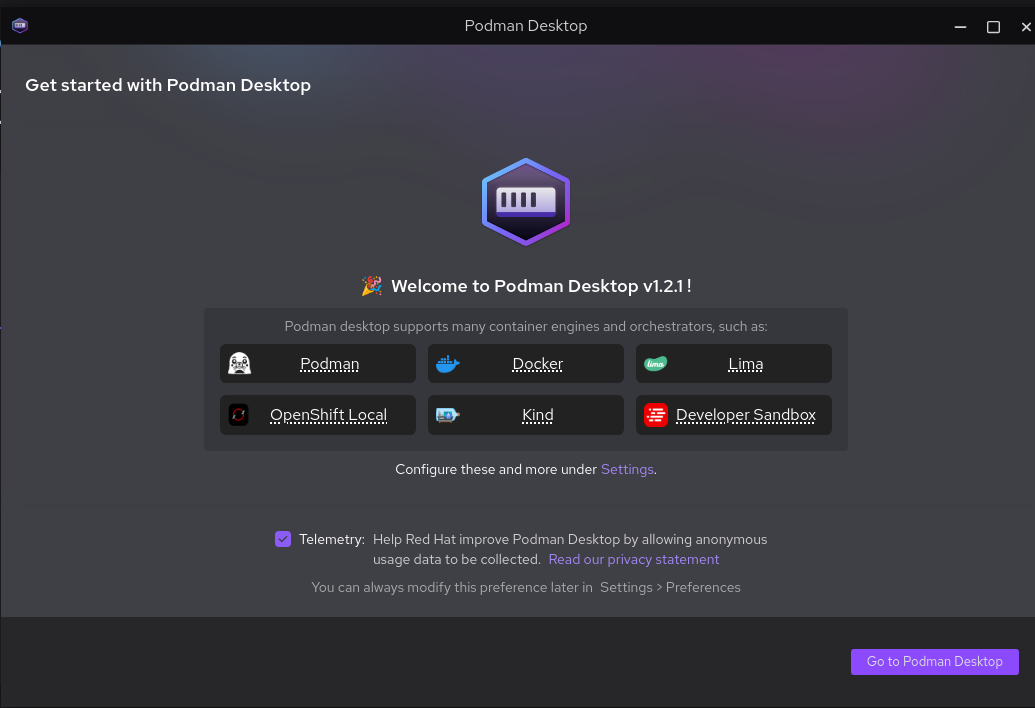
Click the Go to Podman Desktop button, which will open the Podman Desktop main screen.
 As you can see from the screenshot, Podman Desktop detects that Podman is running but also that Docker is running. This is already a nice feature because this means that you can use Podman Desktop for Podman as well as for Docker. At the bottom, a Docker Compatibility warning is shown, indicating that the Docker socket is not available and some Docker-specific tools will not function correctly. But this can be fixed, of course.
In the left menu, you can find the following items from top to bottom: the dashboard, the containers, the pods, the images, and the volumes.
Build an Image
The container image you will try to build consists out of a Spring Boot application. It is a basic application containing one Rest endpoint, which returns a hello message.
There is no need to build the application. You do need to download the jar-file and put it into a target directory at the root of the repository.
The Dockerfile you will be using is located in the directory podman-desktop.
Choose in the left menu the Images tab. Also note that in the screenshot, both Podman images and Docker images are shown.
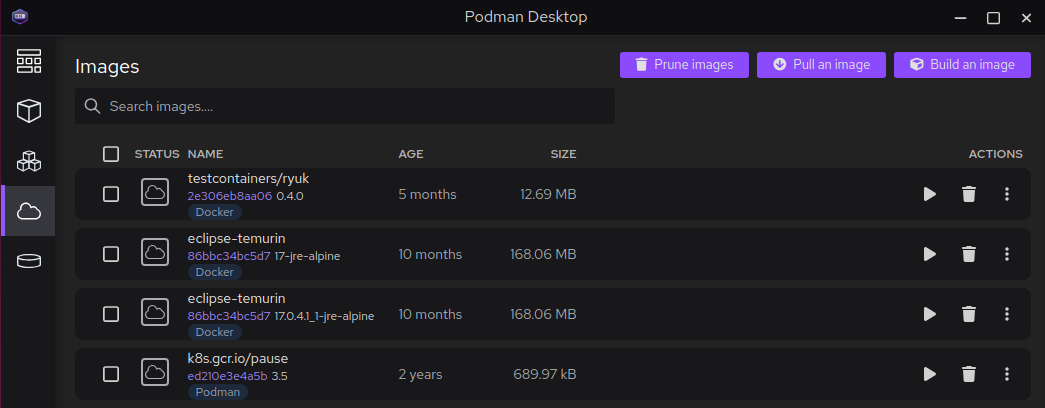
Click the Build an Image button and fill it in as follows:
- Containerfile path: select file
podman-desktop/1-Dockerfile. - Build context directory: This is automatically filled out for you with the
podman-desktopdirectory. However, you need to change this to the root of the repository; otherwise, the jar-file is not part of the build context and cannot be found by Podman. - Image Name: docker.io/mydeveloperplanet/mypodmanplanet:0.0.1-SNAPSHOT
- Container Engine: Podman
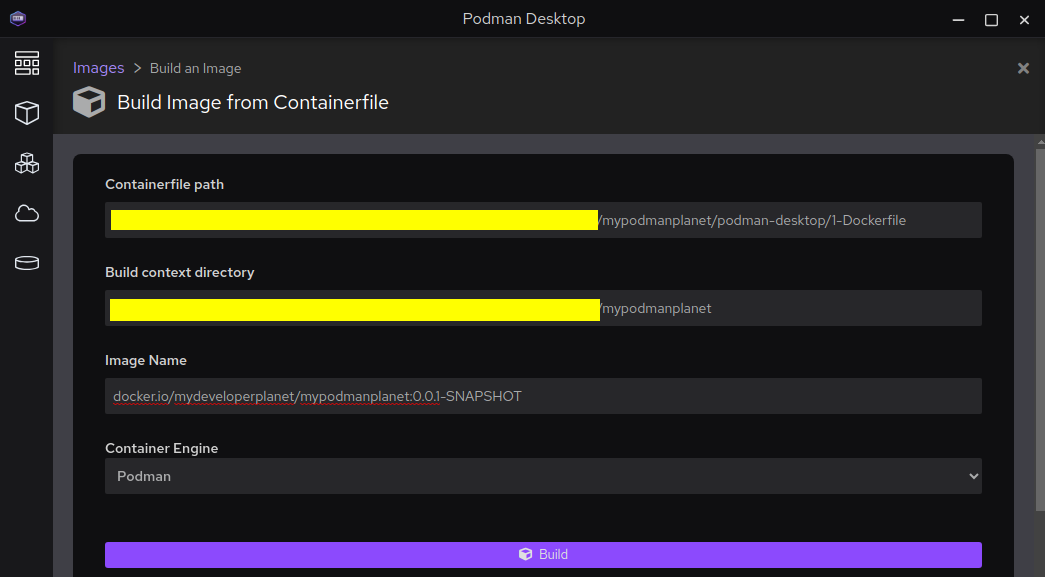
Click the Build button. This results in the following error:
Uploading the build context from <user directory>/mypodmanplanet...Can take a while...
Error:(HTTP code 500) server error - potentially insufficient UIDs or GIDs available in user namespace (requested 262143:262143 for /var/tmp/libpod_builder2108531042/bError:Error: (HTTP code 500) server error - potentially insufficient UIDs or GIDs available in user namespace (requested 262143:262143 for /var/tmp/libpod_builder2108531042/build/.git): Check /etc/subuid and /etc/subgid: lchown /var/tmp/libpod_builder2108531042/build/.git: invalid argument
This error sounds familiar because the error was also encountered in a previous blog.
Let’s try to build the image via the command line:
$ podman build . --tag docker.io/mydeveloperplanet/mypodmanplanet:0.0.1-SNAPSHOT -f podman-desktop/1-DockerfileThe image is built without any problem. An issue has been raised for this problem.
At the time of writing, building an image via Podman Desktop is not possible.
Start a Container
Let’s see whether you can start the container.
Choose in the left menu the Containers tab and click the Create a Container button.
A choice menu is shown.

Choose an Existing image. The Images tab is shown.

Click the Play button on the right for the mypodmanplanet image.
A black screen is shown, and no container is started.
Start the container via CLI:
$ podman run -p 8080:8080 --name mypodmanplanet -d docker.io/mydeveloperplanet/mypodmanplanet:0.0.1-SNAPSHOTThe running container is now visible in Podman Desktop.

Test the endpoint, and this functions properly.
$ curl http://localhost:8080/hello
Hello Podman!
Same conclusion as for building the image. At the time of writing, it is not possible to start a container via Podman Desktop.
What is really interesting is the actions menu.
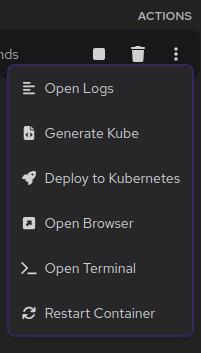
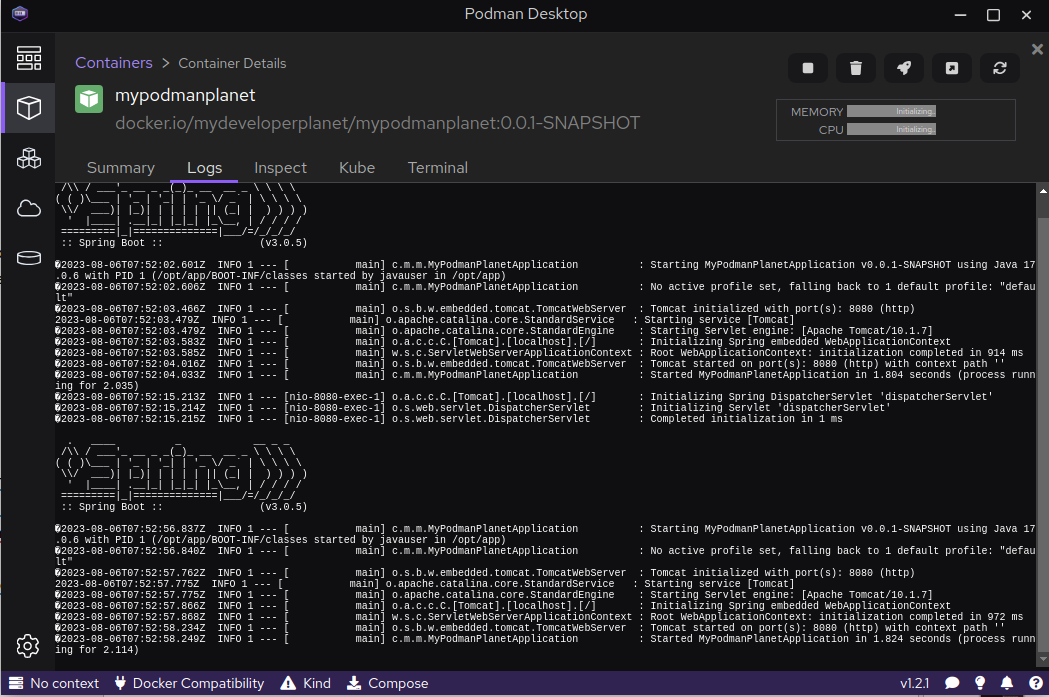
You can view the container logs.
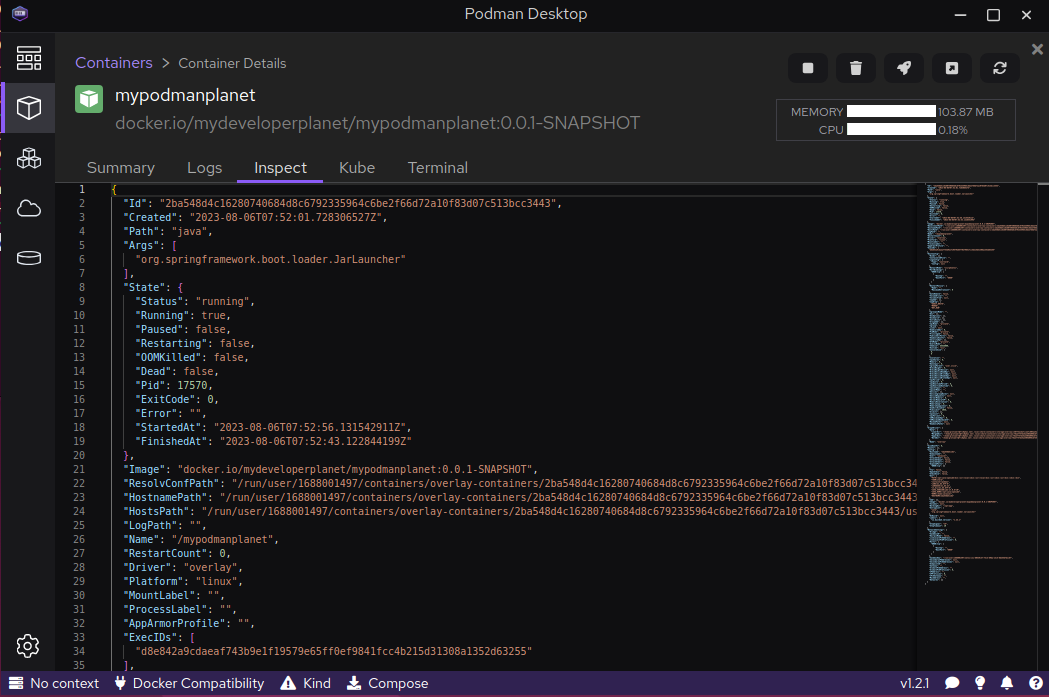
The Inspect tab shows you the details of the container.
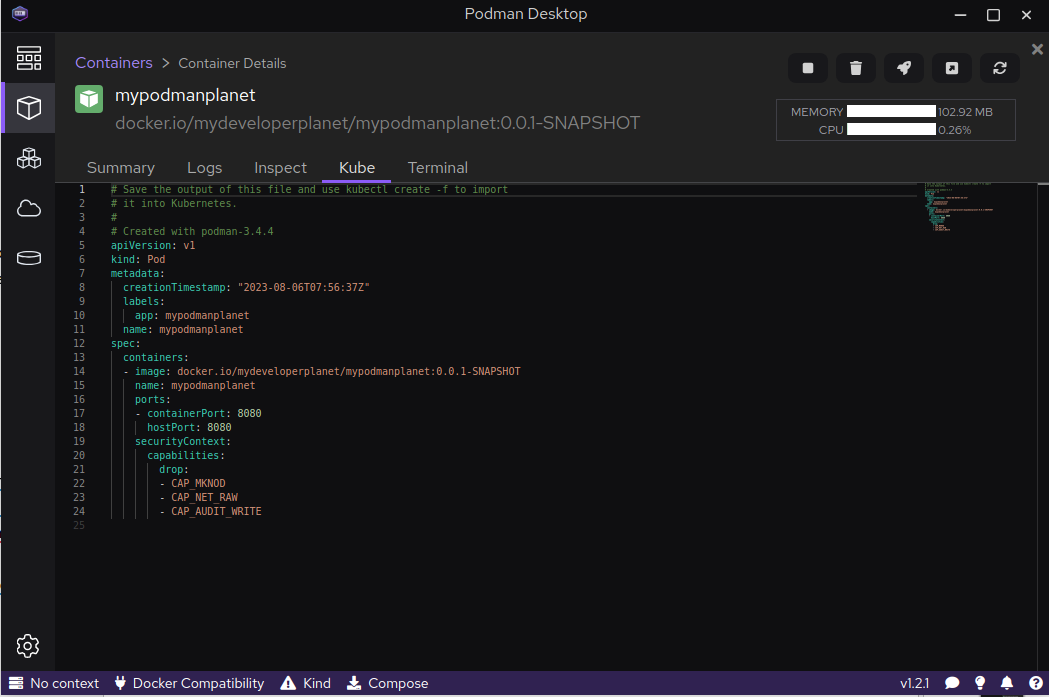
The Kube tab shows you what the Kubernetes deployment yaml file will look like.
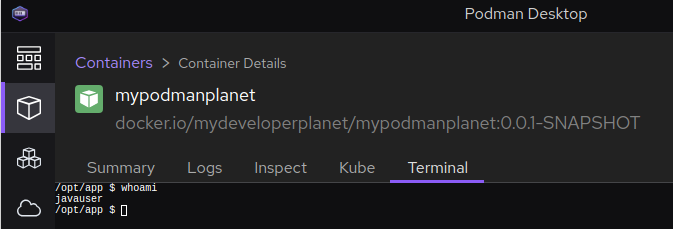
The Terminal tab gives you access to a terminal inside the container.
You can also stop, restart, and remove the container from Podman Desktop.
Although starting the container did not work, Podman Desktop offers some interesting features that make it easier to work with containers.
Volume Mount
Remove the container from the previous section. You will create the container again, but this time with a volume mount to a specific application.properties file, which will ensure that the Spring Boot application runs on port 8082 inside the container.
Execute the following command from the root of the repository:
$ podman run -p 8080:8082 --volume ./properties/application.properties:/opt/app/application.properties:ro --name mypodmanplanet -d docker.io/mydeveloperplanet/mypodmanplanet:0.0.1-SNAPSHOTThe container is started successfully, but an error message is shown in Podman Desktop.
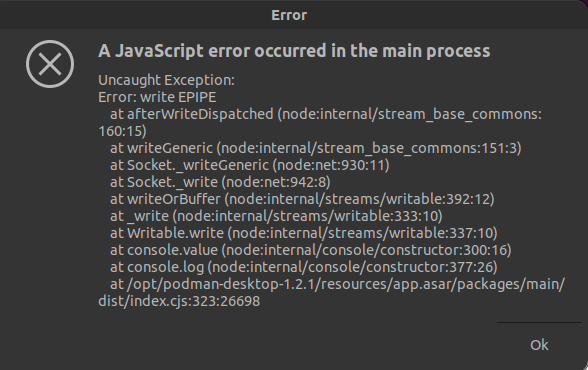
This error will show up regularly from now on. Restarting Podman Desktop resolves the issue. An issue has been filed for this problem. Unfortunately, the issue cannot be reproduced consistently.
The volume is not shown in the Volumes tab, but that’s because it is an anonymous volume.
Let’s create a volume and see whether this shows up in the Volumes tab.
$ podman volume create myFirstVolume
myFirstVolume
The volume is not shown in Podman Desktop. It is available via the command line, however.
$ podman volume ls
DRIVER      VOLUME NAME
local       myFirstVolume
Viewing volumes is not possible with Podman Desktop at the time of writing.
Delete the volume.
$ podman volume rm myFirstVolume
myFirstVolume
Create Pod
In this section, you will create a Pod containing two containers. The setup is based on the one used for a previous blog.
Choose in the left menu the Pods tab and click the Play Kubernetes YAML button. Select the YAML file Dockerfiles/hello-pod-2-with-env.yaml.
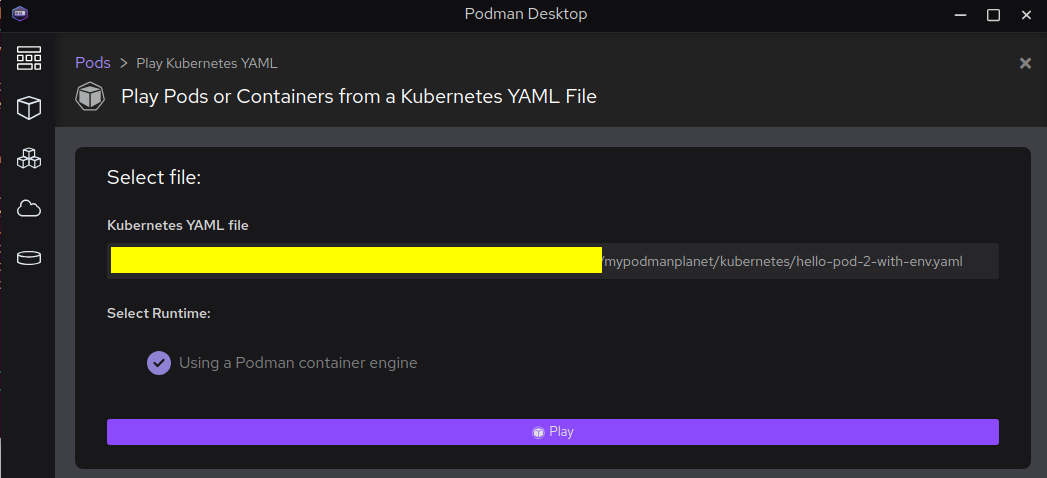
Click the Play button.
The Pod has started.

Check the Containers tab, and you will see the three containers which are part of the Pod.
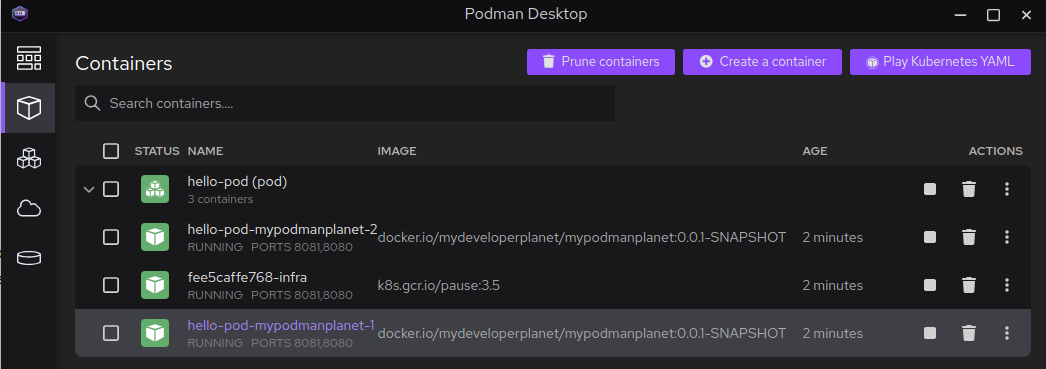
Verify whether the endpoints are accessible.
$ curl http://localhost:8080/hello
Hello Podman!
$ curl http://localhost:8081/hello
Hello Podman!
The Pod can be stopped and deleted via Podman Desktop. Sometimes, Podman Desktop stops responding after deleting the Pod. After a restart of Podman Desktop, the Pod can be deleted without experiencing this issue.
Conclusion
Podman Desktop is a nice tool with some fine features. However, quite some bugs were encountered when using Podman Desktop (I did not create an issue for all of them). This might be due to the older version of Podman, which is available for Ubuntu, but then I would have expected that an incompatibility warning would be raised when starting Podman Desktop. However, it is a nice tool, and I will keep on using it for the time being.
Published at DZone with permission of Gunter Rotsaert, DZone MVB. See the original article here.
Opinions expressed by DZone contributors are their own.

Comments