How To Dockerize Mean Stack App
Learn how to Dockerize Mean Stack App in detail with examples and photos to help you follow along with this tutorial!
Join the DZone community and get the full member experience.
Join For FreeIn this article, I will explain to you how to dockerize Mean Stack App in a step by step process from installing Docker locally to building Docker images using docker-compose and running our Mean Stack App in the containers using these images.
I had written Customer Store Mean Stack app that performs simple basic CRUD (Create, Read, Update, Delete) operations on the Customer model sometime back which I will be dockerizing here.
If you have some basic idea about Docker or have just heard about it and want to learn how to dockerize Mean Stack app then this article is for you.
What Is Docker?
In brief, Docker is an open source DevOps tool designed to help developers and operations guys to streamline application development and deployment.
By dockerizing an application means deploying and running an application using containers.
Containers allow a developer to package up an application with all of the parts it needs, such as libraries and other dependencies, and deploy it as one package.
By doing so application can be deployed on any target environment/machine regardless of any customized settings that machine might have that could differ from the machine used for writing and testing the code.
Thus removing the deployment issues that occur due to various environment spec mismatch. To learn more about docker checkout this link.
Prerequisite
- First, we need to have docker installed on our machine so that we can build docker image and run docker containers. There are different installation for Mac and Windows.
- Download the appropriate installer and follow the instructions.
- We also need to have account at Docker Hub registry so that we can pull and push Docker images. It’s free so if you already haven’t one, checkout this linkto create one for yourself.
- Last, we need Mean Stack application that we want to dockerize. So if you already have one that’s great but if you don’t then you can get my Customer Store Mean Stack app code that I am using in this article from my GitHub repository from this link.
Launch Docker Machine
Docker machine is a small Linux VM that hosts the Docker Engine which is a client-server application consists of Docker Daemon and Docker CLI that interacts with Docker Daemon to create Docker images or running containers etc.
In case, you have installed Docker Desktop for Window or Mac when the installation finishes, Docker Machine is launched automatically. The whale image in the notification area indicates that Docker is running, and accessible from a terminal. If you have installed Docker Toolbox then there are 2 ways to create docker machine locally.
- By double clicking on the docker Quick Start Terminal icon on your desktop.
- Using docker-machine CLI “create” command to create new Docker machine.
Since I have Docker Toolbox installed so I will choose the easy way and click on the Quick Start Terminal icon that will open the terminal and launch the Docker machine for me.
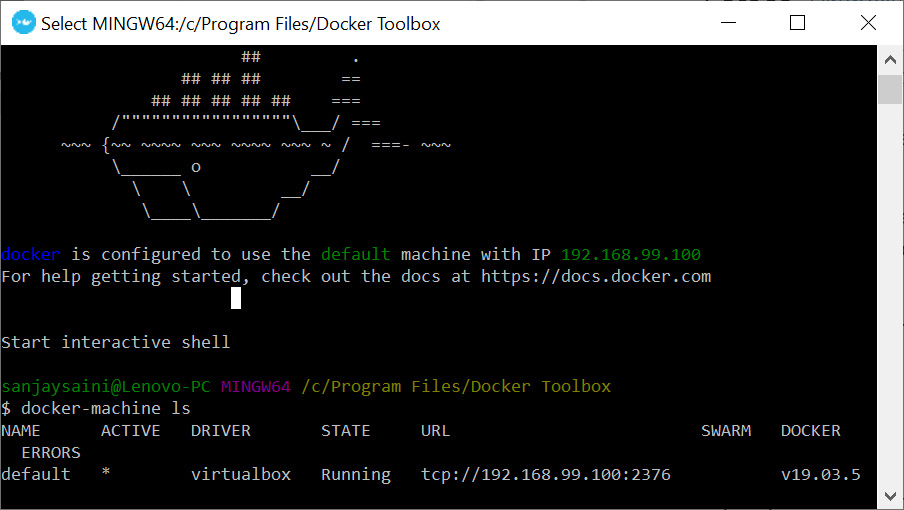
You can run following docker-machine CLI command to check the Docker machine details and note the URL that we will use to open our Mean Stack app in the browser.
$ docker-machine ls
You can do much more with docker-machine CLI commands like create, kill, start, stop Docker machine and much more but that is not in scope for this article however you can check-out docker.com for complete documentation on docker-machine CLI and also docker CLI as well.
Since now our Docker setup is up and running now we will focus on dockerizing our Mean Stack app.
Our Approach
Before we go further, I need to explain the structure of Mean Stack app and our approach to dockerize it. Mean Stack app has 3 components.
- Client - which is written in Angular and provide User interface to backend. Server - which is Restful API server build on Express framework to act as an interface to query and persist data in MongoDB database. MongoDB – which is NoSQL database used to store data.
- So when we think of dockerize Mean Stack app we have to dockerize these component or Docker image of these components are built (if not already available) and used by docker-compose tool to run multi container app from single command.
Get Started…
As per our approach, we will perform the following steps to dockerize our app.
- Create Dockerfile for client and server each. Create docker-compose.yml file for our app. Build Docker images using docker-compose.yml file. And last, run the Mean Stack app using Docker Compose tool.
So let’s get started…
1. Create Dockerfile
First, we will create Dockerfile for our Client and Server in their respective folders which will be used to create a Docker image for these components.
Dockerfile for Client
So in the terminal window change directory to the client folder of you app and create a file name “Dockerfile” without any file extension using any dev editor like VS Code or just use Notepad.
Write the following instructions in the Dockerfile and save it.
#Step 1
FROM node:12-alpine as build-step
WORKDIR /app
COPY package.json /app
RUN npm install
COPY . /app
RUN npm run build
# Step 2
FROM nginx:1.17.1-alpine
COPY --from=build-step app/dist/client /usr/share/nginx/html
Explanation
- In Stage 1 we are copying client code in the “app” folder and installing client dependencies from package.json file and creating production build using Node image. In the Stage 2 we are using nginx server image to create nginx server and deploy our client on it by copying build items from */app/dist/client* folder to nginx server at */usr/share/nginx/html* location.
Create .dockerignore file for Client
Although it’s not necessary to have this file but it’s a good practice to have it since it can speed up image build process and also keep the image lean by excluding the unnecessary code from the Docker build context so that it doesn’t get into the image.
So just the way we created Dockerfile at the same location we create .dockerignore file and add the following items that we don’t want to be copied into our docker image.
xxxxxxxxxx
/node_modules
/e2e
.gitignore
Dockerfile for Server
Now in the terminal window change directory to server folder of you app (in my case its root folder of the app) and create another “Dockerfile” as we created for Client.
Write the following instructions in the Dockerfile and save it.
xxxxxxxxxx
FROM node:12-alpine as build-step
WORKDIR /app
COPY package.json /app
RUN npm install
COPY . /app
CMD [ "node","server.js" ]
Explanation
Here we are copying our server code in the “app” folder and installing server dependencies from the package.json file and creating a production build using Node image. Last we instruct to run the server when container is run.
Create .dockerignore file for Server
Like we did for Client, create .dockerignore file, and add the following items that we don’t want to be copied into our docker image.
xxxxxxxxxx
.git
client
node_modules
.gitignore
*.md
Note that I have included client folder since in case of my app’s root folder contains the server code and the client folder so when I build the server image I want to exclude client code from it.
If you have separate folder for client and server code at the app’s root folder then no need to add client in the .dockerignore file.
2. Create a docker-compose.yml File
Mean Stack app runs in multi container setup since it has multiple component as we discussed earlier we use Docker Compose tool to create a Docker images that spin off multiple containers from single command.
With the Docker Compose tool we define all the components of the app as services in the docker-compose.yml file and build Docker images (if not available) of each component. To learn more about Docker Compose check out this link.
So in the terminal window change directory to root folder of the app and create docker-compose.yml file.
Write the following instructions in the docker-compose.yml and save it.
xxxxxxxxxx
version'3.7'
services
mongo-db
imagemongo
ports
'27017:27017'
server
build.
imagesanjaysaini2000/meanstack_backend
ports
'3000:3000'
links
mongo-db
client
buildclient
imagesanjaysaini2000/meanstack_frontend
ports
'80:80'
Explanation
We start with the version of the docker-compose file followed by the services section in which we define all the components of our app.
First, we defined the mongo-db service with the official mongo image which will be pulled from Docker Hub and will be used to run the container along with the port at which service will accessible to the server.
Next, we defined server by providing build context as dot since our server code and Dockerfile is in the current folder. We also provide the image name (change it appropriately) that will be built and the port at which server will be accessible by the client. We also linked this service with the mongo-db service since the server container will access MongoDB database in the separate mongo-db container
Finally, we defined the client by providing a build context as the client folder that contains client code and Dockerfile. We also provide the image name (change it appropriately) that will be built and the port at which client will be accessible by the host.
Code Change
A minor code change needs to be done in the server where you are setting the connection string to mondoDB.
When we run our dockerize app each component will be running in separate container so server container will access the mongoDB hosted in the mongo-db container therefore we need to replace the *localhost* from the connection string with the mongo-db in the code.
mongodb://mongo-db:27017/
3. Build Docker Image
Now run docker-compose build command to build Docker images of services defined in the compose file that we have just created.
$ docker-compose build
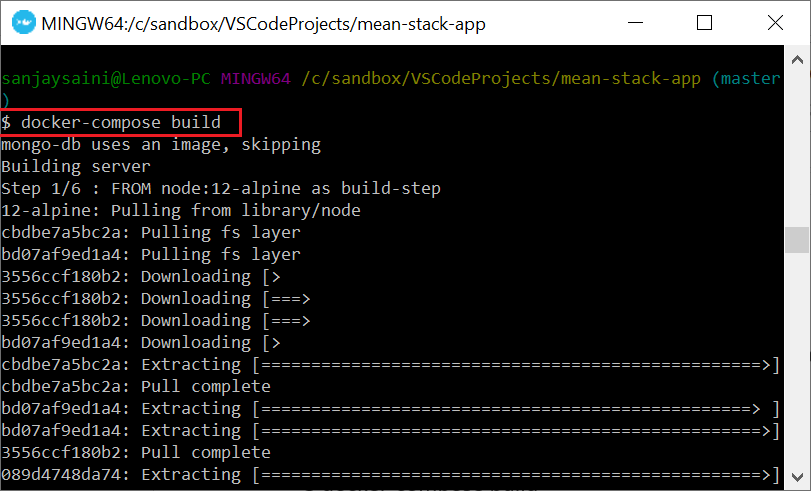
This process will take some time to complete and at the end you will get successful message with image tag name for both client and server services we defined in the compose file.
Note that the process skipping mongo-db service since we are using already built official image in the compose file.
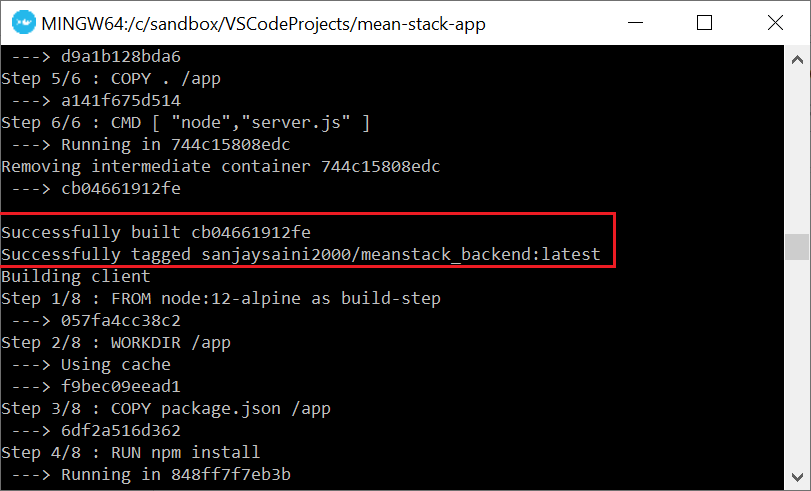
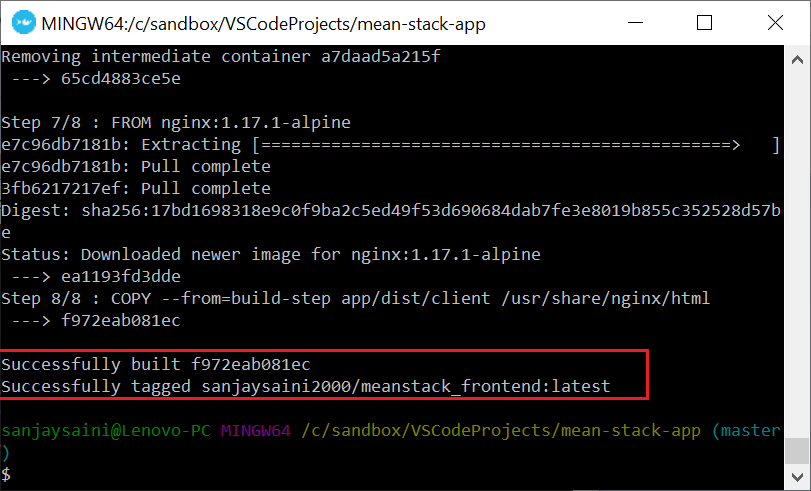
After build process is complete, you can run following Docker command to list the images created along with your client and server services images.
You will also find node and nginx images that we used in the Dockerfiles of client and server components of our app and an intermediate image. However these images are not required and can be deleted.
$ docker images

4. Run Mean Stack App
Finally run the following command in the terminal to run your Mean Stack app in the multi container setup with detached mode.
$ docker-compose up -d
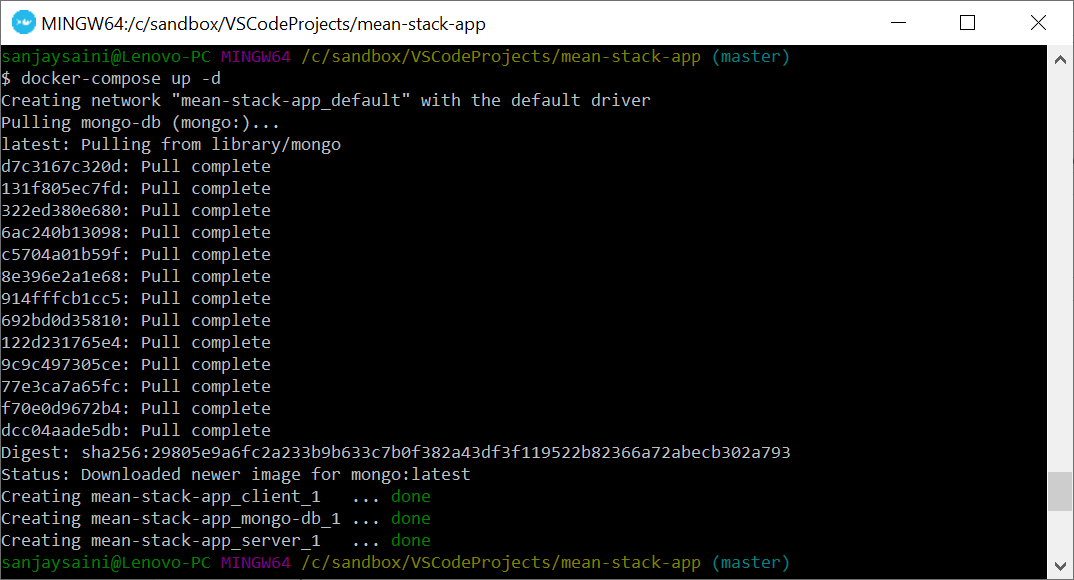
Basically this command will spin off containers in the background as you can see from the screenshot above. It has run containers each one for our three services defined in the compose file.
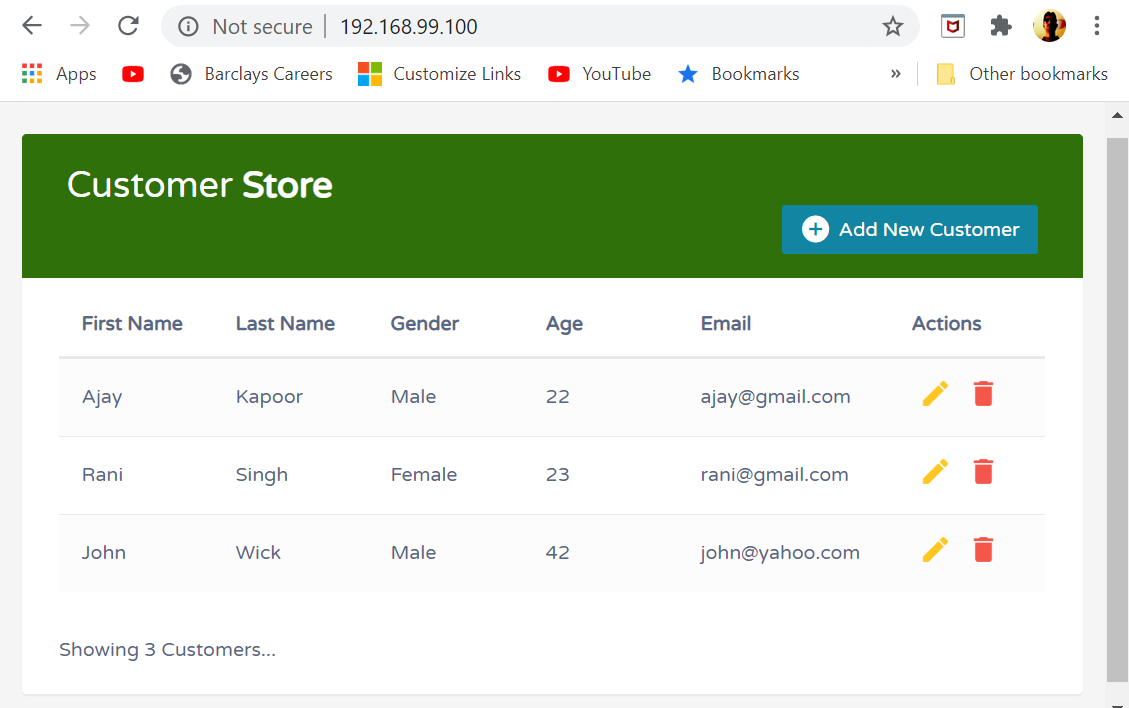
Now open the browser and type URL http://<docker machine url>:80 in the address bar.
In my case it's http://192.168.99.100:80
Congratulation…you have successfully dockerize and hosted Mean Stack app in a multi container setup.
To bring down the app and remove containers run following command.
$ docker-compose down
If you have Docker installed already and don’t have the Mean Stack app or just want to first test run this app without going through this whole process than you can do so by pulling image from my Docker Hub registry from this link with the details about how you can run this app in containers locally.
Keep reading and learning…Cheers!!!
Opinions expressed by DZone contributors are their own.

Comments