Sponsored Content
Introduction to the Servlet Dispatcher
Introduction to the Servlet Dispatcher
Want to learn more about the servlet dispatcher?
This article was provided by and does not represent the editorial content of DZone.
Join the DZone community and get the full member experience.
Join For FreeThe servlet dispatcher allows a request to travel from one servlet to other servlets. An alternative for the request dispatcher is 'send redirect'. For every new request send redirect comes back to the network. However, a request dispatcher occurs within a network(server).
Example

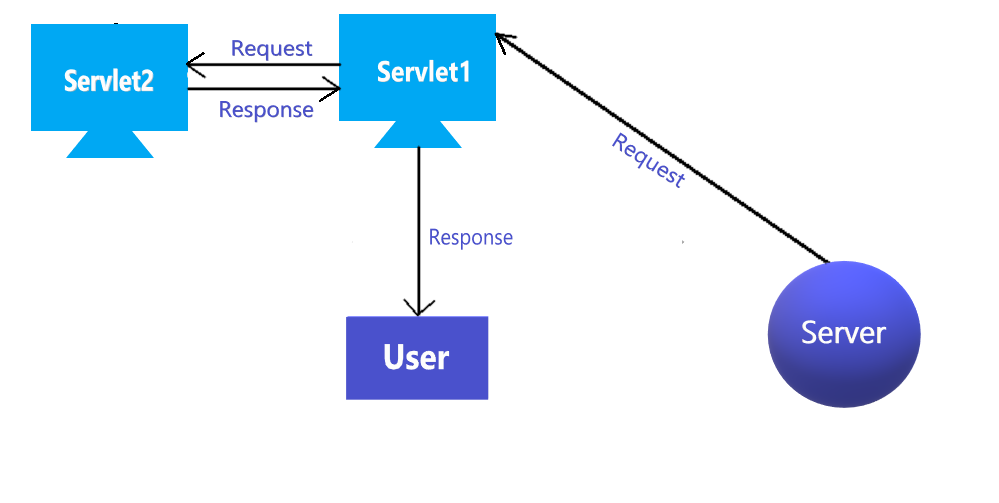
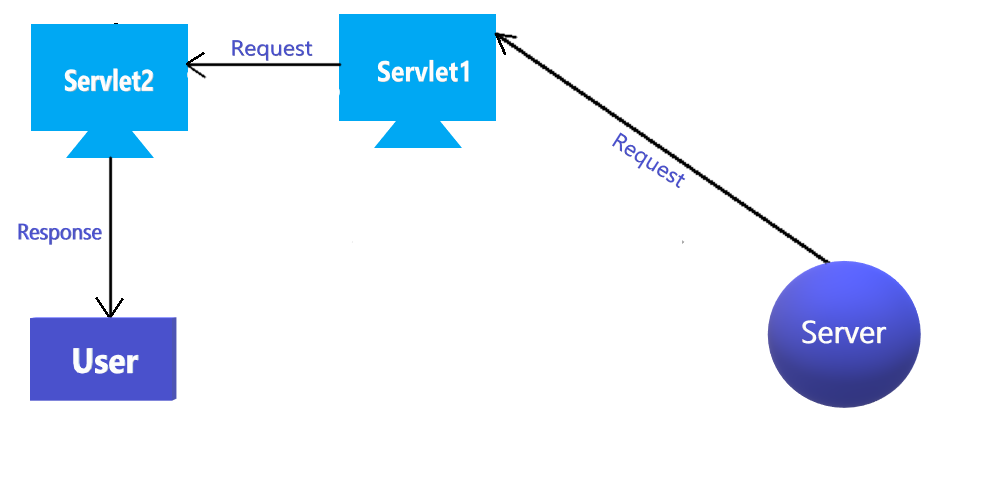
Let's understand the concept of the request dispatcher with a simple example. Consider the scenario where we have three servlets, each named servlet1, servlet2, and servlet3. In case we don’t use the dispatcher, whenever we request servlet1, the server passes control to servlet1. After that, if we request servlet2, then control comes back from servlet 1 to server and from the server, control is passed to servlet2. A server might be in India and a servlet might be requested from America. In this case, for a second request, it must come back to the server (India) and go back to the servlet (America). This option is not good if we have heavy traffic in between each request and response. A solution to this problem is to use the dispatcher.

In the same case, if we use dispatcher, then the control passed from servlet1 to servlet2 without coming back to the server and without involving a network. This concept is also known as servlet chaining. It is known as servlet chaining because we are creating a chain of a servlet — from servlet1 to servlet2, servlet2 to servlet3, etc., and at the end, the server will get data from the last servlet.
Data Passing
In servlet chaining with control, data also travel from one servlet to other servlets. This is a major advantage compared to 'send redirect'. In send redirect, every request is a new request, every time you get new data.
Consider that servlet1 has some request parameter that is required by servlet3. In this case, data can travel from servlet1 to servlet2, and after that, from servlet2 to servlet3. So here, we are preserving the request from one servlet to other servlets.
Life of the request is very small. As soon as we get a response, the request is over. In the servlet dispatcher, the life of the request can be preserved from one servlet to another servlet. Because of this, we can divide the task into multiple servlets.
Disadvantages
Most of the time, a dispatcher is efficient, but in the case of large amounts of data, low trafficking, or if we don’t need data at all, we send redirect work.
Types of Dispatcher
1) Include
2) Forward
1) Include Dispatcher
Calling servlet includes any data from the called servlet. It is like a method call where the calling method gains data from the called method. In the case of two servlets, servlet1 will include the response of servlet2 and servlet1 is reverted back to the client. Servlet2 will be called only to get response data.
Let us create a small example of the include dispatcher to better understand the basic concept.
Step 1
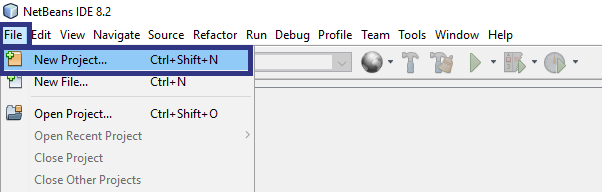
Step 2
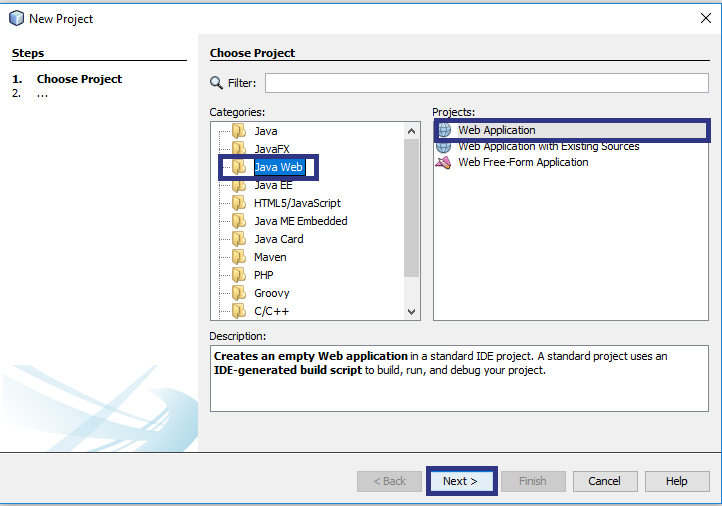
Create a Java web application.
Step 3

Provide a project name and set the location of a project where you want it saved.
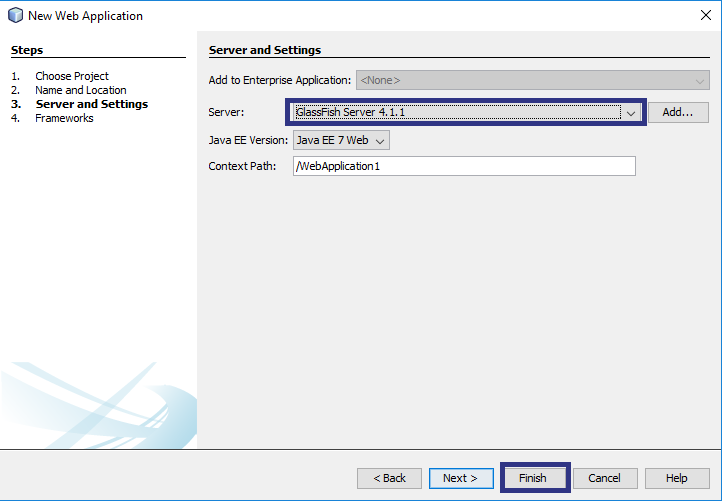
Step 4
You can select any server.
Step 5

Create a servlet.
Step 6
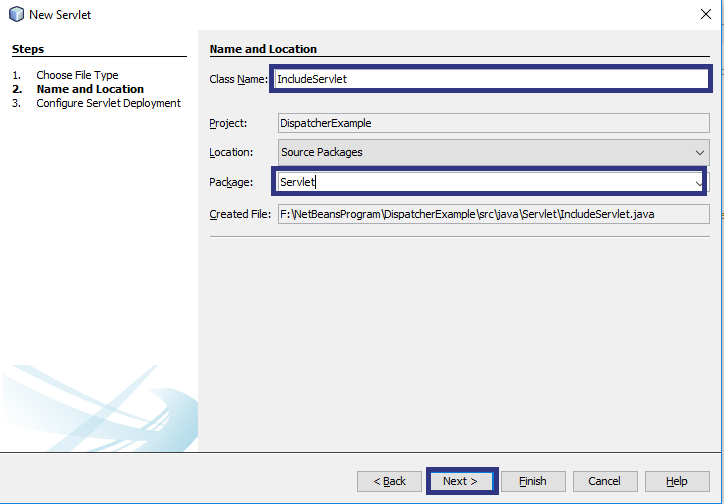
Provide a servlet name and package name.
Step 7
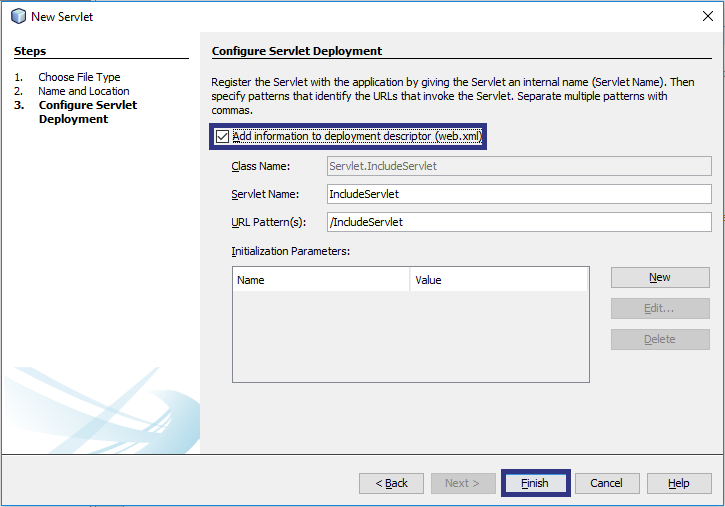
By checking Add information to deployment, the descriptor will register servlet in the web.xml file.
After creating the include servlet, add the following code between the body in IncludeServlet.
import java.io.IOException;
import java.io.PrintWriter;
import javax.servlet.RequestDispatcher;
import javax.servlet.ServletException;
import javax.servlet.http.HttpServlet;
import javax.servlet.http.HttpServletRequest;
import javax.servlet.http.HttpServletResponse;
public class IncludeServlet extends HttpServlet {
  protected void processRequest(HttpServletRequest request, HttpServletResponse response)
    throws ServletException, IOException {
    response.setContentType("text/html;charset=UTF-8");
    try (PrintWriter out = response.getWriter()) {
      out.println("<!DOCTYPE html>");
      out.println("<html>");
      out.println("<head>");
      out.println("<title>Servlet IncludeServlet</title>");
      out.println("</head>");
      out.println("<body>");
      out.println("<h1>Servlet IncludeServlet at " + request.getContextPath() + "</h1>");
      request.setAttribute("command", "As commanded by IncludeServlet");
      RequestDispatcher dis = this.getServletContext().getRequestDispatcher("/IncludedServlet");
      dis.include(request, response);
      out.println("<h1>After Include</h1>");
      out.println("</body>");
      out.println("</html>");
    }
  }
}
Explanation
We have created a command attribute that can travel from one servlet to other servlets. An instance of RequestDispatcher (right-click on RequestDispatcher and select fix imports — this will add the necessary namespace) specify servlet name that's the response we want to add in servlet. With the help of the request.include(request, response), we have specified the type of request dispatcher. After executing the included servlet, the response will come back to include servlet. So, it prints a message 'After Include'.
Create the Included Servlet
After we create the included servlet, add following code:
import java.io.IOException;
import java.io.PrintWriter;
import javax.servlet.ServletException;
import javax.servlet.http.HttpServlet;
import javax.servlet.http.HttpServletRequest;
import javax.servlet.http.HttpServletResponse;
public class IncludedServlet extends HttpServlet {
  protected void processRequest(HttpServletRequest request, HttpServletResponse response)
    throws ServletException, IOException {
    response.setContentType("text/html;charset=UTF-8");
    PrintWriter out = response.getWriter();
    out.println("<h1> " + request.getAttribute("command") + " Included Servlet is sending its response</h1>");
    out.println("<h1>This message will be included.</h1>");
  }
}
Request.include will add an entire code from the include servlet to the included servlet. We have removed HTML code from an included servlet. Otherwise, it will result in two time HTML code in the included servlet.
Output

Output has the response of include servlet and included servlet.
2) Forward Dispatcher
In the forward dispatcher, servlet1 forwarded whatever data it has to servlet2, and the client gets a response from Servlet2.
Create ForwardServlet
Add the following three lines of code between the body in ForwardServlet.
import java.io.IOException;
import java.io.PrintWriter;
import javax.servlet.RequestDispatcher;
import javax.servlet.ServletException;
import javax.servlet.http.HttpServlet;
import javax.servlet.http.HttpServletRequest;
import javax.servlet.http.HttpServletResponse;
public class ForwardServlet extends HttpServlet {
  protected void processRequest(HttpServletRequest request, HttpServletResponse response)
    throws ServletException, IOException {
    response.setContentType("text/html;charset=UTF-8");
    try (PrintWriter out = response.getWriter()) {
      out.println("<!DOCTYPE html>");
      out.println("<html>");
      out.println("<head>");
      out.println("<title>Servlet ForwardServlet</title>");
      out.println("</head>");
      out.println("<body>");
      out.println("<h1>Servlet ForwardServlet at " + request.getContextPath() + "</h1>");
      request.setAttribute("forward", "As commanded by ForwardServlet");
      RequestDispatcher dis = this.getServletContext().getRequestDispatcher("/ForwardedServlet");
      dis.forward(request, response);
      out.println("<h1>This message should not come.</h1>");
      out.println("</body>");
      out.println("</html>");
    }
  }
}
As in the forward servlet, a response will be sent to a forwarded servlet. Anything after dis.forward(request, response) will not be executed.
Create ForwardedServlet
import java.io.IOException;
import java.io.PrintWriter;
import javax.servlet.ServletException;
import javax.servlet.http.HttpServlet;
import javax.servlet.http.HttpServletRequest;
import javax.servlet.http.HttpServletResponse;
public class ForwardedServlet extends HttpServlet {
    protected void processRequest(HttpServletRequest request, HttpServletResponse response)
    throws ServletException, IOException {
        response.setContentType("text/html;charset=UTF-8");
        PrintWriter out = response.getWriter();
        /* TODO output your page here. You may use following sample code. */
        out.println("<!DOCTYPE html>");
        out.println("<html>");
        out.println("<head>");
        out.println("<title>Servlet ForwardedServlet</title>");
        out.println("</head>");
        out.println("<body>");
        out.println("<h1>Servlet ForwardedServlet at " + request.getContextPath() + "</h1>");
        out.println("<h1> " + request.getAttribute("forward") + " Forwarded Servlet is sending its response</h1>");
        out.println("<h1> After Forwarded");
        out.println("</body>");
        out.println("</html>");
    }
}
Output

Hope you enjoyed! If you have any comments or questions, please feel free to ask in the comments section!
Opinions expressed by DZone contributors are their own.
{{ parent.title || parent.header.title}}
{{ parent.tldr }}
{{ parent.linkDescription }}
{{ parent.urlSource.name }}