Sponsored Content
Spring Boot + Swagger 3 (OpenAPI 3) + Security Example(Basic Authentication)
Spring Boot + Swagger 3 (OpenAPI 3) + Security Example(Basic Authentication)
As a continuation in this Spring Boot tutorial series, learn in this post about implementing Spring Boot Basic Security for the Spring Boot Swagger example.
This article was provided by and does not represent the editorial content of DZone.
Join the DZone community and get the full member experience.
Join For FreeIn a previous tutorial, we implemented Spring Boot + Swagger 3 (OpenAPI 3) Hello World Example. Also previously, we had implemented Understand Spring Security Architecture and implement Spring Boot Security Example. In this tutorial, we will be implementing Spring Boot Basic Security for the Spring Boot Swagger example. So when using Swagger to access the endpoints, Swagger also allows us to configure the Spring Security user name and password.
Watch the YouTube Video below for the tutorial.
Let's Begin
We will be modifying the Spring Boot + Swagger 3 (OpenAPI 3) Hello World Example project we had implemented in the previous tutorial.
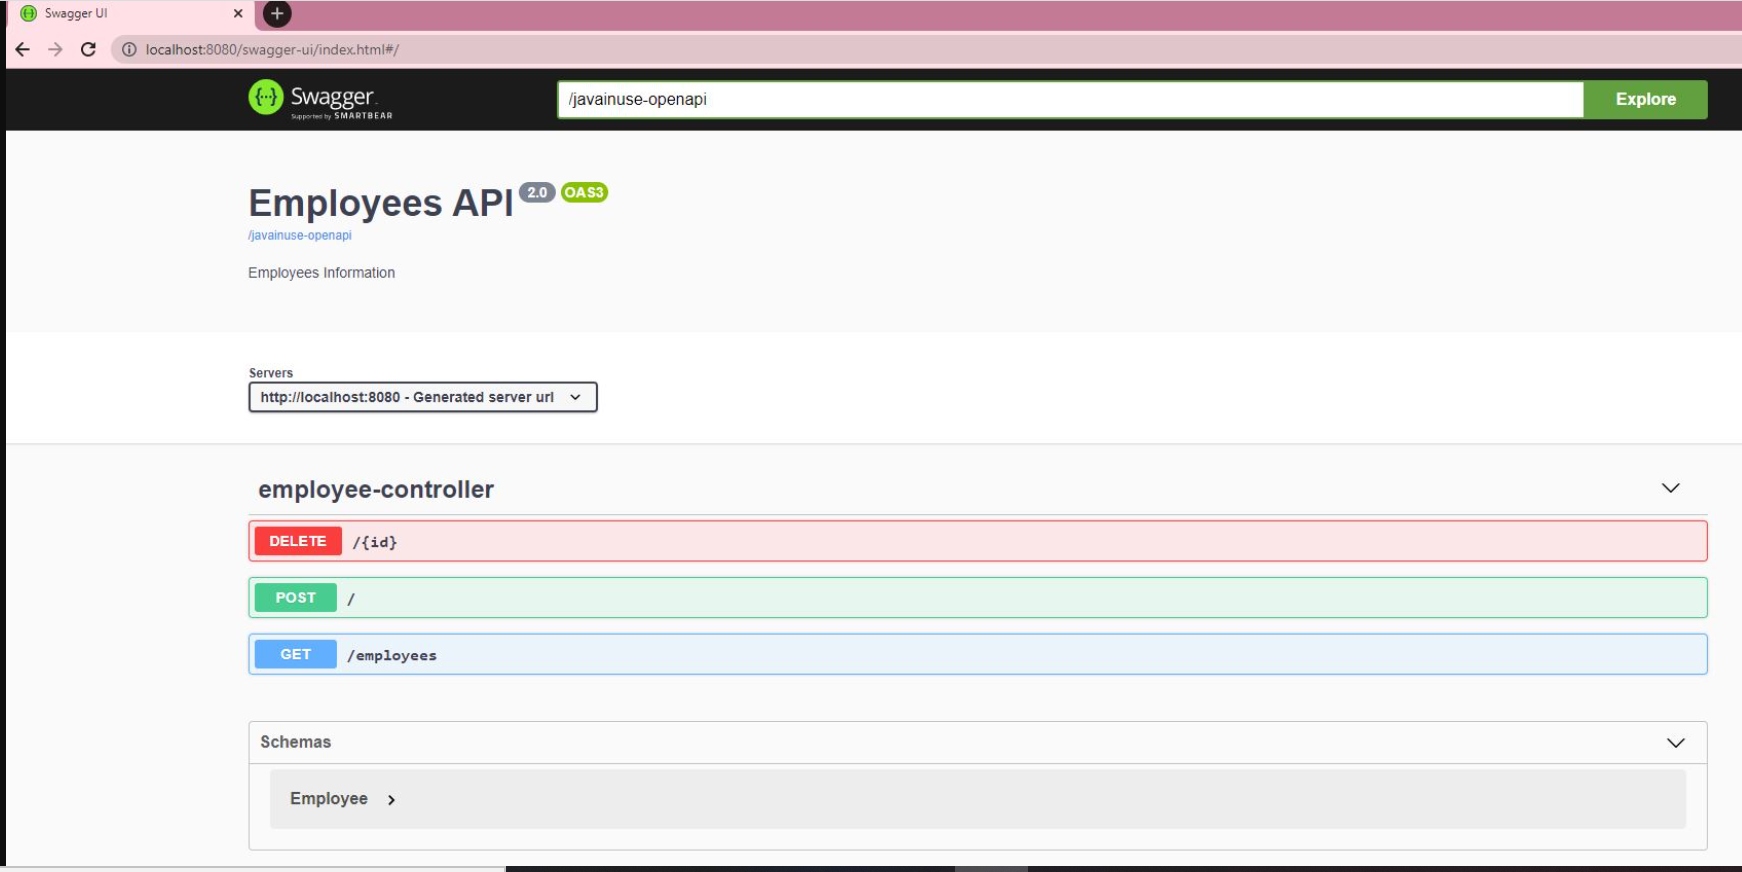
Download the project and import the maven project in eclipse. Start the project. If we go to http://localhost:8080/swagger-ui/index.html#/ we see the following:
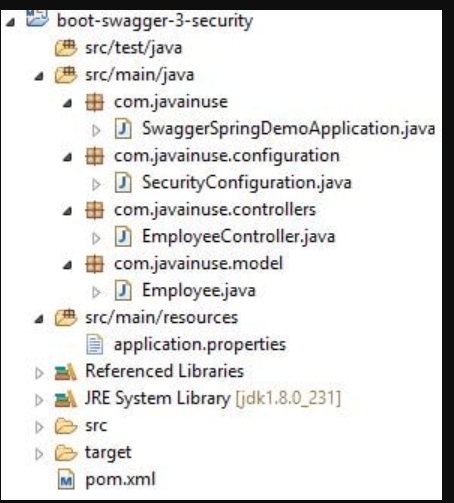
The final maven project we will be developing is as follows:
Modify the pom.xml to add the spring security dependency:
<?xml version="1.0" encoding="UTF-8"?>
<project xmlns="http://maven.apache.org/POM/4.0.0" xmlns:xsi="http://www.w3.org/2001/XMLSchema-instance"
	xsi:schemaLocation="http://maven.apache.org/POM/4.0.0 https://maven.apache.org/xsd/maven-4.0.0.xsd">
	<modelVersion>4.0.0</modelVersion>
	<parent>
		<groupId>org.springframework.boot</groupId>
		<artifactId>spring-boot-starter-parent</artifactId>
		<version>2.3.0.RELEASE</version>
		<relativePath /> <!-- lookup parent from repository -->
	</parent>
	<groupId>com.javainuse</groupId>
	<artifactId>boot-swagger-3-fin</artifactId>
	<version>0.0.1-SNAPSHOT</version>
	<name>boot-swagger-3</name>

	<properties>
		<java.version>1.8</java.version>
	</properties>

	<dependencies>
		<!-- Swagger UI -->
		<dependency>
			<groupId>org.springdoc</groupId>
			<artifactId>springdoc-openapi-ui</artifactId>
			<version>1.2.32</version>
		</dependency>

		<dependency>
			<groupId>org.springframework.boot</groupId>
			<artifactId>spring-boot-starter-web</artifactId>
		</dependency>
		<dependency>
			<groupId>org.springframework.boot</groupId>
			<artifactId>spring-boot-starter-security</artifactId>
		</dependency>
	</dependencies>

	<build>
		<plugins>
			<plugin>
				<groupId>org.springframework.boot</groupId>
				<artifactId>spring-boot-maven-plugin</artifactId>
			</plugin>
		</plugins>
	</build>

</project>
Next, we will be adding the Spring Security configuration.
- We annotate the SecurityConfiguration class with @EnableWebSecurity to apply the class to the global WebSecurity.
- Also, we extend WebSecurityConfigurerAdapter to define rules to specify what URIs to protect or pass through. This provides us a configuration method.
- Extending WebSecurityConfiguration allows customizing Spring Security by overriding methods.
package com.javainuse.configuration;
import org.springframework.context.annotation.Bean;
import org.springframework.security.config.annotation.authentication.builders.AuthenticationManagerBuilder;
import org.springframework.security.config.annotation.web.builders.HttpSecurity;
import org.springframework.security.config.annotation.web.configuration.EnableWebSecurity;
import org.springframework.security.config.annotation.web.configuration.WebSecurityConfigurerAdapter;
import org.springframework.security.crypto.bcrypt.BCryptPasswordEncoder;
import org.springframework.security.crypto.password.PasswordEncoder;
@EnableWebSecurity
public class SecurityConfiguration extends WebSecurityConfigurerAdapter {
@Override
protected void configure(HttpSecurity http) throws Exception {
http.authorizeRequests()
.antMatchers("/swagger-ui/**", "/javainuse-openapi/**").permitAll()
.anyRequest().authenticated()
.and()
.httpBasic();
}
@Override
protected void configure(AuthenticationManagerBuilder auth) throws Exception {
auth.inMemoryAuthentication()
.withUser("javainuse")
.password(passwordEncoder().encode("javainuse"))
.authorities("ADMIN");
}
@Bean
public PasswordEncoder passwordEncoder() {
return new BCryptPasswordEncoder();
}
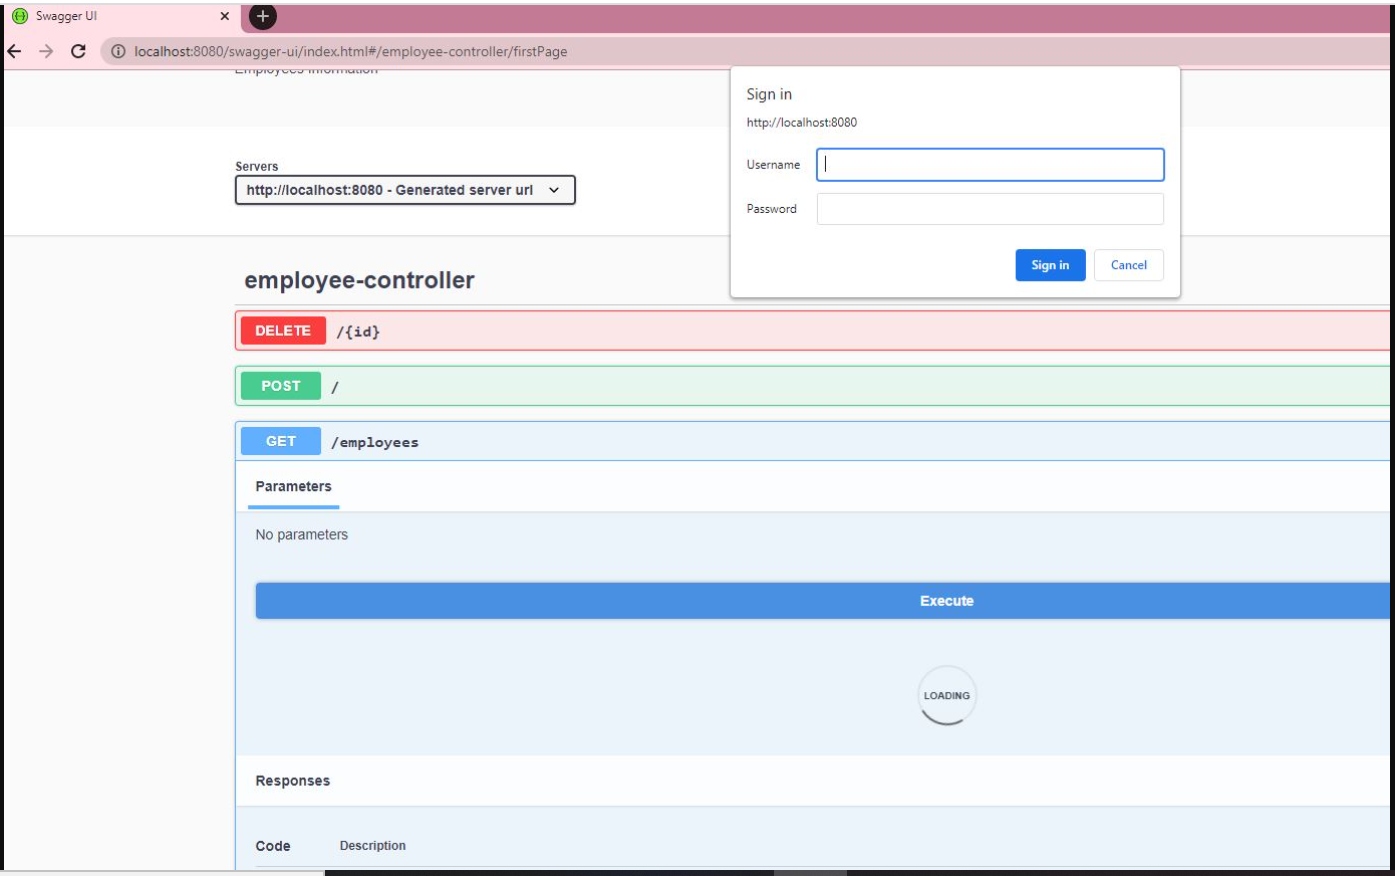
}Start the project using Swagger UI if we do not try to test the REST endpoints it asks for the username and password. If we enter these, Swagger is able to successfully interact with the endpoints.
Let us now configure Swagger for Spring Security. In the SwaggerSpringDemoApplication class, specify SecurityScheme. OpenAPI uses the term security scheme for authentication and authorization schemes. OpenAPI 3.0 lets you describe APIs protected using the following security schemes:
- HTTP authentication schemes (they use the Authorization header):
- Basic
- Bearer
- other HTTP schemes as defined by RFC 7235 and HTTP Authentication Scheme Registry
- API keys in headers, query string or cookies:
- Cookie authentication
- OAuth 2
- OpenID Connect Discovery
package com.javainuse;

import org.springframework.boot.SpringApplication;
import org.springframework.boot.autoconfigure.SpringBootApplication;

import io.swagger.v3.oas.annotations.OpenAPIDefinition;
import io.swagger.v3.oas.annotations.enums.SecuritySchemeIn;
import io.swagger.v3.oas.annotations.enums.SecuritySchemeType;
import io.swagger.v3.oas.annotations.info.Info;
import io.swagger.v3.oas.annotations.security.SecurityScheme;

@SpringBootApplication
@OpenAPIDefinition(info = @Info(title = "Employees API", version = "2.0", description = "Employees Information"))
@SecurityScheme(name = "javainuseapi", scheme = "basic", type = SecuritySchemeType.HTTP, in = SecuritySchemeIn.HEADER)
public class SwaggerSpringDemoApplication {

	public static void main(String[] args) {
		SpringApplication.run(SwaggerSpringDemoApplication.class, args);
	}

}
Finally, in the controller class, use SecurityRequirement to define security requirements for the single operation (when applied at method level) or for all operations of a class (when applied at class level).
package com.javainuse.controllers;
import java.util.ArrayList;
import java.util.List;
import org.springframework.web.bind.annotation.DeleteMapping;
import org.springframework.web.bind.annotation.PathVariable;
import org.springframework.web.bind.annotation.PostMapping;
import org.springframework.web.bind.annotation.RequestBody;
import org.springframework.web.bind.annotation.RequestMapping;
import org.springframework.web.bind.annotation.RequestMethod;
import org.springframework.web.bind.annotation.RestController;
import com.javainuse.model.Employee;
import io.swagger.v3.oas.annotations.security.SecurityRequirement;
@RestController
@SecurityRequirement(name = "javainuseapi")
public class EmployeeController {
private List<Employee> employees = createList();
@RequestMapping(value = "/employees", method = RequestMethod.GET, produces = "application/json")
public List<Employee> firstPage() {
return employees;
}
@DeleteMapping(path = { "/{id}" })
public Employee delete(@PathVariable("id") int id) {
Employee deletedEmp = null;
for (Employee emp : employees) {
if (emp.getEmpId().equals(id)) {
employees.remove(emp);
deletedEmp = emp;
break;
}
}
return deletedEmp;
}
@PostMapping
public Employee create(@RequestBody Employee user) {
employees.add(user);
System.out.println(employees);
return user;
}
private static List<Employee> createList() {
List<Employee> tempEmployees = new ArrayList<>();
Employee emp1 = new Employee();
emp1.setName("emp1");
emp1.setDesignation("manager");
emp1.setEmpId("1");
emp1.setSalary(3000);
Employee emp2 = new Employee();
emp2.setName("emp2");
emp2.setDesignation("developer");
emp2.setEmpId("2");
emp2.setSalary(3000);
tempEmployees.add(emp1);
tempEmployees.add(emp2);
return tempEmployees;
}
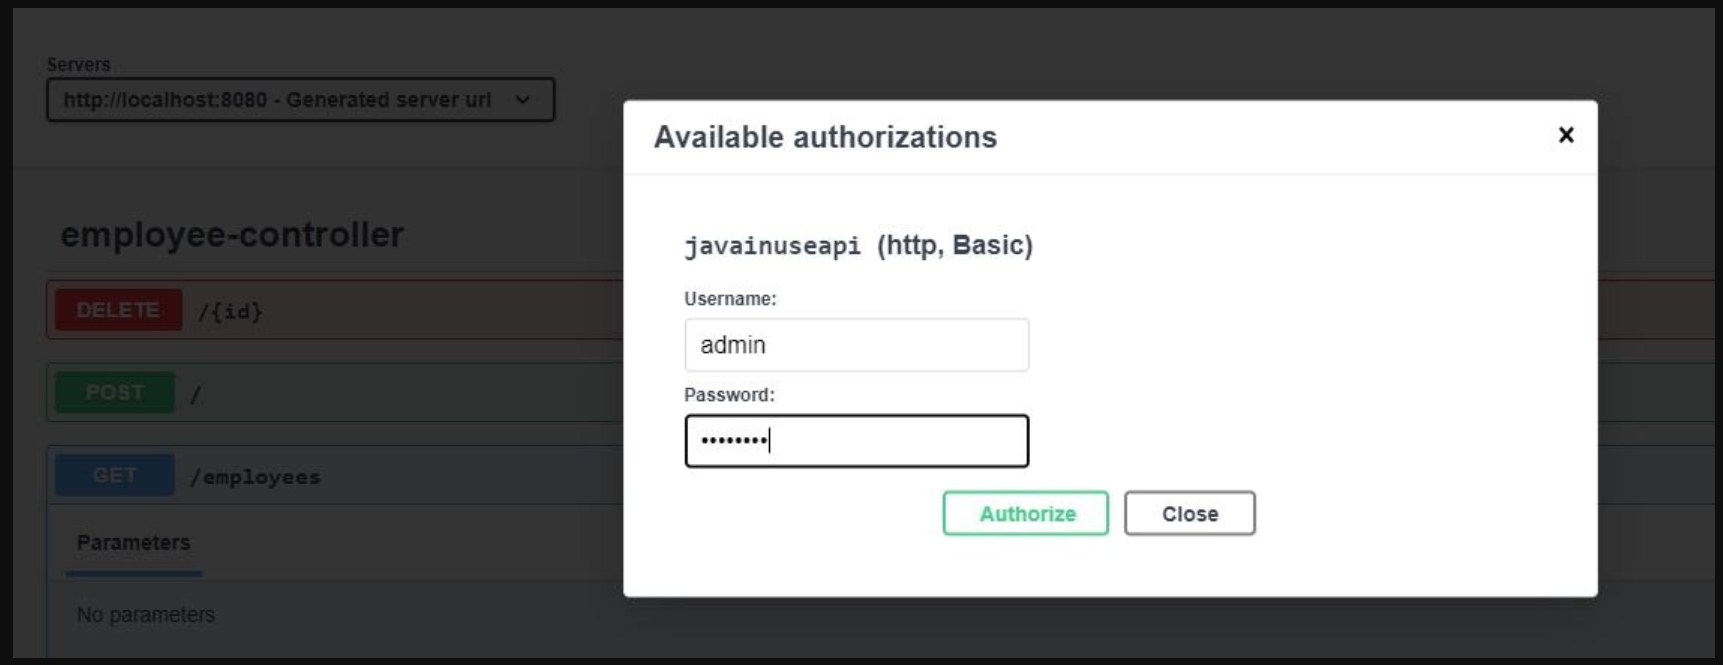
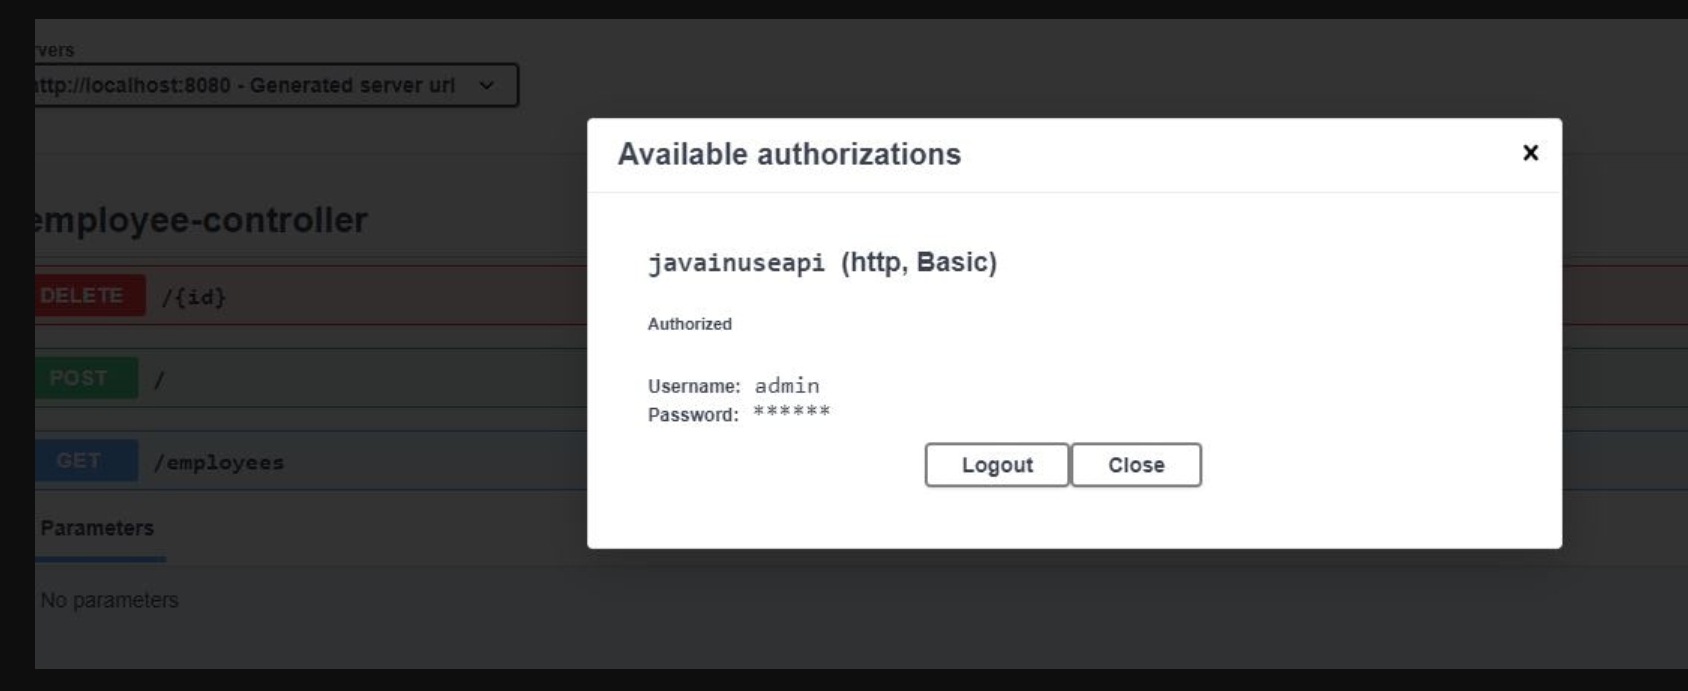
}Start the project. We can now see the lock symbol.
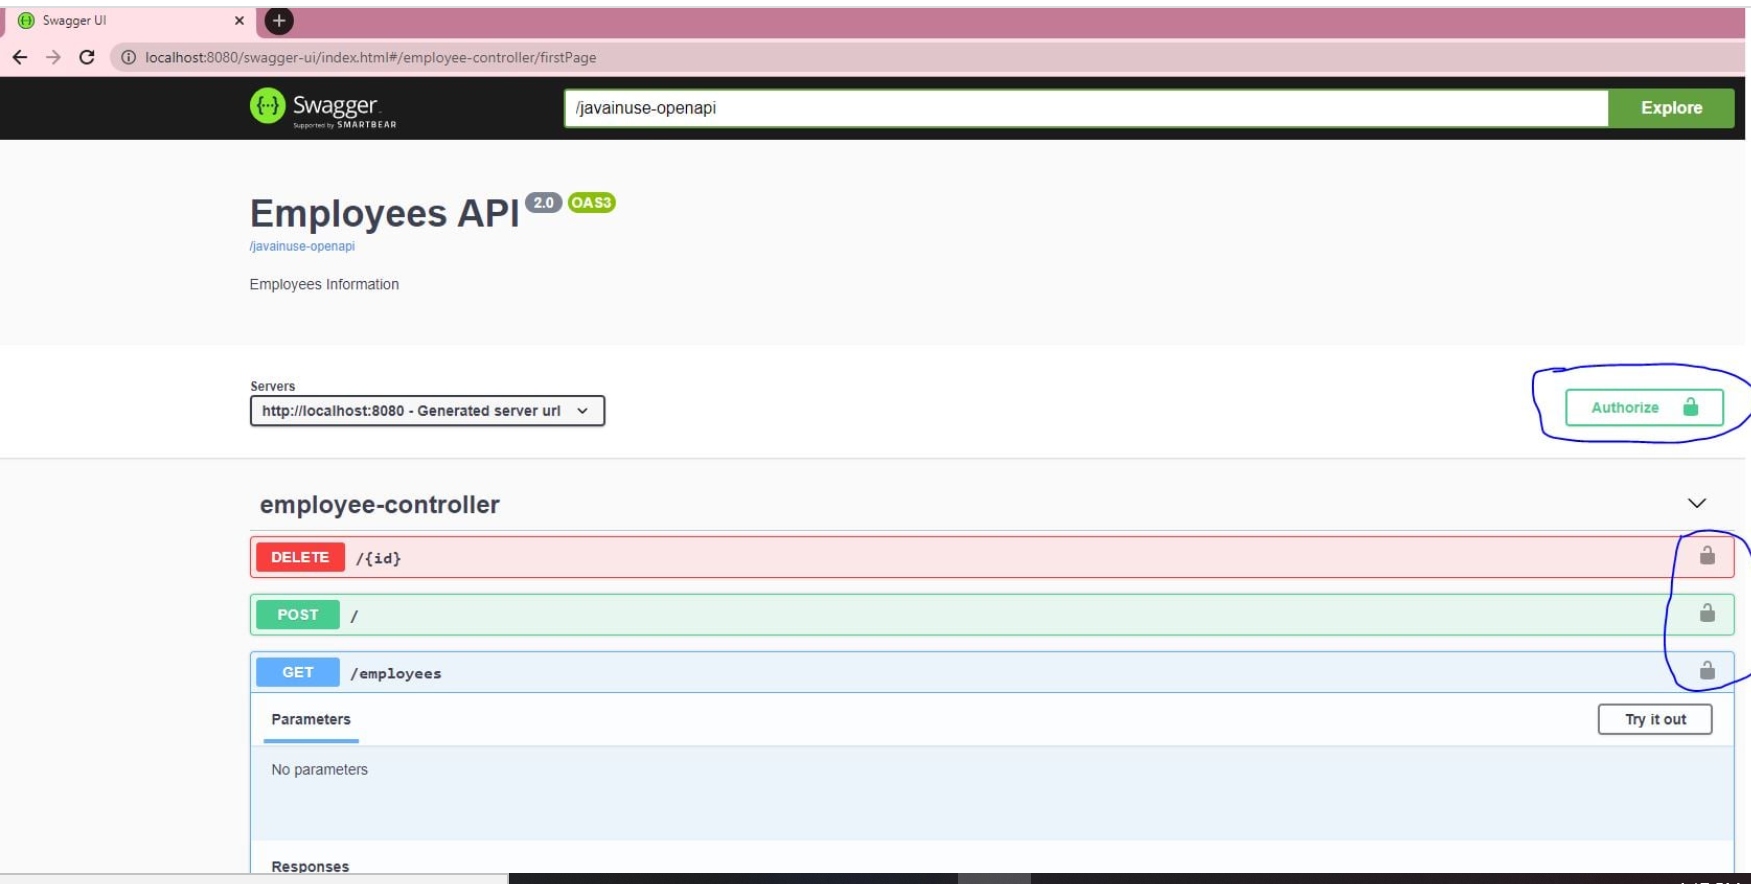
If we click on it, it asks for the credentials. On entering it, we can successfully access the REST enfpoints using Swagger.

Published at DZone with permission of Rida Shaikh. See the original article here.
Opinions expressed by DZone contributors are their own.
{{ parent.title || parent.header.title}}
{{ parent.tldr }}
{{ parent.linkDescription }}
{{ parent.urlSource.name }}