Electron With Typescript - File Explorer Desktop App
Join the DZone community and get the full member experience.
Join For Free
The Electron library is easy to use for native desktop applications with the knowledge of web technologies. If you're new to Electron and need an introduction, check out this article.
In this article, we are going to create a native file explorer with the ability to view multiple folders or files at once. We will be using TypeScript on top of the Electron library.
Getting Started
We can start with a template project from this github repository.Just clone the project and run the following commands:
npm install npm start
This will start our application and display a browser window that displays the version of Node and Electron that we have running.
Now, we will add a button to open the native folder dialog and an input button to show the selected folders and files (index.html).
<label class="padding20">Folders: </label>
<input id="selectedfolders" class="inputtextwidth" type="text"
placeholder="Selected folders paths displayed here.." disabled>
<button class="inlinedisplay margin20" id="folderchooser">Choose folder to list files</button>
In renderer.ts, we have a button handler to send the channel using ipcRenderer.
xxxxxxxxxx
btn.addEventListener("click", (ev: Event) => {
ipcRenderer.send("showFolderDialog");
});
In main.ts, the showfolderdialog channel listened and then opened the dialog. The dialog will be provided by Electron, which has properties like openfile and opendirectory with multi-selections.
Then, when the promise executes, we get the selected file paths, which map the file path to read directory and gets all the files inside the directory. This, we again send to the reduce function to get the statistics of the of files. It will send the files with statistics sent through the channel, filelist.
The reduce function is to combine all the files of different folders to make one single list.
We also send the file paths separately by sending the selectedfolders to display the folders path in the input box.
xxxxxxxxxx
ipcMain.on("showFolderDialog", (event: IpcMainEvent) => {
let fileSelectionPromise = dialog.showOpenDialog({properties: ["openFile", "openDirectory", "multiSelections"]});
fileSelectionPromise.then(function(obj) {
event.sender.send("selectedfolders", obj.filePaths);
let cumfileslist = obj.filePaths.map((filePath, index)=>{
return fs.readdirSync(filePath, {withFileTypes: true})
.filter(dirent=>!dirent.isDirectory())
.map(dirent=>filePath + "/" + dirent.name);
}).reduce((filesacc, files) => {
filesacc = filesacc.concat(files);
return filesacc;
}).every((absolutefilepath, index, array) => {
let stats:fs.Stats = fs.statSync(absolutefilepath);
event.sender.send("fileslist", path.basename(absolutefilepath), stats);
return true;
});
});
});
In renderer.ts, selectedfolders is used to create an event listener to get all the file paths and then concatenate them with the pipe symbol and place it in the value.
xxxxxxxxxx
ipcRenderer.on("selectedfolders", (evt: IpcRendererEvent, selectedfolders: string[]) => {
const selectedFolderElem: HTMLInputElement = document.getElementById("selectedfolders") as HTMLInputElement;
selectedFolderElem.value = selectedFolderElem.value !== "" ? selectedFolderElem.value + "|"
: selectedFolderElem.value ;
selectedFolderElem.value += selectedfolders.join(" | ");
});
To list all the files, we can have an ul element and template element that can be expanded for each file display.
xxxxxxxxxx
<div>
<ul id="filelist" class="nopadding">
</ul>
</div>
<template id="filerec">
<div class="row">
<li class="grid-container">
<span></span>
<span>234234</span>
<span>234</span>
</li>
</div>
</template>
In renderer.ts, it will listen on the filelist element, which receives the parameters (filename, stats) and fill all the template span elements. Then, the template is cloned and added to the ul element.
xxxxxxxxxx
ipcRenderer.on("fileslist", (event: IpcRendererEvent, fileName: string, stats: fs.Stats) => {
const filetemplate = document.getElementById("filerec") as HTMLTemplateElement;
const filedisplayrec = filetemplate.content;
const spanElements = filedisplayrec.querySelectorAll("span");
spanElements[0].innerText = fileName;
spanElements[1].innerText = stats.size.toString();
spanElements[2].innerText = stats.mtime.toString();
const nodeElement: Node = filedisplayrec.cloneNode(true);
document.getElementById("filelist").appendChild(nodeElement);
});
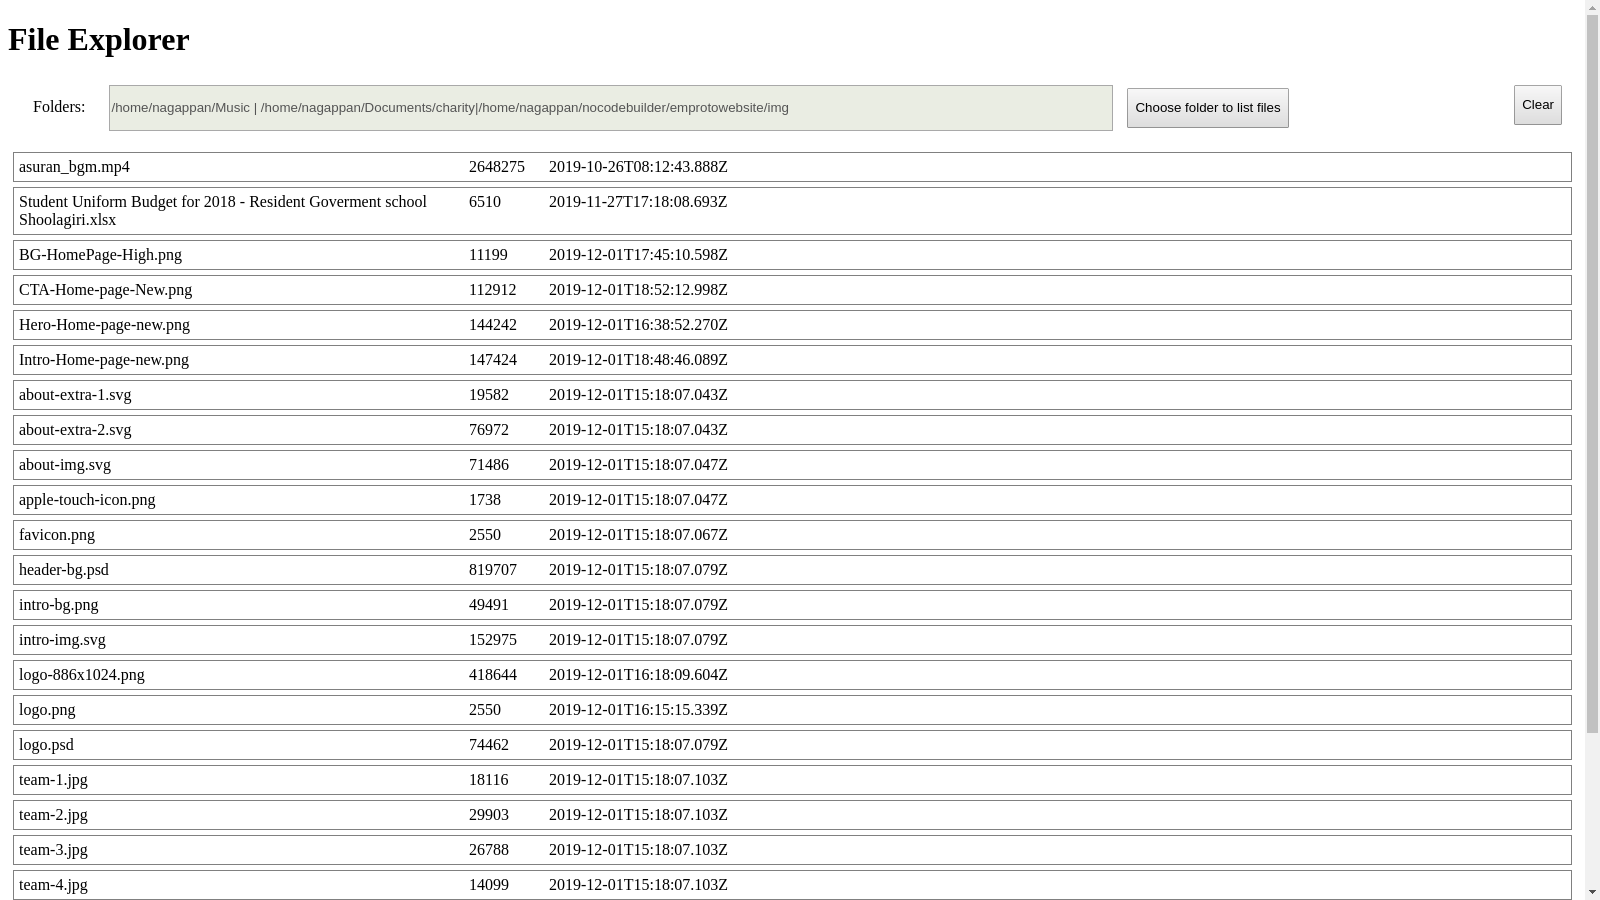
The desktop app will finally look like this. The full source code is available on github for reference.
Further Reading
Opinions expressed by DZone contributors are their own.
Comments