Inspecting Cloud Composer - Apache Airflow
In this article, we will learn what Cloud Composer is in GCP and how can we set it up. We will also highlight some critical insights about the Cloud Composer.
Join the DZone community and get the full member experience.
Join For FreeIntroduction
Cloud Composer is a fully managed service built on Apache Airflow, it has built-in integration for other GCP services such as Cloud Storage, Cloud Datastore, Cloud Dataflow, Big Query, etc.
The integration is important from an Airflow scheduling and automation perspective, say a DAG is written for pulling file (.csv) from Cloud Storage, executing transformation using Pandas and again uploading back to Storage or performing some DB Operations.
Setup
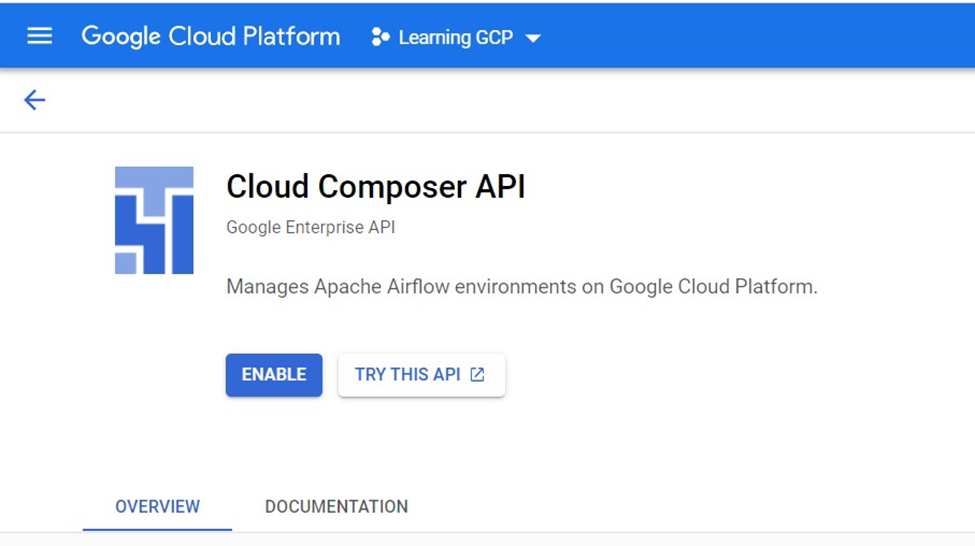
The first thing is we need to create a Cloud Composer Instance, on the GCP console in the search bar, look for a composer, and it will provide us with, Cloud Composer API option, we need to enable the API.
The Composer runs on top of the Kubernetes engine, once the instance setup is done Kubernetes clusters will be created and GCP takes care of it, we don’t have to deal with any Kubernetes configuration.
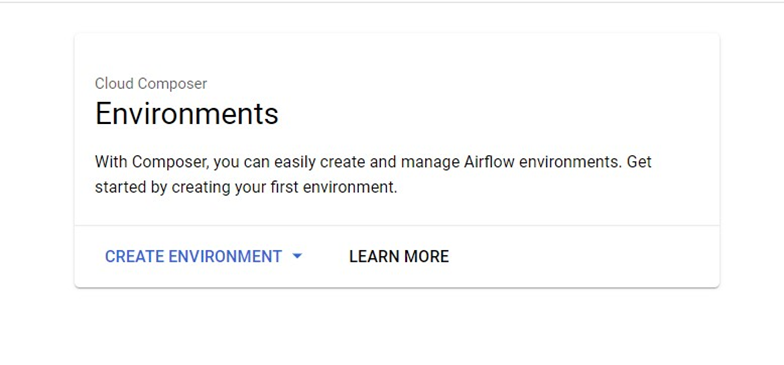
Step two is to Create an Environment and select the Composer 1 option as it’s better to understand through manual scaling to understand the little bit of background.
 Once option 1 is selected, it asks for details like Name, Location and please note the Node count cannot be less than 3 as you can see the error in the screenshot.
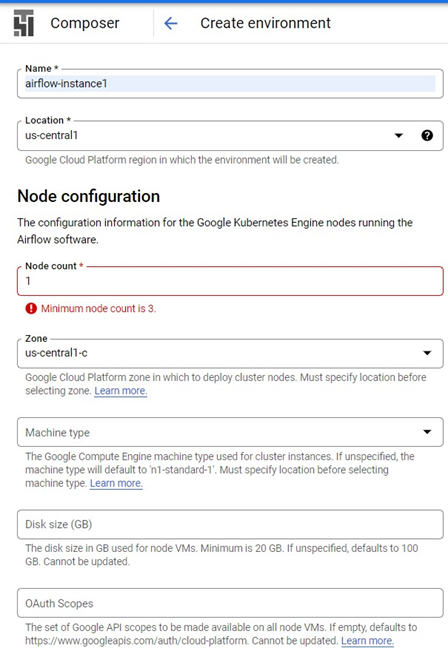
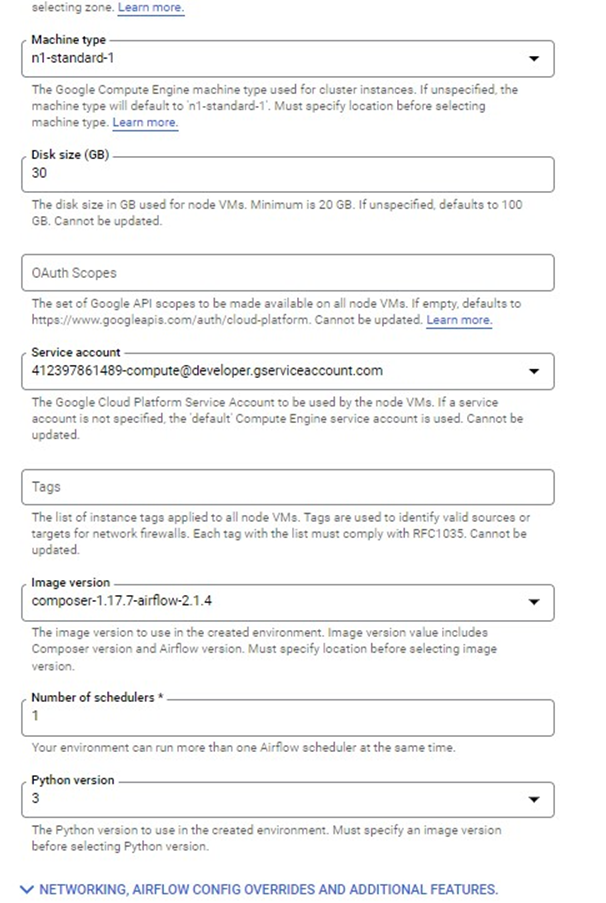
Minimum of 20GB node size is required also the Python version option is asked, I am selecting the latest one, composer image version I have selected is the latest one, and the remaining configurations are quite standard configs, like machine type, etc
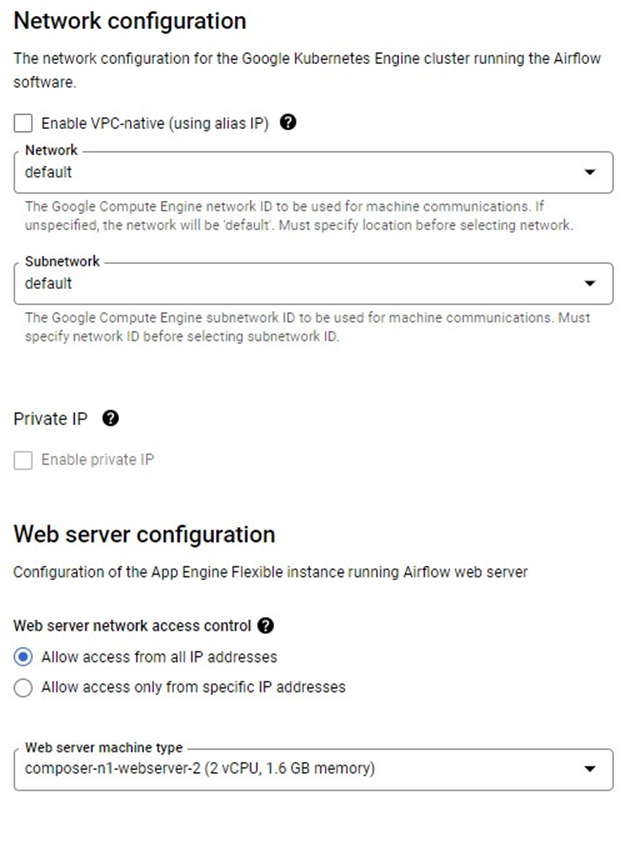
The network configuration selected is ‘default’. The Web server configuration is for Apache Airflow UI and the network access control Is “Allow access from all IP addresses”. Select the smallest web-server machine type.
Let’s create the composer instance after selecting these many properties. The instance creation will take around 30 minutes as internally GCP is creating the entire Kubernetes cluster.
After the environment creation is done, we can see the Location, Airflow version, etc.

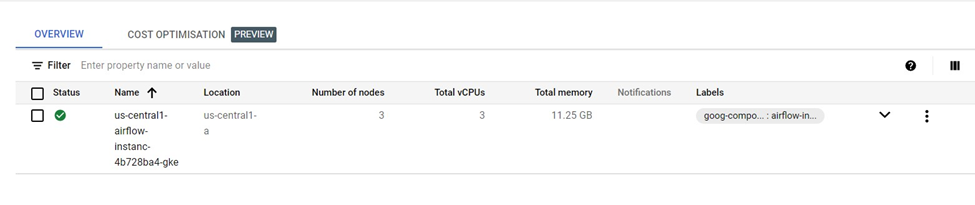
Browse to Kubernetes Engine and Clusters, the cluster details are shown like Total Number of Nodes which is 3, Total vCPUs, etc.
Let’s go to the workloads section, quite a few workloads are deployed by the GCP.
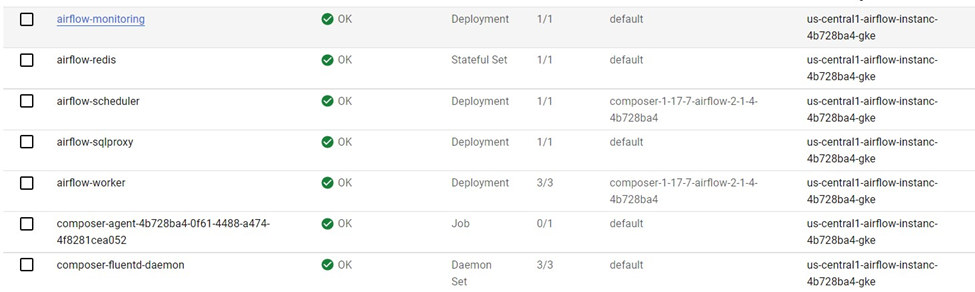
GCP also deployed 3 services

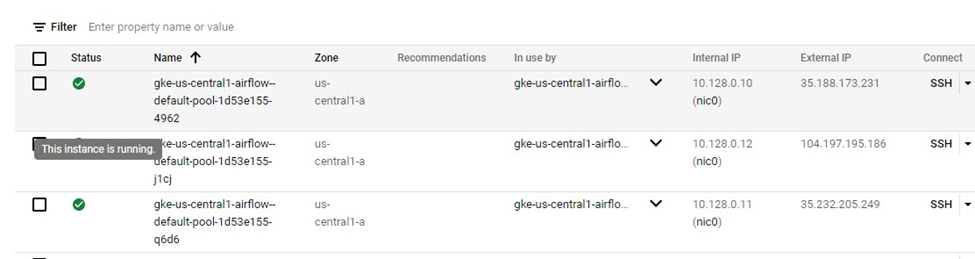
In the VM section, a total of 3 VM instances is running because we have provided a total of 3 node counts while configuring the composer.
Go to the Composer section and click on the Airflow webserver option.
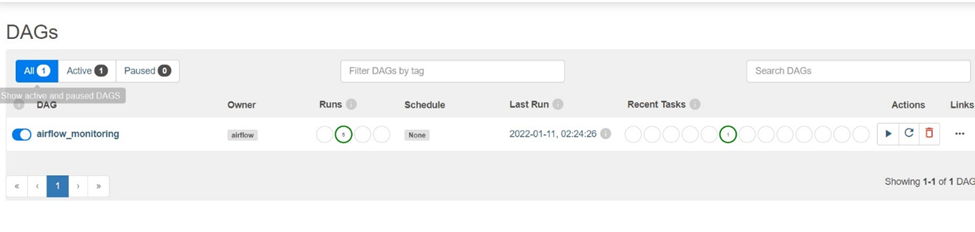
 After google authentication we have been redirected to the Airflow Web-UI page and through this page, we can interact with Airflow, like executing the DAG, uploading a new DAG, etc. By default, one DAG is running with the name ‘airflow_monitoring’.
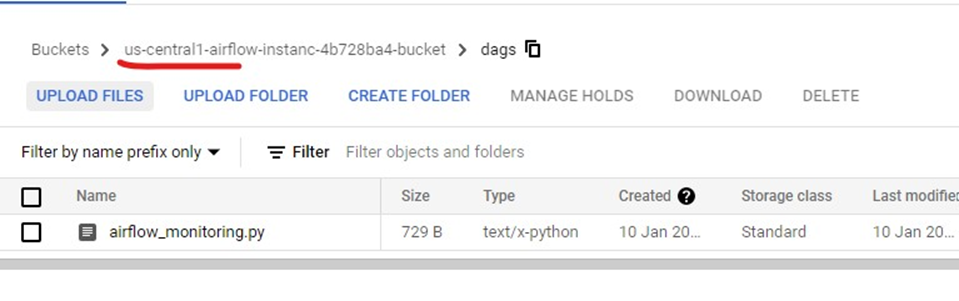
To upload a new DAG, on the Composer Environment screen there is an option for the DAGs folder.

On clicking the DAGs folder we can see a bucket is created for us and inside that there is a folder DAGs which has only one file as of now airflow_monitoring.py when we upload our DAGs it will be uploaded to the same location.
When we upload our own DAG, airflow will automatically detect it and execute it as per the configuration in the file.

Once we click on UPLOAD FILES, we can upload our own DAG as you can hello_world.py is uploaded and after that, it’s been executed by the Airflow which can be verified on the DAGs page.
Summary
One drawback is the Airflow service cannot be stopped, the only option is to delete it. GCP simplified working with Airflow by creating a separate service for it.
Opinions expressed by DZone contributors are their own.
Comments