DZone
Thanks for visiting DZone today,
Edit Profile
  • Manage Email Subscriptions
  • How to Post to DZone
  • Article Submission Guidelines
Sign Out View Profile
  • Post an Article
  • Manage My Drafts
Over 2 million developers have joined DZone.
Log In / Join
Please enter at least three characters to search
Refcards Trend Reports
Events Video Library
Refcards
Trend Reports

Events

View Events Video Library

Zones

Culture and Methodologies Agile Career Development Methodologies Team Management
Data Engineering AI/ML Big Data Data Databases IoT
Software Design and Architecture Cloud Architecture Containers Integration Microservices Performance Security
Coding Frameworks Java JavaScript Languages Tools
Testing, Deployment, and Maintenance Deployment DevOps and CI/CD Maintenance Monitoring and Observability Testing, Tools, and Frameworks
Culture and Methodologies
Agile Career Development Methodologies Team Management
Data Engineering
AI/ML Big Data Data Databases IoT
Software Design and Architecture
Cloud Architecture Containers Integration Microservices Performance Security
Coding
Frameworks Java JavaScript Languages Tools
Testing, Deployment, and Maintenance
Deployment DevOps and CI/CD Maintenance Monitoring and Observability Testing, Tools, and Frameworks

Last call! Secure your stack and shape the future! Help dev teams across the globe navigate their software supply chain security challenges.

Modernize your data layer. Learn how to design cloud-native database architectures to meet the evolving demands of AI and GenAI workloads.

Releasing software shouldn't be stressful or risky. Learn how to leverage progressive delivery techniques to ensure safer deployments.

Avoid machine learning mistakes and boost model performance! Discover key ML patterns, anti-patterns, data strategies, and more.

Related

  • AWS to Azure Migration: A Cloudy Journey of Challenges and Triumphs
  • Unlocking the Benefits of a Private API in AWS API Gateway
  • Zero Trust for AWS NLBs: Why It Matters and How to Do It
  • Unlocking the Power of Serverless AI/ML on AWS: Expert Strategies for Scalable and Secure Applications

Trending

  • Mastering Fluent Bit: Installing and Configuring Fluent Bit on Kubernetes (Part 3)
  • The Modern Data Stack Is Overrated — Here’s What Works
  • What Is Plagiarism? How to Avoid It and Cite Sources
  • How AI Agents Are Transforming Enterprise Automation Architecture
  1. DZone
  2. Software Design and Architecture
  3. Cloud Architecture
  4. Installing OpenVPN on AWS

Installing OpenVPN on AWS

Bring peer-to-peer connectivity to your cloud with this step-by-step guide to setting up OpenVPN on Amazon Web Services' free tier.

By 
Prabhat Kashyap user avatar
Prabhat Kashyap
·
Updated Nov. 05, 17 · Tutorial
Likes (8)
Comment
Save
Tweet
Share
32.5K Views

Join the DZone community and get the full member experience.

Join For Free

OpenVPN is open source software that implements VPN and is used for creating peer-to-peer connections. OpenVPN is more than 16 years old — the first release was on 13 May 2001. So, with the history behind us, let's go through how to install OpenVPN on the cloud.

For this post, I am using the free tier provided by Amazon Web Services.

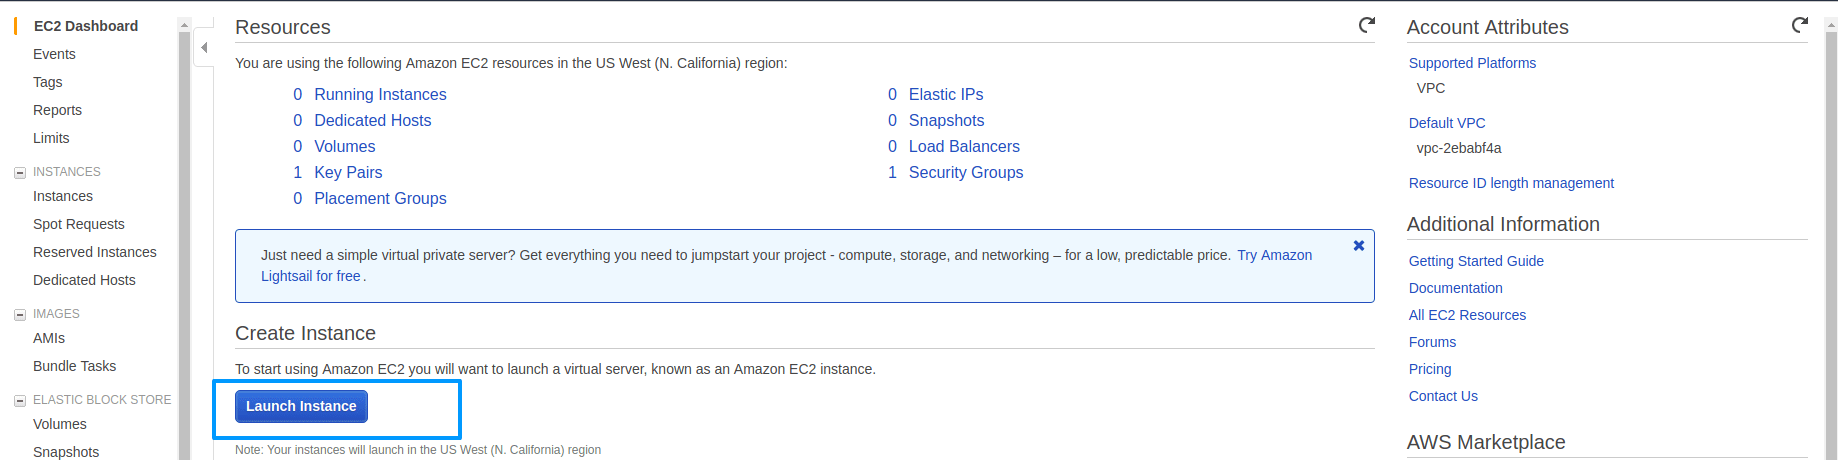
We are going to install an OpenVPN server and an OpenVPN client on your local machine, so first, you need an AWS account. Log into your AWS account and go to the EC2 dashboard, then launch an instance.

EC2 Management Lunch Instance

Then go to the AWS Marketplace and search for OpenVPN and select OpenVPN Access Server

Select Open VPN

I am going to select t2.micro, as it eligible for the free tier. Then, hit review and launch.

Instance Type

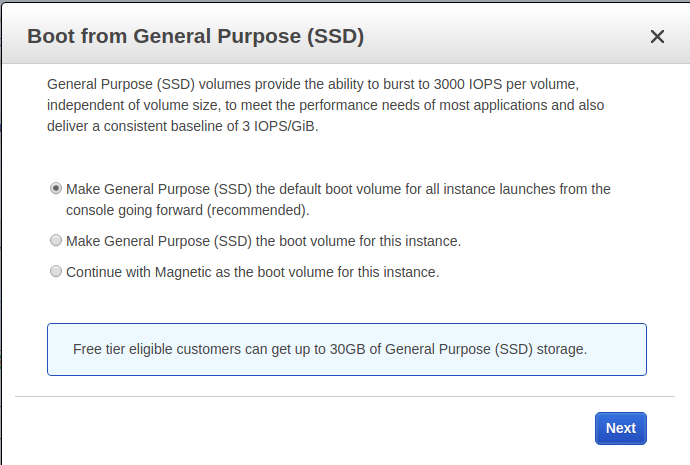
Here, I am going to select General Purpose (SSD) and hit next.

Select Storage

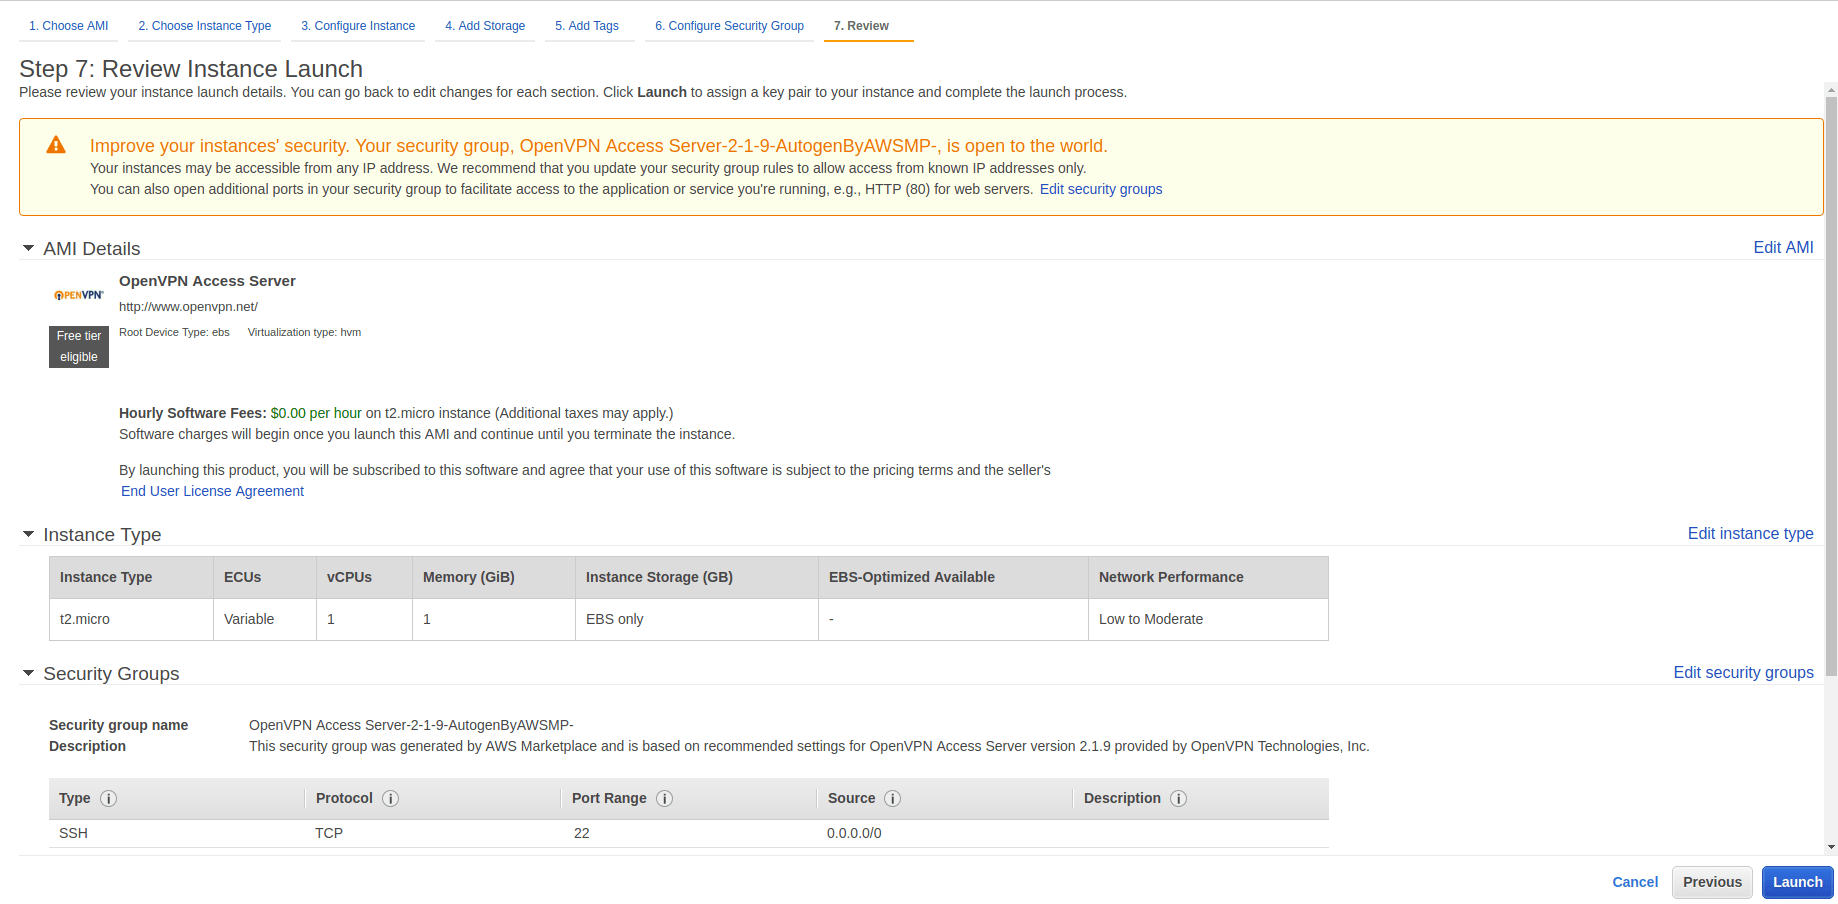
After that, AWS will skip to step number 7 in the process, where we need to review the instance. After reviewing it, hit launch.

Review Instance Launch

It will take few minutes to reach a running state. Until then, we will create an elastic IP so that the IP will not get lost. In order to create elastic IP, hit Elastic IPs in the left panel of the EC2 dashboard. Hit Allocate New Address, and you will get an elastic IP.

Allocate IP - 1

Now associate that address with the instance you created earlier for OpenVPN.
Allocate IP - 2.png

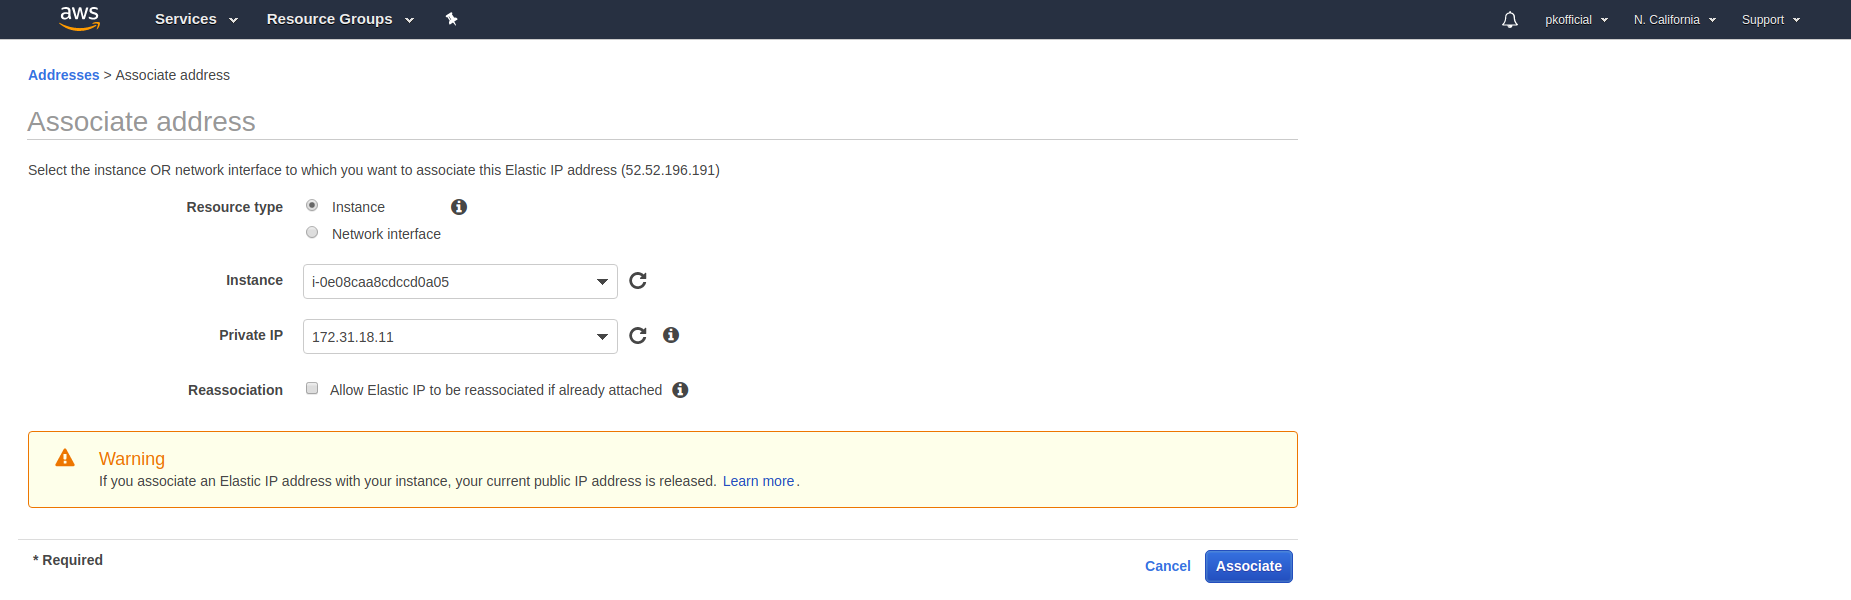
After that, Elastic IP will link to that instance and become the public IP of that instance.

instances.png

Now we have to ssh into the instance. This is a one-time process. The user for ssh will be openvpnas.
ssh-open-vpn

When you enter into the instance, you will get the message below. Enter yes and hit enter to continue.

openvpn-agreement

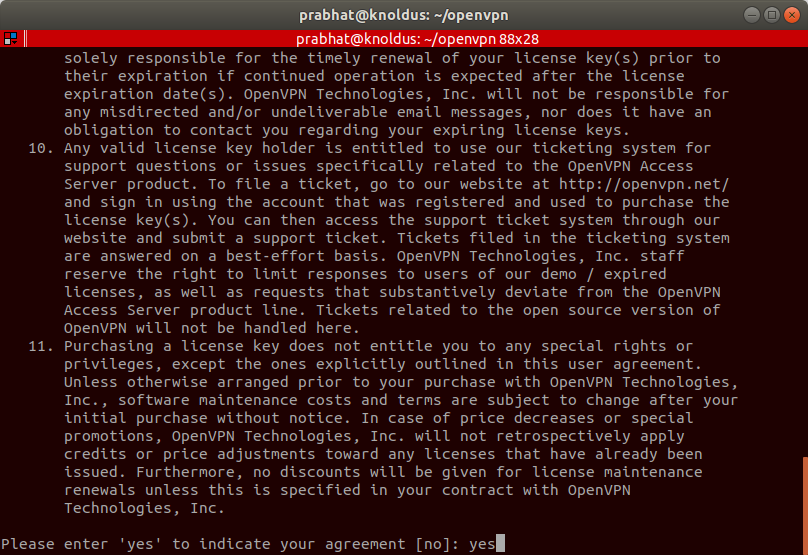
Now keep pressing enter until the initial configuration completes.

complete-configuration-vpn.png

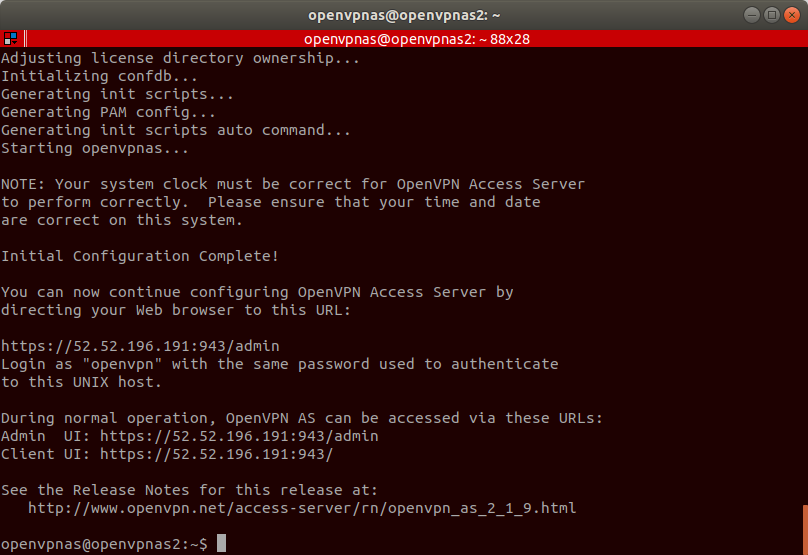
Once the configuration completes, change the password for the openvpn user. Enter

sudo passwd openvpn


update-openvpn-password

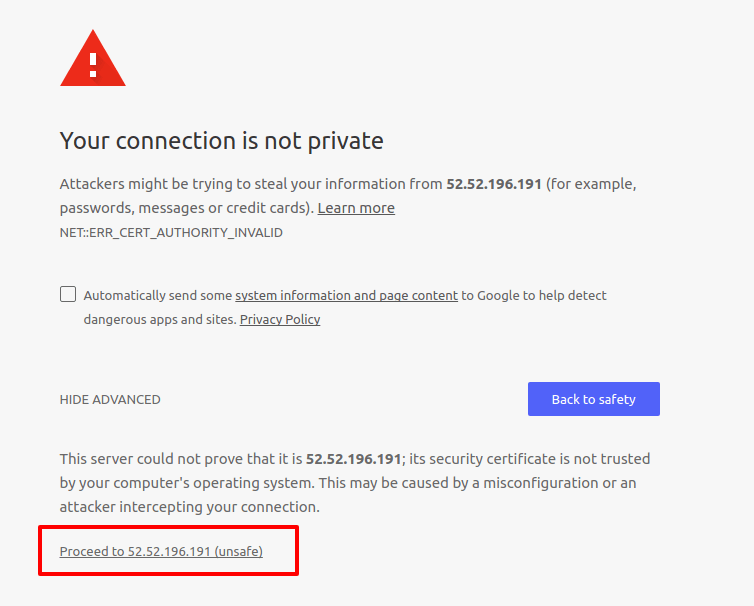
Now open the browser and go to the elastic IP address with the https protocol. For example, I am going to use https://52.52.196.191. This will prompt a warning message, as shown below. You just need to skip it and proceed to the URL.

privacy-error.png

It will ask you to log in. Just can enter openvpn as the username and the password that you set earlier. Then, you need to install the OpenVPN client. As I am working on Linux, I am going select OpenVPN for Linux, which will take you to this page.

Just install the OpenVPN client on your machine and download the user-locked profile that will be used to connect to OpenVPN.

OpenVPN Connect Profile

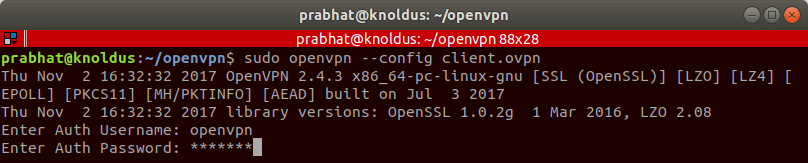
Connect to OpenVPN using the following command:

sudo openvpn --config client.ovpn


Note: In order to connect, you must have root access.

openvpn-client.png

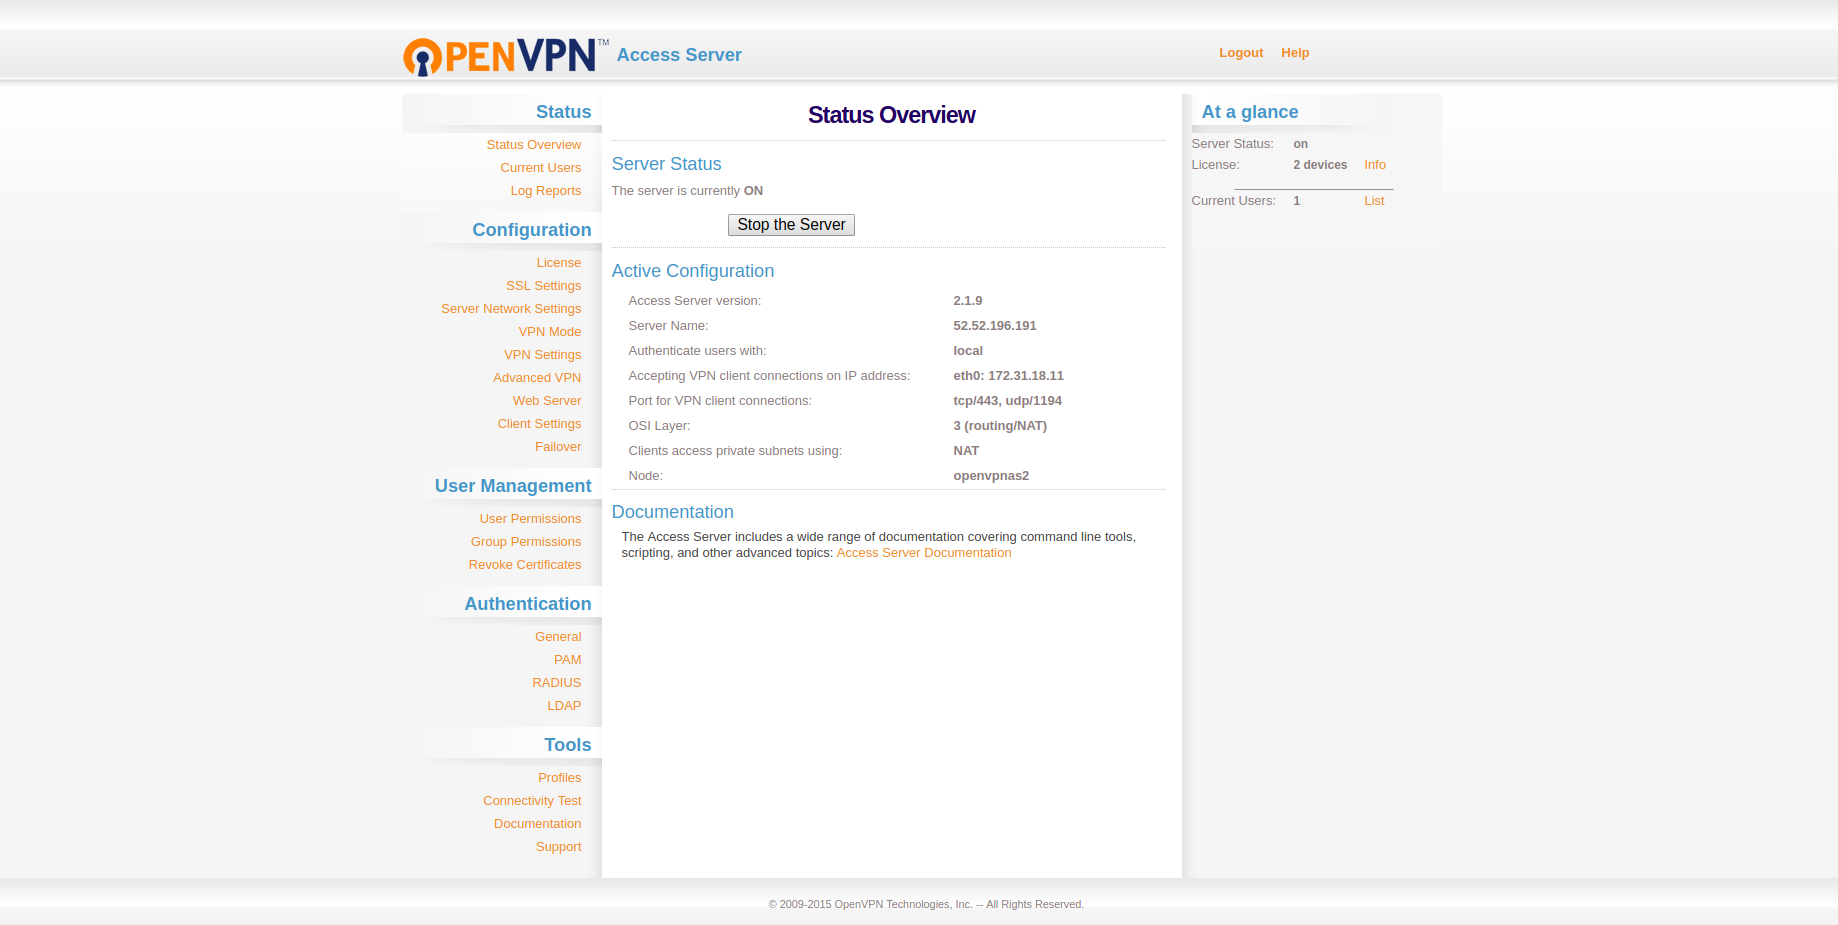
Once that is done, go to the admin panel by appending /admin after your URL (for example, https:///admin). It will take you to admin login page, where you need to enter the same credentials as before.

openvpn-login-admin.png

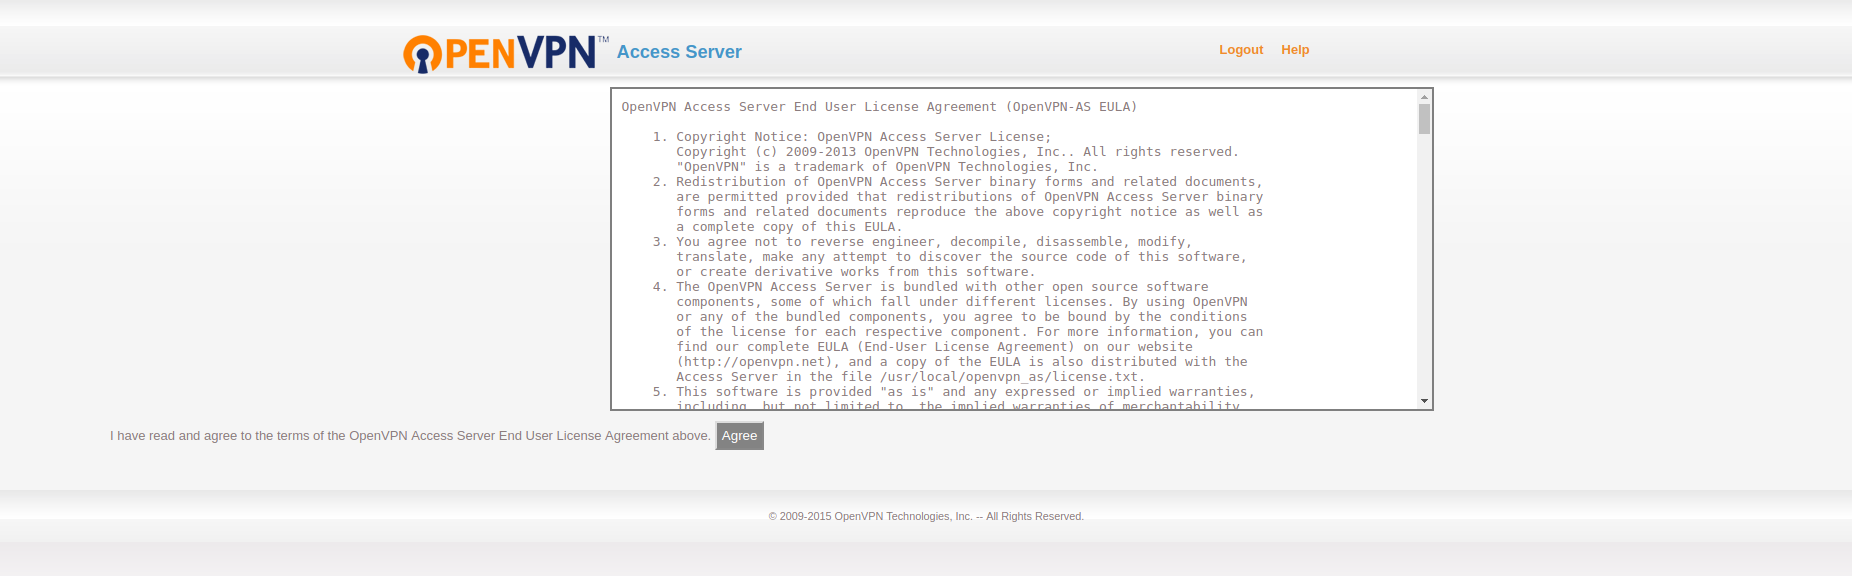
This first time, it will ask you to agree to its term. Once you agree, you will enter the admin panel.

OpenVPN Access Server Status Overview.png

OpenVPN Login.png

Then go to the Server Network Settings menu and uncheck Admin Web Server and Client Web Server. Then hit save. It will disable access to your web servers from public IPs.

OpenVPN Access Server Server Network Settings.png

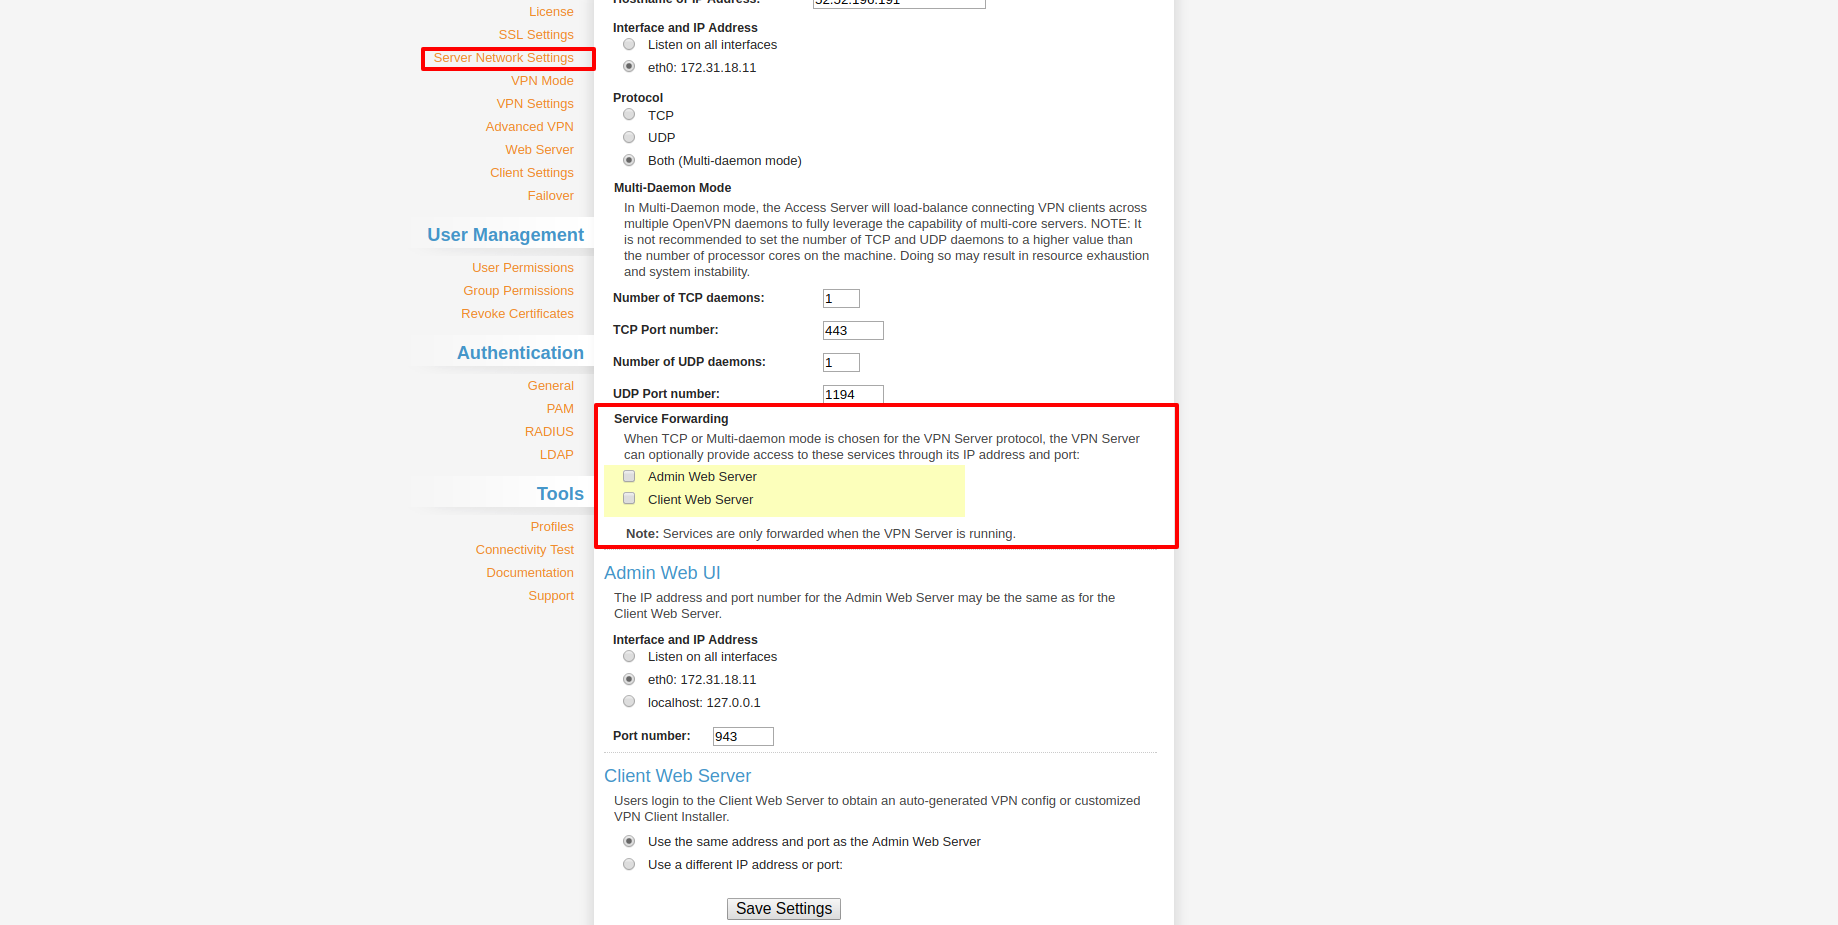
Now it will show a message saying Setting changed. Hit Update Running Server, and you will get a "Site cannot be reached" error — that is intended.

openvpn-access-server-server-network-settings-update-e1509686754421.png

Now go to the EC2 dashboard and get the private IP of your instance.

private-ip.png

Now go to your browser and replace the public IP withthe private IP and append :943 at the end of the IP. The URL should be like this: https://:943/admin. It will take you to the admin panel, and that’s it! Now, those who are connected to OpenVPN will able to access the server using a private IP. Your OpenVPN is now up and running.

OpenVPN Login Admin

One last note: For security, you can remove the ssh login from security groups.

This article was first published on the Knoldus blog.

AWS

Published at DZone with permission of Prabhat Kashyap, DZone MVB. See the original article here.

Opinions expressed by DZone contributors are their own.

Related

  • AWS to Azure Migration: A Cloudy Journey of Challenges and Triumphs
  • Unlocking the Benefits of a Private API in AWS API Gateway
  • Zero Trust for AWS NLBs: Why It Matters and How to Do It
  • Unlocking the Power of Serverless AI/ML on AWS: Expert Strategies for Scalable and Secure Applications

Partner Resources

×

Comments
Oops! Something Went Wrong

The likes didn't load as expected. Please refresh the page and try again.

ABOUT US

  • About DZone
  • Support and feedback
  • Community research
  • Sitemap

ADVERTISE

  • Advertise with DZone

CONTRIBUTE ON DZONE

  • Article Submission Guidelines
  • Become a Contributor
  • Core Program
  • Visit the Writers' Zone

LEGAL

  • Terms of Service
  • Privacy Policy

CONTACT US

  • 3343 Perimeter Hill Drive
  • Suite 100
  • Nashville, TN 37211
  • support@dzone.com

Let's be friends:

Likes
There are no likes...yet! 👀
Be the first to like this post!
It looks like you're not logged in.
Sign in to see who liked this post!