How to Run the TICK Stack on a Raspberry Pi
Click here to learn how to use and install the TICK Stack on a Raspberry Pi, along with important points to consider while operating the stack.
Join the DZone community and get the full member experience.
Join For Free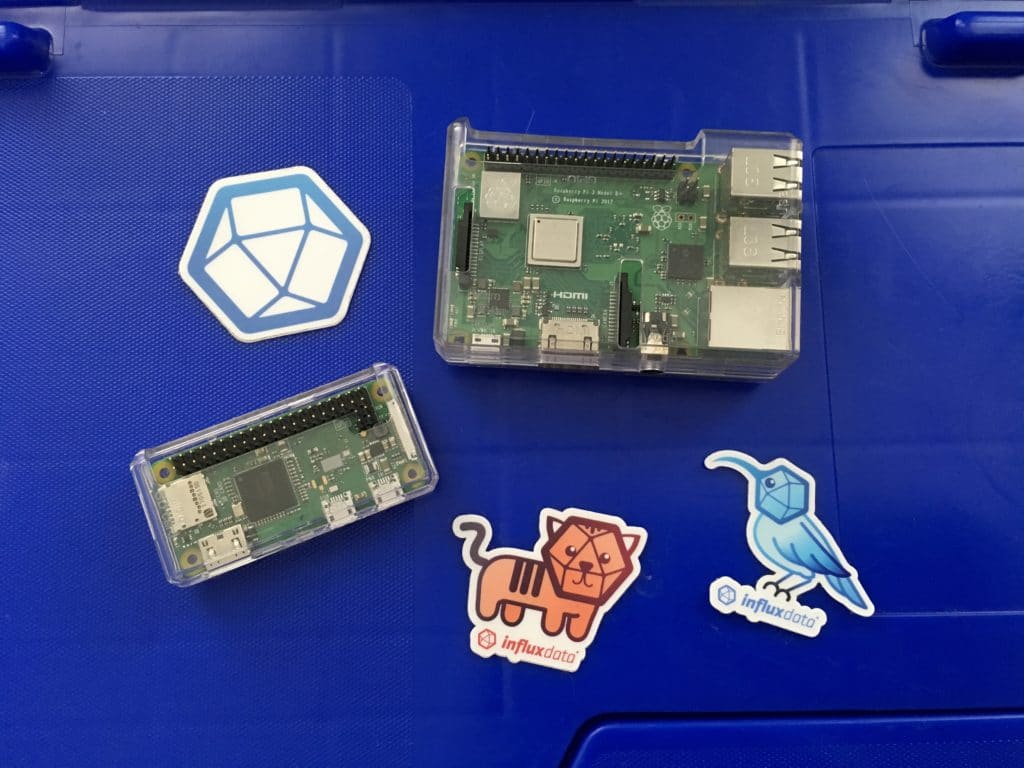
The Raspberry Pi is a great platform for the TICK Stack!
Since its introduction in 2013, the Raspberry Pi platform has grown by leaps and bounds, gaining popularity and showing up in projects all over the world, from quick hacks to fully commercialized products. It's an inexpensive, low power, open-source, single-board computer with a variety of interfaces for connecting with sensors and actuators that can be used to interact with the physical world.
It's also a solid choice when you need an always-on device for collecting data, and it's powerful enough to run the complete TICK Stack. In fact, one of the most popular posts on our community site is about running the TICK Stack on a Raspberry Pi, so we wanted to provide some update instructions for installing and things to consider while operating the stack.
The Hardware
Your Choice of Pi
The first thing you'll need to do is decide which Pi you're going to use. The Raspberry Pi platform has gone through a few iterations since it was first released in 2013:
| Model | Cores | Clock Speed | RAM |
|---|---|---|---|
| Zero | 1, 32-bit | 1000 MHz | 512 MB |
| A/B/+ | 1, 32-bit | 500 MHz | 256 MB |
| 2B | 4, 32-bit | 900 MHz | 1024 MB |
| 3B | 4, 64-bit | 1200 MHz | 1024 MB |
| 3B+ | 4, 64-bit | 1400 MHz | 1024 MB |
There have been some significant architectural improvements over the years, and your best bet is to go with one of the model 3 boards, with quad-core, 64-bit CPUs for the database itself, although I've tested running the complete TICK Stack on the model 2 B, 3 B, and 3 B+. In addition, the single-core Zero makes a great platform for collecting sensor data with Telegraf.
Storage
The storage system on the Raspberry Pi, which uses an SD or microSD card, is the slowest by far and relative to the systems on a laptop or desktop computer. It's important to keep storage performance in mind when you're considering a Raspberry Pi for your application. The type of SD card you choose will have a major impact on the performance of your Raspberry Pi, especially if you're planning on running a database like InfluxDB.
Get at least a Class 10 card — the faster, the better. But, understand that even with the fastest SD card, performance won't come close to what you would get with an SSD, and this can often be the bottleneck for your applications.
Some manufacturers are also releasing "High Endurance" SD cards; I haven't had a chance to do much research about them, but if you plan on writing large volumes of data, it might be worth investigating.
The Raspberry Pi 3 B and B+ also have the ability to enable a USB boot mode, although this is a permanent change for your device. While you'll still be constrained by the speed of a USB 2.0 port, this would enable you to run a large-capacity SSD with better speed and performance.
Installation
The most common way to use a Pi is with the Raspbian operating system provided by the Raspberry Pi foundation. So, that's what we'll be using in this blog post. Raspbian is based off the Debian distribution of Linux, with some modifications and utilities, like raspi-config, that contain functionality specific to the hardware. The latest version of Raspbian is the April release based on Debian Stretch.
You can download Raspbian and find installation instructions on the Raspberry Pi foundation's website.
Recommended: Install From the Official InfluxData Repository
The easiest way to install the TICK Stack is to set up the InfluxData package repository (repo) and use your platform's package manager, which on Raspbian is apt. Packages contain the application binaries themselves, as well as some information about where and how to install and configure the application on your system. That means you can get everything up and running with just a few commands, and InfluxData regularly publishes the latest versions of the TICK Stack to its repository, so applying updates is easy as well.
The first step is to set up the InfluxData repo. You'll need to identify which version of Raspbian you're running. You can do this by taking a look at the /etc/os-release file. You will then need to run the following command:
$ cat /etc/os-releases
PRETTY_NAME="Raspbian GNU/Linux 9 (stretch)"
NAME="Raspbian GNU/Linux"
VERSION_ID="9"
VERSION="9 (stretch)"
ID=raspbian
ID_LIKE=debian
HOME_URL="http://www.raspbian.org"
SUPPORT_URL="http://www.raspbian.org/RaspbianForums"
BUG_REPORT_URL="http://www.raspbian.org/RaspbianBugs"
We need the version codename, which you can find in the VERSION field, in parentheses. For the version I'm running, 9, the code name is stretch. We'll use that when we set up our repo so that we can get the correct versions for our OS.
Next, let's add the repo's GPG key and add the repo itself:
$ curl -sL https://repos.influxdata.com/influxdb.key | sudo apt-key add -And, then, add the repository:
$ echo "deb https://repos.influxdata.com/debian stretch stable" | sudo tee /etc/apt/sources.list.d/influxdb.listFinally, run the sudo apt-get update to refresh the package list with data from the new repository and install the TICK Stack using sudo apt-get install telegraf influxdb chronograf kapacitor. If you want to only install some components of the stack, you can exclude the applications that you don't want from that command.
It's also possible to download packages and install them yourself, without setting up the InfluxData repository. You probably don't have a good reason for doing this, but, for those who do, you can head over to our downloads page.
Docker
Docker is another great option for running the TICK Stack on a Raspberry Pi. This is what I typically use at home. Docker is an OS-level virtualization technology, which means that it isolates various applications by making it appear as though they each have their own Linux kernel and environment to run in. This provides isolation for your applications, while the Docker runtime provides easy-to-use tooling for creating and managing containers.
The recommended method for installing Docker on Raspbian is using the convenience script; you'll also probably want to install docker compose.
You can refer to my Docker blog post from last week for more details about running TICK in Docker containers, and I've written a simple Docker Compose file to help you get started.
Manual Options: Binaries and Building from Source
A few other options exist that can provide additional levels of manual control over how you want to build and install your applications. You can download a Linux binary from influxdata.com/downloads, or you can visit the respective Git repositories (Telegraf, InfluxDB, Chronograf, and Kapacitor), check out the code, and build the applications yourself.
Other Considerations
Since the Pi is a relatively constrained computing environment, you might have to make some tradeoffs in terms of how much software you can run and how much data you can process and store.
One thing to consider is that you don't have to run Chronograf on the Pi; you can run a local copy on your primary computer and set it up to talk to the InfluxDB instance on your Raspberry Pi over the network. This is the setup I'm currently running at home, and I find that it gives a nice performance bump overrunning everything on the Pi.
Another thing to keep in mind is the amount of storage space you have on your SD card. While InfluxDB is quite efficient at storing data, depending on the size of your card, the other software you have installed could run out of space. You should definitely set up some kind of monitor and alert system so that you can be informed when you run out of space. Telegraf's disk plugin and Kapacitor's alerts functionality would be a good fit for this!
You might not need to keep your data around forever; a few weeks or months might be good enough for your use case. We often see users taking advantage of into InfluxData's downsampling and retention policy functionality to reduce the resolution of their data and automatically delete it when it has reached a certain age. For more information on why you might want to do this, check out our recent training webinar, Downsampling Your Data.
Published at DZone with permission of Noah Crowley. See the original article here.
Opinions expressed by DZone contributors are their own.
Comments