Spring Data JPA Introduction - Part 2
The second part of this series on Spring Data JPA goes through the CRUD operations with a user profile.
Join the DZone community and get the full member experience.
Join For FreeCRUD Operations
We will discuss about the following with a small implementation for creating a new user.
An introduction to CREATE Operation.
- REST Controller (@RestController)
- @PostMapping
- @RequestBody
- Service class (@Service)
- Use Model classes.
- ResponseEntity to return status code, headers and body.
- Unique Constraints.
- Finder Methods.
- Optional Class.
I use the following:
- JDK 1.8
- PostgreSQL
- pgAdmin
- Postman as my REST Client
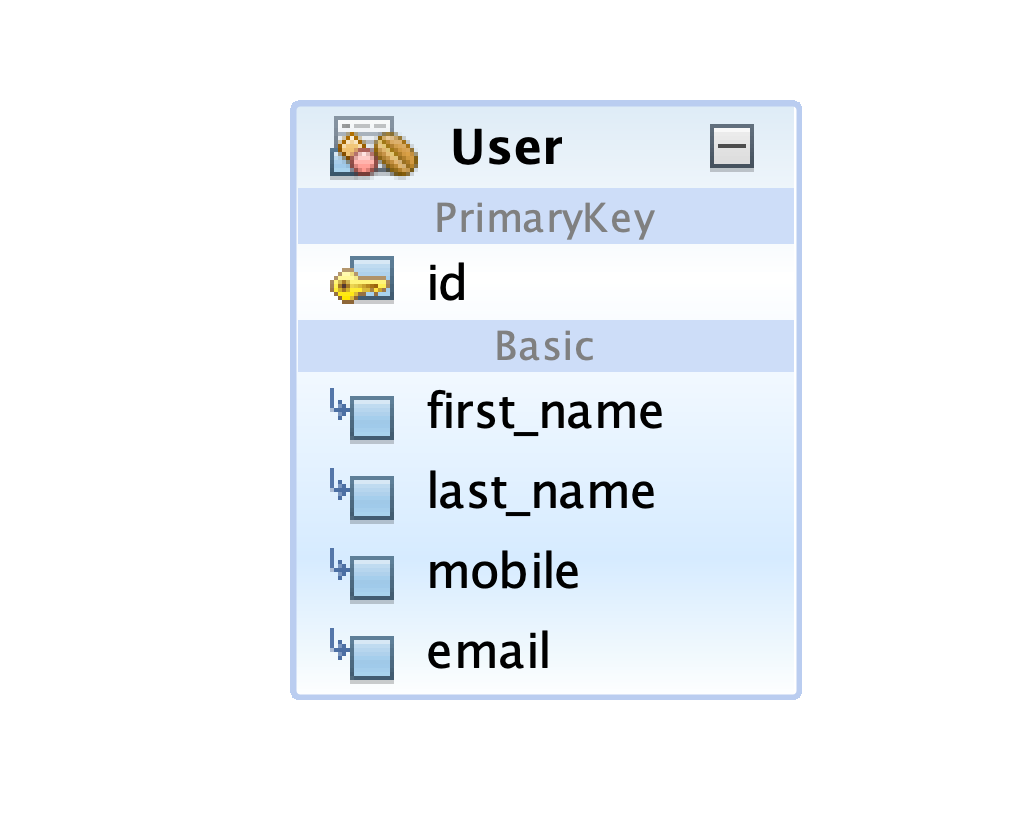
Our Entity Model

The User Class
xxxxxxxxxx
package com.notyfyd.entity;
import javax.persistence.*;
(name = "t_user")
public class User {
(strategy = GenerationType.IDENTITY)
private Long id;
// @Column(name = "firstName")
// @Column(name="name")
private String firstName;
private String lastName;
private String mobile;
(unique = true)
private String email;
public Long getId() {
return id;
}
public void setId(Long id) {
this.id = id;
}
public String getFirstName() {
return firstName;
}
public void setFirstName(String firstName) {
this.firstName = firstName;
}
public String getLastName() {
return lastName;
}
public void setLastName(String lastName) {
this.lastName = lastName;
}
public String getMobile() {
return mobile;
}
public void setMobile(String mobile) {
this.mobile = mobile;
}
public String getEmail() {
return email;
}
public void setEmail(String email) {
this.email = email;
}
}
All we have to do here is to define the fields and write the getter and setter methods. Here, I have used the @Column(unique=true). It sets an unique constraint on email, which is to say, duplicate entries of email will not be allowed.
User Repository Interface
xxxxxxxxxx
package com.notyfyd.repository;
import com.notyfyd.entity.User;
import org.springframework.data.jpa.repository.JpaRepository;
import org.springframework.stereotype.Repository;
import java.util.Optional;
public interface UserRepository extends JpaRepository<User, Long> {
Optional<User> findByEmail(String email);
}
Here we are using a finder method which takes in an email and returns an Optional<User>. This can be used in conjunction with the isPresent() method to check whether it has returned an user. We don't have to check for null.
User Service Class
xxxxxxxxxx
package com.notyfyd.service;
import com.notyfyd.entity.User;
import com.notyfyd.model.UserModel;
import com.notyfyd.repository.UserRepository;
import org.springframework.beans.factory.annotation.Autowired;
import org.springframework.http.ResponseEntity;
import org.springframework.stereotype.Service;
public class UserService {
private UserRepository userRepository;
public ResponseEntity<Object> createUser(UserModel model) {
User user = new User();
if(userRepository.findByEmail(model.getEmail()).isPresent()){
System.out.println("The email is already present");
return ResponseEntity.badRequest().body("The Email is already Present, Failed to Create new User");
} else {
user.setFirstName(model.getFirstName());
user.setLastName(model.getLastName());
user.setMobile(model.getMobile());
user.setEmail(model.getEmail());
User savedUser = userRepository.save(user);
if(userRepository.findById(savedUser.getId()).isPresent())
return ResponseEntity.ok("User Created Successfully");
else return ResponseEntity.unprocessableEntity().body("Failed Creating User as Specified");
}
}
}
Here, we are defining a method createUser that takes in model of type UserModel .
What we do is we create the new User. We get the values from the model object and will assign it to the new user we have created. First, we will start by checking whether the email is already present. If it is present I am using the ResponseEntity class to return "email is already present."
ResponseEntity has many handy methods, so that you can format your return types. You can control anything that goes into the response: status code, headers, and body. Here we are setting the body of the response.
After assigning the values to the new User, I am using the save method given by the JpaRepository . The Save method returns a User Object and I am assigning it to savedUser. In the next line of code I check if it is present. It is to make doubly sure that the user has been saved. If it is present it will return that the user has been created successfully; otherwise I will get a failure message.
User Model Class
xxxxxxxxxx
package com.notyfyd.model;
public class UserModel {
private String firstName;
private String lastName;
private String mobile;
private String email;
public String getFirstName() {
return firstName;
}
public void setFirstName(String firstName) {
this.firstName = firstName;
}
public String getLastName() {
return lastName;
}
public void setLastName(String lastName) {
this.lastName = lastName;
}
public String getMobile() {
return mobile;
}
public void setMobile(String mobile) {
this.mobile = mobile;
}
public String getEmail() {
return email;
}
public void setEmail(String email) {
this.email = email;
}
}
We use this model class for data binding. You can see how it is used in the controller.
Using Model Class is one way of doing things. It separates the presentation concerns and persistent concerns. It is not mandatory in all cases. In this I am using a model class so we get an understanding and awareness of how it can be used.
User Controller
xxxxxxxxxx
package com.notyfyd.controller;
import com.notyfyd.model.UserModel;
import com.notyfyd.service.UserService;
import org.springframework.beans.factory.annotation.Autowired;
import org.springframework.http.ResponseEntity;
import org.springframework.web.bind.annotation.PostMapping;
import org.springframework.web.bind.annotation.RequestBody;
import org.springframework.web.bind.annotation.RestController;
public class UserController {
private UserService userService;
("/user/create")
public ResponseEntity<Object> createUser( UserModel model) {
return userService.createUser(model);
}
}
Here I am autowiring the service class with the @Autowired annotation. We use the @PostMapping annotation for all the post request from the rest clients.
We will use the Request body to pass in the data of type UserModel. This annotations are handy for binding requests with a domain object, in our case, the UserModel.
application.properties
xxxxxxxxxx
server.port=2003
spring.datasource.driver-class-name= org.postgresql.Driver
spring.datasource.url= jdbc:postgresql://192.168.64.6:30432/jpa-test
spring.datasource.username = postgres
spring.datasource.password = root
spring.jpa.show-sql=true
spring.jpa.hibernate.ddl-auto=create
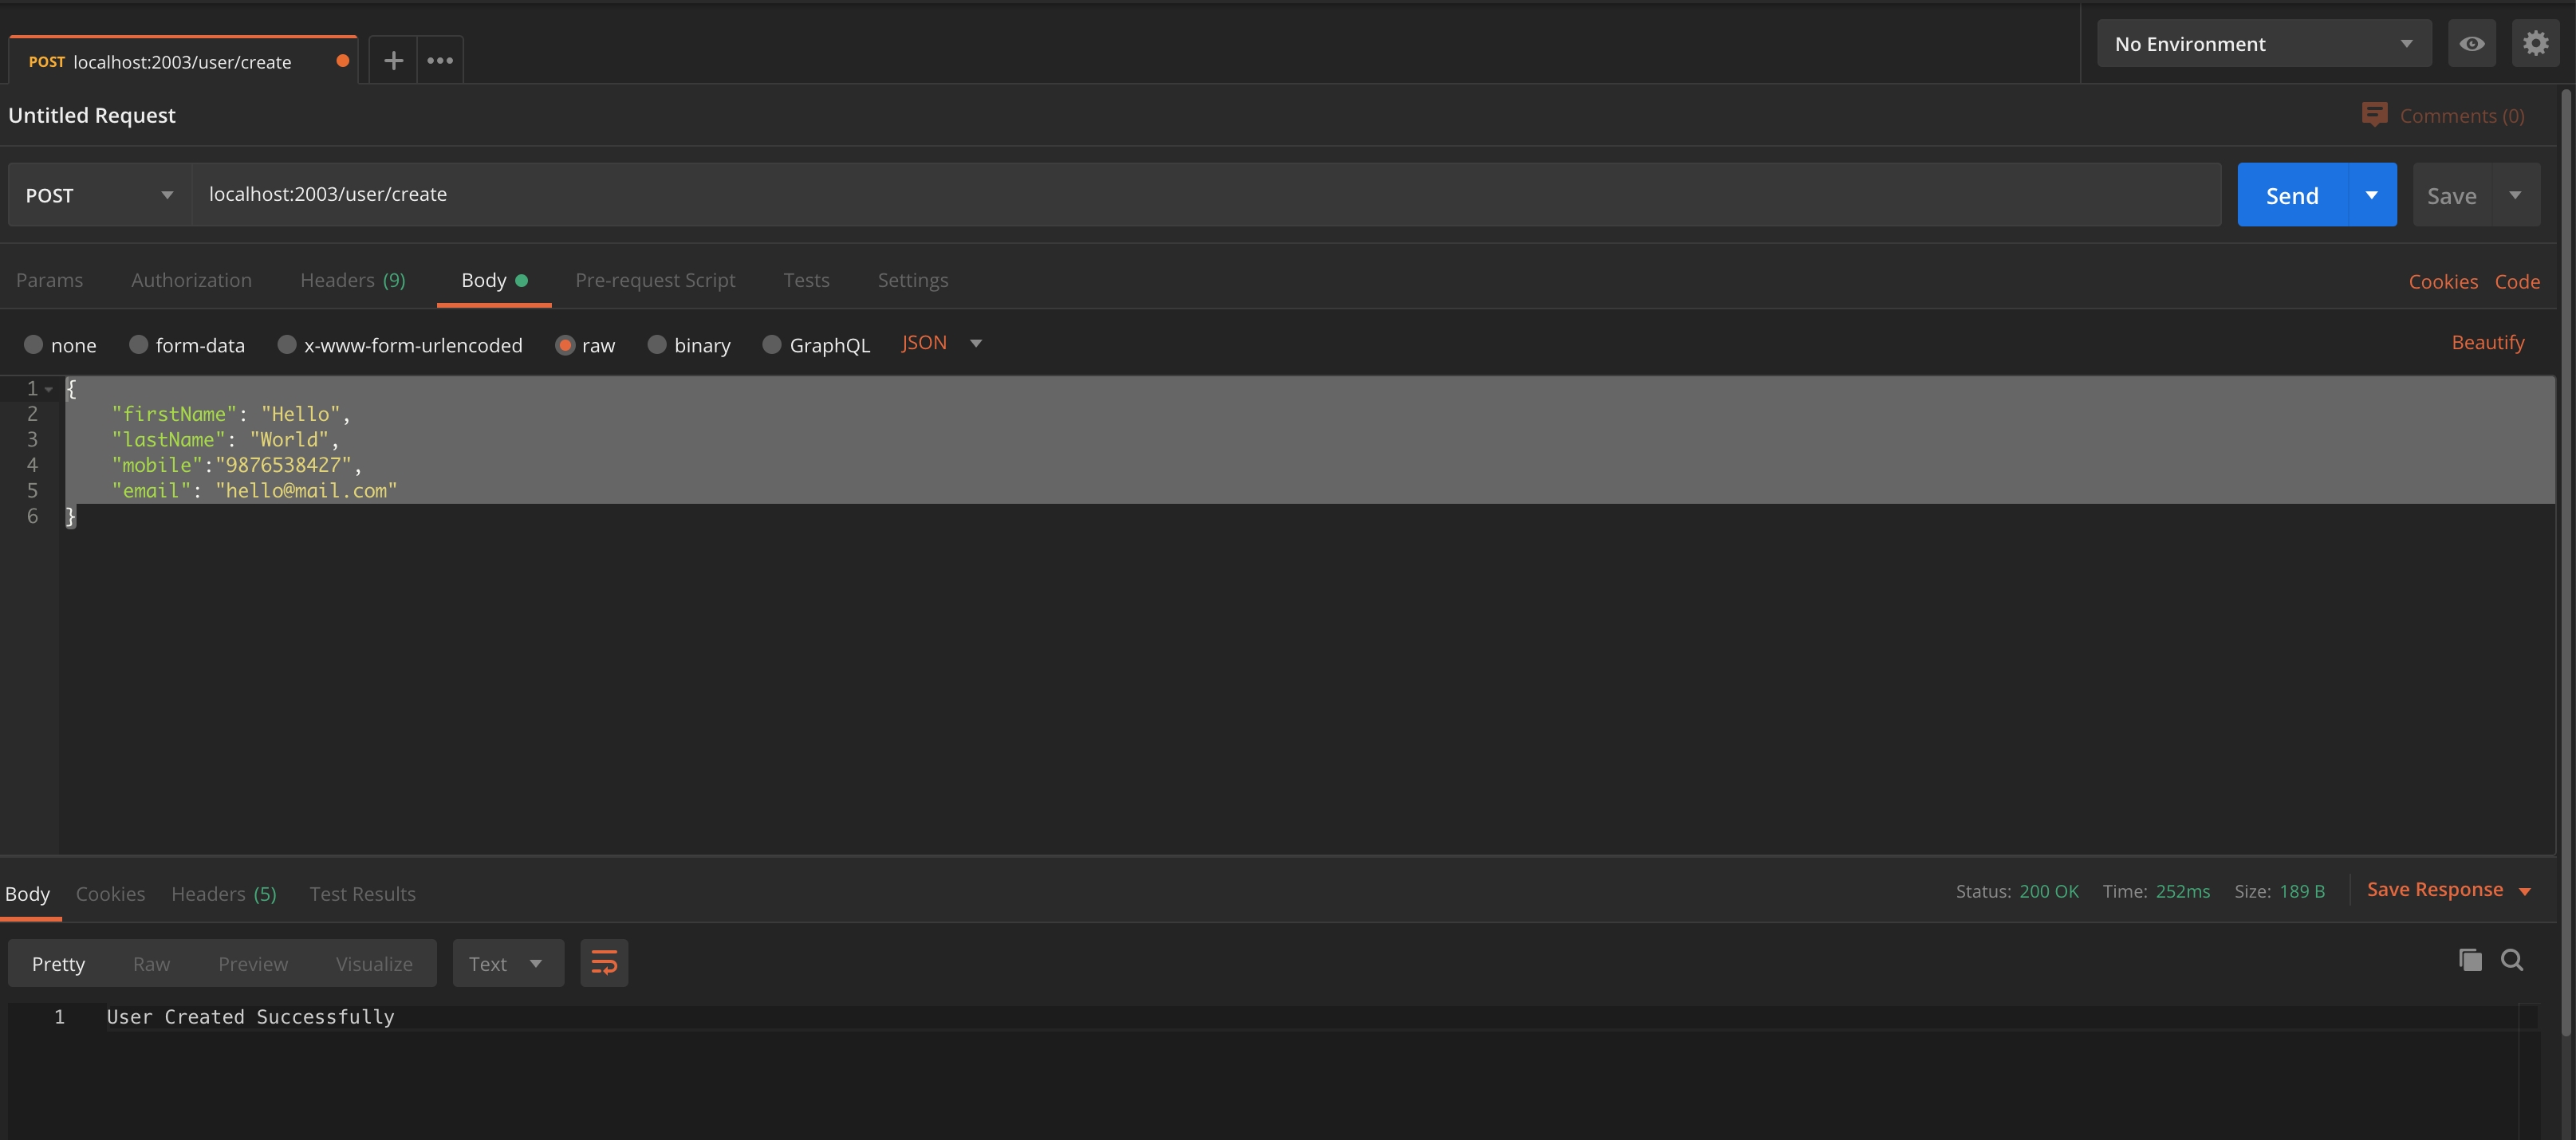
Now let's run the application. First, open Postman.
My JSON object creates an User.
xxxxxxxxxx
{
"firstName": "Hello",
"lastName": "World",
"mobile":"9876538427",
"email": "hello@mail.com"
}

Once you click send, you can see that the user is created in the database.
Please find the source code here.
You can find the video tutorials below.
Opinions expressed by DZone contributors are their own.

Comments