Testing Spike Control Policy in Mule 4
Let's test the Spike Control Policy in Mule 4.
Join the DZone community and get the full member experience.
Join For FreeThis article describes applying and testing the Spike Control Policy in Mule 4 by creating a sample API and proxy in Anypoint Platform.
Spike Control is a bit different then rate limiting because it works on the motive for the smooth flow of traffic rather than quota enforcement, which is the case with rate limiting.
Create an API and Proxy:
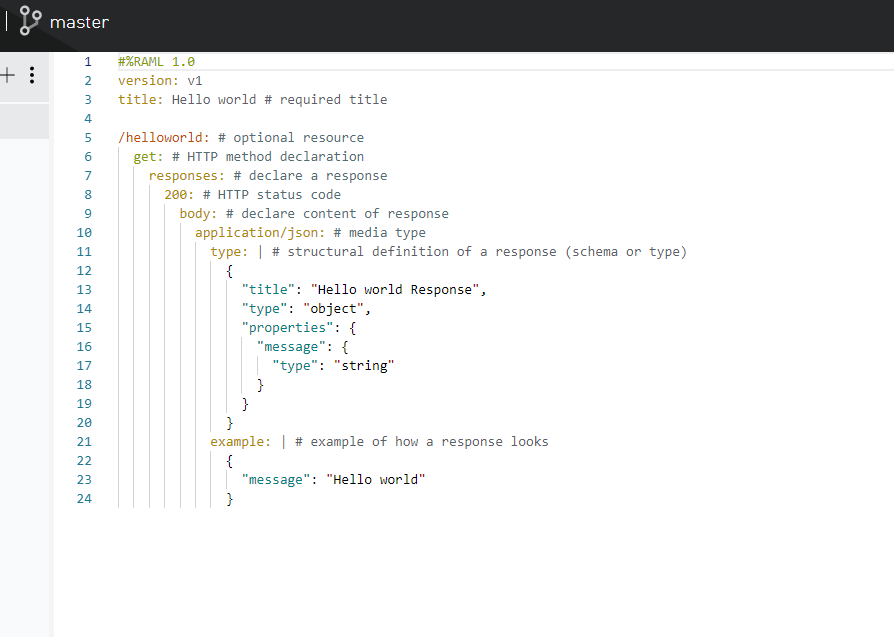
Step 1. Create a sample hello world API specification under design center. Below is a sample RAML file for the same.
Step 2. Publish it to exchange: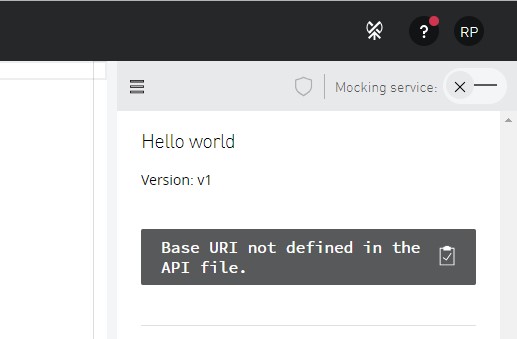

Test it by mocking the service to see if it's working properly or not. In case of any issues, check out the RAML and test the application in the design center.
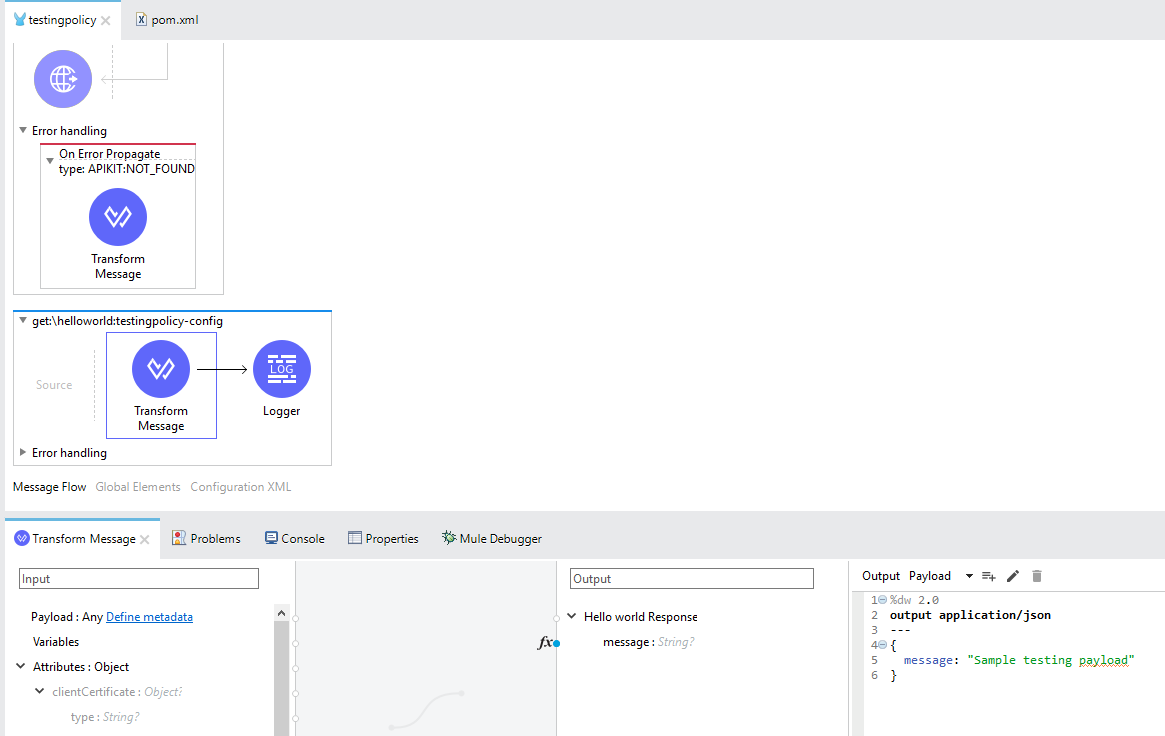
Step 3. Go to Anypoint Studio and import the newly created API from the design center and make the necessary changes as per your requirement. Below, I have added a logger in the flow and modified the payload message value.
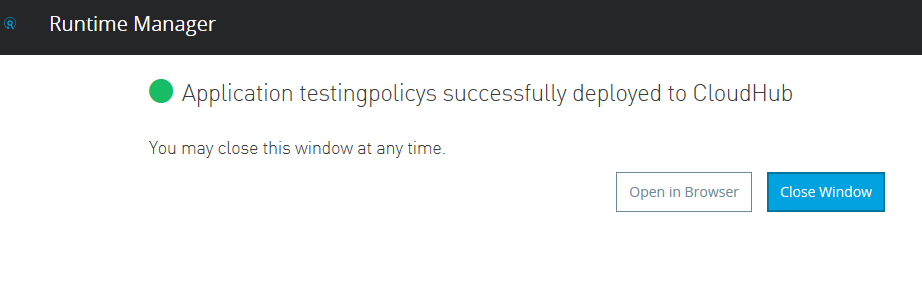
Step 4. Test it, save the changes, and deploy it to CloudHub
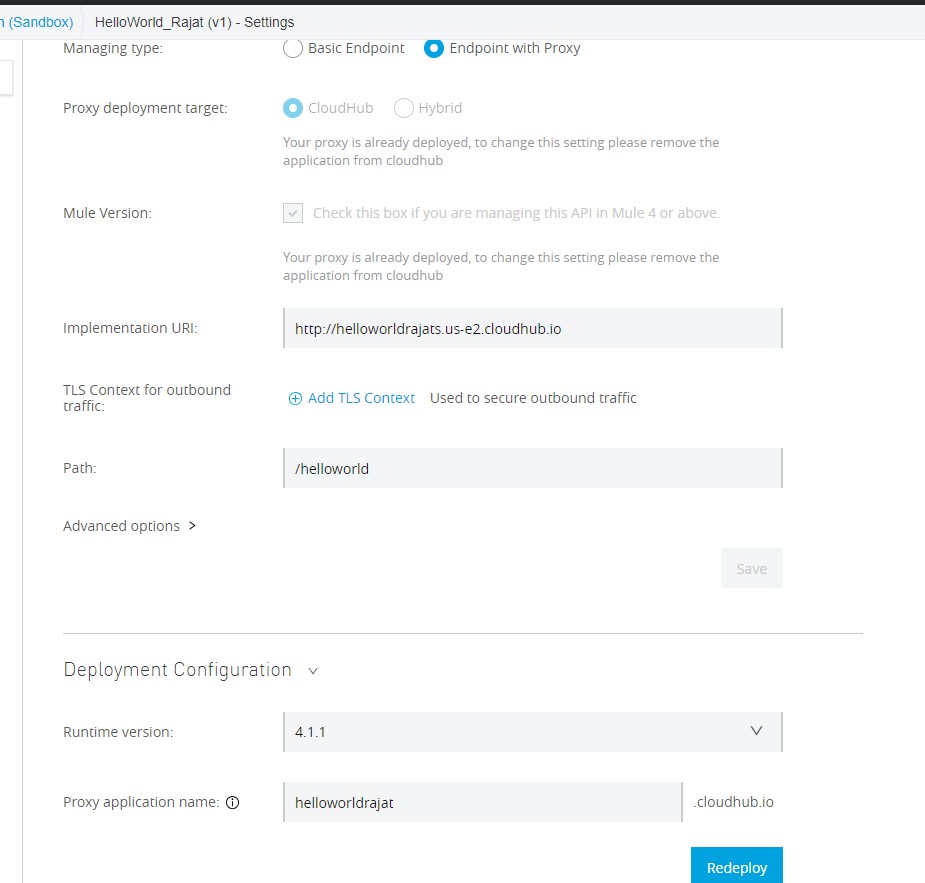
Step 5. Under the API manager, create an API proxy from the Manage API from Exchange option, and choose the API published earlier in the exchange. For the managing type, choose Endpoint with Proxy, and click on the checkbox if you are Managing the API for Mule 4 or above. Specify the implementation URL and save it.

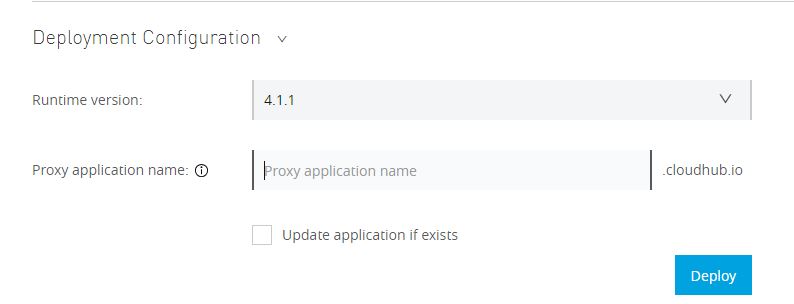
Step 6. Specify the Mule runtime version and give a name to your proxy and deploy it.
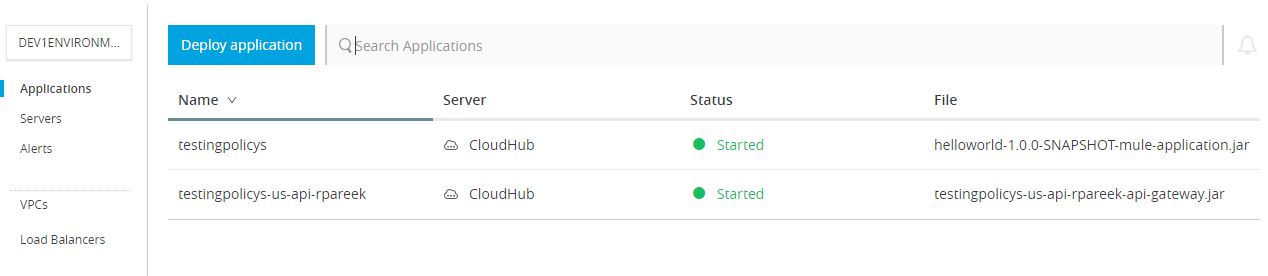
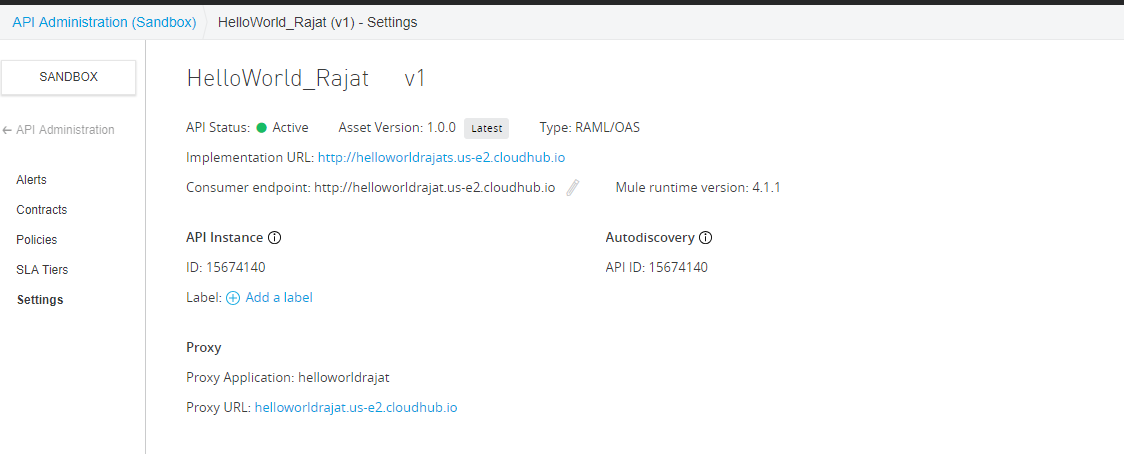
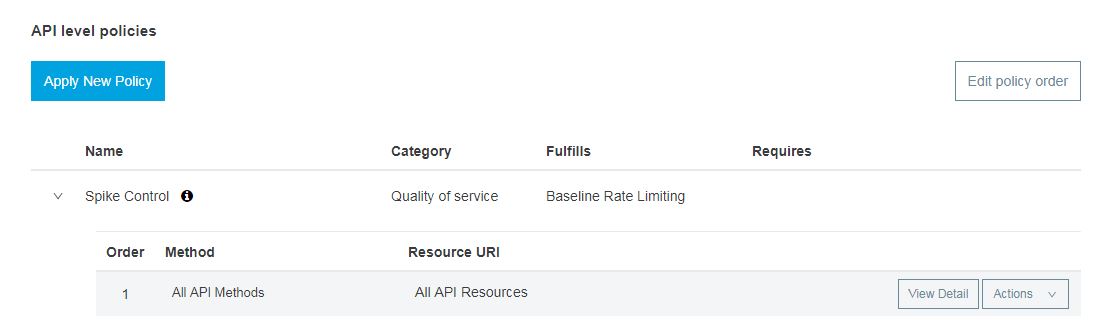
Step 7. After successfully deploying, wait for some time to get the policy in Active State, and then make sure to check the policy and API. Both of them should be in running in the state as below.
Copy the proxy URL and paste it in the consumer endpoint:
Step 8. Under API manager, choose the newly created proxy and click on Policies and then Apply new policy and choose Spike Control. Check the specific version you want and then configure the policy.
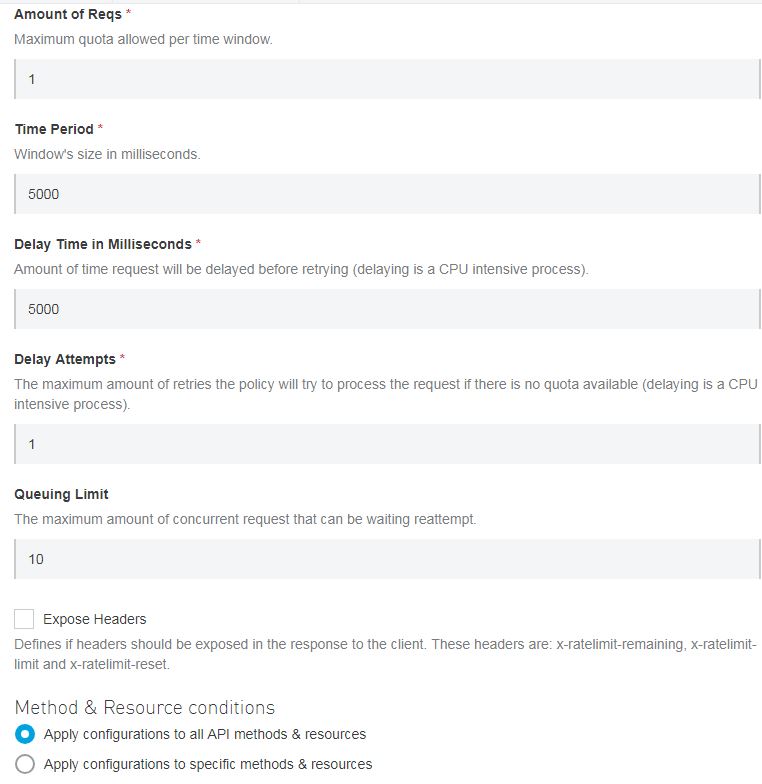
Spike Control provides a delay time feature that lets the API wait for some time before retrying within the specified time if the request quota is full. It also provides with the maximum number of retries a request will make if the quota is full.
For now, specify the values as shown below and apply it.
Please check on the below link to get more insight about the policy configuration details.
https://docs.mulesoft.com/api-manager/2.x/spike-control-reference
Here, we have applied the policy at the API level, so you can do the same by creating the policy under Automated Policies as the default for all your APIs.
Take the proxy URL and club with it the API URI and test it through Postman/SoapUI.
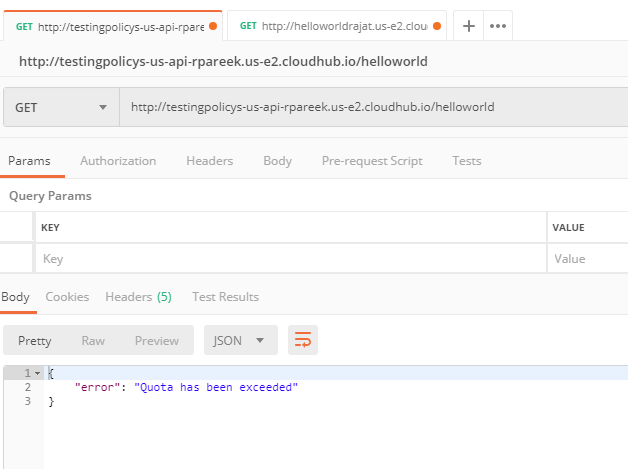
Scenario 1
Set the delay time to 500 ms in the policy and hit it multiple times to see the result. You might get a message as the quota has exceeded, so wait for some time until you hit it again, and you will get a successful response.
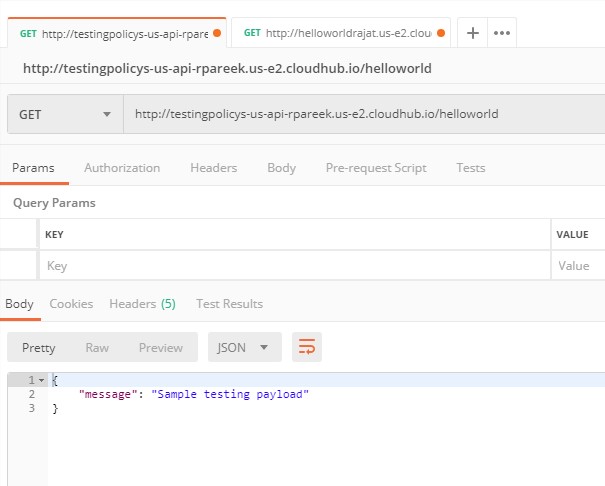
Scenario 2
Increase the delay time value to 5 sec and see the results even after hitting multiple times the request won't fail as the delay time is set to 5 sec and the earlier request gets processed by that time.
Try changing the other configuration values and see the results.
Spike Control Policy
Pros
Rate limiting excluded all the requests if the quota is exceeded, but in case of Spike Control, delay time and retries for delay is set, which reduces the number of failing requests even after the quota is exceeded. Hence the smooth flow of traffic.
Cons
In order to lessen the number of requests getting rejected under the Spike Control policy, the delay time needs to be increased, which allows smooth traffic flow. But it might also increase the overall response time of the request.
Opinions expressed by DZone contributors are their own.
Comments