Android Device Matching With Socket Programming
In this article, I'll introduce the concept of socket and focus on how to use socket programming for consists of 2 separate Android devices connecting each other.
Join the DZone community and get the full member experience.
Join For FreeIn this article, I would like to introduce the concept of socket and focus on how to use socket programming for consists of 2 separate Android devices connecting each other.
Let's first take a look at the concept of “socket”.
When we say socket, a piece of hardware comes alive in our computer cases. However, the socket is a structure that enables the computer to communicate with other computers over the network. But we need some addresses to make this happen. That address is calling as the IP address of our computer.
The IP address allows us to determine which computer to communicate with. When we reach the computer we will communicate with, we need to specify which program we will contact. Right here, the ports of our computer come into play.
This means; the two computers communicate with each other through to the IP address and Port. The structure we will call and talking about the Socket consists of the IP address and Port binary. In other words, the socket is not a piece of hardware that is in the mind of everyone; It is a structure consisting of IP address and Port numbers.
There are multiple sockets on our computers. There are different ports on our computer for each socket-based program.
As giving an example,
1) FTP Servers use and communicate on Port 21
2) TELNET Servers use and communicate on Port 23.
I will show consists of taking the numbers that the client transmits to the server by squaring the server and transmitting it to the client again. Well, if you ask what is Client and Server, let's explain these two terms as follows;
The client is a processor that requests service in socket programs. When it wants, it connects to the server and makes the request and gets the returning answer and can disconnect it whenever it wants.
Server, on the other hand, is the server serving in socket programs. When the client wants to connect to the server, the server is always on to connect, and the client needs to monitor the port to which it will connect.
We briefly explained the Socket, now we can proceed to Socket Programming section
I believe the best way of learning new techniques or concepts based on way to step by step tutorial. In that article, you need to have Java and Android programming basics.
So I will explain specific details and you can reach the repository and the source code of the app in my GitHub account in the below article.
Now, I aim to go through how to connect two android devices using socket communication, and later in the second part, we will see how to share files/data between two devices and make an application like Xender.
If you wonder Xender App, you can check it on that link ( http://web.xender.com/ )
I will present an example of an application. The application consists of taking 2 Android devices to connect.
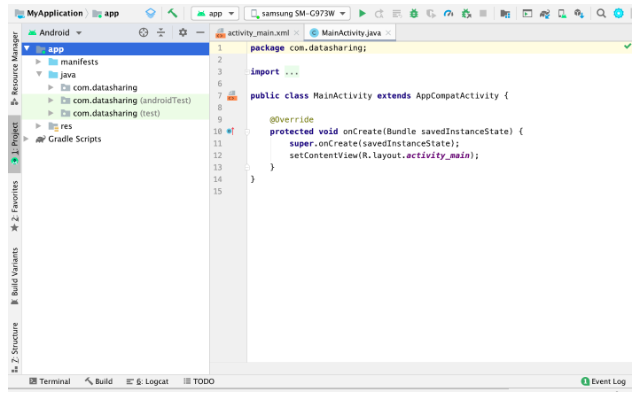
1) First, you need to Android Studio environment and create new Project selecting language as Java
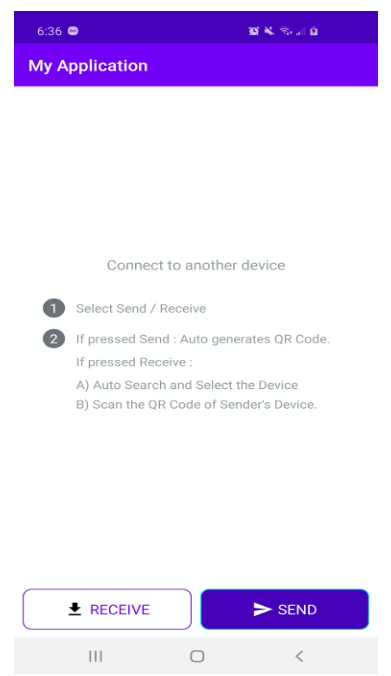
2) We will create two buttons one for sending and one for receiving the data like below
There are user guides on how to use it and 2 dummy buttons.
3) Location permission is required before starting hotspot service so that another device can see that device through wi-fi scanning
xxxxxxxxxx
/**
* Show Location dialog
*/
public void requestLocationPermissionDialog() {
new AlertDialog.Builder(mainActivity, R.style.Theme_AppCompat_Light_Dialog_Alert)
.setTitle(R.string.title_location_services)
.setCancelable(false)
.setMessage(R.string.message_location_services)
.setNegativeButton(R.string.action_cancel, (dialog, which) -> {
resetEverything("location cancel");
})
.setPositiveButton(R.string.action_enable, (dialogInterface, i) -> {
Intent intent = new Intent(Settings.ACTION_LOCATION_SOURCE_SETTINGS);
startActivityForResult(intent, ACTION_LOCATION_SOURCE_SETTINGS);
})
.show();
}
// Once location permission is enabled request for write setting permission as shown below
/**
* Request write setting permission
*/
public void requestWritePermission() {
AlertDialog.Builder builder = new AlertDialog.Builder(mainActivity, R.style.Theme_AppCompat_Light_Dialog_Alert);
builder.setCancelable(false);
builder.setTitle(mainActivity.getResources().getString(R.string.str_require_permission));
builder.setMessage(mainActivity.getResources().getString(R.string.str_enable_write));
builder.setPositiveButton("Yes", (dialog, which) -> {
Intent intent = new Intent(Settings.ACTION_MANAGE_WRITE_SETTINGS, Uri.parse("package:" + mainActivity.getPackageName()));
startActivityForResult(intent, PERMISSION_REQUEST_CODE_WRITE);
});
builder.setNegativeButton("No", (dialog, which) -> {
resetEverything("Write permission no button");
dialog.cancel();
});
builder.show();
}
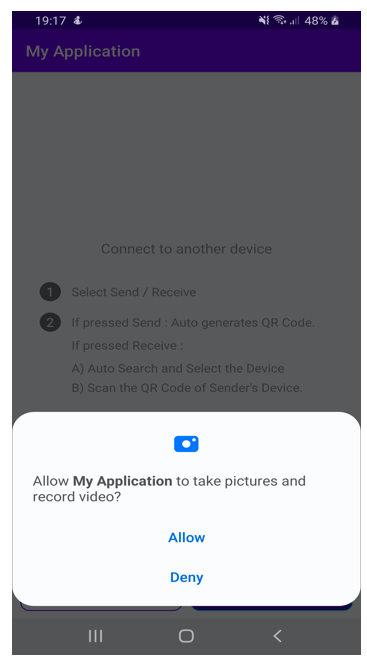
4) Here we have the permission confirmation screen

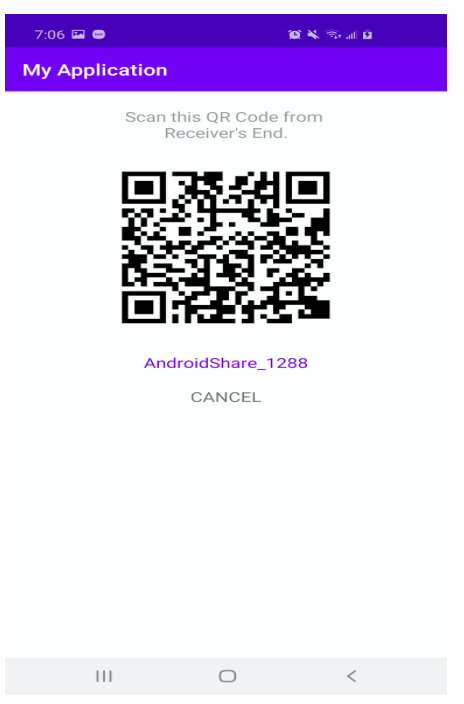
5) After the user clicks on the send button we will create a local hotspot and shows the password in QR code, so a user can scan to connect to another device.
Note that there are small changes between Below Oreo Devices and others
a) Below Oreo, devices need to create a hotspot using WifiConfiguration as below
xxxxxxxxxx
WifiConfiguration wifiConfig = (WifiConfiguration) m.invoke(mWifiManager, null);
wifiConfig.SSID = "AndroidShare_" + String.format("%04d",new Random().nextInt(10000));
Log.d("Generated SSID", wifiConfig.SSID);
b) For Oreo and above devices need to use startLocalOnlyHotspot as shown below
xxxxxxxxxx
WifiManager.startLocalOnlyHotspot(new WifiManager.LocalOnlyHotspotCallback() {
public void onStarted(WifiManager.LocalOnlyHotspotReservation reservation) {
mReservation = reservation;
retry = 0;
startForeground(11,
buildForegroundNotification());
JSONObject jsonObject = new JSONObject();
try {
jsonObject.put(JsonHelper.SSID, reservation.getWifiConfiguration().SSID);
jsonObject.put(JsonHelper.Password, reservation.getWifiConfiguration().preSharedKey);
generateQRCode(reservation.getWifiConfiguration().SSID, jsonObject.toString());
} catch (JSONException e) {
e.printStackTrace();
}
}
public void onFailed(int i) {
super.onFailed(i);
if (retry < 2) {
retry++;
oreoAndAboveDevicesSetupHotspot();
}
}
public void onStopped() {
super.onStopped();
}
}, null);
6) Now you can put SSID and Password in the JSON object and then generate QR code using string. One hotspot is active listen to incoming connection request on a fixed port using socket server like below
To generate a QR code QRGenerator library has been used and it is generated as shown below.
xxxxxxxxxx
QRGEncoder qrgEncoder = new QRGEncoder(preSharedKey, null, QRGContents.Type.TEXT, smallerDimension);
Then wait for incoming socket connect request using ServerSocket
ServerSocket server = new ServerSocket(6678);
Socket socket = server.accept();
Here is the result of a "server" device. And it is ready to connection :)
7) Now let's work on the receiver part.
To scan the QR code we need Camera permission, Location Permission and Wi-Fi should be on to scan nearby devices
xxxxxxxxxx
public ArrayList<String> checkAndRequestPermissions() {
if (Build.VERSION.SDK_INT <= 21) {
return new ArrayList<>();
}
int permissionCamera = ContextCompat.checkSelfPermission(
mainActivity,
Manifest.permission.ACCESS_FINE_LOCATION
);
int storage = ContextCompat.checkSelfPermission(mainActivity, Manifest.permission.WRITE_EXTERNAL_STORAGE);
int readStorage = ContextCompat.checkSelfPermission(mainActivity, Manifest.permission.READ_EXTERNAL_STORAGE);
int camera = ContextCompat.checkSelfPermission(mainActivity, Manifest.permission.CAMERA);
ArrayList<String> listPermissionsNeeded = new ArrayList<>();
if (storage != PackageManager.PERMISSION_GRANTED) {
listPermissionsNeeded.add(Manifest.permission.WRITE_EXTERNAL_STORAGE);
}
if (permissionCamera != PackageManager.PERMISSION_GRANTED) {
listPermissionsNeeded.add(Manifest.permission.ACCESS_FINE_LOCATION);
}
if (readStorage != PackageManager.PERMISSION_GRANTED) {
listPermissionsNeeded.add(Manifest.permission.READ_EXTERNAL_STORAGE);
}
if (isReceiver) {
if (camera != PackageManager.PERMISSION_GRANTED) {
listPermissionsNeeded.add(Manifest.permission.CAMERA);
}
}
return listPermissionsNeeded;
}
(Build.VERSION_CODES.M)
public void requestPermission(ArrayList<String> listPermissionsNeeded) {
String[] array = new String[listPermissionsNeeded.size()];
for (int i = 0; i < listPermissionsNeeded.size(); i++) {
array[i] = listPermissionsNeeded.get(i);
}
if (listPermissionsNeeded.size() > 0) {
if (ActivityCompat.shouldShowRequestPermissionRationale(
mainActivity,
Manifest.permission.READ_EXTERNAL_STORAGE
) || ActivityCompat.shouldShowRequestPermissionRationale(
mainActivity, Manifest.permission.WRITE_EXTERNAL_STORAGE
) || ActivityCompat.shouldShowRequestPermissionRationale(mainActivity, Manifest.permission.ACCESS_FINE_LOCATION) || ActivityCompat.shouldShowRequestPermissionRationale(mainActivity, Manifest.permission.CAMERA)
) {
prefs.edit().putBoolean(PreferenceHelper.PermissionAsked, true).apply();
requestPermissions(
array,
PERMISSION_REQUEST_CODE
);
} else {
if (isReceiver) {
if (prefs.getBoolean(PreferenceHelper.PermissionCameraAsked, false)) {
requestPermissionDialog();
} else {
prefs.edit().putBoolean(PreferenceHelper.PermissionCameraAsked, true).apply();
requestPermissions(
array,
PERMISSION_REQUEST_CODE
);
}
} else {
if (prefs.getBoolean(PreferenceHelper.PermissionAsked, false)) {
requestPermissionDialog();
} else {
prefs.edit().putBoolean(PreferenceHelper.PermissionAsked, true).apply();
requestPermissions(
array,
PERMISSION_REQUEST_CODE
);
}
}
}
}
}
8) After permission, it will start scanning the devices using WifiManager getScanResults() method
Pulsator4droid is used to show pulse effects while scanning. Use mWifiManager.startScan() to start scanning and mWifiManager.getScanResults() will give a list of nearby devices in callback once scanning is done.
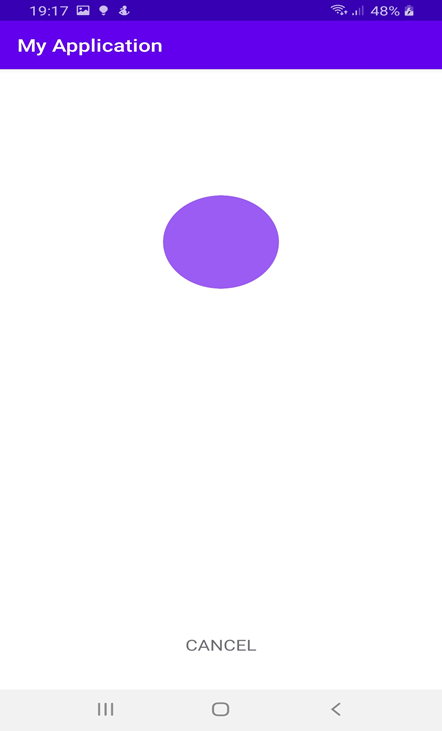
At below screenshot, is searching for new devices.
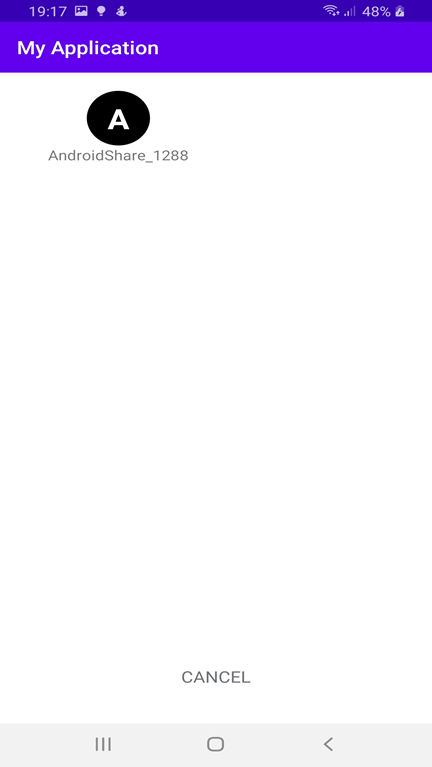
9) Once the device is detected it will show the device name as shown below. Tap on the device to connect and it will open the QR scan screen, add network using SSID and Password then connect to the socket using connected server IP and fixed port.
To scan the QRcode add QRCodeScanner dependency and start scanning add below line
xxxxxxxxxx
Intent i = new Intent(mainActivity, QrCodeActivity.class);
startActivityForResult(i, REQUEST_CODE_QR_SCAN);
After scanning get SSDI and Password to connect with it as shown below
xxxxxxxxxx
String result = data.getStringExtra("com.blikoon.qrcodescanner.got_qr_scan_relult");
try {
JSONObject jsonObject = new JSONObject(result);
String SSID = jsonObject.getString(JsonHelper.SSID);
String Password = jsonObject.getString(JsonHelper.Password);
if (selectedItem.equals(SSID)) {
boolean isConnected = hotutil.connectToHotspot(SSID, Password);
if (isConnected)
bindNetworkProcess();
} catch (JSONException e) {
e.printStackTrace();
}
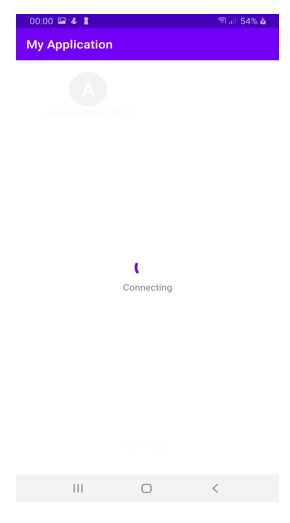
10) After taping on the device it will show connecting status as shown below
Once a device is connected to a hotspot, connect to a socket to send data to another device
xxxxxxxxxx
Socket s = new Socket();
s.setKeepAlive(true);
s.setSoLinger(true, 1000);
SocketAddress remoteAddress = new InetSocketAddress(getServerHost(), getServerPort());
s.connect(remoteAddress);
11) Once the device is connected to a display device name send device model name from both the devices and on socket data received to display the device name
xxxxxxxxxx
JSONObject jsonObject = new JSONObject();
jsonObject.put(JsonHelper.connected, true);
jsonObject.put(JsonHelper.DeviceName, android.os.Build.MODEL);
TCPCommunicator.writeToSocket(jsonObject.toString() + "\n", new Handler());
Now we connected to the device

12) If you wish to disconnect from device send connection status false and close the server as shown below
xxxxxxxxxx
JSONObject jsonObject = new JSONObject();
jsonObject.put(JsonHelper.connected, false);
server.close();
As a result of steps, we see how to do consists of taking 2 Android devices to connect together.
Next article I would like to show how to send data between two devices.
Credits
Source Code: https://github.com/omeryilmaz86/AndroidDataSharing.git
Opinions expressed by DZone contributors are their own.
Comments