Angular Image Gallery With Bootstrap
Create a quick Flickr image gallery from scratch with images of varying dimensions using Angular and Bootstrap.
Join the DZone community and get the full member experience.
Join For FreeRecently I was presented with a challenge to quickly build an image gallery. The key requirements for the exercise were to use Angular 8 and Bootstrap 4. In this article, I have explained how we can achieve this with minimum time, effort, and resources. Since this is a practical use case in many applications, I hope it will help developers trying to build a similar feature.
Note that for this tutorial, I have used Visual Studio Code on a Windows machine. However, you can follow along with any environment and IDE that support Angular application development.
Selecting the Image Source
For this tutorial, let's use a public image feed from Flickr.
This API provides images with associated information about the uploader, date of upload, and more that we can use to build our application.
Creating the Angular Project
Open your command prompt and navigate to the directory where you want to create the project and issue the ng new command.
Here I have created a new Angular project with the name image-gallery. You can name your project according to your liking. Select "No" for adding Angular routing and CSS as the stylesheet format and hit enter to create the project.

Clean Up And Initial Set-Up
Once the project is created, open it in your favorite IDE. On the integrated terminal window, issue the ng serve command to verify that the project builds fine and runs without any issues. By default, Angular runs the application at http://localhost:4200/.
At this point, if you open the application using the localhost URL you will see the contents of app.component.html on the page. This content is a boilerplate template injected by Angular. Go ahead and delete everything from this file.
We will display the application name using the title property of app.component.ts. Change the title to display a suitable name for your application.
import { Component } from '@angular/core';
@Component({
selector: 'app-root',
templateUrl: './app.component.html',
styleUrls: ['./app.component.css']
})
export class AppComponent {
title = 'flickr image-gallery';
}
Now in the app.component.html display this title inside H1 using string interpolation.
<h1>{{title}}</h1>
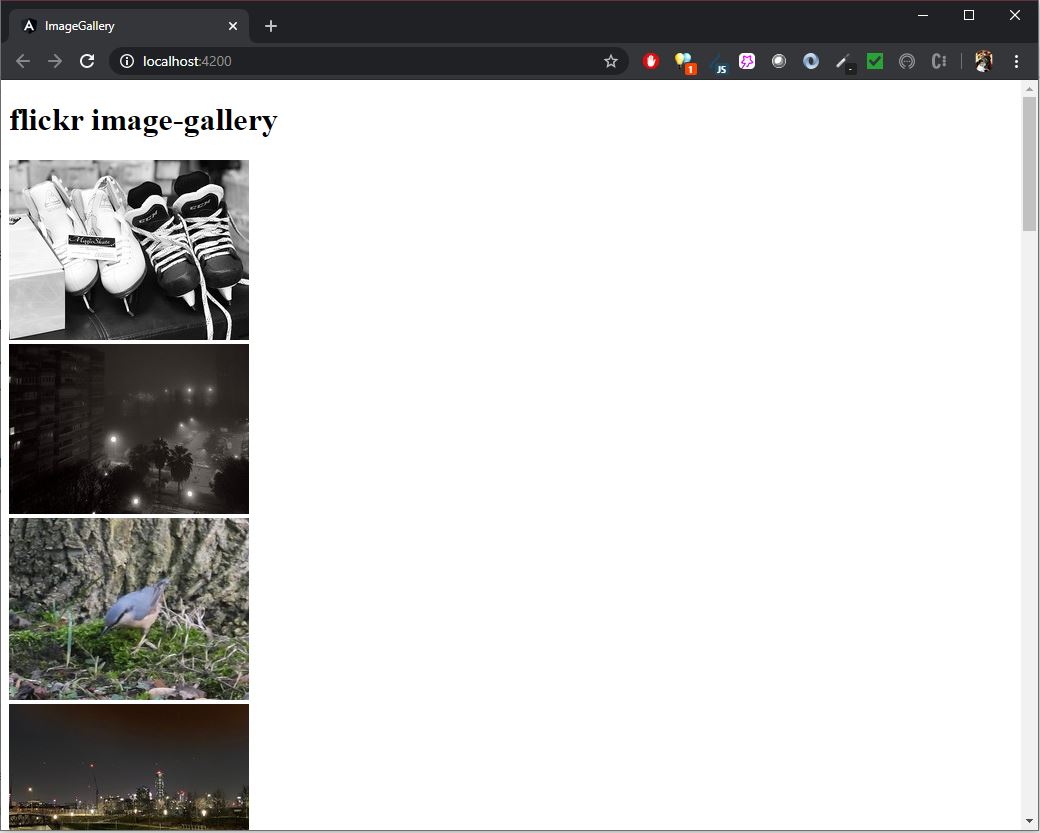
At this point you should see this in your browser.

We will improve this by adding necessary services and components.
Creating the Flickr service
In order to call the Flickr API and get the images, we would need a service. We can instruct the Angular CLI to create a service for us by issuing the ng generate service flickr command in the terminal.
Now let us spend some time analyzing the raw response from the Flickr API. We can see the raw response simply by issuing a get request in the browser.

Notice that the response is wrapped inside jsonFlickrFeed. However, we need a plain JSON to work with. We can get a JSON response using an additional query string parameter nojsoncallback=1.

We also need to think about a way to de-serialize the complex JSON response to a suitable typescript type. This will make it easier to work with the response. We will also get typescript IntelliSense while writing binding expressions to display the images and associated information.
Let us add a models folder under the app folder to hold the interfaces that we would use for deserializing the JSON response. For the complex subtypes, we will add separate interfaces.
xxxxxxxxxx
export interface MediaUrl {
m: string;
}
xxxxxxxxxx
import { MediaUrl } from './MediaUrl';
export interface Item {
title: string;
link: string;
media: MediaUrl;
date_taken: Date;
description: string;
published: Date;
author: string;
author_id: string;
tags: string;
}
xxxxxxxxxx
import { Item } from './Item';
export interface FlickerResponse {
title: string;
link: string;
description: string;
modified: Date;
generator: string;
items: Item[];
}
Notice how the FlickerResponse interface is defined. Apart from having simple properties, it also includes property items of type Item array. The item itself is an interface with its own properties. You can follow this approach for de-serializing complex API responses.
Let us now move on to implement the service. This is actually simple. We will make use of Angular's HttpClientModule to issue a get request to the API.
xxxxxxxxxx
import { Injectable } from '@angular/core';
import { Observable } from 'rxjs';
import { FlickerResponse } from './models/flickerresponse';
import { HttpClient } from '@angular/common/http';
@Injectable({
providedIn: 'root'
})
export class FlickrService {
flickerUrl = 'https://api.flickr.com/services/feeds/photos_public.gne?format=json&nojsoncallback=1';
constructor(private http: HttpClient) { }
getPhotos(): Observable<FlickerResponse> {
return this.http.get<FlickerResponse>(this.flickerUrl);
}
}
Notice how we have returned an Observable of type FlickerResponse from the service method getPhotos .
We have done a lot of hard work to come to this stage. Now it's time to see some results.
Building the Image Gallery
To display the images, let us create a new component. Head over to the terminal and issue the generate component command ng generate component photo-gallery .
We need to add this component to the app component as we would be rendering all the images there.

It's now time to make use of the FlickrService in our photo-gallery component.
xxxxxxxxxx
import { Component, OnInit } from '@angular/core';
import { FlickerResponse } from '../models/flickerresponse';
import { FlickrService } from '../flickr.service';
@Component({
selector: 'app-photo-gallery',
templateUrl: './photo-gallery.component.html',
styleUrls: ['./photo-gallery.component.css']
})
export class PhotoGalleryComponent implements OnInit {
flickerResponse: FlickerResponse;
constructor(private flickrService: FlickrService) { }
ngOnInit() {
this.flickrService.getPhotos().subscribe( response => {
this.flickerResponse = response;
}, error => {
console.log(error);
});
}
}
Let us understand what we have done. We have used dependency injection to inject an instance of FlickrService to the photo-gallery component. We have exposed a private property flickrService using which getPhotos method of the service has been called. Finally, we are storing the response on a property flickerRespone.
Now that we have the actual response from the service, let's display something on the photo-gallery. We will make use of the flickerResponse property to iterate over the items array and display the images.
xxxxxxxxxx
<div *ngFor="let item of flickerResponse?.items">
<img [src]="item.media.m" [alt]="item.title">
</div>
With this, we should see the photos. Instead, we see a blank page with only the title. Let's see what information we can get from the console log.

It appears that the response is being blocked by the browser as it doesn't see a header element Access-Control-Allow-Origin in the response. This is the default behavior of most of the browsers. For security reasons, browsers block resource sharing between two different domains. Here, since our application is running on localhost and we are requesting data from api.flickr.com, chrome has blocked the response. This is a typical example of a CORS error.
So how can we resolve it?
If we have control over the API resource we can simply add the header Access-Control-Allow-Origin with target domains that we want to white-list or * to white-list requests from any origin.
In this case, however, since we don't have control over the API code, we need to enable CORS manually in the browser. Now, this is a security risk and should be disabled as soon as we are done with the testing.
Doing this manually can be tricky. Luckily, there is a Chrome extension that allows us to enable or disable CORS with a single click. You can download the extension from the chrome web store.
Now that we have dealt with the CORS issue, can we see something on the screen?

Well, we see images, but we are not quite there yet. In the next section let's add BootStrap and make the gallery look like a gallery.
Styling the Gallery
In the terminal window use command npm install bootstrap --save to install Bootstrap to our application.
After installation, open styles.css file from the solution explorer and import Bootstrap as our global styles provider.
xxxxxxxxxx
/* You can add global styles to this file, and also import other style files */
@import '../node_modules/bootstrap/dist/css/bootstrap.min.css';
With this, we are pretty much set to bring in some CSS magic and beautify our application.
Let us change app.component.html as below.
xxxxxxxxxx
<div class="container">
<h1 style="text-align: center;">
Welcome to {{title}}
</h1>
<br>
<app-photo-gallery></app-photo-gallery>
</div>
Similarly, add the below to photo-gallery.component.html.
xxxxxxxxxx
<div class="card-columns">
<div class="card" *ngFor="let item of flickerResponse?.items">
<img class="card-img-top" [src]="item.media.m" [alt]="item.title" />
<div class="card-body">
<h5 class="card-title">{{ item.title }}</h5>
<p class="card-text">
Uploaded by {{ item.author_id }} on
{{ item.published | date: "medium" }}
</p>
<p class="card-text">{{ item.title }}</p>
<hr>
<p class="card-text">
<small class="text-muted">{{ item.tags }}</small>
</p>
</div>
</div>
</div>
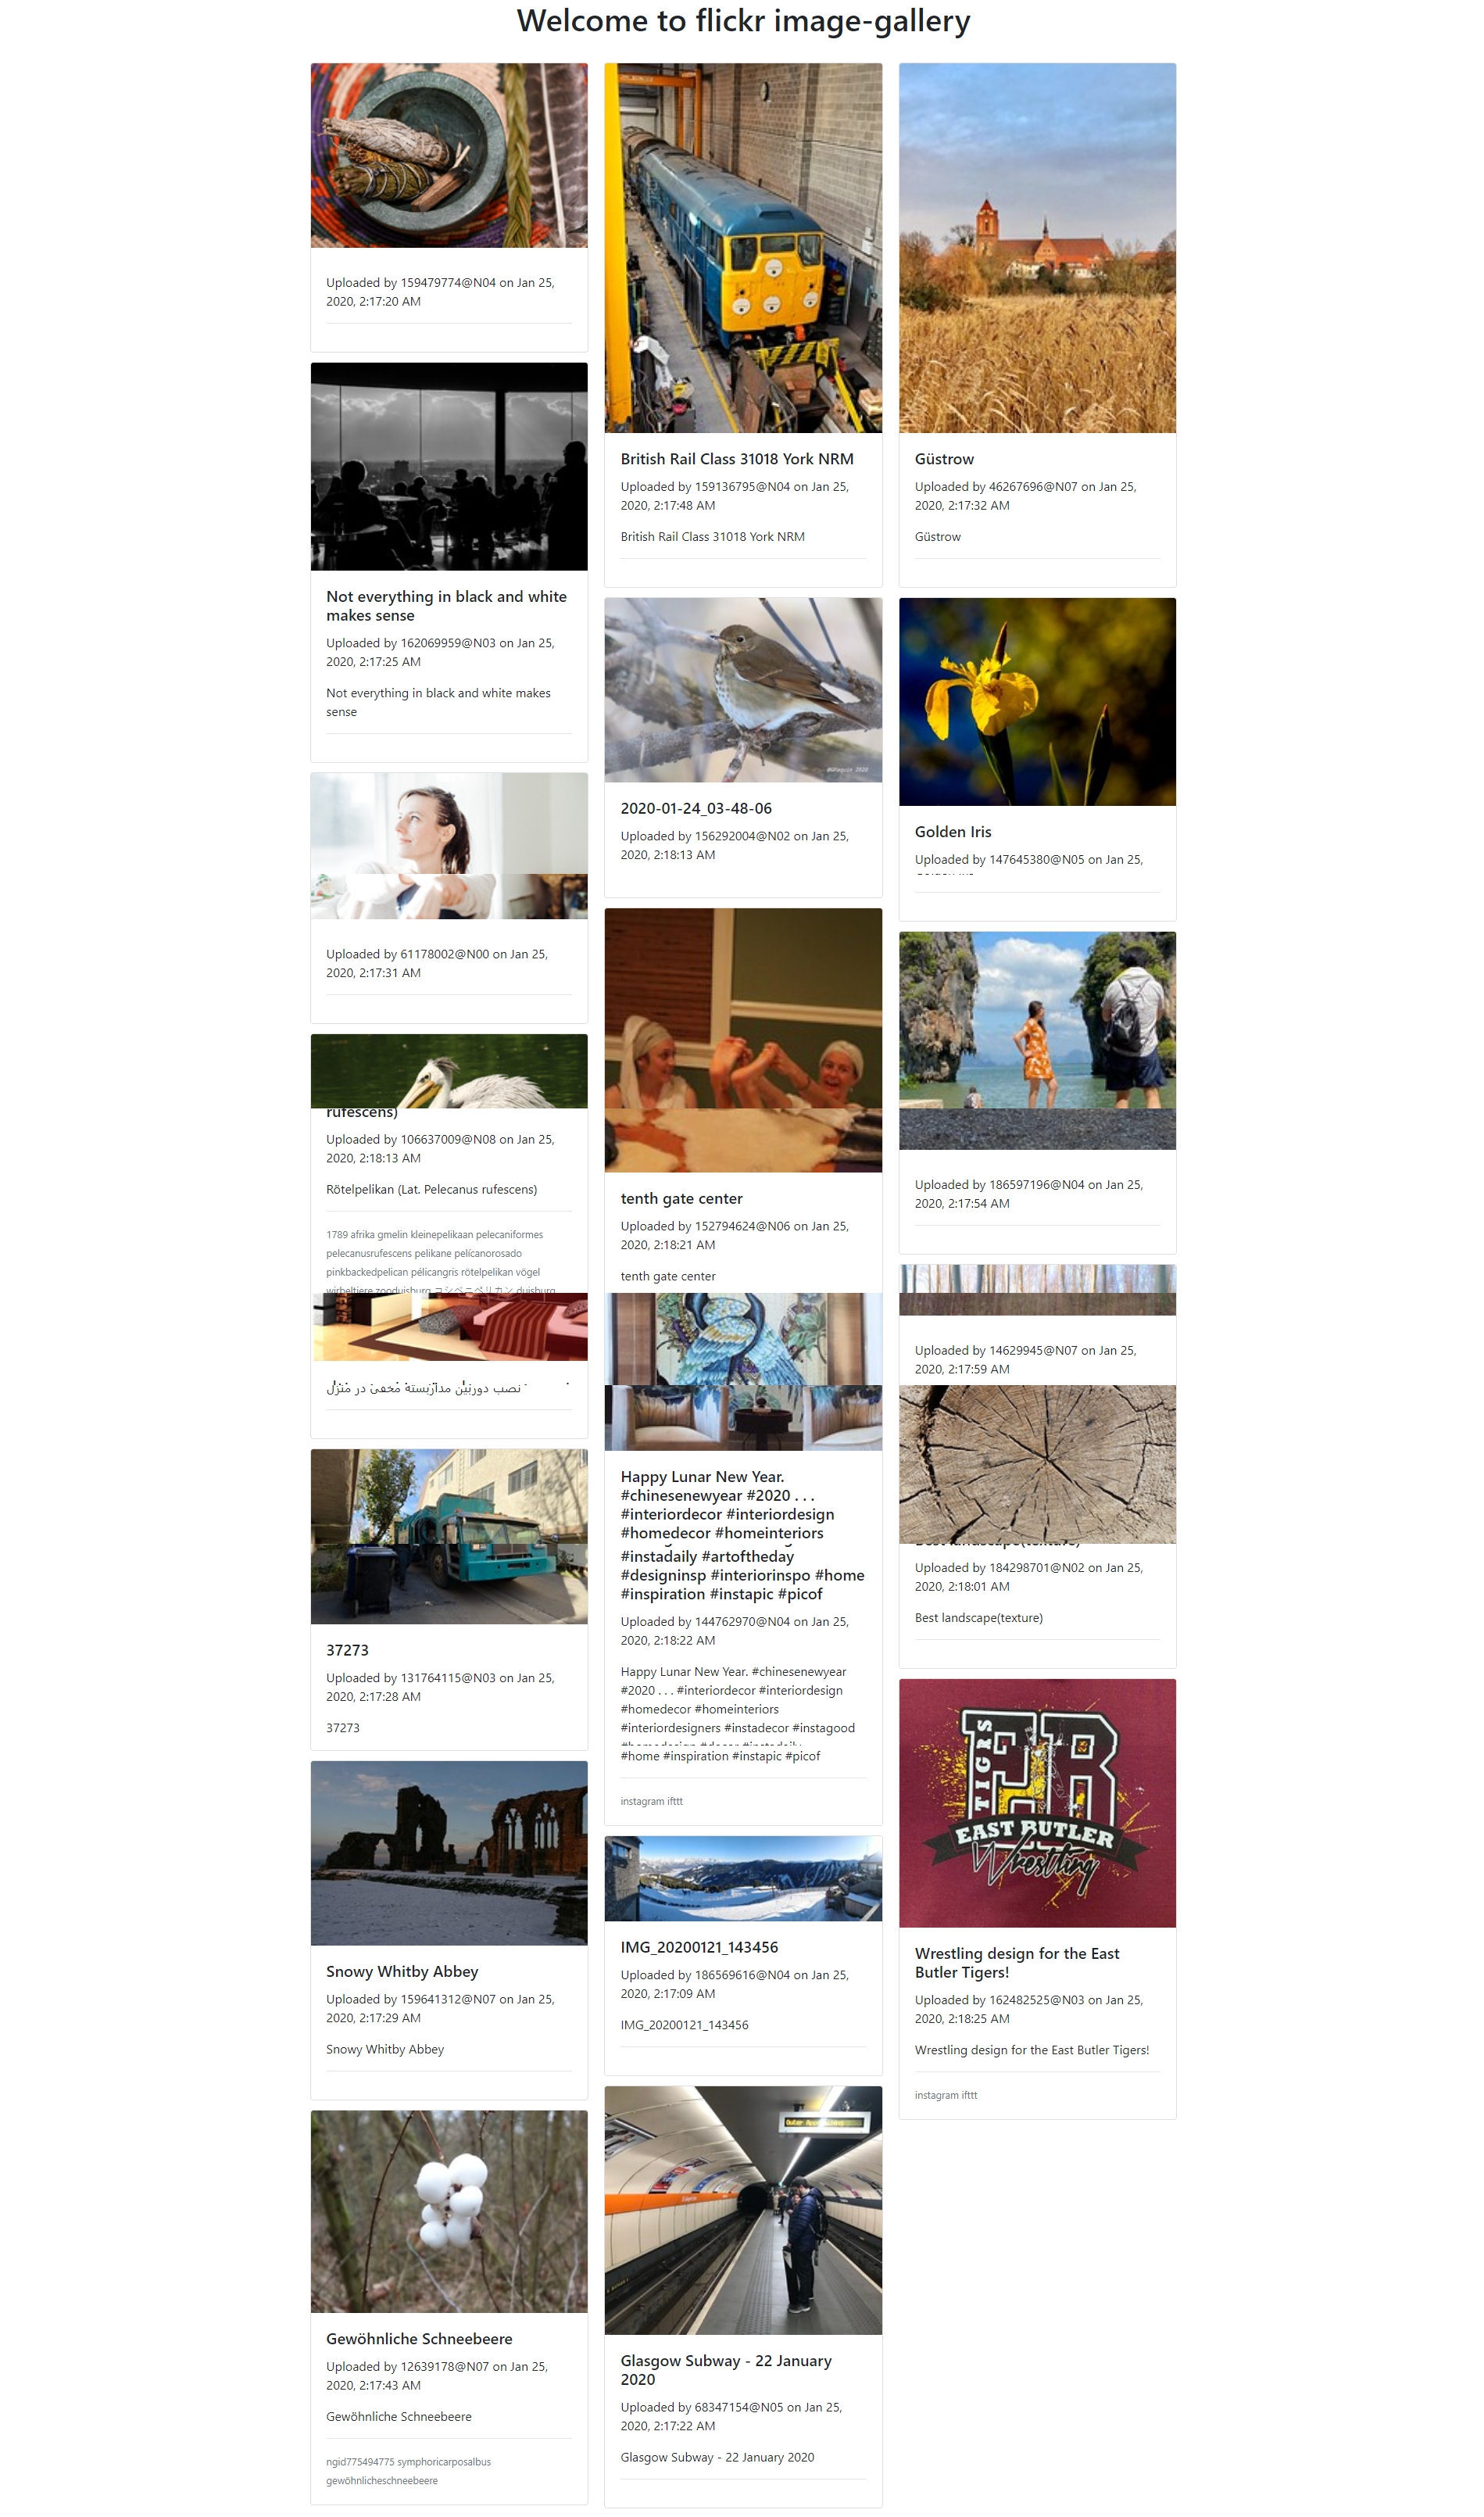
With that let us see if our gallery looks presentable.

As you can see now we have a beautiful mosaic layout with image cards. This type of presentation is called a Masonry column layout and is suitable when we have variable image dimensions.
I hope this article would help you implement similar functionality in your applications. You can download source code from Github.
In the upcoming article we will take it to the next level by adding an infinite scroll feature by loading new images as the user scrolls down the page.
Further Reading
Opinions expressed by DZone contributors are their own.

Comments