Automate Serverless Deployments With Ansible and OCI
In this article, learn to automate serverless deployments with Ansible and OCI Functions to simplify workflows, scale apps, and reduce operational complexities.
Join the DZone community and get the full member experience.
Join For FreeServerless computing has become a key part of modern applications, allowing for flexible scaling, lower costs, and event-based workflows. Oracle Cloud Infrastructure (OCI) Functions is a fully managed platform that lets the user run functions on demand. It supports multiple users, scales easily, and provides serverless computing. Ansible is a powerful automation tool that makes it easier to deploy OCI Functions. It works without needing agents and uses a straightforward, declarative approach.
OCI Functions
OCI Functions is Oracle’s Function-as-a-Service (FaaS) offering, based on the open-source Fn Project. Key features of OCI Functions include:
- Event-driven architecture: Functions can be triggered by various OCI services or HTTP requests.
- Multi-language support: Compatible with Python, Java, Node.js, and more.
- Containerized execution: Functions are deployed as Docker containers.
- Seamless integration: Works natively with OCI services like Object Storage, API Gateway, and Events.
The following are the prerequisites:
- OCI account: Oracle Cloud account with required permissions.
- Ansible installation: Ansible installed on the deployment machine.
- OCI CLI configuration: Configure the OCI CLI with authentication credentials (
~/.oci/config). Sample config:YAML[DEFAULT] user=<USER ID> fingerprint= key_file=</path/to/key.pem> tenancy=<TENANCY> region=<REGION> - OCI Ansible modules: Install the OCI Ansible Collection (
ansible-galaxy collection install oracle.oci)
Example Script and Demonstration
Let's take a closer look at the following sample scripts. The script below creates an OCI Function application resource using the oci_functions_application module. This module lets us manage application resources in OCI by creating, updating, or deleting them. To use it, you'll need to provide the compartment OCID, a display name, and the subnet IDs as required parameters.
---
- name: Create OCI Function Application
  collections:
    - oracle.oci
  hosts: localhost
  any_errors_fatal: true
  gather_facts: no
  environment:
    OCI_CONFIG_PROFILE: "<OCI PROFILE>"
    OCI_REGION: "eu-frankfurt-1"
  tasks:
     - name: Create application
       oci_functions_application:
          compartment_id: "<COMPARTMENT ID>"
          auth_type: "security_token"
          display_name: demo-app
          subnet_ids: [ "<SUBNET OCID>" ]
       register: results

     - name: Dump output details
       debug:
        msg: "{{ results }}"
The script below is used to create a function in OCI with the oci_functions_function module. This module allows the user to create, update, and delete function resources in OCI. To create a function, we need to provide four required parameters: display_name, application_id, image, and memory_in_mbs.
---
- name: Create Oracle OCI functions
  collections:
    - oracle.oci
  hosts: localhost
  any_errors_fatal: true
  gather_facts: no
  vars_files:
    - vars.yml
  environment:
    OCI_CONFIG_PROFILE: "<OCI PROFILE>"
    OCI_REGION: "eu-frankfurt-1"
  tasks:

    - name: Create function-demo
      oci_functions_function:
         display_name: function-demo
         auth_type: "security_token"
         application_id: "<APPLICATION OCID>"
         image: "fra.ocir.io/<NAESPACE>/hello-python:0.0.5"
         memory_in_mbs: 256
      register: results

    - name: Dump output details
      debug:
        msg: "{{ results }}"
The script below demonstrates how to update an existing function using the oci_functions_function module. To perform an update, we need to provide the required function_id parameter. In this example, the image parameter is also included to highlight the changes in the console and the output.
---
- name: Update Oracle OCI functions
  collections:
    - oracle.oci
  hosts: localhost
  any_errors_fatal: true
  gather_facts: no
  vars_files:
    - vars.yml
  environment:
    OCI_CONFIG_PROFILE: "<OCI PROFILE>"
    OCI_REGION: "eu-frankfurt-1"
  tasks:

    - name: Update function-demo
      oci_functions_function:
         function_id: "<FUNCTION OCID>"
         auth_type: "security_token"
         image: "fra.ocir.io/<NAMESPACE>/hello-python:0.0.6"
      register: results

    - name: Dump output details
      debug:
        msg: "{{ results }}"
Demo
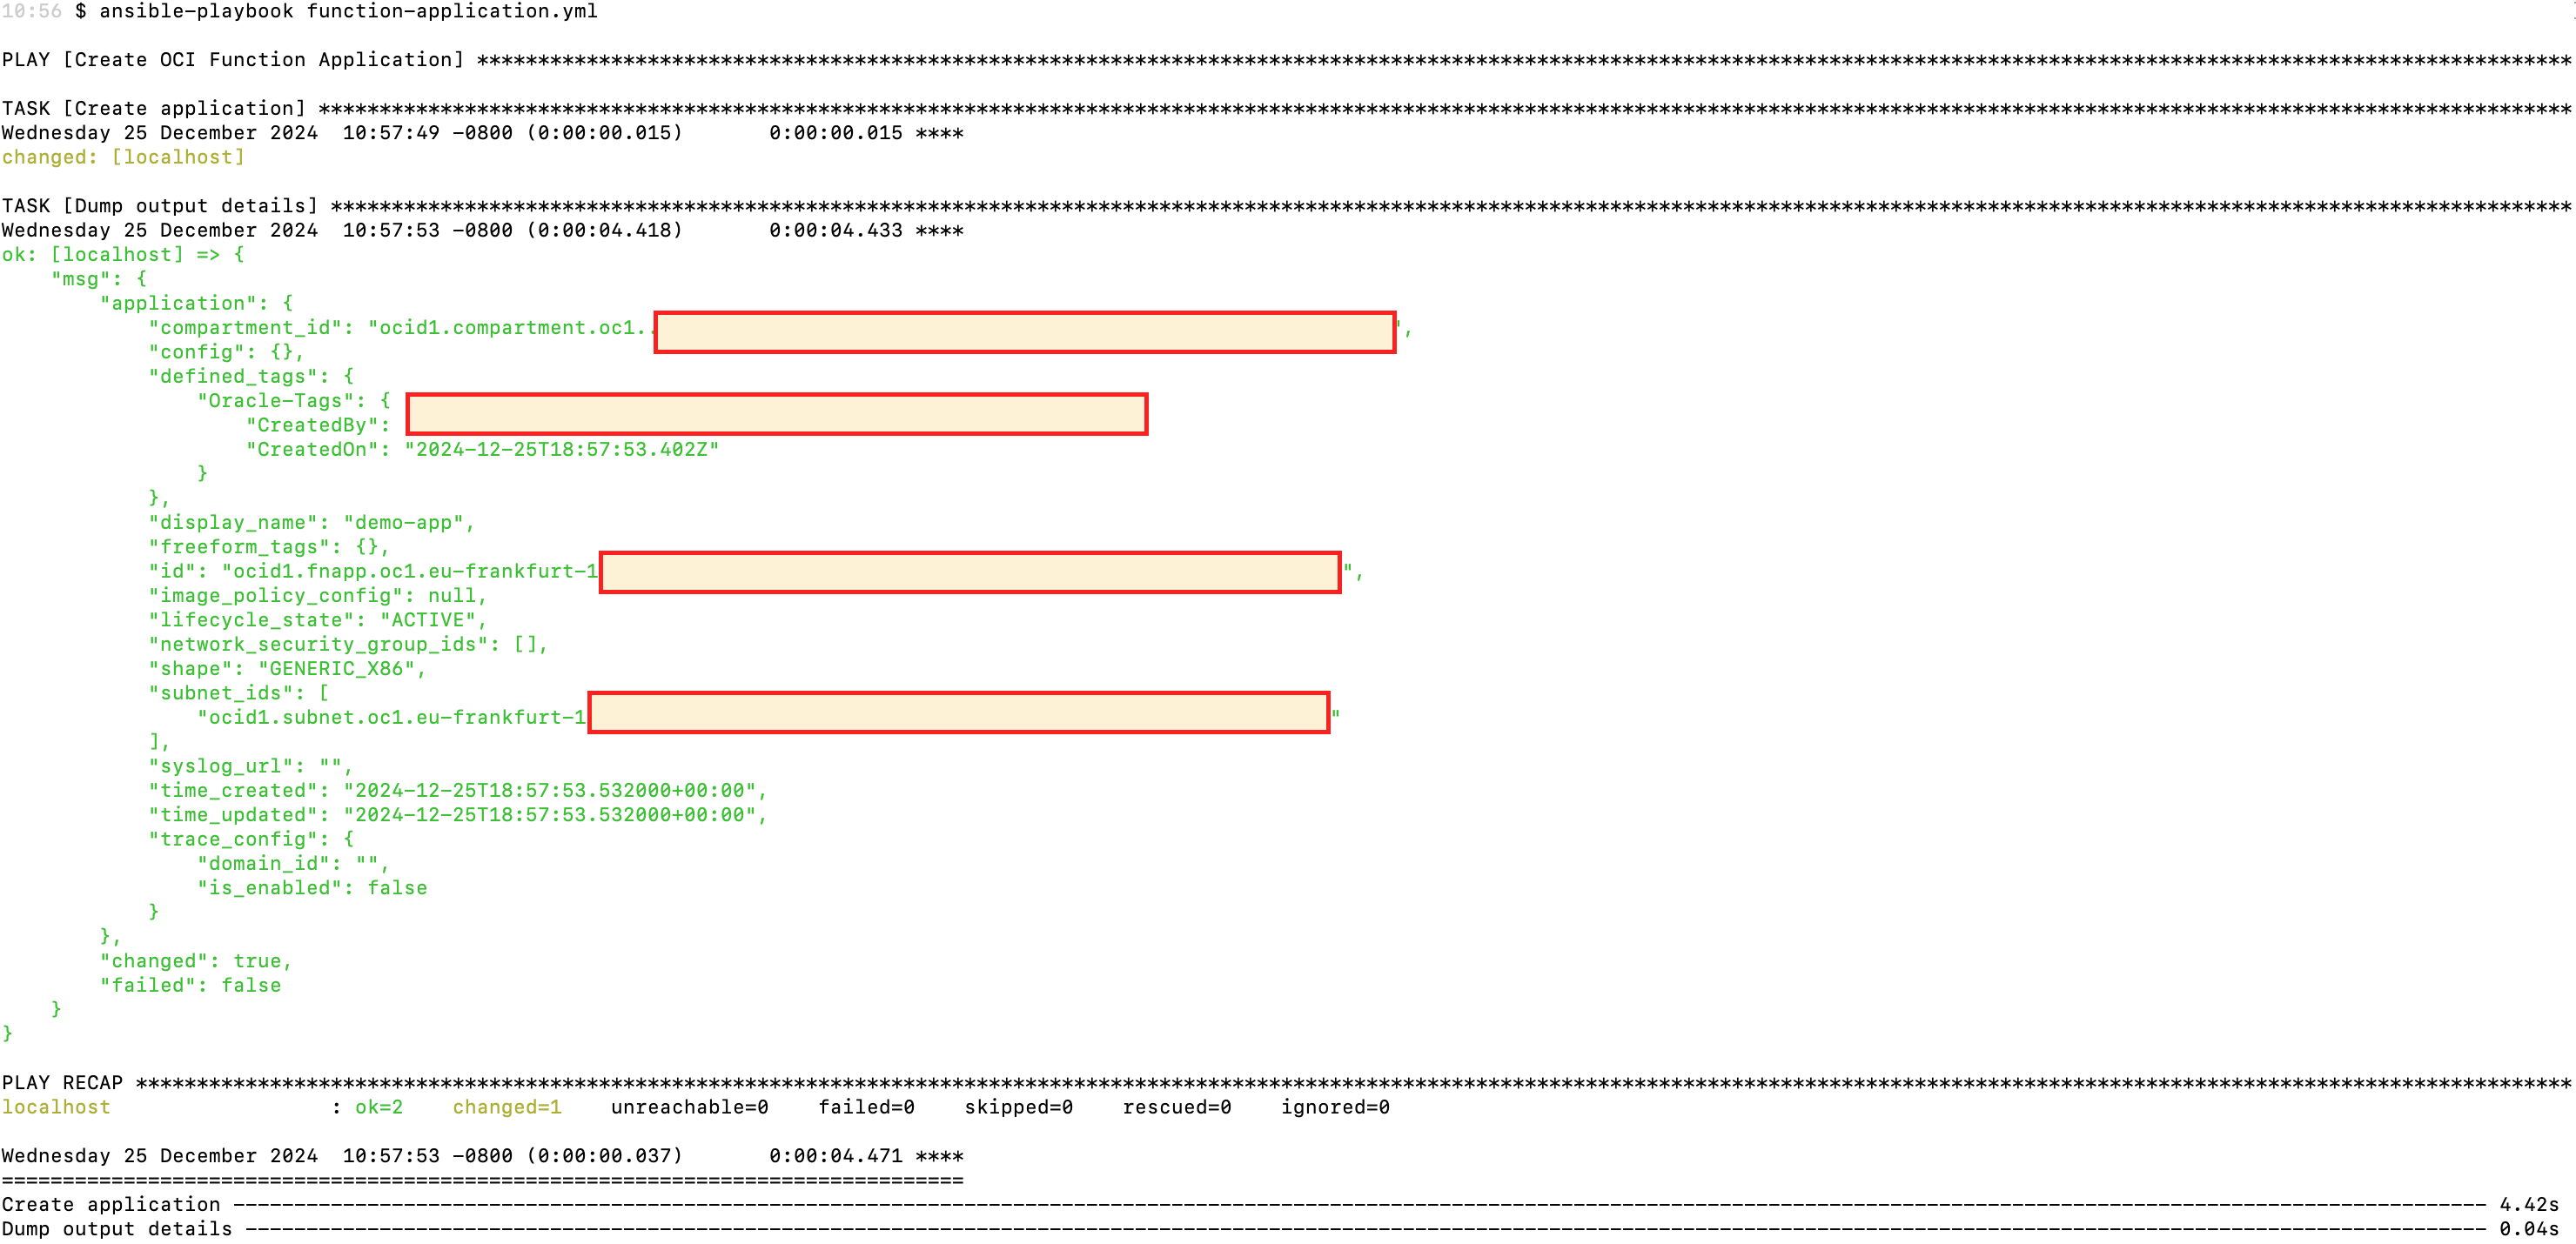
The two screenshots below were captured after running the script to create an application. The first screenshot shows the output generated by the Ansible script, and the second one displays the application details as seen in the OCI console.


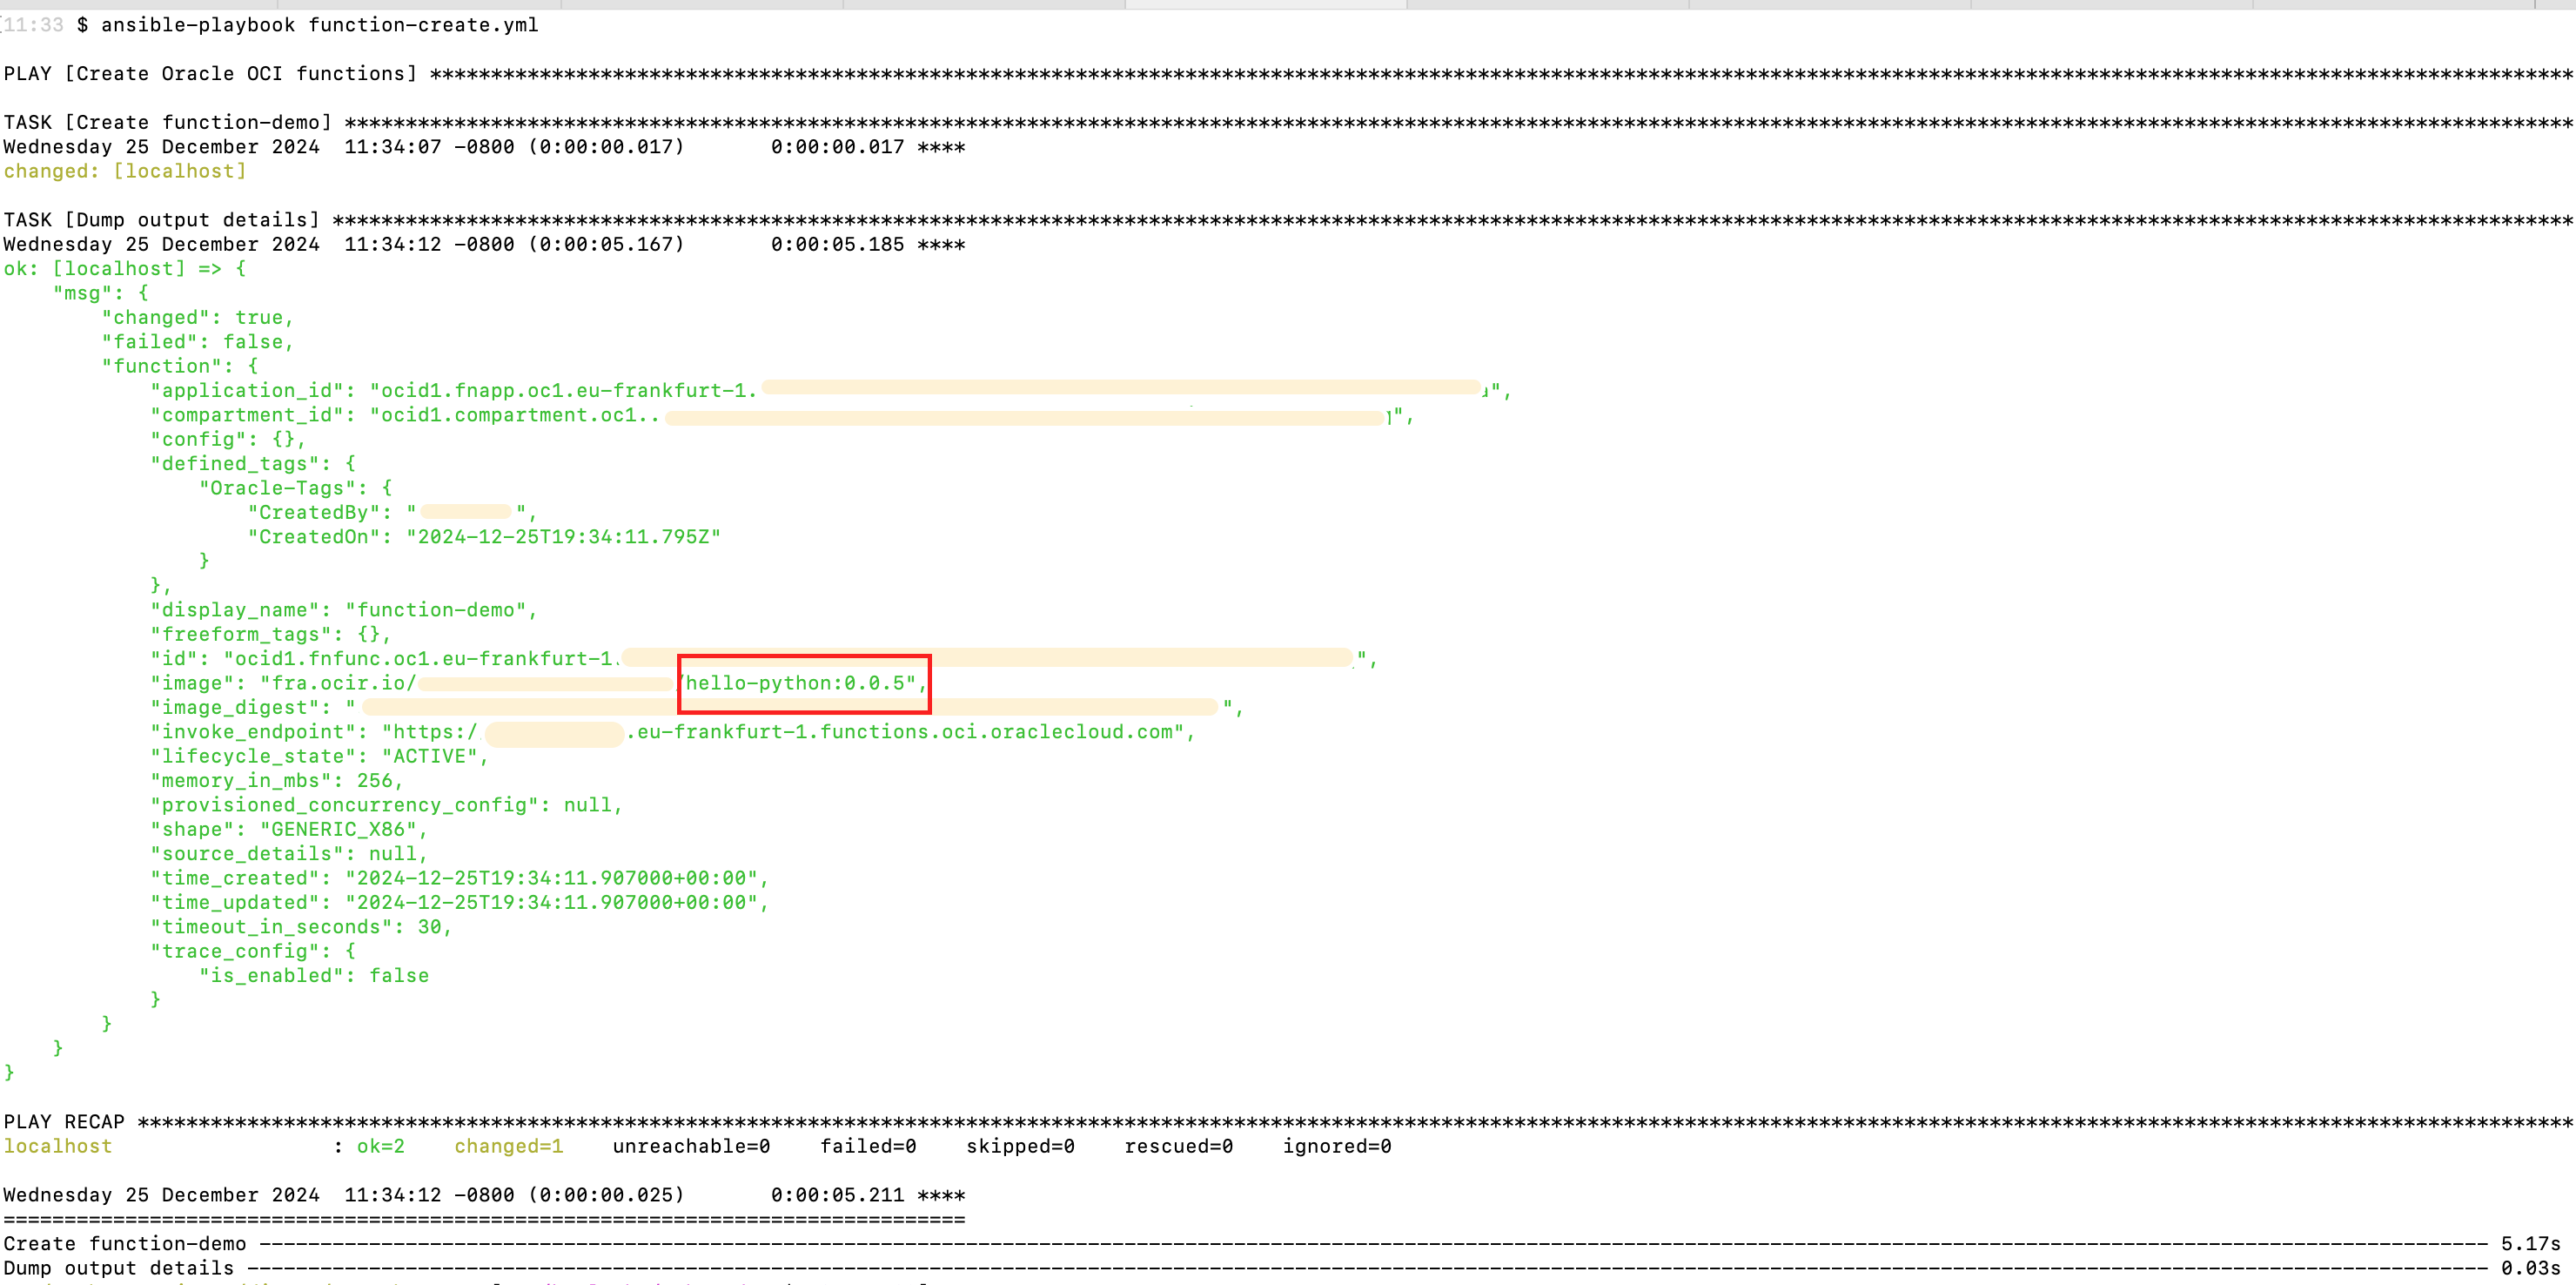
The three screenshots below were taken after creating a function. The first screenshot shows the result of running the Ansible script, the second displays the function details in the OCI console, and the third shows the output of the fn invoke demo-app function-demo command.


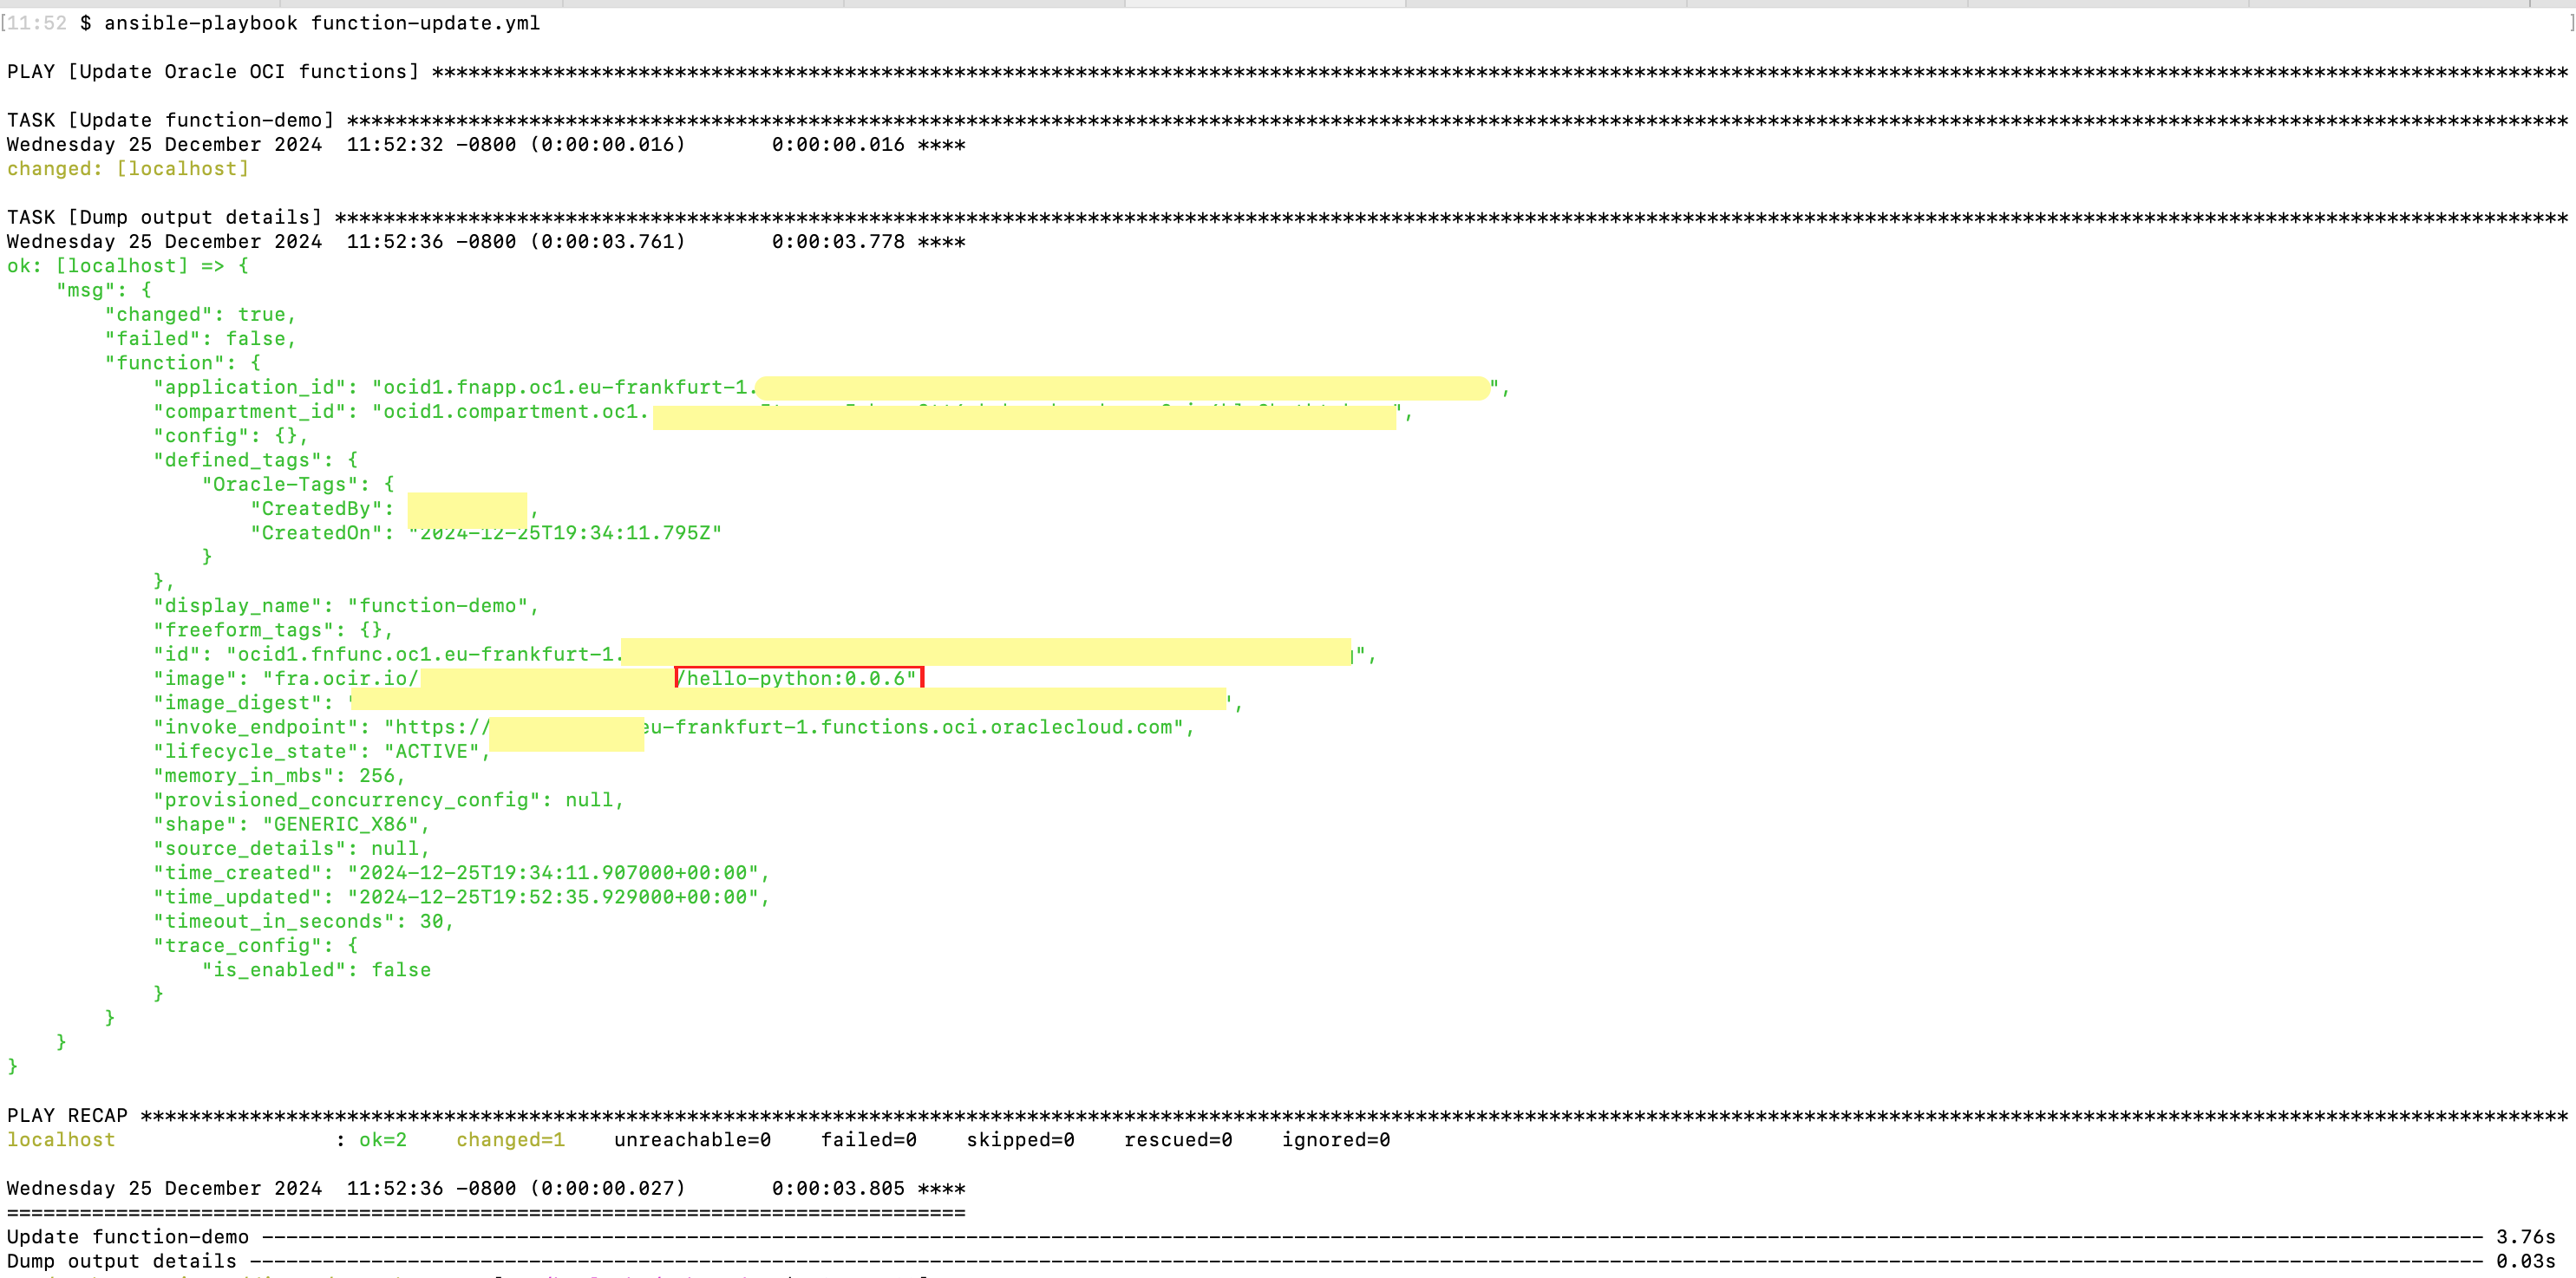
The three screenshots below were captured after updating an existing function. The first shows the output from running the Ansible script to update the function, the second displays the updated details in the OCI console, and the third shows the result of the fn invoke demo-app function-demo command.


Conclusion
Ansible provides a flexible and efficient way to deploy OCI Functions, making it easier to automate repetitive tasks and ensure consistent deployments. With its OCI-specific Ansible modules, organizations can simplify the management of serverless applications, saving developers time and effort. By integrating Ansible with OCI, operational complexities are reduced, allowing functions and related resources to be managed more efficiently.
Note: The views expressed on this blog are my own and do not necessarily reflect the views of Oracle.
Opinions expressed by DZone contributors are their own.

Comments