Get Started With Bloomreach Headless Experience Manager (Part 1)
This step-by-step comprehensive guide helps new developers get started developing websites with Bloomreach Headless Experience Manager.
Join the DZone community and get the full member experience.
Join For FreeBloomreach Headless Experience Manager is a headless content management system with the APIs and flexibility to power any front end while retaining powerful personalization and authoring capabilities.
This guide helps new developers get started with the platform. With a step-by-step series of milestones, you’ll learn the first steps of developing websites using Headless Experience Manager:
Part 1:
- Milestone 1: Create a Channel
- Milestone 2: Create a Frontend App
Part 2:
- Milestone 3: Set up a Development Project
- Milestone 4: Create a Component
Before You Start
Prerequisites
Before you start this tutorial, make sure that:
- You have basic knowledge of HTML, CSS, and Javascript.
- You are comfortable working with your computer’s command line and a text or code editor.
- You have the latest LTS version of Node.js installed and are familiar with using the Node package manager.
- You have a Bloomreach Headless Experience Manager developer trial account.
Log in and Get Familiar With Headless Experience Manager
You should have received an email from Bloomreach containing the URL of your Headless Experience Manager developer trial account along with your login details.
The URL should look like this, where account_name is the name of your trial account:
https://[account_name].bloomreach.io/cms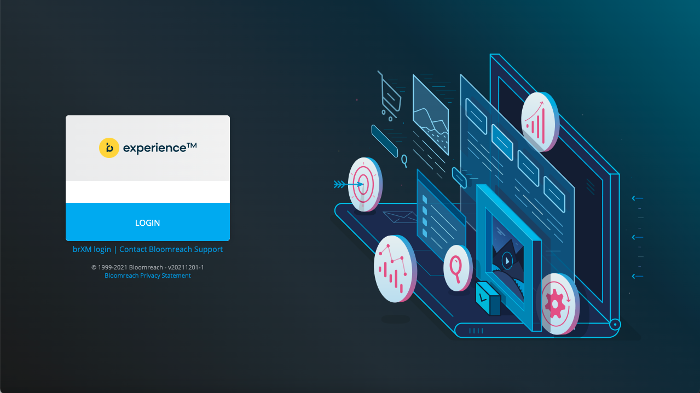
Click on LOGIN and on the next screen, enter your username and password.
Once you are logged in, feel free to look around and open the different applications available in the left navigation.
In this tutorial, you’ll mostly be working with the Experience manager application. Watch the video below for a short demonstration of how the Experience manager application works:
Milestone 1: Create a Channel
In this milestone, you are going to use the Experience manager application to create a very minimalistic new channel with a single page and add a single component to that page. This will serve as the backend for the frontend app you will create in the next Milestone.
Not much of a reader? We have a video prepared for you:
Create a Channel
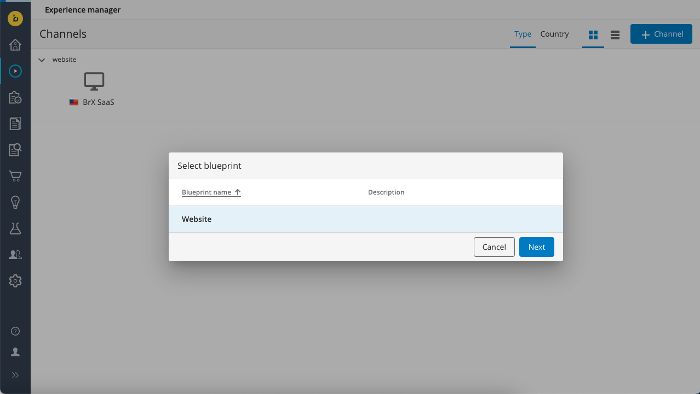
First, let’s create the channel. Open the Experience manager application. In the Channels overview, click on the + Channel button in the top right.
In the Select blueprint dialog that pops up, select Website and click Next.
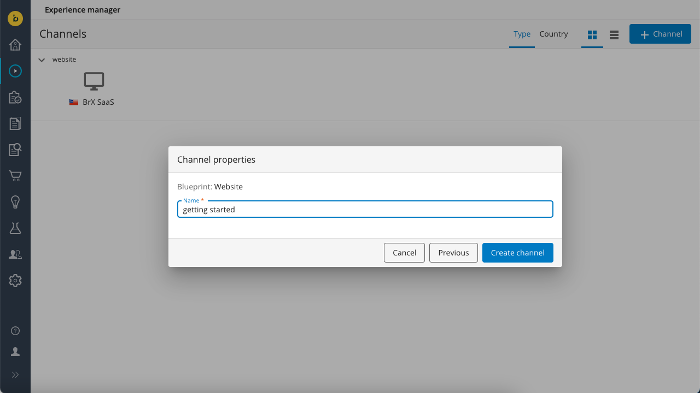
Next, enter a name for your channel (for example, “getting started”) and click on Create channel:
The new channel will now be listed in the Channels overview:
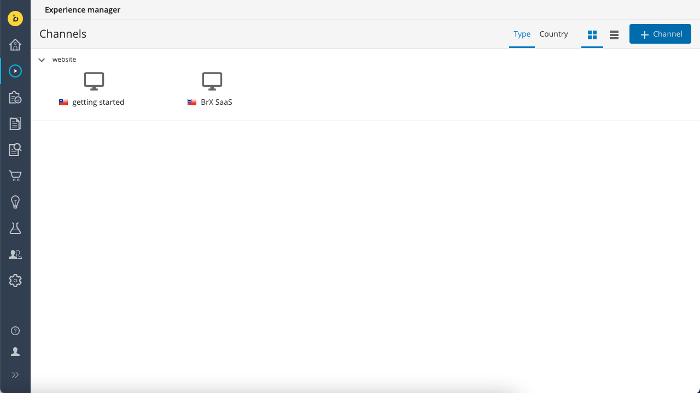
Click on the new channel to open its preview!
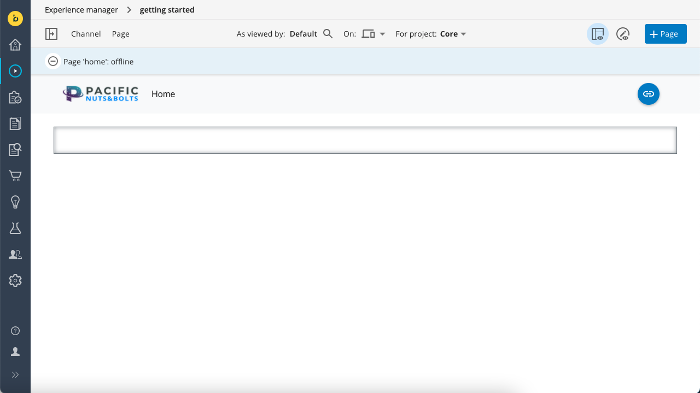
You are now on the homepage. A standard skeleton frontend app is currently used to render the preview. In milestone 2 you will create your own frontend app and in milestone 3 you will go through the steps to configure the Experience manager to use your app to render the channel preview.
Add a Component
Note the black-bordered area on the page (if you don’t see the area please click on the show components button in the top right). This is what we call a container.
A container is a placeholder for components. Multiple components can be placed inside a container. A page can have multiple containers. See the Manage Component on a Page user guide and the Site Configutation developer documentation for more info.
Open the left side drawer using the button in the top left and open the Components tab. The component library for this channel contains only one component at the moment: Content.
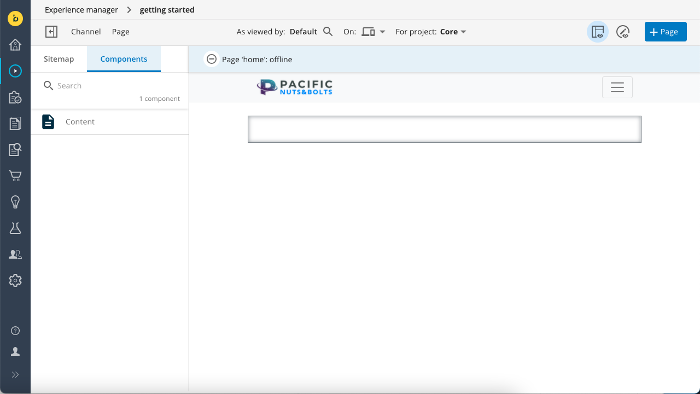
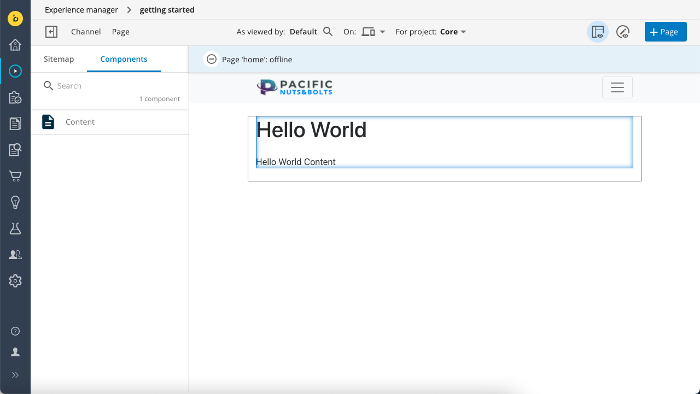
Click on the Content component in the left side drawer to select it, then click inside the container on the page to add the component. It will show standard “Hello World” content that is stored in the page object.
If you’d like to edit the content, open the Page menu and select Content:
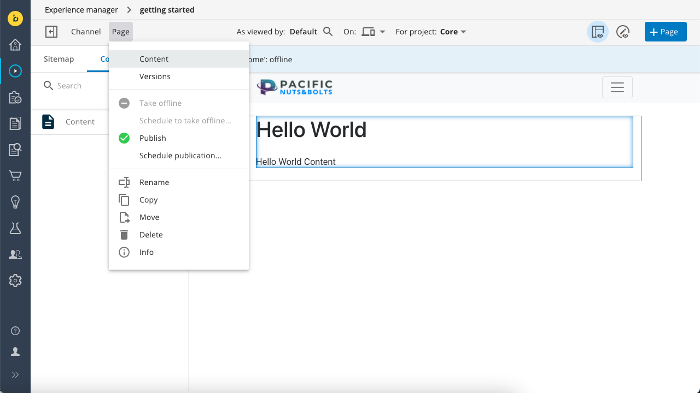
The right side drawer will slide open and show an editor where you can edit the different content fields. The page preview will update automatically while you edit the content.
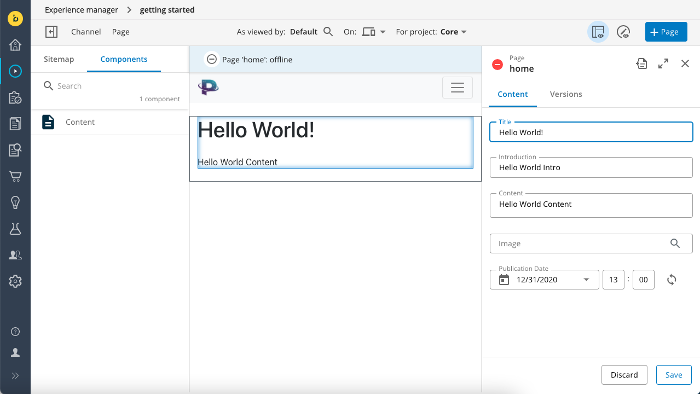
Click on Save to save your changes.
At this point, your changes are still unpublished and only visible in the preview. To publish the page and make it available through the Delivery API, open the Page menu again and choose Publish.
Now that you have created the channel, you are ready to move on to the next milestone and create your own frontend app that will consume the Delivery API and render the channel!
Milestone 2: Create a Frontend App
In this milestone, you will take the Delivery API output for the channel you created in the previous milestone and use the Bloomreach SPA SDK to create your own frontend app that consumes the API output and renders the channel as a website.
The code examples on this page are for a React-based frontend app.
A Brief Look at the Delivery API Response
Bloomreach Headless Experience Manager provides a Delivery API for frontend applications to retrieve channel and page data. The API’s Pages endpoint provides all the data needed to render a particular page including any containers, components, and content items on that page.
The Pages endpoint for your channel’s single page can be accessed at a URL of the following format, where [account_name] and [channel_name] should be replaced with the appropriate values:
https://[account_name].bloomreach.io/delivery/site/v1/channels/[channel_name]/pagesFor example, if your account is named “trial-1234abcd” and you named your channel “getting started”, the URL would be:
https://trial-1234abcd.bloomreach.io/delivery/site/v1/channels/getting-started/pagesEnter the API URL in your browser and have a brief look at the JSON response. It contains a lot of objects including the page and a flattened hierarchy of containers and components on the page. You don’t have to understand everything yet at this point but can you match some of the objects in the JSON data with the page elements you see in the Experience manager preview?
See Page JSON Representation in the Delivery API reference documentation for a full description of the data format.
Create a Frontend App
Now that you have created a channel and can retrieve a page from the Delivery API, it is time to create a frontend application that can consume the API response and render the page.
Create a new React app using the following command:
npx create-react-app my-react-content-appTo simplify integration with Javascript-based front-end applications, Bloomreach provides an SPA SDK that interacts transparently with the Delivery API and exposes a simplified and framework-agnostic interface to the API’s data model. You’ll be using the SDK to build up your frontend app.
Use the following command to install the SDK libraries as well as the Axios library:
cd my-react-content-app
npm install @bloomreach/spa-sdk @bloomreach/react-sdk axios
Open src/App.js in your favorite editor and change its contents to the following:
src/App.js
import logo from './logo.svg';import './App.css';import axios from "axios";import { BrPage } from "@bloomreach/react-sdk";import { Content } from "./components/Content";function App() { return ( <div className="App"> <header className="App-header"> <img src={logo} className="App-logo" alt="logo" /> <p> Edit <code>src/App.js</code> and save to reload. </p> <BrPage configuration={{ endpoint: 'https://trial-1234abcd.bloomreach.io/delivery/site/v1/channels/getting-started/pages', httpClient: axios }} mapping={{ Content }}> </BrPage> </header> </div> );}export default App;Study the code above and note the following:
- The BrPage element (imported from the SDK) is a placeholder in your frontend application which will render components in the page’s JSON representation as returned by the Delivery API.
- The endpoint property specifies the URL of the Delivery API’s Pages endpoint (make sure to update the URL to reflect your Headless Experience Manager account).
- The mapping property maps your React components their counterparts in the JSON representation.
- A Content component (which you will implement in a moment) is imported and mapped.
Make sure to modify the endpoint URL in the code to reflect your Headless Experience Manager account!
In the src folder, create a subfolder called components and inside it, create a file Content.jsx with the contents below. This is will be the frontend implementation of the “Content” component you added to the page in the previous milestone.
src/components/Content.jsx
export function Content({ component, page }) { const document = page.getDocument(); const { title, content, introduction } = document.getData(); return ( <div> <h1>{title}</h1> <p>{introduction}</p> <div dangerouslySetInnerHTML={{ __html: content.value }} ></div> </div> );At this point, you are ready to launch your app using the following command:
npm startThis will load the app in your browser (at http://localhost:3000/) and if everything went well you should see the following page:
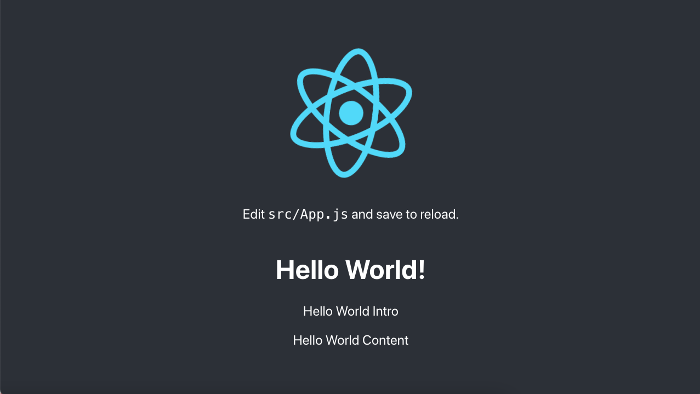
Congratulations, you created your first frontend app for Headless Experience Manager!
Now go back into the Experience manager application and make some changes to the content (don’t forget to publish!) and refresh the frontend app to see the updated content.
Full Code
Find the complete code for milestone 2 in React, Angular, and Vue in Github.
Published at DZone with permission of Kenan Salic. See the original article here.
Opinions expressed by DZone contributors are their own.

Comments