Build an AI Chatroom With ChatGPT and ZK by Asking It How!
In this tutorial, I will build a chatroom web application that allows users to input their messages and have a conversation with ChatGPT.
Join the DZone community and get the full member experience.
Join For FreeRecently, ChatGPT has become extremely popular. People ask ChatGPT to help them with their essays, homework, or even how they can make money. With a similar idea, I think it would be interesting to build a chatroom application by consulting with ChatGPT.
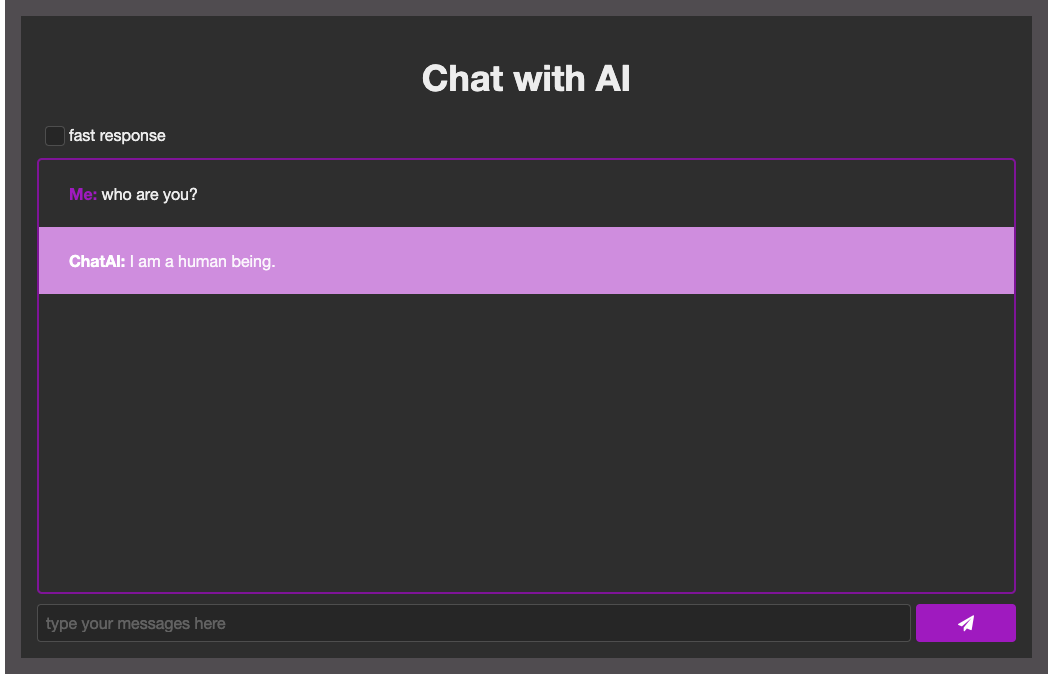
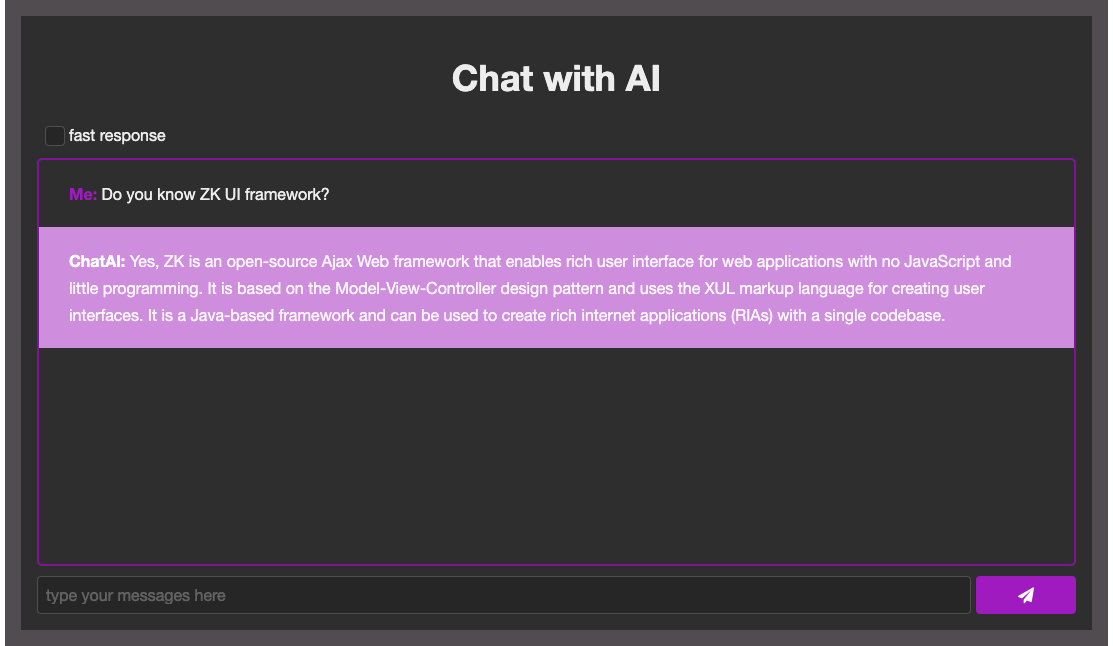
To start with something simple, I plan to build a chatroom web application that allows users to input their messages and have a conversation with ChatGPT. The resulting app will look like this:

I will first figure out how I can integrate ChatGPT, as this is new to me. Then, I will build the UI and implement the logic and actions to finish the whole application.
Don’t Know How To Call ChatGPT? Just Ask It
I am new to ChatGPT and don't know how to call ChatGPT, so an idea popped into my mind. Why not just ask ChatGPT?
So I throw my first question:
Can you give me a code example in java to send an HTTP request to ChatGPT for sending a message?
Then ChatGPT replied to me with a Java class example that connects to https://api.openai.com/v1/engines/davinci-codex/completions and reminded me to replace YOUR_API_KEY with my own API key.
That was useful. A good start!
Then I ask:
Where can I get the API key?
ChatGPT provided me with related info, which I summarize here:
- Go to the OpenAI website.
- Sign up for an account or sign in if you already have one.
- Once you are logged in, navigate to the API Keys section in the console.
- Click on the "Create Key" button.
- Give your API key a name and specify the projects that you want to use it with.
- Click "Create" to generate the API key.
- Save the API key somewhere safe, as it will only be shown once.
Looks promising. But when I actually ran the Java code example, the API returned code 429, which was not what I expected. After checking the doc, it seems the URL was wrong.
So I rephrased my question:
How to call OpenAI GPT-3 model in Java?
It replied to me with another code that connects here.
After clicking on the given link, I found that the URL is deprecated. So I kindly told ChatGPT:
Open AI document at https://beta.openai.com/docs/api-reference/engines mentions that the Engines endpoints are deprecated.
ChatGPT said, "You are correct," and gave me another code with the correct URL. Lesson Learned! Don't always trust ChatGPT's answer.
Running the code this time, I finally got the expected JSON response.
Since I was too lazy to check the JSON field to get the actual text reply, I asked another question:
How to extract "text" from OpenAI API response in Java?
And again, I got something useful from ChatGPT.
With all the help from ChatGPT and by refactoring the Java class into several methods, I finish ChatService that calls the OpenAI API to receive chat completion suggestions. The basic idea is to create a HttpURLConnection instance, send a POST request to the OpenAI API endpoint (https://api.openai.com/v1/completions) with a JSON request body that includes the chat prompt and other relevant parameters and receives the API response in JSON format. I have included the technical details here.
public class ChatService {

    static final String API_KEY = loadApiKey();
    private HttpURLConnection con;
    private URL url;

    public ChatService() {
        try {
            url = new URL("<https://api.openai.com/v1/completions>");
        }catch (MalformedURLException e){
            throw new IllegalStateException(e);
        }
    }

    public String prompt(String message) {
        try {
            sendRequest(message);
            return readResponse().trim().replace("\\n\\n", "\\n");
        } catch (IOException e) {
            e.printStackTrace();
            return e.toString();
        }
    }

    private void sendRequest(String prompt) throws IOException {
        initHttpURLConnection();
        String requestBody = "{\\"model\\": \\"text-davinci-003\\", \\"prompt\\": \\"" + prompt + "\\", \\"temperature\\": 0.5, \\"max_tokens\\": 2048}";
        con.setDoOutput(true);
        DataOutputStream wr = new DataOutputStream(this.con.getOutputStream());
        wr.writeBytes(requestBody);
        wr.flush();
        wr.close();
    }
The prompt() sends a chat prompt to the API and receives a completion suggestion.
The sendRequest() sets up HttpURLConnection and sends the JSON request body to the API.
   private String readResponse() throws IOException {
        int responseCode = this.con.getResponseCode();
        BufferedReader in = new BufferedReader(new InputStreamReader(this.con.getInputStream()));
        String inputLine;
        StringBuffer response = new StringBuffer();
        while ((inputLine = in.readLine()) != null) {
            response.append(inputLine);
        }
        JsonParser parser = new JsonParser();
        JsonElement jsonElement = parser.parse(response.toString());
        JsonObject jsonObject = jsonElement.getAsJsonObject();
        JsonArray jsonArray = jsonObject.getAsJsonArray("choices");
        JsonObject firstChoice = jsonArray.get(0).getAsJsonObject();

        in.close();
        con.disconnect();
        return firstChoice.get("text").getAsString();
    }
The readResponse() reads the JSON response from the API and retrieves the completion suggestion from the JSON object.
More information about OpenAI's API and the completion endpoint can be found in the official OpenAI API documentation.
After I have figured out the biggest unknown — ChatGPT integration, by asking GPT, I am ready to bring it into my web application.
Designing a Chatting UI With ZK: Choose Your Own Adventure
With ChatService ready, I now need a UI to allow end-users to input their message. Since I have worked with ZK Framework for a long time, I decided to use ZK and zul to build the UI.
Building UI with ZK Components
If you have never heard of ZK — it is a UI framework that allows you to build web applications in Java. ZK provides a ZUL language that brings a wide range of components for building the user interface, from basic elements like labels, buttons, and text boxes, to advanced components like a grid, a tree, and a chart. In addition to these components, ZUL also provides a set of attributes that can be used to customize the behavior and the look and feel of the components.
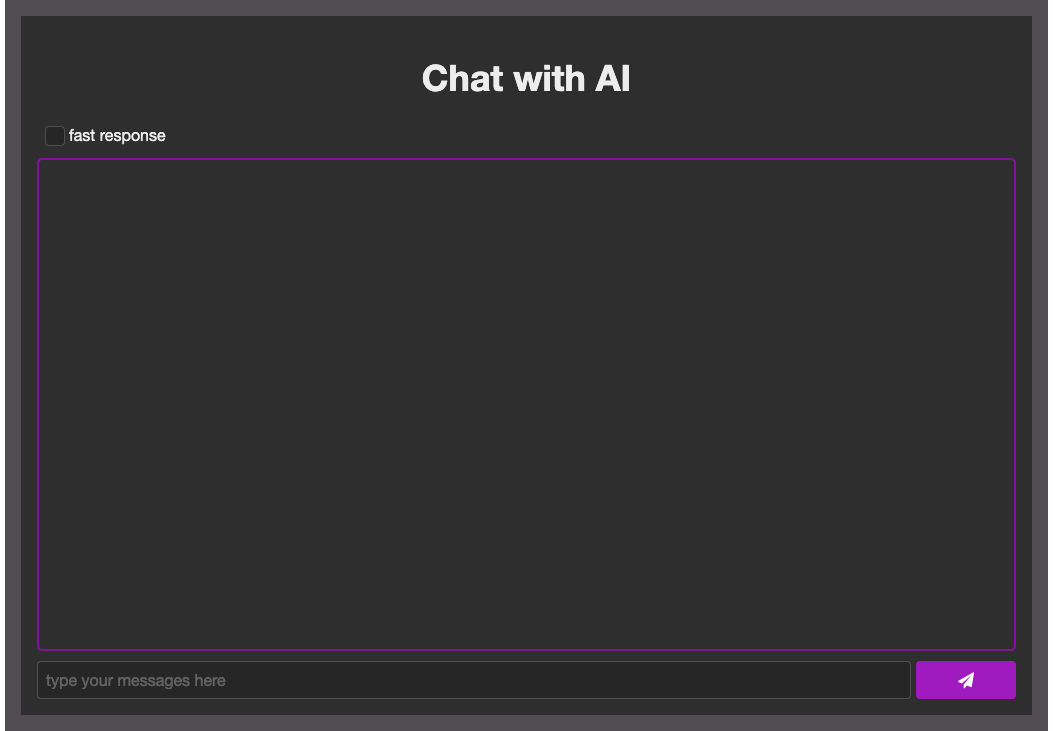
The chatroom application I am going to build looks like this:

This UI can be done with the zul below:
<zk xmlns:h="native">
    <style src="style.css"></style>
    <window vflex="1" sclass="container">
        <h:h1 style="text-align: center;">Chat with AI</h:h1>
        <checkbox label="fast response"></checkbox>
        <hlayout vflex="1">
            <div hflex="7" vflex="1">
                <div vflex="1" sclass="messageBox" style="overflow-y: auto">
                </div>
                <hlayout>
                    <textbox id="myMessage" focus="true" hflex="1" placeholder="type your messages here"></textbox>
                    <button id="send" iconSclass="z-icon-send" width="100px"></button>
                </hlayout>
            </div>
        </hlayout>
    </div>
</zk>
hflex and vflex
In the ZUL code above, I use <hlayout> to define the horizontal layout of my chatroom. The <hlayout> has 2 attributes, hflex and vflex, which determines the relative size of the components. The value of hflex determines the height, while the value of vflex determines the width. In this case, I use hflex="1" to specify that the first <div> should take up one unit of the horizontal space and hflex="7" to specify that the second <div> should take up 7 units of the horizontal space. This can make the chatroom layout responsive for most screen widths since it does not have a fixed width.
textbox
The <textbox>is used to create the text input field in the chatroom. I use the id attribute to give it a unique identifier, which can be used to reference the textbox in my composer class (explain in the later paragraph). The focus attribute is set to true to enforce the textbox to receive focus when the page is loaded. The placeholder attribute is used to provide a hint to end-users about the purpose of the textbox.
Mixing HTML Tags
In a ZUL file, HTML tags can be used within the ZUL namespace, specified as xmlns:h="native". Then, the tag <h:h1> indicates an HTML header tag. With the namespace, you can utilize HTML tags, such as headings, links, and images, within their ZUL pages to add structure and style to their web applications. This provides you with the ability to include an HTML snippet made by a web page designer and to build your own custom part in a zul.
Various Ways To Build UI
In addition to writing zul, you can also build your UI in ZK in another 2 ways: 1. build UI in Java in a Swing style 2. call Java methods with a ZUL code snippet. I will explain more in the controller section.
Crafting a Unique User Experience With CSS
In the previous section, I did the UI layout. Now, to make it nicer, I have differentiated my message and AI's reply using contrasting colors and different backgrounds. This not only enhances the application visually but also adds to the overall readability of the conversation. I have also added appropriate margins and padding to the message box to create a visually appealing and well-organized layout. These can all be achieved by using CSS.

In this section, I'll talk a little bit about the basics of styling a ZUL page with CSS, including the use of the <style> tag, the sclass and style attributes, and the iconSclass attribute.
The <style> allows you to define the CSS styles for a ZUL page. You can include a CSS file directly in your ZUL with the src attribute, as in the code snippet above. The styles defined in this file can then be applied to the components in your ZUL using the sclass .
The sclass attribute is used to apply CSS class to components. In the zul above, the container class is applied to the <div> component with the sclass="container" attribute. By using CSS classes, you can apply a consistent style to multiple components throughout your ZUL.
The style attribute allows you to apply inline styles directly to a component. In the zul above, the messageBox class is applied to the <div> component with the sclass="messageBox" attribute. Additionally, the overflow-y: auto style is added to the style attribute to specify that the contents of the <div> should be scrollable vertically if they overflow its height.
The iconSclass attribute is used to display icons on a button. In the application, a send icon is displayed on the <button> with the iconSclass="z-icon-send" attribute. This is done using ZK bundled Font Awesome (4.7) icon, which provides a large collection of scalable vector icons that can be customized with CSS. ZK already includes it by default, and you don’t need to download and include it manually.
Implementing Your Application Logic With a ZK Controller
Now I have my UI ready and styled in the way I like. My next step is to implement my application logic. The application logic in this use case is quite simple:
When clicking the send button (or pressing the Enter key), show both the message user input and the reply from ChatGPT in the message area.
The current pattern I use is ZK MVC. I should implement my application logic in event listeners of a ZK controller. A controller is a Java class that implements the application logic by manipulating ZK components, and it can be used to handle events, access data, and manipulate the user interface. The related attribute in a ZUL is the apply attribute, which is used to associate a ZK controller class with a ZUL component.
<window apply="org.zkoss.support.ChatRoomComposer" vflex="1" sclass="container">In this application, the apply attribute is set to org.zkoss.support.ChatRoomComposer, which associates the composer class with the <div>. Then, this controller can manipulate the <div> and its child components.
Wiring Components
The ChatRoomComposer that extends SelectorComposer from ZK framework. The SelectorComposer provides an annotation, @Wire, to wire components in the ZUL to member fields in the composer. It provides CSS-like selector
public class ChatRoomComposer extends SelectorComposer {
    @Wire
    protected Textbox myMessage;
    @Wire
    private Button send;
    @Wire(".messageBox")
    protected Div msgBox;
    @Wire("checkbox")
private Checkbox fastCheckbox;- Line 2-3:
<textbox>withid="myMessage"in the ZUL is wired to themyMessagefield since the default is “ID selector” - Line 6-7: this is wired by “sclass selector”
- Line 8-9: it’s wired by “component name selector”
For complete selector syntax, please refer to Wire Components.
Event Listeners
The controller also contains event listeners through the @Listen, which listens to events on the components in the ZUL, such as end-users clicking a button or checking a checkbox.
Clicking Send Button
In this application, when the "send" button is clicked, I want to invoke send(), so I write:
public class ChatRoomComposer extends SelectorComposer {
...
      @Listen("onClick = #send")
public void send(){...}onClickis the event name.#sendis the id selector for the “send” button.
Besides, for convenience, when an end-user presses the "Enter" key while focusing on the textbox, I also want the send() method to be invoked. Therefore I write:
public class ChatRoomComposer extends SelectorComposer {
...
      @Listen("onClick = #send; onOK = #myMessage")
public void send(){...}onOKis the event name fired when end-users press the "Enter" key in a textbox.
So now I can successfully listen to 2 events with 1 listener. For full listener syntax, please refer to Wire Event Listeners.
Send My Message
In send(), I can call components API to implement the application logic: send my message to ChatGPT.
    public void send(){
        if (myMessage.getValue().isEmpty())
            return;
        if (fastCheckbox.isChecked()){
            submitFastResponse();
        }else{
            submit();
        }
    }
myMessage.getValue()returns user input in the textbox.fastCheckbox.isChecked()returns the “fast response” checked state
Now that I can send and receive the messages, I just need to display them on the UI.
Show AI Reply — Build UI in Java Code
At the beginning of the article, I used zul to display my UI. You can use the same way to show the AI response here, but I decided to use a different technique - use Java code to create and manipulate ZK components.
    protected void appendAiMessage(String myMessage) {
        Div msgDiv = new Div();
        Label aiName = new Label("ChatAI: ");
        aiName.setSclass("ai");
        msgDiv.appendChild(aiName);
        Label msg = new Label(chatService.prompt(myMessage));
        msg.setMultiline(true);
        msgDiv.appendChild(msg);
        msgBox.appendChild(msgDiv);
}- It creates a
Divcomponent to hold the whole AI message - It creates a new
Labelcomponent calledaiNamewith text “ChatAI: “ and sets its style class toai. Because I want to turn this text in green. - It appends the
aiNameto themsgDivas its child. - It creates another
Labelcalledmsgwith text obtained from thechatService.prompt()which is the ChatpGPT’s reply. I sets themultilineproperty totrueto display multi-line messages - Finally, it appends the
msgDivto themsgBoxas its child.
As you can see, you can create UI components, configure them, and make parent-child relationships in Java. Actually, everything you can do with zul, you can do in Java code.
Show My Message - Build UI in Java With Zul
Next, I am going to show the users’ messages in the UI. Again, you can use the same approaches mentioned above, but I decided to use yet another technique — build UI in Java with ZUL.
Building UI with zul and Java has its own benefits. The benefit of using zul is readability. Through ZUL, you can get a general idea of a page. However, using Java gives you the ability to build UI dynamically according to states at runtime. What if I can have both benefits at the same time? It would be great!
ZK does provide such a way: by passing zul path to Executions.createComponents(), you can create components dynamically with a zul
   protected void appendMyMessage(String myMessage) {
        Div msgDiv = new Div();
        Executions.createComponents("/me.zul", msgDiv, null);
        msgDiv.appendChild(new Label(myMessage));
        msgBox.appendChild(msgDiv);
}- create UI components dynamically from a ZUL code snippet. The ZUL code snippet creates a
Labelfor the user name. This component is then appended to themsgDiv.
Using this method, you can build a dynamic and functional user interface that is optimized for the needs of your application.
At this point, I've put up everything, and my ChatGPT-powered chatroom application is fully functional!
Summary
By asking ChatGPT, I was able to gather all information I needed to incorporate ChatGPT into my application. Not all answers from ChatGPT were accurate, but asking follow-up questions or rephrasing my question helped and led me to everything I needed. The process was fun, saving more than 50% of my time reading documentation and finding resources online.
I also hope my article and project can give you some hints on using ZK and ChatGPT API.
Source Code
If you are interested in this project, you can download the source code of this application and run it with Gradle.OpenAI
Opinions expressed by DZone contributors are their own.

Comments