

How to Build an Image Carousel Using SvelteTransitions
Learn how to build an image carousel using Svelte transitions including the addition of customizations, delays, duration, and easing.
Join the DZone community and get the full member experience.
Join For FreeSvelte contains some inbuilt transitions that are useful to create an easy animation. Let’s learn about transitions in Svelte by creating an image carousel component.
Image Carousel is a series of images that are moved one after another either automatically with a timer or manually using some buttons.
Creating a Svelte Project
You can use Vite to initialize the project which is one of the faster methods to create a Svelte project. Alternatively, rollup can also be used to create a new svelte project. If you want to use rollup, you can follow the official website for creating the project
Create a Svelte Project Using Vite
npm init vite

✔ Project name: … svelte-image-gallery
✔ Select a framework: › svelte
✔ Select a variant: › svelte-ts
After the project is initialized, you can move to that directory and install the dependencies
cd svelte-image-gallery
npm install
Start the Svelte Project
Open the terminal and navigate inside the project directory. You can run the dev command and pass --open as an extra param to open the project in a new tab.
npm run dev -- --open
Create Image Carousel Component
Create a new file called ImageCarousel.svelte file in the lib directory. Start adding a simple image component. We can create an array of items that contain the URL and descriptions. Then create a variable called currentSlideItem which will decide the item to show from the array.
After that, we are going to loop through the array with #each and then using the currentSlideItem as the key for the loop, display the image corresponding to the current slide value.
<script lang="ts">
    const gallery_items = [{
    url: '<https://picsum.photos/id/237/400/300>',
    description: 'Dog'
  }, {
    url: '<https://picsum.photos/id/238/400/300>',
    description: 'Building'
  },{
    url: '<https://picsum.photos/id/240/400/300>',
    description: 'Staircase'
  }]

  let currentSlideItem = 0;
</script>

{#each [gallery_items[currentSlideItem]] as item (currentSlideItem)}
    <img src={item.url} alt={item.description} width={400} height={300}/>
{/each}
Update the App.svelte File to Add Image Carousel
<script lang="ts">
  import ImageCarousel from "./lib/ImageCarousel.svelte";
</script>

<main>
  <h1>Image Gallery</h1>

  <ImageCarousel />
</main>

<style>
  main {
    margin: 50px;
    display: flex;
    flex-direction: column;
    align-items:center
  }
</style>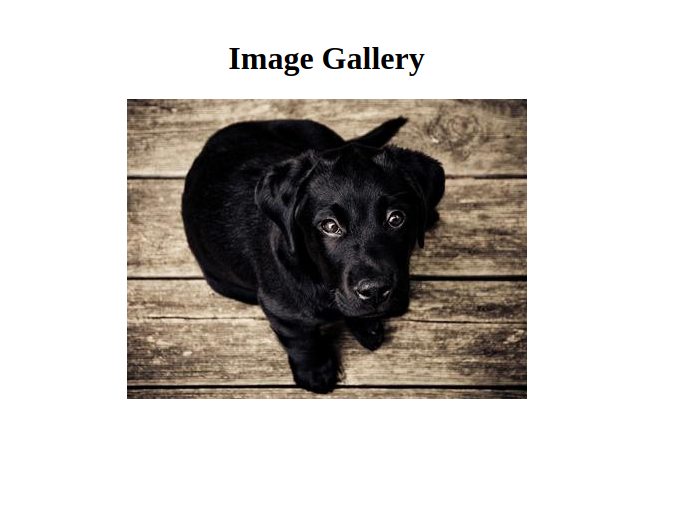
Adding the Controls for the Carousel
<script>
    ...
    let currentSlideItem = 0;

  const nextImage = () => {
    currentSlideItem = (currentSlideItem + 1) % gallery_items.length;
  }

  const prevImage = () => {
    if (currentSlideItem != 0) {
        currentSlideItem = (currentSlideItem - 1) % gallery_items.length;
    } else {
        currentSlideItem = gallery_items.length - 1;
    }
  }
</script>

<div class="carousel-buttons">
    <button on:click={() => prevImage()}>Previous</button>
    <button on:click={() => nextImage()}>Next</button>
</div>
When the next button is clicked, we are updating the value of the currentSlideItem variable which will cause the image element to be updated in the DOM. We are incrementing the variable and using the modulus operator to keep it within the range of the gallery_items array. Similar logic is performed in the previous button click with extra logic to reset the count to the last entry.
Adding the Transition to the Image Carousel
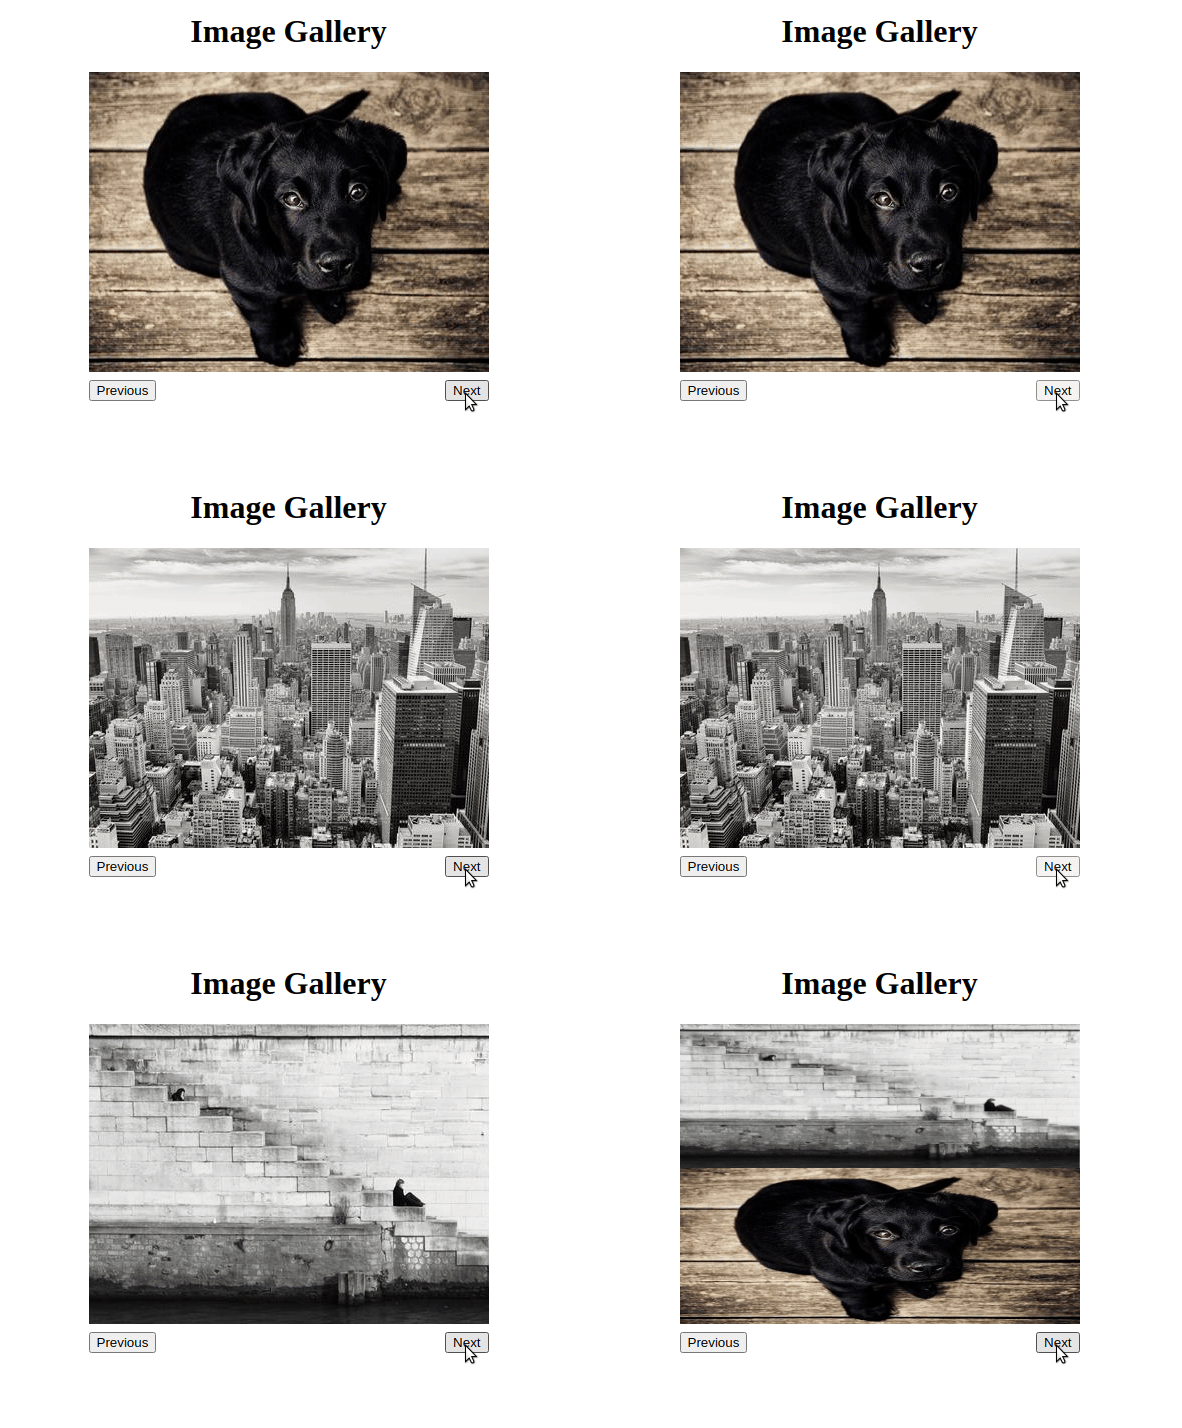
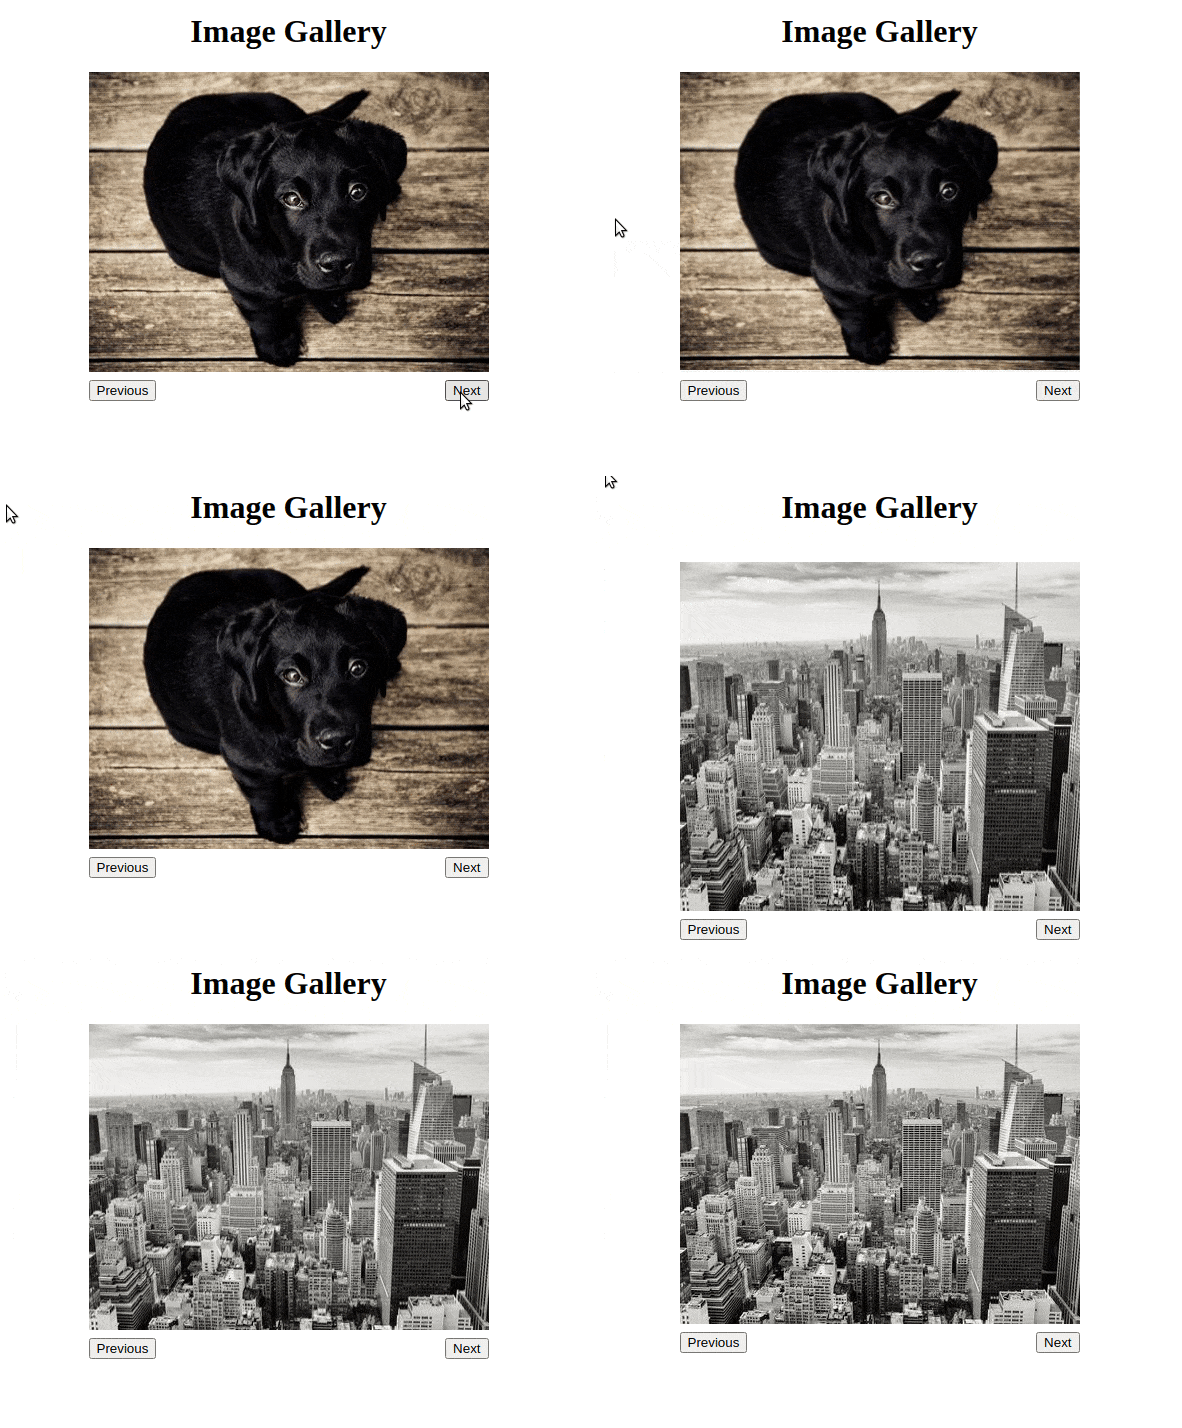
Let’s look at the slide transition. This will help in getting the slide animation to work with the element which is transitioning in and out of the DOM. The animation will play when an element is removed and another element is added to its place.
We are already doing this transition when updating the state of the variable.
import {slide} from 'svelte/transition'

...

{#each [gallery_items[currentSlideItem]] as item (currentSlideItem)}
    <img transition:slide src={item.url} alt={item.description} width={400} height={300}/>
{/each}
Wow! That’s it. You can see the transition happening in the slide.
Customizing the Svelte Transitions
Transition can be further customized by sending more parameters. The parameter which can be passed depends on the transition and can vary from one to another. For our slide transition here, there are three main parameters we can customize
- Delay - Time after which the transition should start
- Duration - Time in which the transition should be carried out
- Easing - An easing function that determines the curve of the transition. There are different types of easing functions that determine how the transition will take place.
Transition Delay
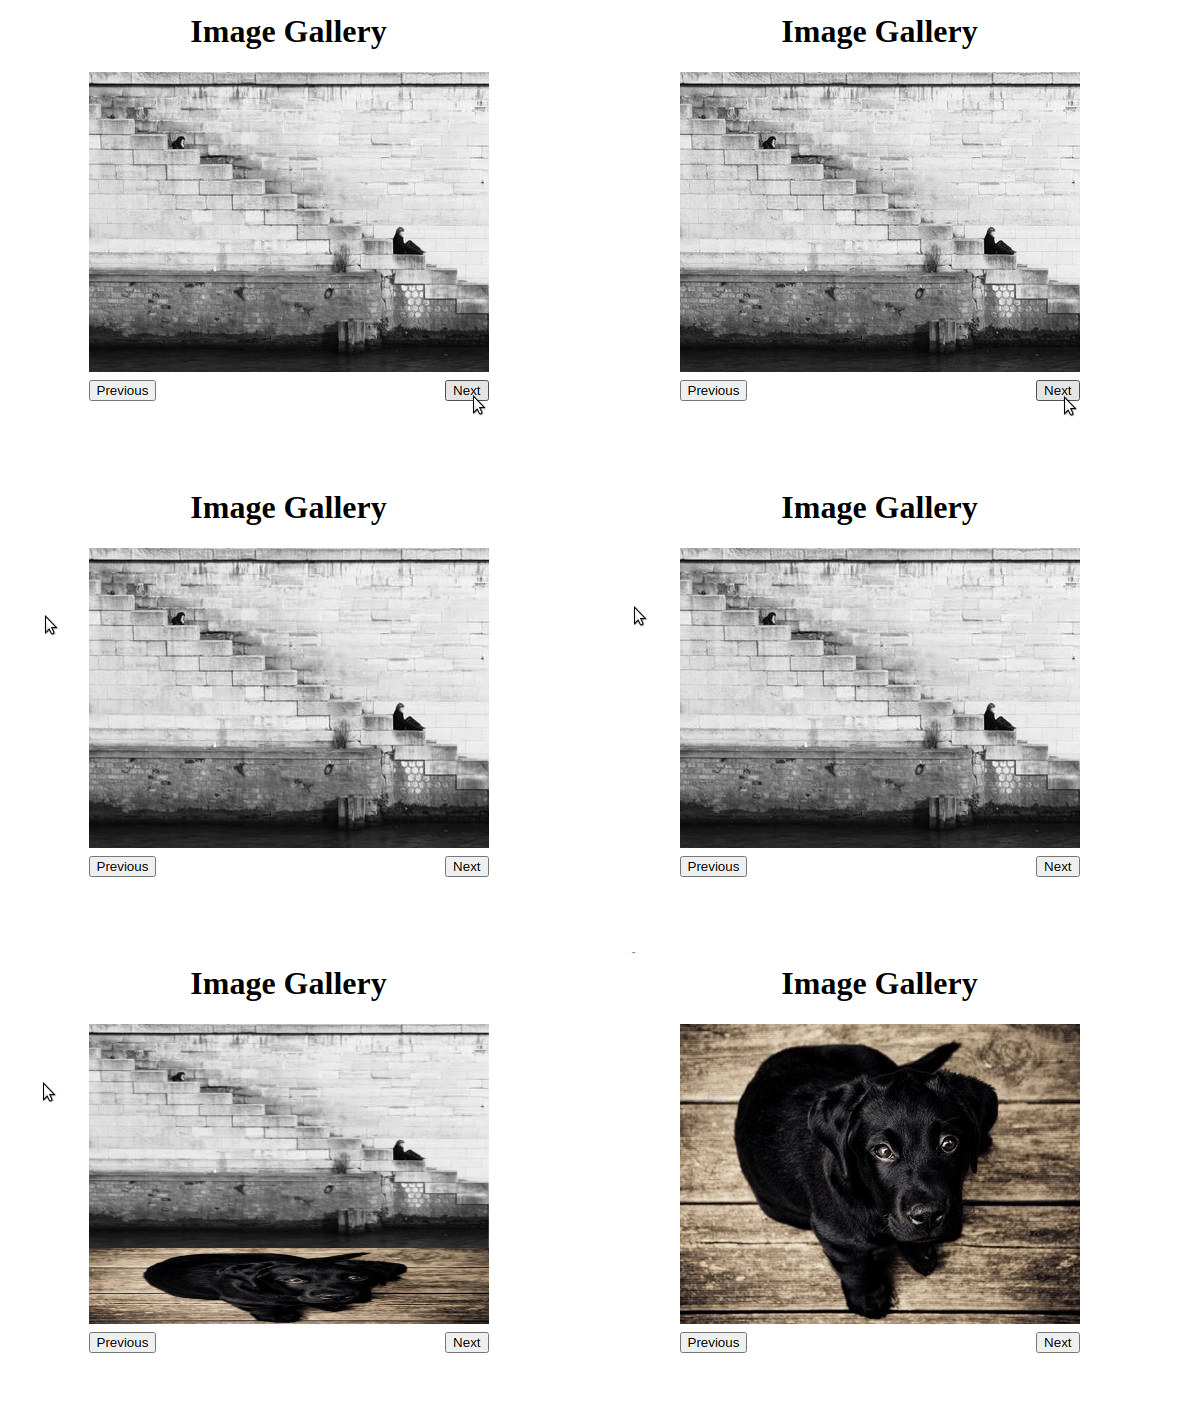
<img transition:slide="{{delay: 2000 }}" src={item.url} alt={item.description} width={400} height={300}/>Add this delay to the transition will make the animation start after the delay of 2000 milliseconds which is 2 seconds.
This parameter can be useful if you have other items on the page which are animating and want to synchronize the transition with the other items.
Transition Duration
<img transition:slide="{{ duration: 3000 }}" src={item.url} alt={item.description} width={400} height={300}/>The duration parameter determines how long the transition should last. You can use this parameter to make the transition fast or slow.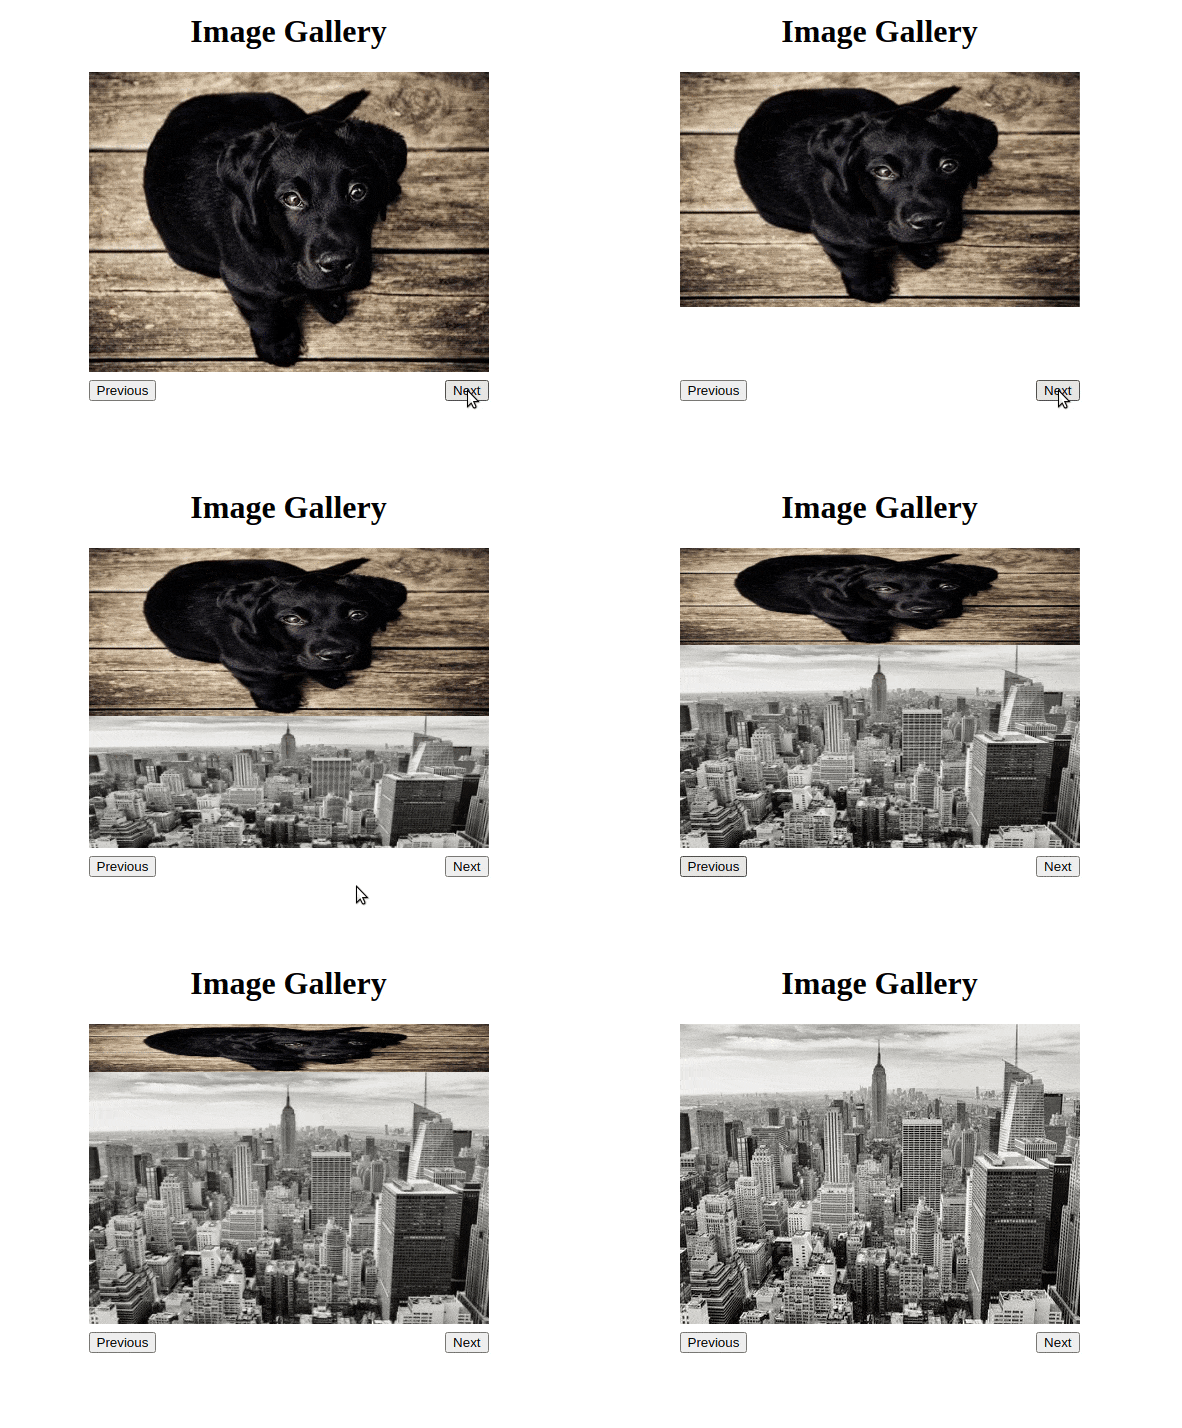
Transition Easing
import {elasticInOut} from 'svelte/easing';

<img transition:slide="{{ duration: 2000, easing: elasticInOut}}" src={item.url} alt={item.description} width={400} height={300}/>
Easing functions are probably the most interesting parameter to play with. You can modify the animation a lot by changing the easing function. Easing functions are mathematical curves that determine how the transition from A to B should occur. You can learn more about the easing function here.
We are going to import predefined easing functions from svelte/easing. The elastic easing function will make the transition bounce slowly at first and then increase over time.
Separate Transition - In and Out
You can also add a separate transition when the element is removed from the DOM and another transition when the element is added to the DOM. Specify the in and out instead of the transition property in svelte
import {slide, fade} from 'svelte/transition';
import {elasticIn } from 'svelte/easing';

<img in:slide="{{ duration: 1000, easing: elasticIn}}" out:fade src={item.url} alt={item.description} width={400} height={300}/>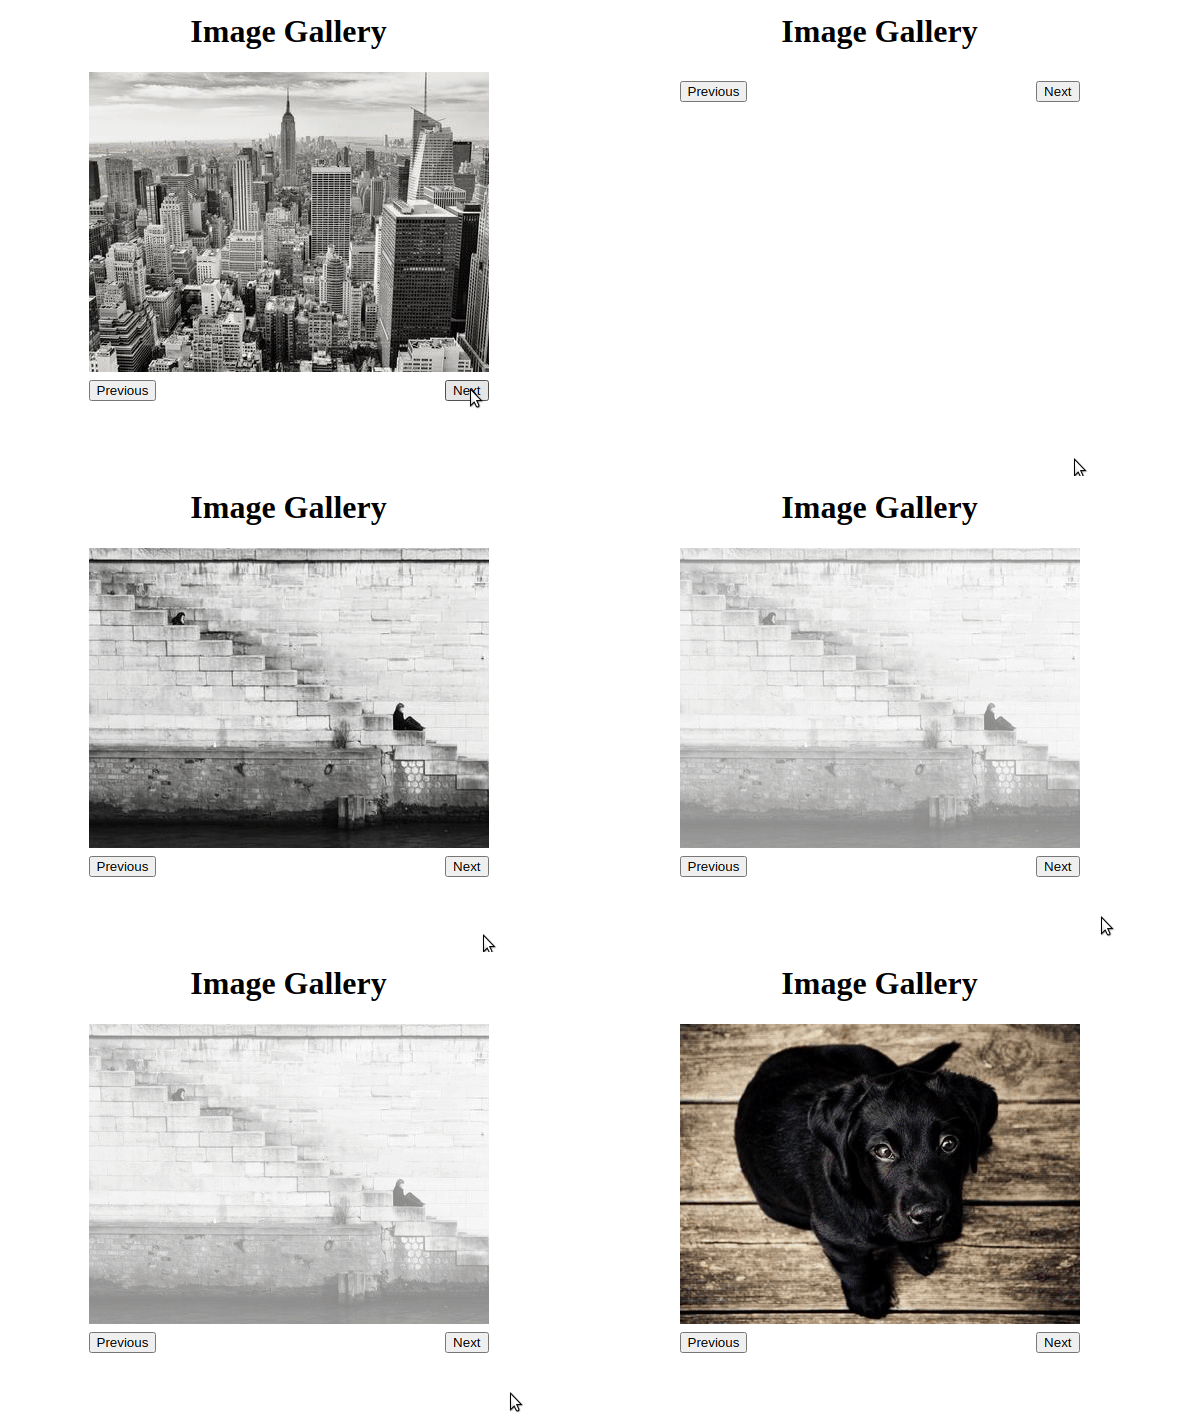
Conclusion
Transitions in svelte help in making the application more appealing and you can create a lot of nice effects using simple transitions which will make the user experience unique for your user.
Opinions expressed by DZone contributors are their own.
Comments