Complex Navigation in SwiftUI
Explaining the problems experienced when creating complex Navigation in SwiftUI.
Join the DZone community and get the full member experience.
Join For FreeNavigation in SwiftUI has been a major focus of the framework from day one; however, when we tried to create an app that had a bit more navigation and view complexity, we ran into the first problems.
Given the importance of navigation within an app, it has been revised and improved. In this WWDC 22′, they have published a new API to build complex navigation flows, making development easier.
To see its use, we are going to build a small shopping list app and apply the new navigation changes to it.
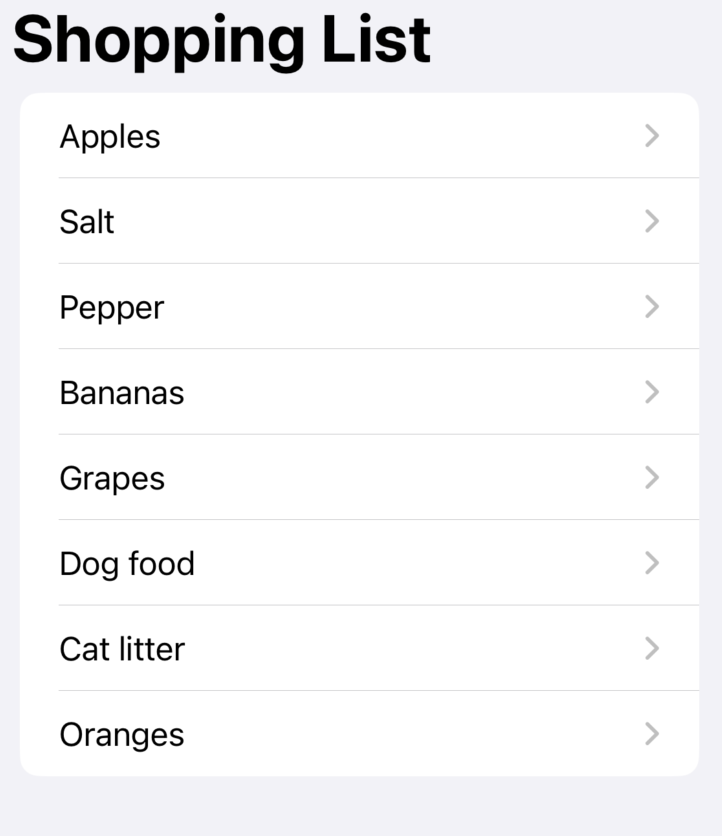
Shopping List
The example application is simply a shopping list where we can see different products, and when we click on it, we will navigate to their details.
Prior iOS 16
Example of how the navigation settings of our app would look like before receiving iOS16 enhancements.
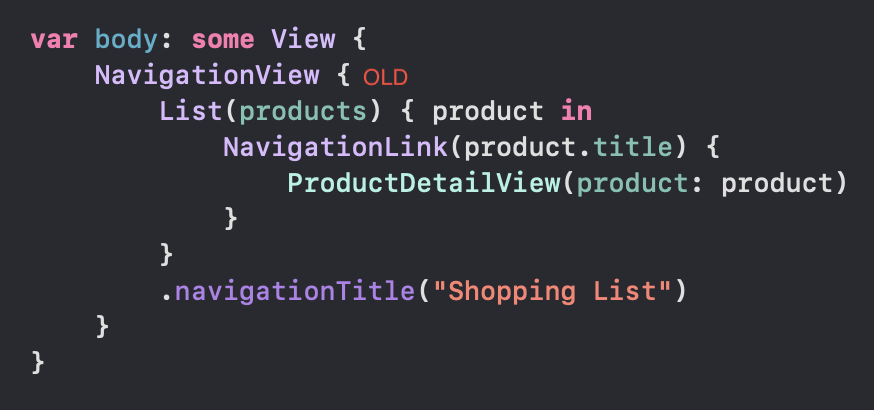
We all recognize the NavigationView object that has brought us so many headaches. The first thing we are going to do is to change it since it has been deprecated for an improved version of this one.
NavigationStack (NEW)
A view that displays a root view and enables you to present additional views over the root view.
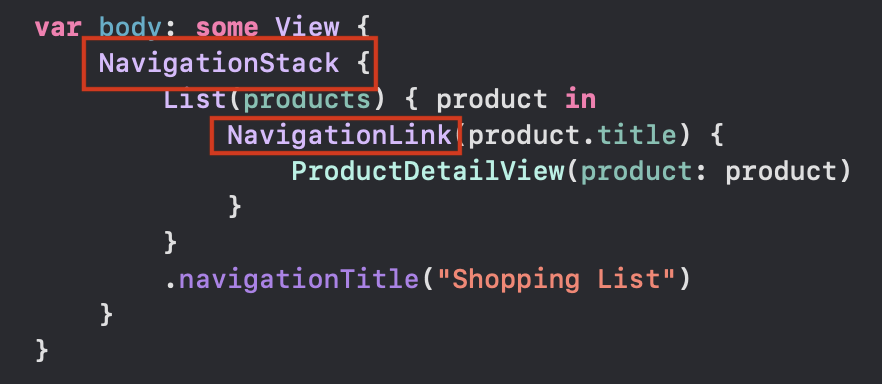
As we have commented before, the navigation of our example app is a master-detail navigation, and as you can see, it still uses NavigationLink for each product in the list. It fulfills its purpose and does not mean that it is badly used; we will simply see that we will be able to improve it.
With iOS16, we are introduced to a new way of how approaching navigation, the new navigationDestination view modifier.
.navigationDestination(for:destination:) (NEW)
Associates a destination view with a presented data type for use within a navigation stack.
This new modifier allows us to indicate the value we want to display along with the view we want to display for that particular value. We place it as we would any view modifier, specify the type, and within the closure, we will specify the view to which we want to navigate.

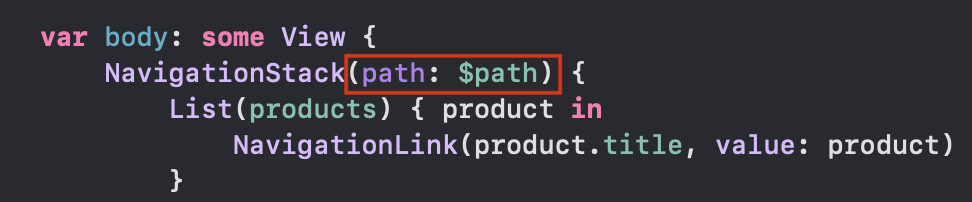
Finally, we must modify the init of the NavigationLink to be able to pass the value to it.
The best of all is that the NavigationStack works as a stack of views, an array in which the types (and, in turn, the views to which it is linked) are added in order, and this array is exposed to us so that we can play with it. Apart from the array of products to popularize the view, we are now going to declare an array as @State; we will call it path.

When we initialize the NavigationStack we can now pass it to the array as publisher.
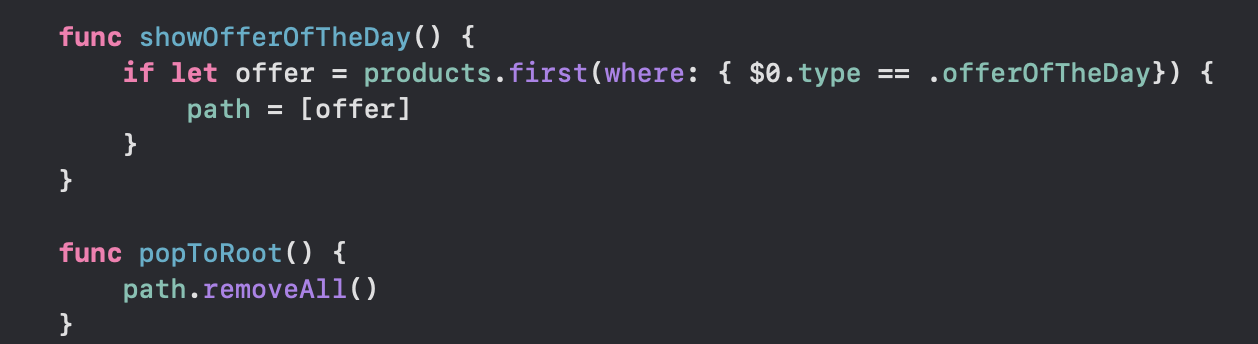
This change allows us to modify the navigation stack as we wish. For example, we can create a function to navigate directly to the offer of the day or the classic method to return to the beginning of the navigation stack. As easy as editing an array.
The Three Rules of NavigationDestination
When using the .navigationDestination modifier, we have to take into account these three rules.
- The navigationDestination modifier must always be inside a NavigationStack.
- We should not put the navigationDestination modifier as a child of any element considered as lazy container, such as List, LazyVStack, or LazyVGrid, because these elements do not load the views immediately.
- The navigationDestination declared above will always overwrite those below it that conform to the same type.
Published at DZone with permission of Bruno Basas. See the original article here.
Opinions expressed by DZone contributors are their own.
Comments