How to Control Your Mule With MMC
Learn how to register a server to a new Mule Management Console, and specifically learn more about how to add a new server.
Join the DZone community and get the full member experience.
Join For FreeLet me first start by saying that I simply love the name people that at Mulesoft decided to have for their product. Mule! It is so good and you can have so much fun making puns with it. That's how I came up with the topic for today: controlling your Mule.

Time to get serious.
Today, I will be talking about MMC (Mule Management Console). MMC is an enterprise management and monitoring tool designed specifically for Mule ESB instances. MMC provides a comprehensive set of functionality for managing and monitoring running Mule instances, Mule clusters, applications within Mule instances, and the flows within those applications. It also provides ways of looking at specific transactions through pre-defined business events, as well as transactions in flight.
Today, I will be showing you how to set up MMC. In future blogs, I will show how to register servers to MMC, deploy and un-deploy applications on MMC, analyze data and flows in MMC, create Mule clusters, etc.
Setting Up MMC
The MMC console application comes as a WAR file that can be deployed in supported application servers. I will be using the Tomcat server to deploy the MMC application. I will not be going into details about how to set up the Tomcat server.
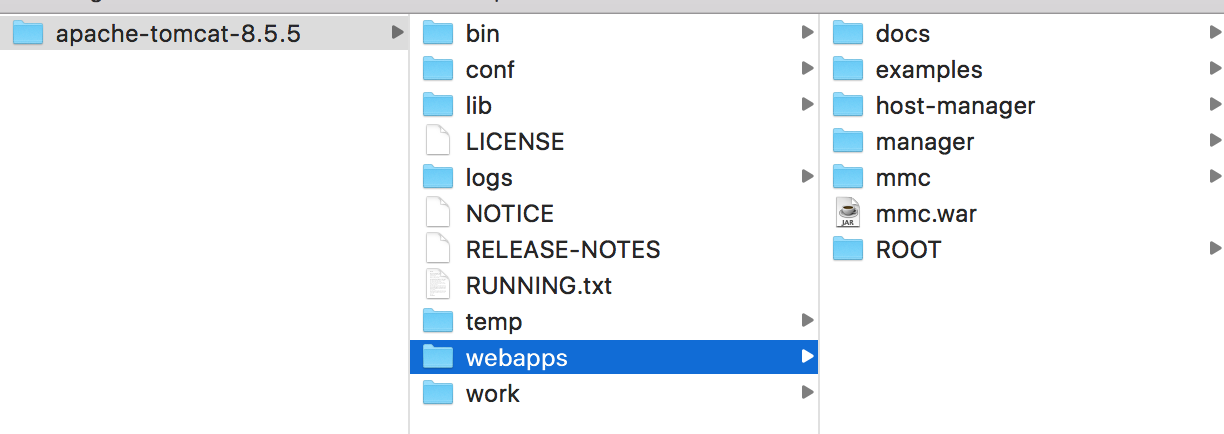
Once you have the Tomcat server ready, get the downloaded mmc.war file and place it in the webapps folder of the Tomcat server.

Once you are done placing mmc.war in the webapps folder, start the Tomcat server.

As soon as the server is up, you can access the MMC console by going to http://localhost:8080/mmc/login.jsp.
I am assuming that your Tomcat server is setup to run on port 8080. If you want to change the port of your MMC server, then you can go to server.xml in the conf folder and change the HTTP port of the Tomcat server.

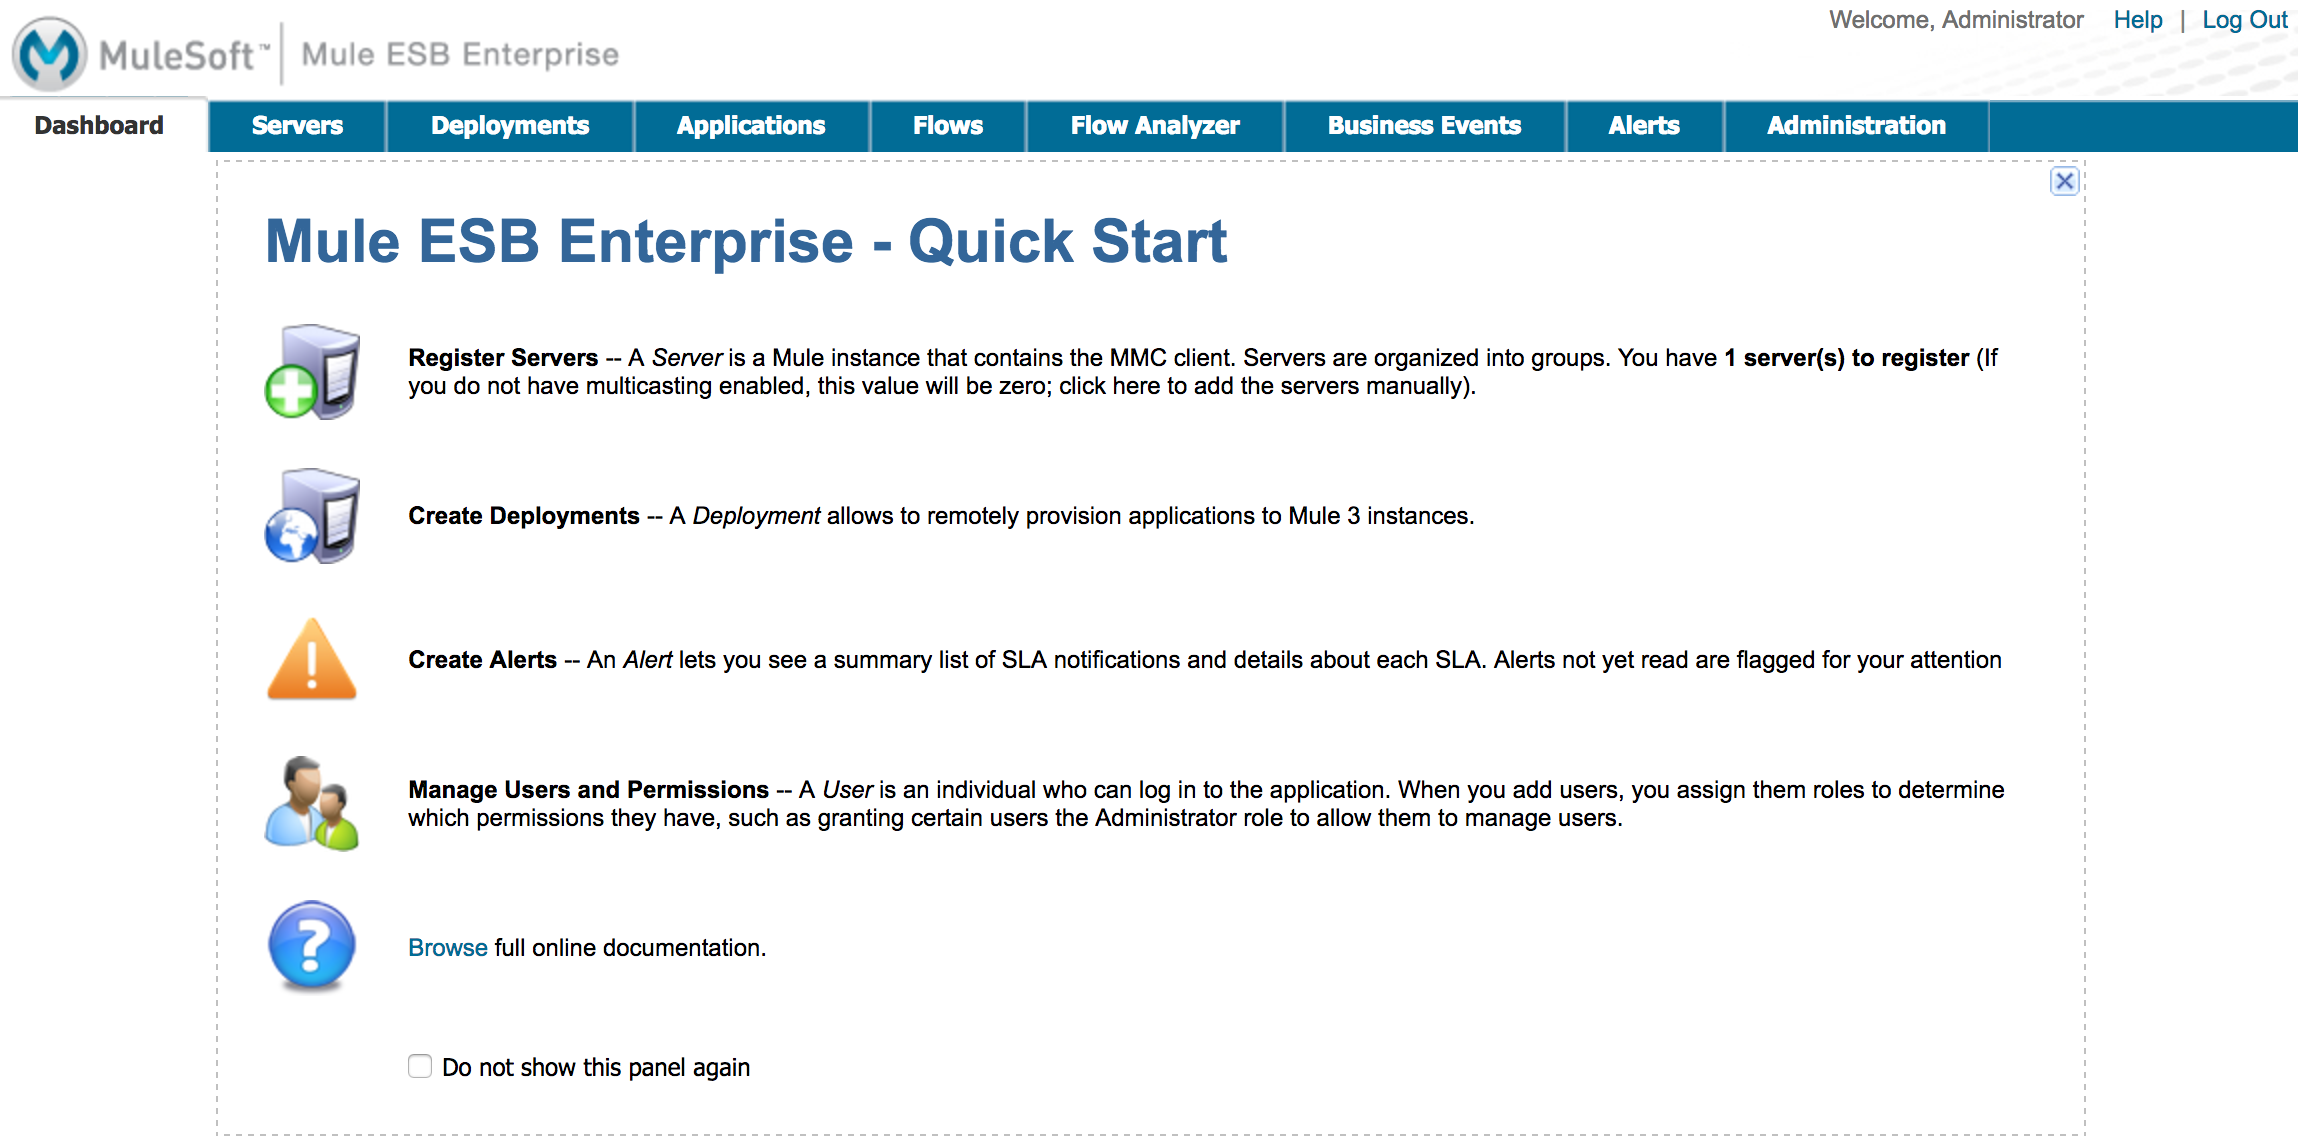
The default username and password are both admin. After you log in, you will be greeted with a page where you can do many different kinds of operations on Mule servers.

In the above image, you can see that there are various tabs like Servers, Deployments, Applications, Flows, etc. I will cover them all in my future blogs.
Servers
The Servers tab is the place where we can add various Mule runtimes to be managed by MMC along with the process of creating the cluster of Mule runtime servers.

Add a New Server
Before we go ahead and add a Mule runtime to MMC, we need to activate a Mule agent on Mule runtime. And to do this, we need to activate two major properties in wrapper.conf.

The default setting for mule.agent.enabled is false, so make sure to enable it by changing it to true. mule.mmc.bind.port will be used by MMC to connect to Mule runtime, so remember to put the correct port on your Mule runtime server.

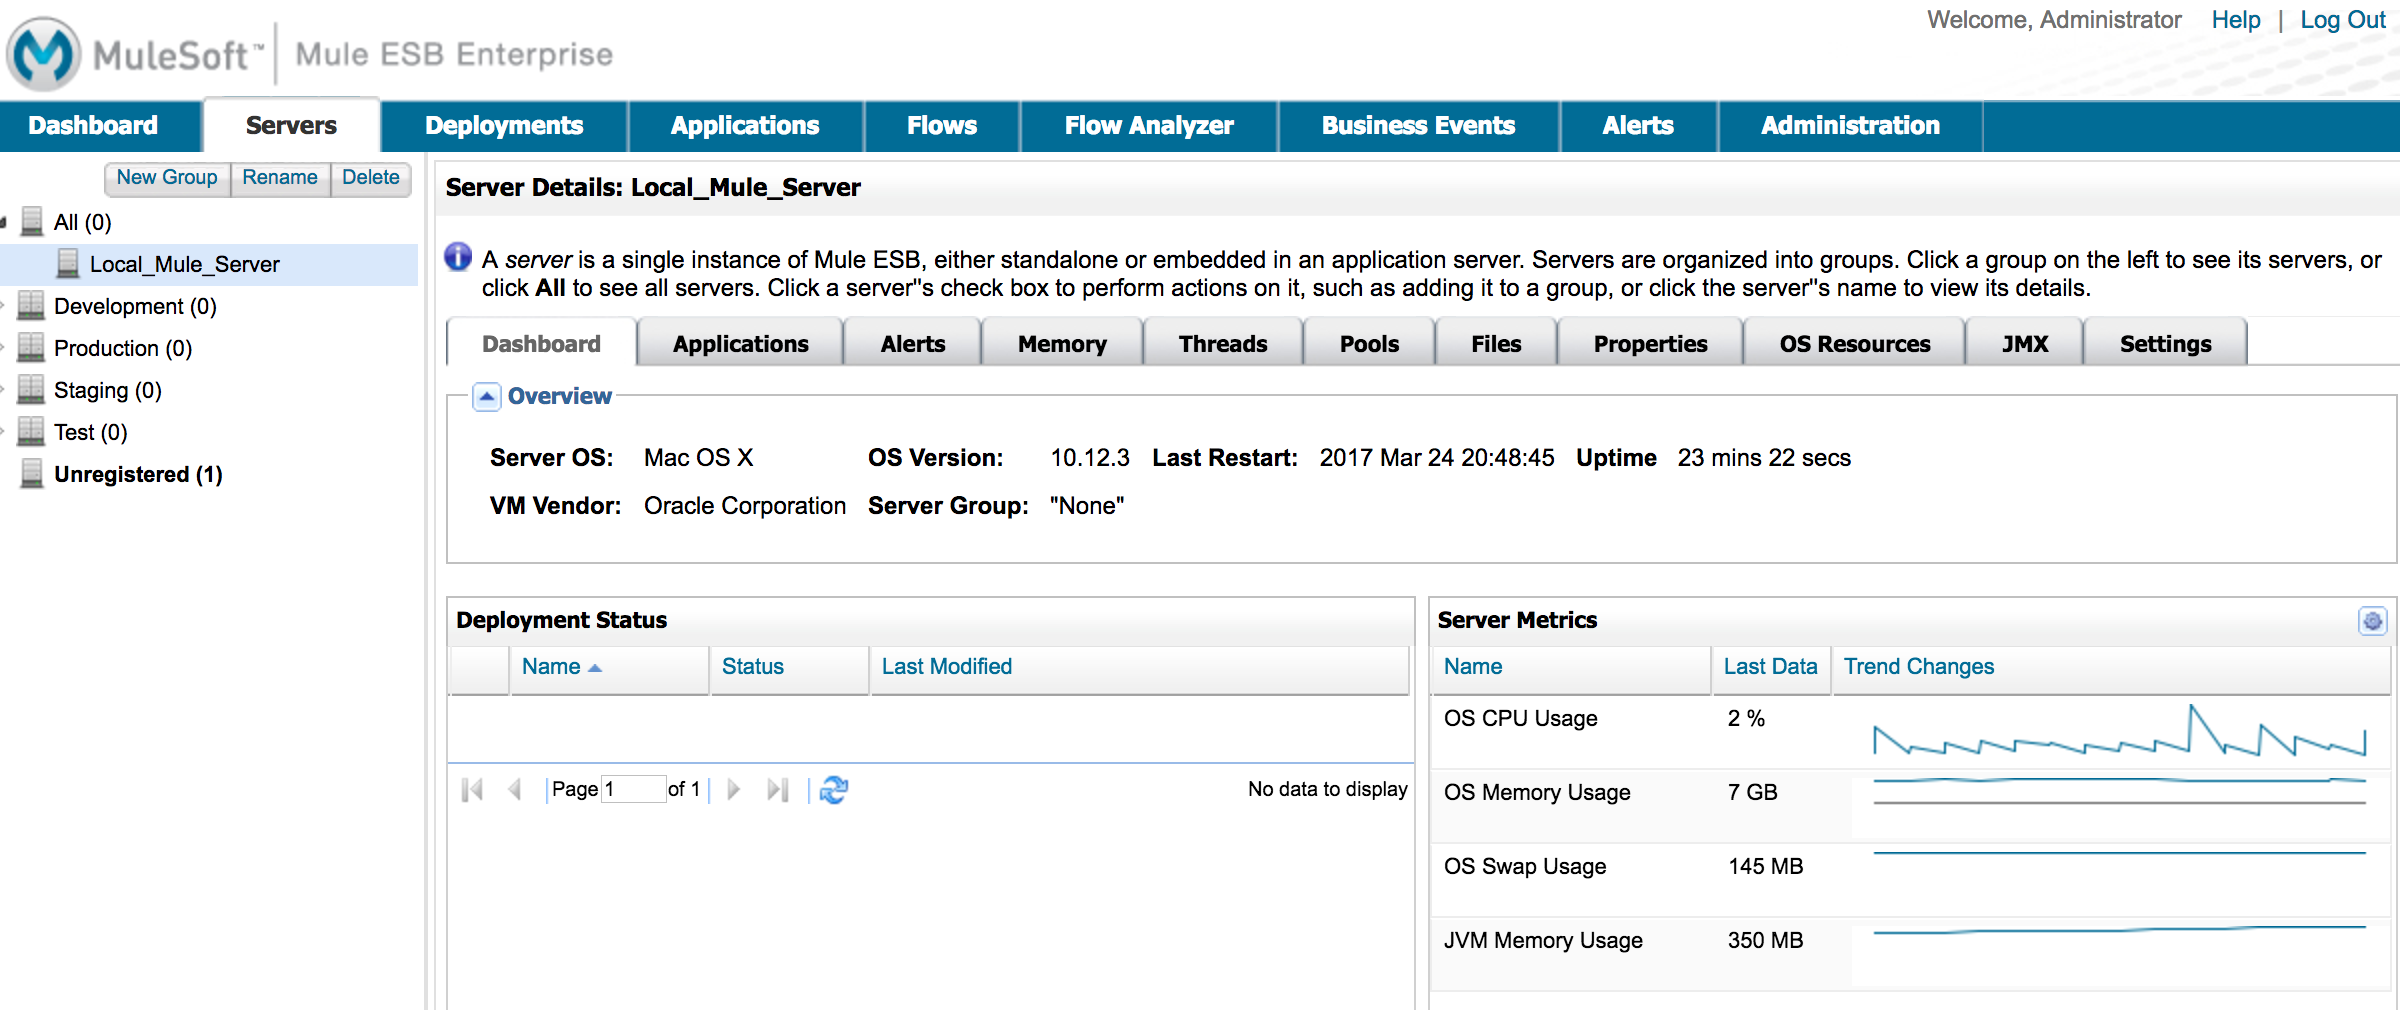
After putting the details of Mule runtime, click Add. MMC will start the communication with Mule runtime. Once it is done communicating with Mule runtime, you will be able to see the registered server as below.

With this, we have just registered our first server to MMC. In my future blogs, I will cover all other topics related to MMC and managing Mule runtime servers with Mule Management Console.
Opinions expressed by DZone contributors are their own.

Comments