How to Deploy a Spring Boot App on AWS ECS Cluster
Learn how to setup an AWS ECS (Elastic Container Service) Cluster. Create the Cluster and deploy a Docker image containing a Spring Boot App.
Join the DZone community and get the full member experience.
Join For FreeIn this post, you will learn how to setup an AWS ECS (Elastic Container Service) Cluster. You will create the Cluster and deploy a Docker image containing a Spring Boot App. Enjoy!
1. Introduction
Amazon Elastic Container Service is a managed container orchestration service which allows you to deploy and scale containerized applications. An overview of the features and pricing can be found at the AWS website.
ECS consists out of a few components:
- Elastic Container Repository (ECR): A Docker repository to store your Docker images (similar as DockerHub but now provisioned by AWS).
- Task Definition: A versioned template of a task which you would like to run. Here you will specify the Docker image to be used, memory, CPU, etc. for your container.
- ECS Cluster: The Cluster definition itself where you will specify how many instances you would like to have and how it should scale.
- Service: Based on a Task Definition, you will deploy the container by means of a Service into your Cluster.
This is basically everything you need to know in order to get started with this hands-on tutorial. The sources being used in this post are available at GitHub.
You will create a Docker image for a basic Spring Boot Application, upload it to ECR, create a Task Definition for the image, create a Cluster and deploy the container by means of a Service to the Cluster. At the end, you will also do something similar but including an Application Load Balancer.
At the time of writing, a new UI is being developed. For most of the actions described in this post, the New ECS Experience toggle has been enabled.
2. Create the App
The Spring Boot App is a basic application with a Hello Rest endpoint which returns a hello message including the host where the application is running. The app is used before in a previous post. The controller is the following:
@RestController
public class HelloController {

    @GetMapping("/hello")
    public String hello() {
        String message = "Hello AWS!";
        try {
            InetAddress ip = InetAddress.getLocalHost();
            message += " From host: " + ip;
        } catch (UnknownHostException e) {
            e.printStackTrace();
        }
        return message;
    }

}
In order to be able to create a Docker image, you need to add the dockerfile-maven-plugin to the pom file.
<properties>
    <java.version>11</java.version>
   <docker.image.prefix>mydeveloperplanet</docker.image.prefix>
</properties>
...
<build>
    <plugins>
        ...
        <plugin>
            <groupId>com.spotify</groupId>
            <artifactId>dockerfile-maven-plugin</artifactId>
            <version>1.4.12</version>
            <executions>
                <execution>
                    <id>default</id>
                    <goals>
                        <goal>build</goal>
                        <goal>push</goal>
                    </goals>
                </execution>
            </executions>

            <configuration>
                <repository>${docker.image.prefix}/myawsplanet</repository>
                <tag>${project.version}</tag>
                <buildArgs>
                    <JAR_FILE>target/${project.build.finalName}.jar</JAR_FILE>
                </buildArgs>
            </configuration>
        </plugin>
    </plugins>

</build>
You also need to add a Dockerfile to the root of the repository. The Dockerfile is following some best practices from a previous post.
FROM openjdk:11-jdk
VOLUME /tmp

RUN useradd -d /home/appuser -m -s /bin/bash appuser
USER appuser

HEALTHCHECK --interval=5m --timeout=3s CMD curl -f http://localhost:8080/actuator/health/ || exit 1

ARG JAR_FILE
COPY ${JAR_FILE} app.jar
ENTRYPOINT ["java","-Djava.security.egd=file:/dev/./urandom","-jar","/app.jar"]
Run the build in order to create the jar file and the corresponding Docker image.
$ mvn clean verifyVerify whether the Docker image is available in your local Docker repository.
$ docker images
REPOSITORY                                          TAG                 IMAGE ID            CREATED             SIZE
mydeveloperplanet/myawsplanet                       0.0.1-SNAPSHOT      765984f7cfc2        24 seconds ago      666MB
3. Upload Image to ECR
Now that you have created the Docker image, you need to upload it to ECR, the AWS Docker repository. Navigate in AWS to the ECS Service and select in the left menu the Repositories section. First thing to do, is to create a repository by clicking the Create repository button.
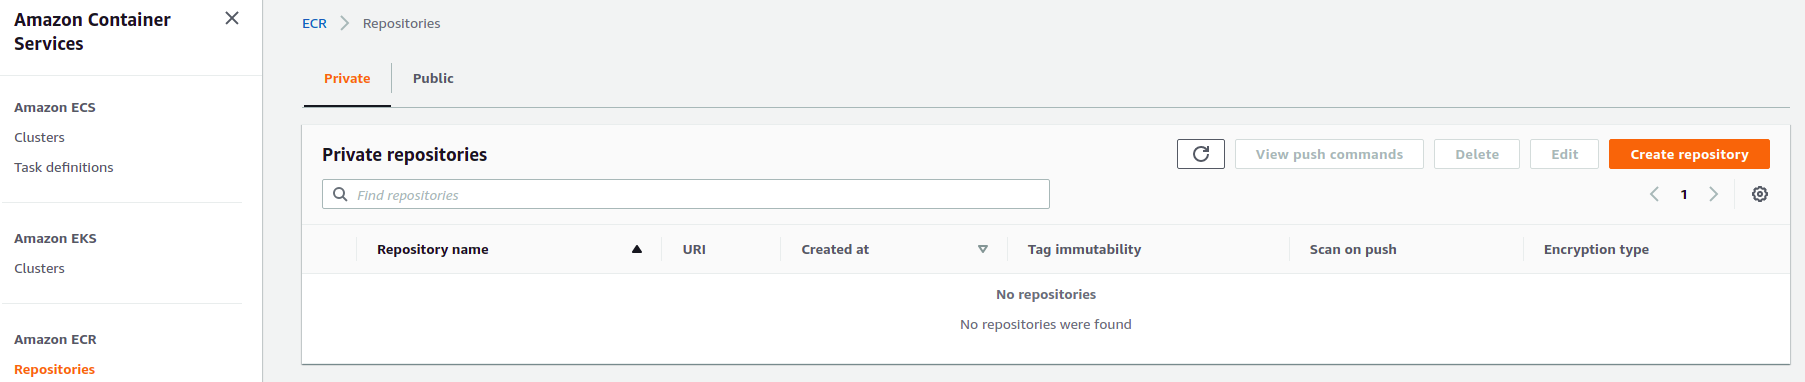
Give the repository a recognizable name like mydeveloperplanet/myawsplanet and click the Create repository button.

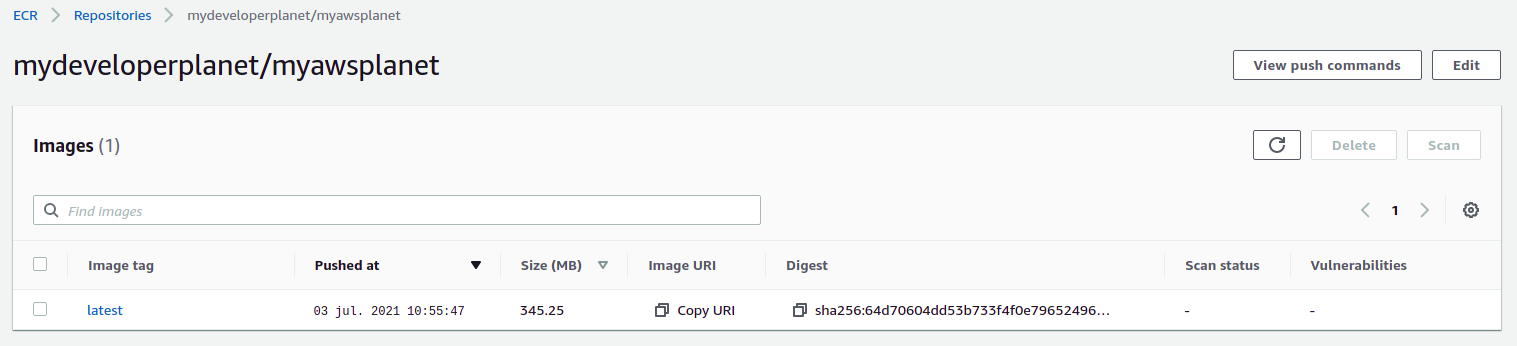
In order to see how you can push the Docker image to the repository, click the View push commands button which is available in the repository overview.

Execute step 1, which will provide you temporary credentials in order to be able to gain access to the repository. The <account ID> will be replaced with your AWS account ID.
$ aws ecr get-login-password --region eu-west-3 | docker login --username AWS --password-stdin <account ID>.dkr.ecr.eu-west-3.amazonaws.comSkip step2, building the Docker image is already executed by means of the Maven build. In step 3, adjust the command in order to use version 0.0.1-SNAPSHOT instead of latest for identifying the local Docker image.
$ docker tag mydeveloperplanet/myawsplanet:0.0.1-SNAPSHOT <account ID>.dkr.ecr.eu-west-3.amazonaws.com/mydeveloperplanet/myawsplanet:latestIn step 4, you push the local Docker image to the remote AWS Docker repository.
$ docker push <account ID>.dkr.ecr.eu-west-3.amazonaws.com/mydeveloperplanet/myawsplanet:latestAfter successful upload, the Docker image is added to the repository.
4. Create Task Definition
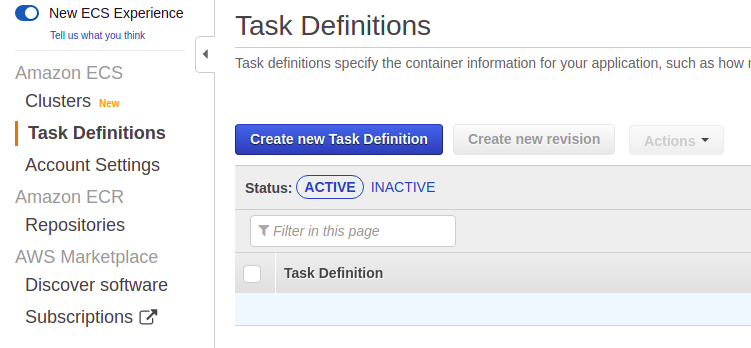
Now that the Docker image is available in ECR, next thing to do is to create a Task Definition by creating the Create new Task Definition button in the Task Definitions section (left menu).
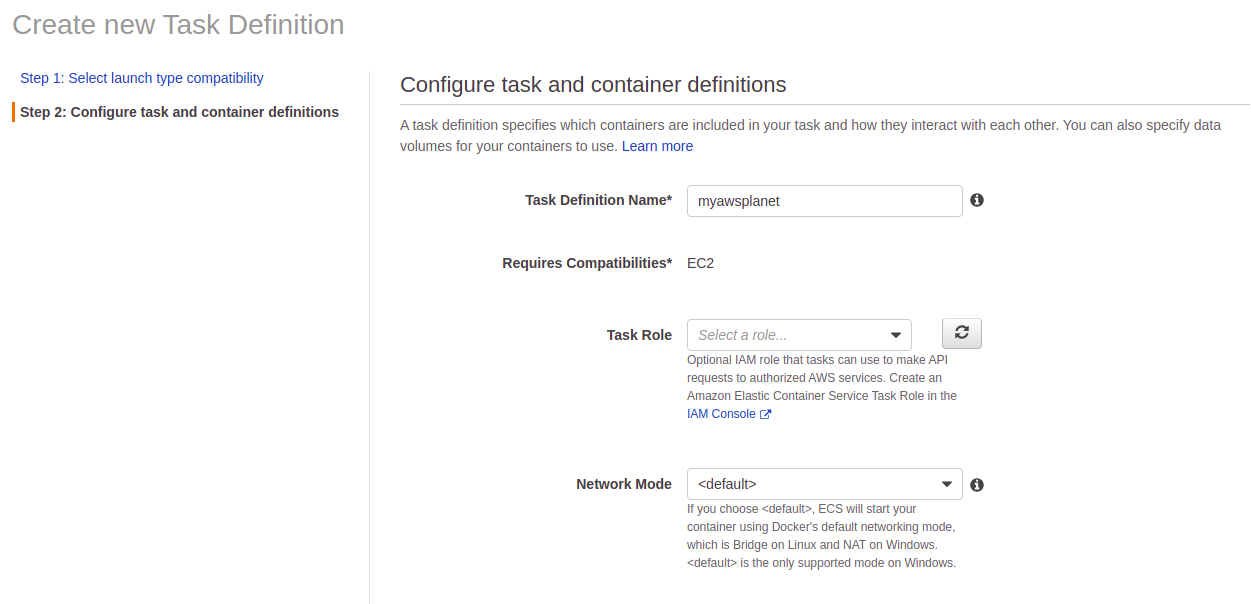
In step 1, choose for an EC2 self managed task and click the Next step button.

In step 2, give the task definiton the name myawsplanet.
Select a Task execution role in the Task execution IAM role section. This role is necessary for pulling the Docker image. If the role does not exist yet, select Create new role in the dropdown list. The Task memory and Task CPU fields are optional, leave them empty for now. In the screenshot below, the container is already added. See below the screenshot how to accomplish this.

Click the Add container button. Give the container the name myawsplanet. Fill in the Image to be pulled. This should be the Image URI of the Docker image from the ECR repository followed by the tag. Set the Memory Limits to 300 and add a Port mappings entry for host port 8080 to the container port 8080 (the Spring Boot application runs on port 8080 inside the container). Finally, click the Add button in order to add the container to the Task Definition.

The only thing left to do is to finalize step 2 by clicking the Create button at the bottom of the page.
5. Create Cluster
Navigate in the left menu to the Clusters section and click the Create cluster button.
In step 1, choose EC2 Linux + Networking and click the Next step button.

In step 2, give the Cluster the name myawsplanet and choose the t2.micro as EC2 instance type. This will allow you to remain in the Free Tier. Leave the other options as default. This will launch 1 EC2 instance into your Cluster.

In the Networking section, choose the default VPC and select all available subnets. Choose Create a new security group as Security group. You can also choose a Key pair if you want to be able to SSH to the EC2 instances. In the screenshot below, SSH access is not enabled.

The new security group must allow all traffic for port 8080 otherwise the Rest endpoint will not be accessible. This is configured in the Security group inbound rules section. Next, choose a previously created Container instance IAM role or choose Create new role when this is the first time you are going to use this. Click the Create button.

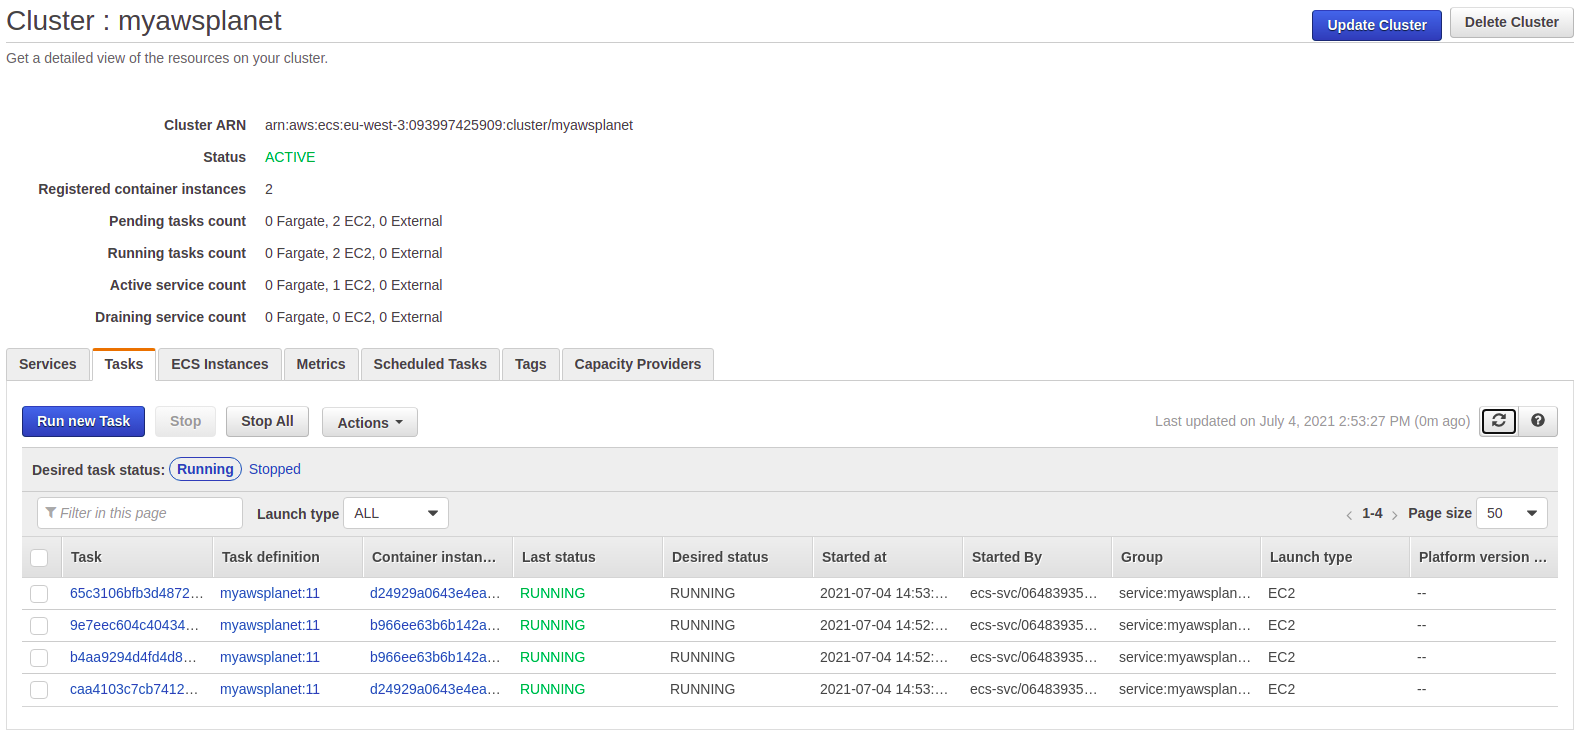
After a few minutes, the ECS Cluster is running. Navigate to the EC2 service and notice that the Auto Scaling group has been created and one EC2 instance is running.

The EC2 instance:

6. Create Service
You have created a Cluster and a Task Definition. Now it is time to deploy the Task Definition containing the configuration for the Docker container into the Cluster. Navigate to the Cluster and click the Deploy button.
Expand the Compute configuration (advanced) section and choose EC2 as Launch type.

In the Deployment configuration section, choose the Task Definition myawsplanet as Family and choose the latest revision. As you can see, task definitons are version controlled. Give the Service the name myawsplanetservice and create the Service.

Navigate to the EC2 service and copy the public URL of the EC2 instance. Use this URL in order to verify whether the endpoint is accessible.
$ curl http://ec2-13-36-172-189.eu-west-3.compute.amazonaws.com:8080/hello
Hello AWS! From host: a035a951c3c8/172.17.0.2
7. Create Service With ALB
With the previous configuration it is possible to run more tasks with more EC2 instances. However, it is not possible to route the traffic for port 8080 to different containers running on 1 EC2 instance. In other words, you are limited to run 1 task at each EC2 instance. Solution for this is to create a Service with an Application Load Balancer (ALB). It is, however, not possible to edit an existing Service to use an ALB. Therefore, you need to create a new Service. The Task Definition itself can be reused.
First, you will remove the existing Service. Navigate to the Service and click the Edit button. Set the Desired tasks to 0. This is necessary before you can remove the Service (do not mind the Revision number in the screenshot below, I just messed around while creating this blog). Click the Update button and remove the Service.

Navigate to the Task Definition and click the Create new revision button. Navigate to the container definition and set the host port to 0. This way, the ALB will choose a random port for the communication between the ALB and each Docker container. Click the Update button in order to update the container definiton and click the Create button in order to create the new Task Definition revision.

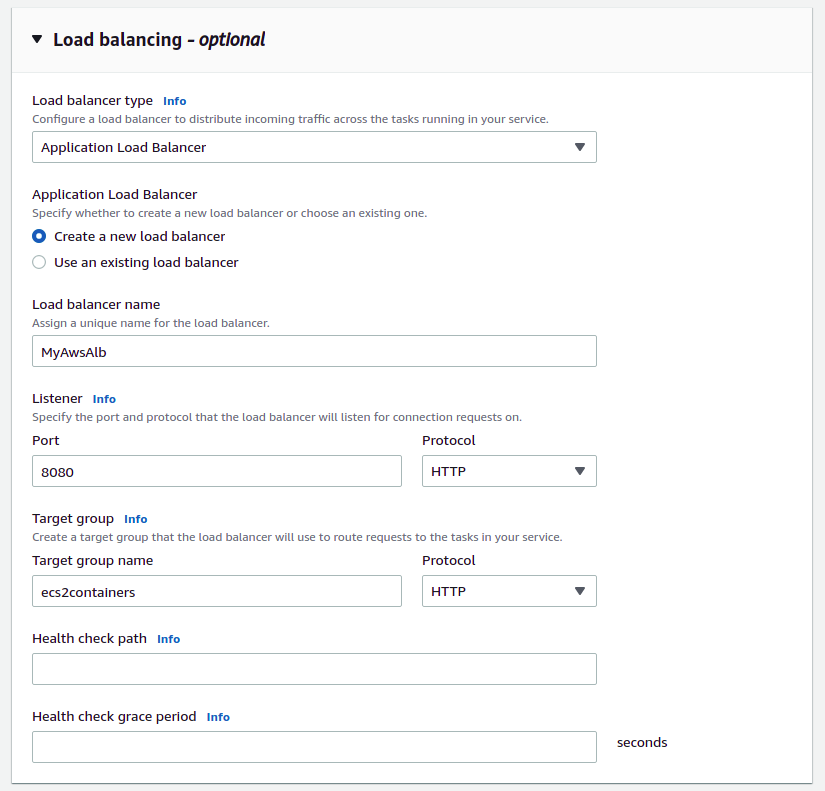
Create a new Service just like before, but in the Load balancing section choose for Application Load Balancer. Give the ALB the name MyAwsAlb and define port 8080 where the ALB should listen to. Give Target group the name ecs2containers and choose HTTP as protocol. Finally, click the Deploy button at the bottom of the page.
After a few minutes, the Service is created. Verify whether the Rest endpoint is accessible using the public IP of the ALB.
$ curl http://MyAwsAlb-4611708.eu-west-3.elb.amazonaws.com:8080/hello
curl: (28) Failed to connect to MyAwsAlb-4611708.eu-west-3.elb.amazonaws.com port 8080: Connection timed out
A time-out occurs, meaning that something is wrong with the Security Groups.
Navigate to the EC2 service to the Security Groups section. Create a new Security Group for the ALB where inbound traffic for port 8080 is allowed.
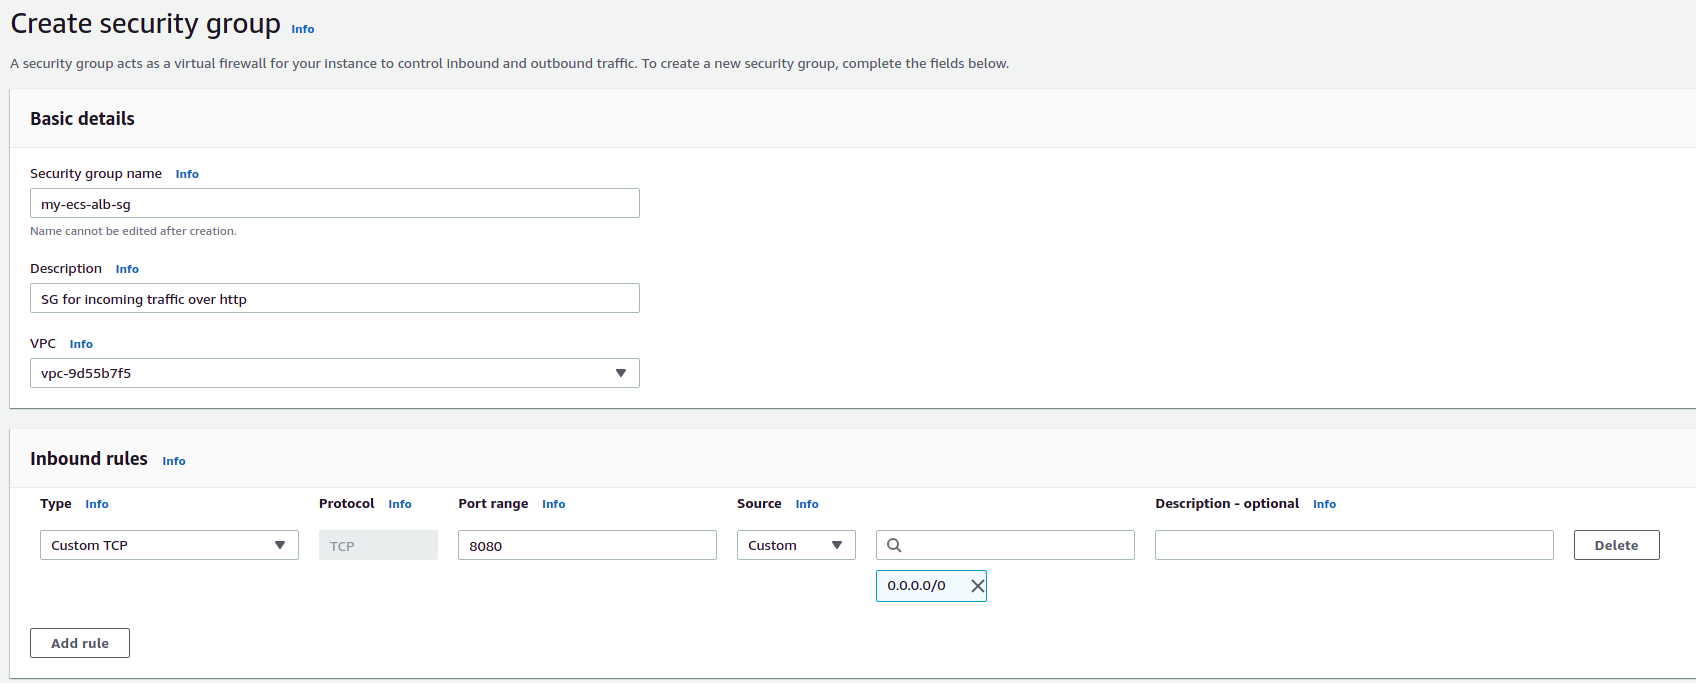
Attach this Security Group to the ALB via the Details tab in the Security Group section.
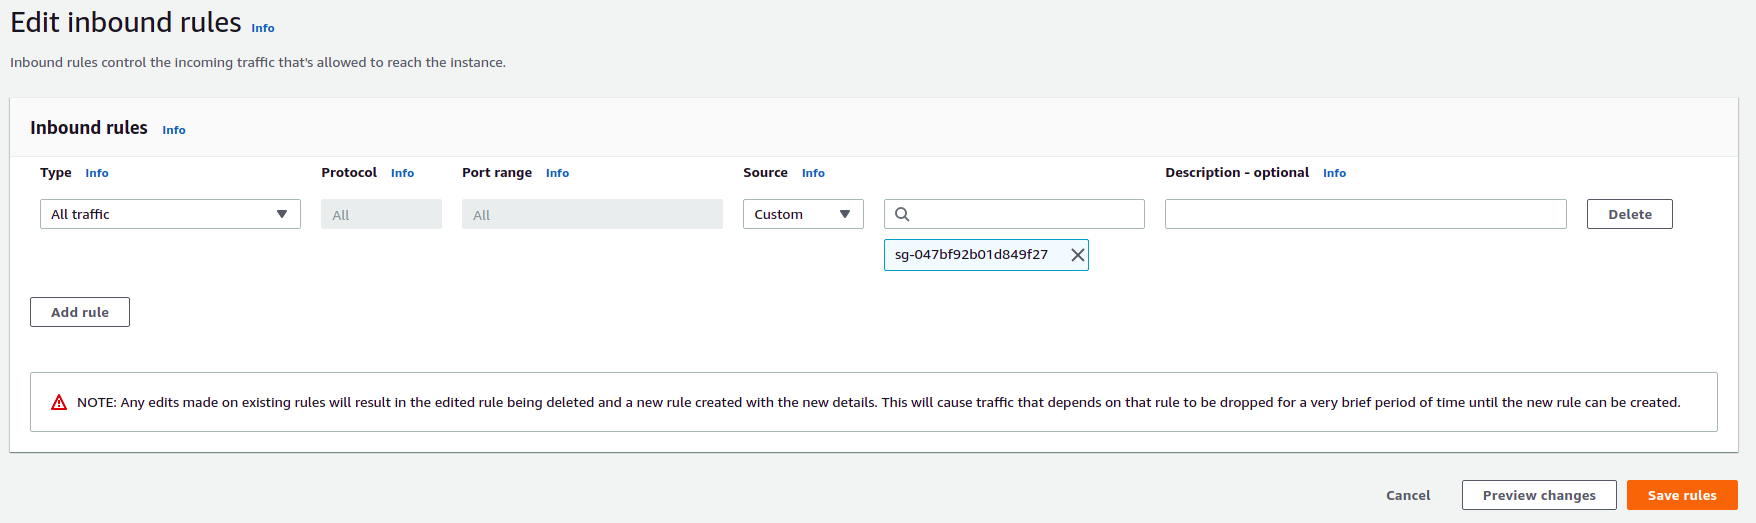
Navigate to the EC2 service to the EC2 Instance. Click the Security Group in the Security tab. Click the Edit inbound rules button in the Inbound rules tab and add an All Traffic rule with the ALB Security Group as source. Remove the existing 8080 rule.
Verify again whether the end point is accessible and now it works!
$ curl http://MyAwsAlb-555143254.eu-west-3.elb.amazonaws.com:8080/hello
Hello AWS! From host: 9a71b51064ee/172.17.0.2
The goal was to be able to deploy the image to multiple containers running on a single EC2 instance. Navigate to the Service and change the number of tasks to 2. Verify again with curl and you will notice that the IP is changing. Two tasks are running at one EC2 instance. It is possible that a 502 Bad Gateway occurs after updating the tasks, but this should stop after a few seconds.
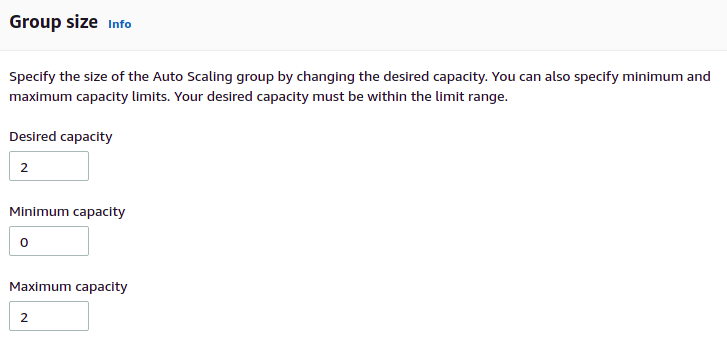
Finally, let’s activate 2 EC2 instances by updating the ASG in the EC2 service.
In the ECS Service you can set the number of tasks to 4.

In the classic view (disable the New ECS Experience toggle), you can see that 2 EC2 instances are running with each 2 tasks.
Running curl again shows you that the four tasks are interrogated one after another.
$ curl http://MyAwsAlb-555143254.eu-west-3.elb.amazonaws.com:8080/hello
Hello AWS! From host: 5e97f1d8c823/172.17.0.3
$ curl http://MyAwsAlb-555143254.eu-west-3.elb.amazonaws.com:8080/hello
Hello AWS! From host: ef015b5e2050/172.17.0.2
$ curl http://MyAwsAlb-555143254.eu-west-3.elb.amazonaws.com:8080/hello
Hello AWS! From host: e70d69bb7d02/172.17.0.2
$ curl http://MyAwsAlb-555143254.eu-west-3.elb.amazonaws.com:8080/hello
Hello AWS! From host: 1b2af349eb95/172.17.0.3
8. Cleanup
Execute the following steps in order to remove all resources:
- Set the number of tasks to 0 at the ECS Service;
- Remove the Cluster, this is at the moment of writing only available in the classic view;
- Click the Task Defintion, select all revisions and via the Actions menu, click the Deregister item;
- Remove the ECR repository;
- Remove the ALB, the Target Group and the Security Group
my-ecs-alb-sg; - In the CloudFormation service, remove the Stack which was created. You did not create this by yourselves, but the ECS Service is using CloudFormation in the background in order to create the necessary resources.
9. Conclusion
In this blog, you learned how to create and configure an ECS Cluster and deployed a Docker image to it containing a Spring Boot Application. You also learned how to scale the EC2 instances and how to run multiple tasks on multiple EC2 instances using an ALB.
Published at DZone with permission of Gunter Rotsaert. See the original article here.
Opinions expressed by DZone contributors are their own.
Comments