How to Implement a GraphQL API on Top of an Existing REST API
Start using GraphQL in legacy portions of your app without breaking existing contracts with functionality that still relies on the original REST API.
Join the DZone community and get the full member experience.
Join For Free
Where do you keep your dad jokes? In a dadabase of course! Let's imagine that you are a site maintainer for the world's best dad joke database. Your app communicates with the database using a REST API that allows you to retrieve jokes and post ratings for those jokes. Visitors to your site can rate each joke they see via a simple user interface.
Recently you heard of a fancy new technology called GraphQL that provides the flexibility to request only the data that you need using a single API endpoint. It sounds neat, and you'd like to start using it in your app. But, you'd really prefer not to make any breaking changes to the existing REST API. Is it possible to support both the REST API and the GraphQL API in your app? You're about to find out!
In this article we'll explore what it takes to implement a GraphQL API on top of an existing REST API. This strategy allows you to start using GraphQL in legacy portions of your app without breaking any existing contracts with functionality that may still rely on the original REST API.
If you'd like to see the end result, you can find the code for the REST API here and the code for the front-end and GraphQL API here. Don't forget to visit the app as well to groan at some jokes.
The Initial Architecture
The app's backend was originally built using Node and JSON Server. JSON Server utilizes Express to provide a full REST API to a mock database generated from a simple JSON file. A separate Express server takes care of serving the static HTML, CSS, and JavaScript assets for the front-end. The front-end is implemented in vanilla JS and uses the browser's built-in Fetch API to make the API requests. The app is hosted on Heroku to make deployment and monitoring a breeze.
Our JSON file contains information for a few jokes as well as some ratings. It's reproduced in full below:
{
"jokes": [
{
"id": 1,
"content": "I don't often tell dad jokes, but when I do, sometimes he laughs."
},
{
"id": 2,
"content": "Why was the scarecrow promoted? For being outstanding in his field."
},
{
"id": 3,
"content": "What did the grape do when someone stepped on him? He let out a little whine."
},
{
"id": 4,
"content": "Einstein, Pascal, and Newton are playing hide and seek. Einstein covers his eyes and begins counting. While Pascal runs off and hides, Newton takes out some chalk and marks a square on the ground with side lengths of exactly 1 meter, then sits down inside the square. When Einstein is finished counting and sees Newton sitting on the ground, he yells, \"Ha, I've found you, Newton!\". Newton replies, \"No you haven't! You've found one Newton over a square meter. You've found Pascal!"
}
],
"ratings": [
{ "id": 1, "jokeId": 1, "score": 8 },
{ "id": 2, "jokeId": 2, "score": 3 },
{ "id": 3, "jokeId": 3, "score": 6 },
{ "id": 4, "jokeId": 1, "score": 7 },
{ "id": 5, "jokeId": 2, "score": 6 },
{ "id": 6, "jokeId": 3, "score": 4 },
{ "id": 7, "jokeId": 1, "score": 9 },
{ "id": 8, "jokeId": 2, "score": 10 },
{ "id": 9, "jokeId": 3, "score": 2 },
{ "id": 10, "jokeId": 4, "score": 10 },
{ "id": 11, "jokeId": 4, "score": 10 },
{ "id": 12, "jokeId": 4, "score": 10 },
{ "id": 13, "jokeId": 4, "score": 10 },
{ "id": 14, "jokeId": 4, "score": 10 },
{ "id": 15, "jokeId": 4, "score": 10 }
]
}
JSON Server takes that file as a starting point for the database and then implements a REST API that includes support for GET, POST, PUT, PATCH, and DELETE requests. The magic of JSON Server is that using this API really does modify the underlying JSON file, so the database is fully interactive. JSON Server can be started directly from an npm script without any additional setup, but in order to provide a little more configuration and a dynamic port, we can instead write a few lines of code like so:
xxxxxxxxxx
const jsonServer = require('json-server')
const server = jsonServer.create()
const router = jsonServer.router('db.json')
const middlewares = jsonServer.defaults()
server.use(middlewares)
server.use(router)
server.listen(process.env.PORT || 3000, () => {
console.log(`JSON Server is running on port ${process.env.PORT || 3000}`)
})
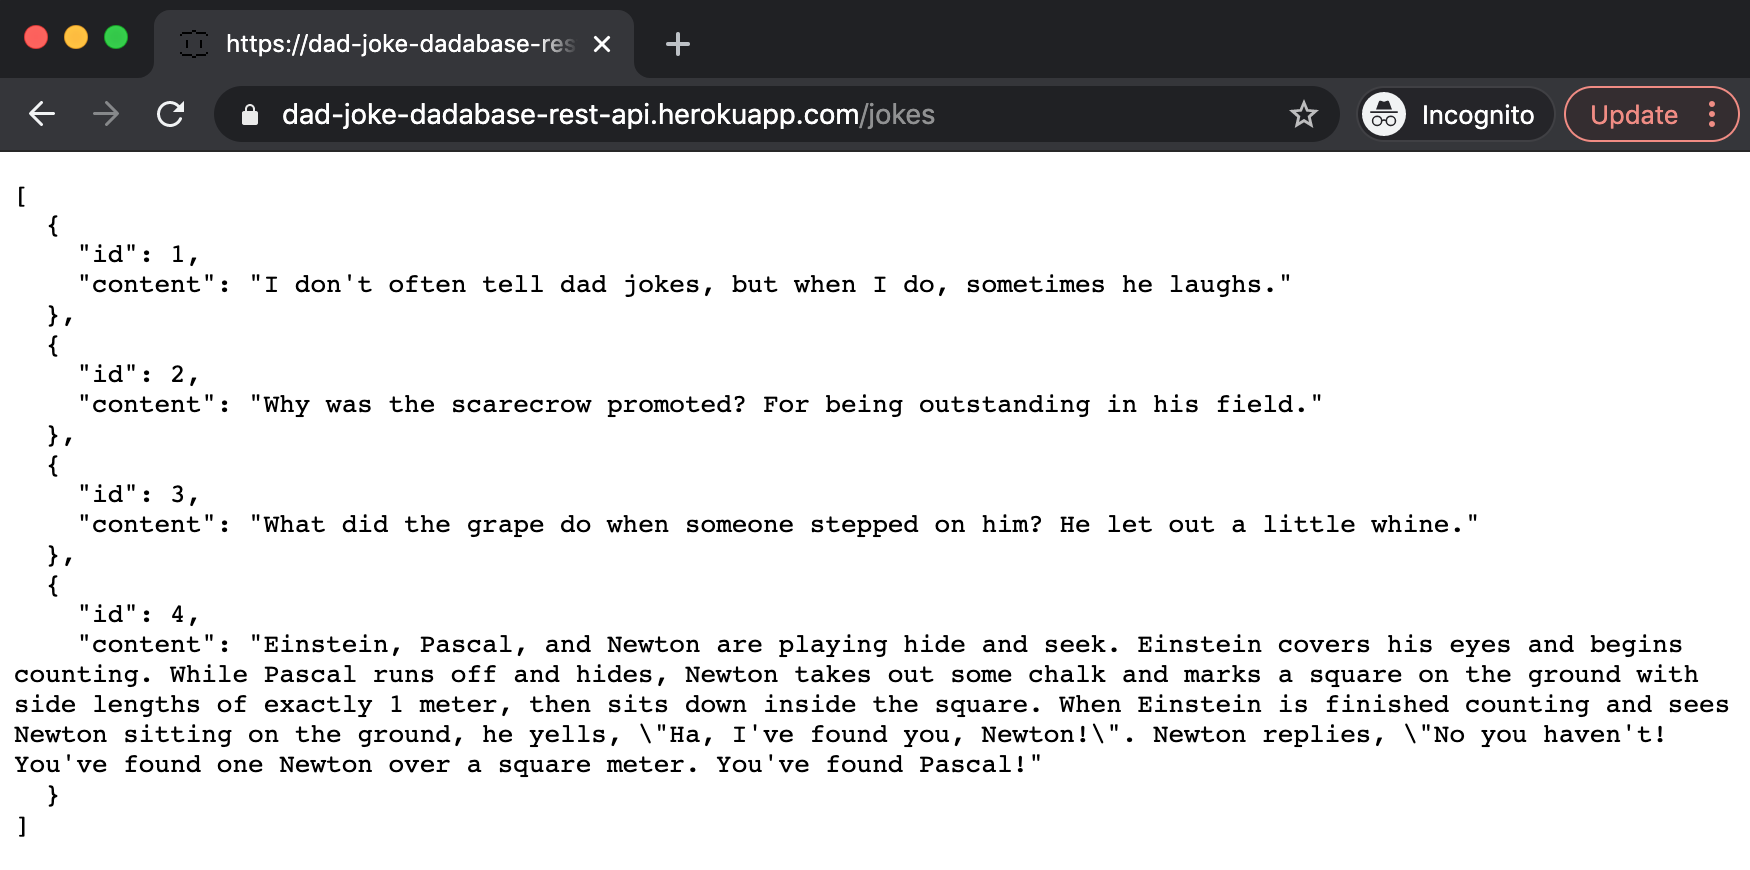
You can test out our mock database by cloning the repo for the API, running npm install, and then running npm start. If you navigate to http://localhost:3000/jokes you'll see all of the jokes. Navigating to http://localhost:3000/ratings will display all the ratings.

Wonderful! We can run our app's backend locally in the browser. Now let's get our API hosted on Heroku. First, we need to install the Heroku CLI. After that, we can log in, create the app, push it to Heroku, and open the new app in our browser in four easy steps:
heroku login                                # logs in to your Heroku account
heroku create dad-joke-dadabase-rest-api    # creates the Heroku app
git push heroku master                      # deploys the code to Heroku
heroku open                                 # opens the Heroku app on your machine
And look, now we have a publicly available API out on the web!
Building the User Interface
Now that we have a working REST API, we can build the front-end to consume that API and display the user interface for viewing and rating jokes. The HTML provides a shell of the page with containers into which the JavaScript will insert content for each joke.
xxxxxxxxxx
<html lang="en">
<head>
<meta charset="utf-8">
<meta name="viewport" content="width=device-width, initial-scale=1">
<title>Dad Joke Dadabase</title>
<meta name="description" content="Where do you keep your dad jokes? In a dadabase of course!">
<meta name="author" content="Tyler Hawkins">
<link rel="stylesheet" href="./style.css">
</head>
<body>
<h1>Dad Joke Dadabase</h1>
<div class="project">
<h2 class="jokeContent"></h2>
<div class="rateThisJokeContainer">
<p>Rate this joke:</p>
<div class="rateThisJokeOptions">
<span class="formGroup"><input type="radio" id="score-1" name="yourRating" value="1" /><label for="score-1">1</label></span>
<span class="formGroup"></span><input type="radio" id="score-2" name="yourRating" value="2" /><label for="score-2">2</label></span>
<span class="formGroup"></span><input type="radio" id="score-3" name="yourRating" value="3" /><label for="score-3">3</label></span>
<span class="formGroup"></span><input type="radio" id="score-4" name="yourRating" value="4" /><label for="score-4">4</label></span>
<span class="formGroup"></span><input type="radio" id="score-5" name="yourRating" value="5" /><label for="score-5">5</label></span>
<span class="formGroup"></span><input type="radio" id="score-6" name="yourRating" value="6" /><label for="score-6">6</label></span>
<span class="formGroup"></span><input type="radio" id="score-7" name="yourRating" value="7" /><label for="score-7">7</label></span>
<span class="formGroup"></span><input type="radio" id="score-8" name="yourRating" value="8" /><label for="score-8">8</label></span>
<span class="formGroup"></span><input type="radio" id="score-9" name="yourRating" value="9" /><label for="score-9">9</label></span>
<span class="formGroup"></span><input type="radio" id="score-10" name="yourRating" value="10" /><label for="score-10">10</label></span>
</div>
</div>
<p class="averageRating">Average Rating: <span class="jokeRatingValue">7.8</span></p>
<button id="nextJoke">See Next Joke</button>
</div>
<script src="./script.js"></script>
</body>
</html>
The JavaScript is shown below. The key pieces that interact with the REST API are the two fetch requests. The first fetches all of the jokes from the database by hitting the /jokes?_embed=ratings endpoint. The second makes a POST request to the /ratings endpoint to submit a new rating for each joke you rate.
xxxxxxxxxx
const jokeContent = document.querySelector('.jokeContent')
const jokeRatingValue = document.querySelector('.jokeRatingValue')
const nextJokeButton = document.querySelector('#nextJoke')
const jokes = []
let currentJokeIndex = -1
const displayNextJoke = () => {
currentJokeIndex++
if (currentJokeIndex >= jokes.length) {
currentJokeIndex = 0
}
const joke = jokes[currentJokeIndex]
jokeContent.textContent = joke.content
const totalScore = joke.ratings.reduce(
(total, rating) => (total += rating.score),
0
)
const numberOfRatings = joke.ratings.length
const averageRating = totalScore / numberOfRatings
jokeRatingValue.textContent = averageRating.toFixed(1)
}
const submitJokeRating = () => {
const ratingInput = document.querySelector('input[name="yourRating"]:checked')
if (ratingInput && ratingInput.value) {
const score = Number(ratingInput.value)
const jokeId = jokes[currentJokeIndex].id
const postData = { jokeId, score }
fetch('/ratings', {
method: 'POST',
headers: {
'Content-Type': 'application/json',
},
body: JSON.stringify(postData),
})
.then(response => response.json())
.then(responseData => {
const jokeToUpdate = jokes.find(joke => joke.id === responseData.jokeId)
jokeToUpdate && jokeToUpdate.ratings.push(responseData)
})
.finally(() => {
ratingInput.checked = false
displayNextJoke()
})
} else {
displayNextJoke()
}
}
nextJokeButton.addEventListener('click', submitJokeRating)
fetch('/jokes?_embed=ratings')
.then(response => response.json())
.then(data => {
jokes.push(data)
displayNextJoke()
})

Setting Up Apollo Server
So, that's the existing app architecture: a simple front-end that interacts with the database via a REST API. Now how can we begin using GraphQL? We'll start by installing apollo-server-express, which is a package that allows us to use Apollo Server with Express. We'll also install the apollo-datasource-rest package to help us integrate the REST API with Apollo Server. Then we'll configure the server by writing the following code:
xxxxxxxxxx
const express = require('express')
const path = require('path')
const { ApolloServer } = require('apollo-server-express')
const JokesAPI = require('./jokesAPI')
const RatingsAPI = require('./ratingsAPI')
const typeDefs = require('./typeDefs')
const resolvers = require('./resolvers')
const app = express()
const server = new ApolloServer({
typeDefs,
resolvers,
dataSources: () => ({
jokesAPI: new JokesAPI(),
ratingsAPI: new RatingsAPI(),
}),
})
server.applyMiddleware({ app })
app
.use(express.static(path.join(__dirname, 'public')))
.get('/', (req, res) => {
res.sendFile('index.html', { root: 'public' })
})
.get('/script.js', (req, res) => {
res.sendFile('script.js', { root: 'public' })
})
.get('/style.css', (req, res) => {
res.sendFile('style.css', { root: 'public' })
})
app.listen({ port: process.env.PORT || 4000 }, () => {
console.log(`Server ready at port ${process.env.PORT || 4000}`)
})
As you can see, we configure Apollo Server with type definitions (typeDefs), resolvers, and dataSources. The typeDefs contain the schema for our GraphQL API. In it, we'll define types for our jokes and ratings as well as how to query and mutate them. The resolvers tell the server how to handle various queries and mutations and how those link to our data sources. And finally, the dataSources outline how the GraphQL API relates to the REST API.
Here are the type definitions for the Joke and Rating types and how to query and mutate them:
xxxxxxxxxx
const { gql } = require('apollo-server-express')
const typeDefs = gql`
type Joke {
id: Int!
content: String!
ratings: [Rating]
}
type Rating {
id: Int!
jokeId: Int!
score: Int!
}
type Query {
joke(id: Int!): Joke
jokes: [Joke]
rating(id: Int!): Rating
ratings: [Rating]
}
type Mutation {
rating(jokeId: Int!, score: Int!): Rating
}
`
module.exports = typeDefs
The jokes data source defines methods for calling the original REST API endpoint to create, read, update, and delete jokes from the database:
xxxxxxxxxx
const { RESTDataSource } = require('apollo-datasource-rest')
class JokesAPI extends RESTDataSource {
constructor() {
super()
this.baseURL = 'https://dad-joke-dadabase-rest-api.herokuapp.com/'
}
async getJoke(id) {
return this.get(`jokes/${id}?_embed=ratings`)
}
async getJokes() {
return this.get('jokes?_embed=ratings')
}
async postJoke(jokeContent) {
return this.post('jokes', jokeContent)
}
async replaceJoke(joke) {
return this.put('jokes', joke)
}
async updateJoke(joke) {
return this.patch('jokes', { id: joke.id, joke })
}
async deleteJoke(id) {
return this.delete(`jokes/${id}`)
}
}
module.exports = JokesAPI
The ratings data source looks nearly identical, but with "rating" substituted for "joke" in every instance. (refer to the GitHub repo if you'd like to see the code for this.)
Finally, we set up our resolvers to show how to use the data sources:
xxxxxxxxxx
const resolvers = {
Query: {
joke: async (_source, { id }, { dataSources }) =>
dataSources.jokesAPI.getJoke(id),
jokes: async (_source, _args, { dataSources }) =>
dataSources.jokesAPI.getJokes(),
rating: async (_source, { id }, { dataSources }) =>
dataSources.ratingsAPI.getRating(id),
ratings: async (_source, _args, { dataSources }) =>
dataSources.ratingsAPI.getRatings(),
},
Mutation: {
rating: async (_source, { jokeId, score }, { dataSources }) => {
const rating = await dataSources.ratingsAPI.postRating({ jokeId, score })
return rating
},
},
}
module.exports = resolvers
With that, we have everything in place we need in order to start using our GraphQL API through Apollo Server. To get our new front-end and GraphQL API hosted on Heroku, we'll create and deploy a second app like so:
heroku create dad-joke-dadabase       # creates the Heroku app
git push heroku master                # deploys the code to Heroku
heroku open                           # opens the Heroku app on your machine
Replacing the Endpoint to Fetch Jokes
You'll recall that we have two endpoints used by the front-end: one to fetch jokes and one to post ratings. Let's swap out the REST API for our GraphQL API when we fetch the jokes. The code previously looked like this:
xxxxxxxxxx
fetch('/jokes?_embed=ratings')
.then(response => response.json())
.then(data => {
jokes.push(data)
displayNextJoke()
})
Now to use the GraphQL endpoint, we can write this instead:
xxxxxxxxxx
fetch('/graphql', {
method: 'POST',
headers: { 'Content-Type': 'application/json' },
body: JSON.stringify({
query: `
query GetAllJokesWithRatings {
jokes {
id
content
ratings {
score
id
jokeId
}
}
}
`,
}),
})
.then(res => res.json())
.then(res => {
jokes.push(res.data.jokes)
displayNextJoke()
})
We can run the app locally now and verify that the user experience still works properly. In fact, from the user's point of view, nothing has changed at all. But if you look at the network requests in your browser's developer tools, you'll see that we're now fetching our jokes from the /graphql endpoint. Amazing!

Replacing the Endpoint to Submit Ratings
One API down, one to go! Let's swap out the ratings submission functionality now. The code to post a new joke rating previously looked like this:
xxxxxxxxxx
fetch('/ratings', {
method: 'POST',
headers: {
'Content-Type': 'application/json',
},
body: JSON.stringify(postData),
})
.then(response => response.json())
.then(responseData => {
const jokeToUpdate = jokes.find(joke => joke.id === responseData.jokeId)
jokeToUpdate && jokeToUpdate.ratings.push(responseData)
})
.finally(() => {
ratingInput.checked = false
displayNextJoke()
})
To use our GraphQL API, we'll now use the following:
xxxxxxxxxx
fetch('/graphql', {
method: 'POST',
headers: { 'Content-Type': 'application/json' },
body: JSON.stringify({
query: `
mutation CreateRating {
rating(jokeId: ${jokeId}, score: ${score}) {
id
score
jokeId
}
}
`,
}),
})
.then(res => res.json())
.then(res => {
const rating = res.data.rating
const jokeToUpdate = jokes.find(joke => joke.id === rating.jokeId)
jokeToUpdate && jokeToUpdate.ratings.push(rating)
})
.finally(() => {
ratingInput.checked = false
displayNextJoke()
})
A quick test gives us some promising results. Once again, the user experience remains unchanged, but now we're fully using the /graphql endpoint for both our requests!
Conclusion
We did it! We successfully wrote a GraphQL API endpoint on top of an existing REST API. This allows us to use GraphQL to our heart's content without breaking existing functionality and without modifying the original REST API. Now we can deprecate the REST API or get rid of it completely at a later date.
While our dad joke database is entirely fictional, nearly every technology company that existed prior to GraphQL's release in 2015 will find themselves in this same position of migrating to GraphQL if and when they choose to do so. The good news is that Apollo Server is flexible enough to pull data from a variety of sources, including existing REST API endpoints.
Published at DZone with permission of Tyler Hawkins. See the original article here.
Opinions expressed by DZone contributors are their own.
Comments