How To Implement OAuth User Authentication in Next.js
Learn how to authenticate your users in your Next.js app (app router) with providers like Google, GitHub, Twitter, Spotify, and more.
Join the DZone community and get the full member experience.
Join For FreeIn this article, we will learn how to add user authentication with OAuth providers in your Next.js app. To do so, we’ll be using NextAuth.js, which is a user authentication solution that simplifies the whole process and has built-in support for many popular sign-in services.
What’s OAuth?
OAuth (Open Authorization) is an open standard for access delegation, commonly used as a way for Internet users to grant websites or applications access to their information on other websites but without giving them the passwords.
When you use OAuth authentication with providers (like Google, Facebook, Twitter, etc.), you are using a protocol that allows you to authorize applications to use your personal information from the provider without needing to expose your password. This is achieved by sharing tokens instead of credentials, which can be restricted for use with specific resources or services.
The main advantage is that you don't have to deal with different authentication methods offered by various web services. OAuth is widely accepted and used by many popular applications on the internet.
Setup NextAuth.js
1. Install NextAuth.js
npm install next-auth2. Add NEXTAUTH_SECRET to Your .env.local File
After successful sign in, NextAuth.js generates a cookie with a JWT token used for user identification and it's encrypted using the NEXTAUTH_SECRET value.
You can generate a random value usingopenssl rand -base64 32or generate-secret.vercel.app and add it to your.env.localfile.
3. Add Route Handler to Your Next.js App
To add NextAuth.js to your project, you will need to create a dynamic Route Handler. To do so, create a file called route.js|ts in app/api/auth/[…nextauth]. This file will also contain all of your global NextAuth.js configurations.
Route Handlers are the equivalent of API Routes inside the pages directory, meaning you do not need to use API Routes and Route Handlers together. If you're using an older version of Next.js with the pages Route, here’s an example of how to initialize an API route.
In my route.ts file below, I managed to set up authentication with four different providers: Google, LinkedIn, GitHub, and Spotify.
import NextAuth, { NextAuthOptions } from "next-auth";
import GoogleProvider from "next-auth/providers/google";
import LinkedInProvider from "next-auth/providers/linkedin";
import GitHubProvider from "next-auth/providers/github";
import SpotifyProvider from "next-auth/providers/spotify";

export const authOptions: NextAuthOptions = {
  providers: [
    GoogleProvider({
      clientId: String(process.env.GOOGLE_CLIENT_ID),
      clientSecret: String(process.env.GOOGLE_CLIENT_SECRET),
    }),
    GitHubProvider({
      clientId: String(process.env.GITHUB_CLIENT_ID),
      clientSecret: String(process.env.GITHUB_CLIENT_SECRET),
    }),
    // LinkedIn recently changed their OAuth flow which is why there is a bit extra code
    LinkedInProvider({
      clientId: String(process.env.LINKEDIN_CLIENT_ID),
      clientSecret: String(process.env.LINKEDIN_CLIENT_SECRET),
      authorization: {
        params: { scope: "openid profile email" },
      },
      issuer: "https://www.linkedin.com",
      jwks_endpoint: "https://www.linkedin.com/oauth/openid/jwks",
      profile(profile, tokens) {
        const defaultImage =
          "https://cdn-icons-png.flaticon.com/512/174/174857.png";
        return {
          id: profile.sub,
          name: profile.name,
          email: profile.email,
          image: profile.picture ?? defaultImage,
        };
      },
    }),
    SpotifyProvider({
      clientId: String(process.env.SPOTIFY_CLIENT_ID),
      clientSecret: String(process.env.SPOTIFY_CLIENT_SECRET),
    }),
  ],
};

const handler = NextAuth(authOptions);
export { handler as GET, handler as POST };
What Did We Achieve With the Route Handler?
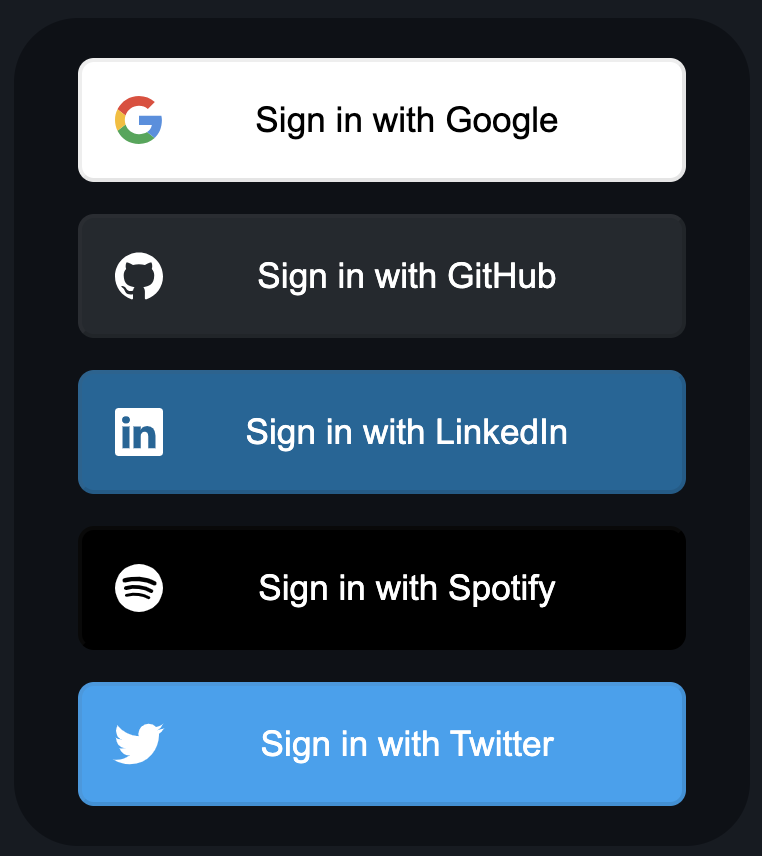
Thanks to our Route Handler, now all requests to /api/auth/* like signIn, callback, signOut, etc.) will automatically be handled by NextAuth.js. Out of the box, we get a simple Sign-in page (/API/auth/signin). After a successful sign-in, you will notice a JWT token in your cookies. The same JWT token is signed with your NEXT_SECRET that we created in the previous step.
How Do I get the clientId and clientSecret?
Usually, the process involves creating an OAuth app on your desired service (i.e., Google) and generating a key and secret that you need to add to your .env.local file.
Step-by-Step Implementation
Imagine we want to implement authentication with X (ex Twitter). Here are all the steps we need to take to do so.
- For authentication with X (ex Twitter), simply follow NextAuth.js’s guide to get the
clientIdandclientSecretat next-auth.js. Remember to carefully read the documentation for the provider you want to use. - Here’s a short video on how to get Twitter's
clientIdandclientSecret:
Note: The process may vary for different services. Refer to the provider's documentation (see Step 1).
For Twitter:- Use the OAuth 2.0 version.
- Select 'Native App'.
- Set the Redirect URL to
/api/auth/callback/twitter. Use 'localhost:3000' for development. You can add your production Callback URI/Redirect URL later.
- Copy-paste the
clientIdandclientSecretin your.env.localfile. - Import the Twitter provider and initialize it in the list of providers in your
route.ts -
JavaScript
// ...code import TwitterProvider from "next-auth/providers/twitter"; export const authOptions: NextAuthOptions = { // ...code providers: [ // ...other providers TwitterProvider({ clientId: process.env.TWITTER_CLIENT_ID, clientSecret: process.env.TWITTER_CLIENT_SECRET, version: "2.0", // opt-in to Twitter OAuth 2.0 }), ], }; // ...code - That’s it! Go to your /api/auth/signin, and you will see your new provider.
Most Common Issues I Faced
Even though the process from a coding perspective is straightforward and simple, I encountered a few challenges because each service has a unique way of creating an OAuth app and generating the clientId and clientSecret.
Also, make sure you set up the Redirect URI/Callback URL correctly for each service. It looks like this /api/auth/callback/<name_of_provider>. For example, for GitHub, it’s locahost:3000.
Make sure you set the correct Redirect URI/Callback URL in production.
You can use localhost:3000 while in development.
The last thing is to make sure you set up the correct scope and permissions. Basically, you will need to set which information your OAuth app will ask users for, such as email, name, and profile_photo.
In case things get weird while developing, clear the cookies and try again.
Example
I’ve created a small Next.js (v14) app that you can play with and see how I implemented authentication with all these providers. Bonus: I also managed to create a protected route with content that will be shown only to authenticated users.
App: next-auth-providers-example
GitHub: next-auth-providers-example
Summary
- Install NextAuth.js (
npm install next-auth). You need to addNEXTAUTH_SECRETin your.env.localfile in order for NextAuth.js to work. - Add a Route Handler for NextAuth.js (or API Route for older Next.js versions). You can copy-paste the example provided above.
- Create an OAuth app for the provider that you want to implement, get the
clientIdandclientSecret, and add them to your.env.localfile. - Inside your RouteHandler (
route.tsfile), import the provider and add them to the array of providers, bypassing theclientIdandclientSecretfrom your.env.localfile.
Opinions expressed by DZone contributors are their own.
Comments