How to Load Data From MongoDB to Postgres Destination
In this article, learn how to use Airbyte to synchronize your MongoDB data with your Postgres destination within minutes.
Join the DZone community and get the full member experience.
Join For FreeMongoDB is a distributed database that is built for modern transactional and analytical applications and may be used for rapidly changing, multi-structured data. On the other hand, PostgreSQL is an SQL database that has all of the features that you require from a relational database. If you are unsure of the differences between these systems, on the MongoDB website, you can find an article that compares PostgreSQL and MongoDB.
Choosing one or the other between MongoDB and PostgreSQL may not be your only option – in fact, because each database has different strengths, you may wish to use them side-by-side. If this is your case, then you may need to sync data between them.
Custom building a data pipeline to replicate data from MongoDB to Postgres is time-consuming and tedious. On the other hand, Airbyte is designed exactly for this task. This article will demonstrate how to use Airbyte to replicate and synchronize data from MongoDB to PostgreSQL!
Prerequisites
This tutorial makes use of the following tools:
- Clever Cloud: hosting of the MongoDB and PostgreSQL databases.
- mongosh: A CLI client to interface with the MongoDB database.
- Postgres CLI: A terminal-based front-end to PostgreSQL.
- Airbyte cloud: A data integration tool that will be used to replicate and synchronize data between MongoDB and PostgreSQL. Alternatively, you may choose to install Airbyte OSS locally.
Step 1-A: Launch MongoDB
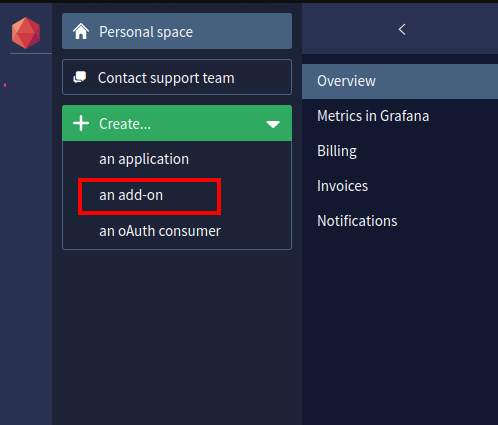
In this section, you will use Clever Cloud to create a MongoDB instance. Once you sign up, choose the option to create an add-on from your personal space.
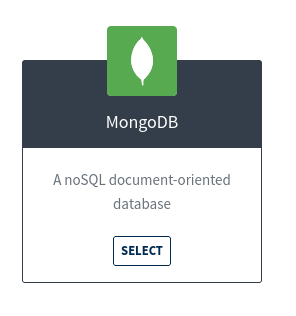
From the available list of add-ons, choose the MongoDB add-on.
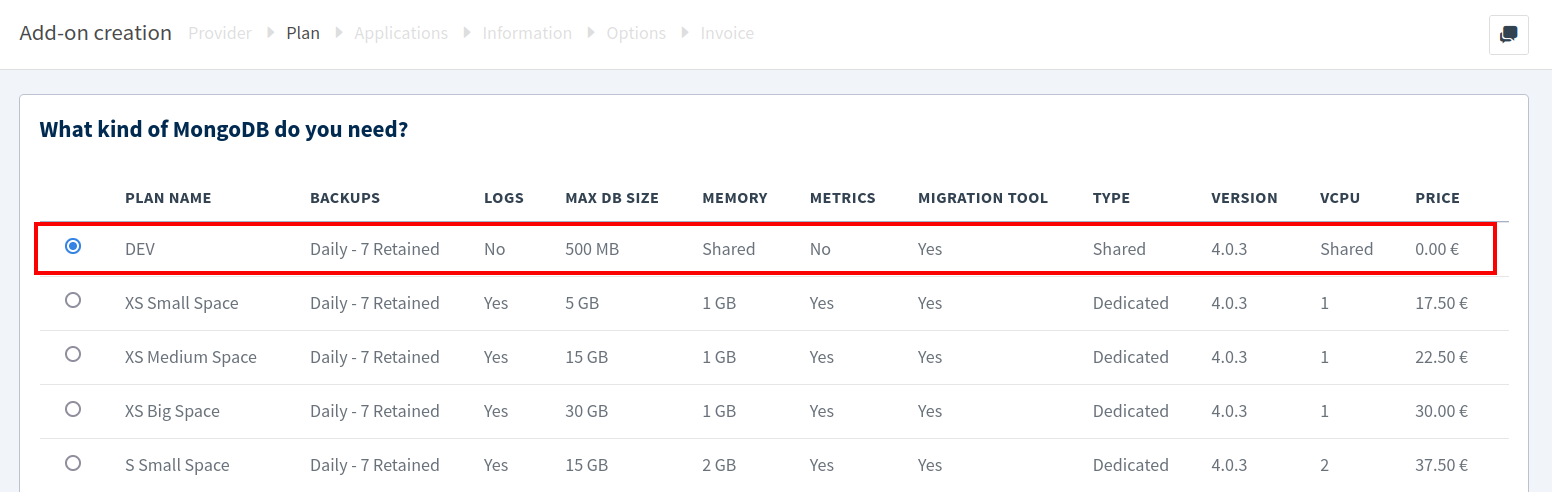
For the instance size, choose the DEV plan, which is free to use.
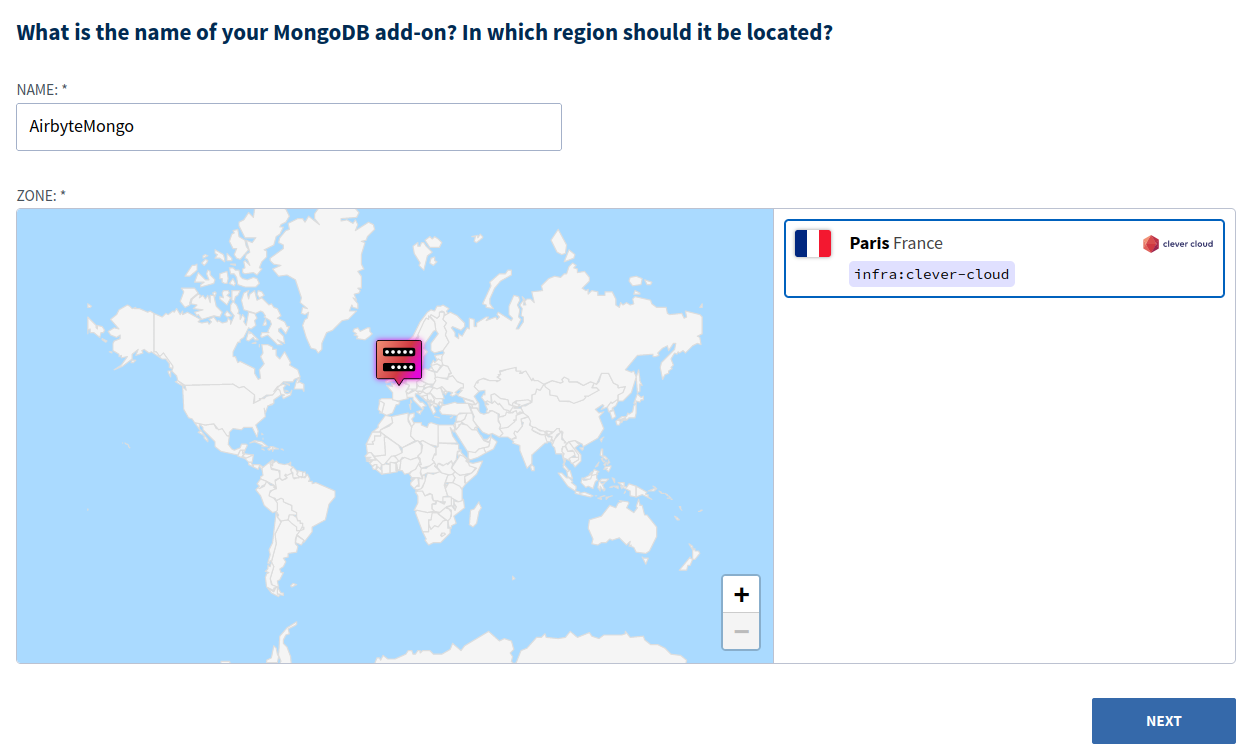
Enter an add-on name, select a region as shown below, and then click Next.
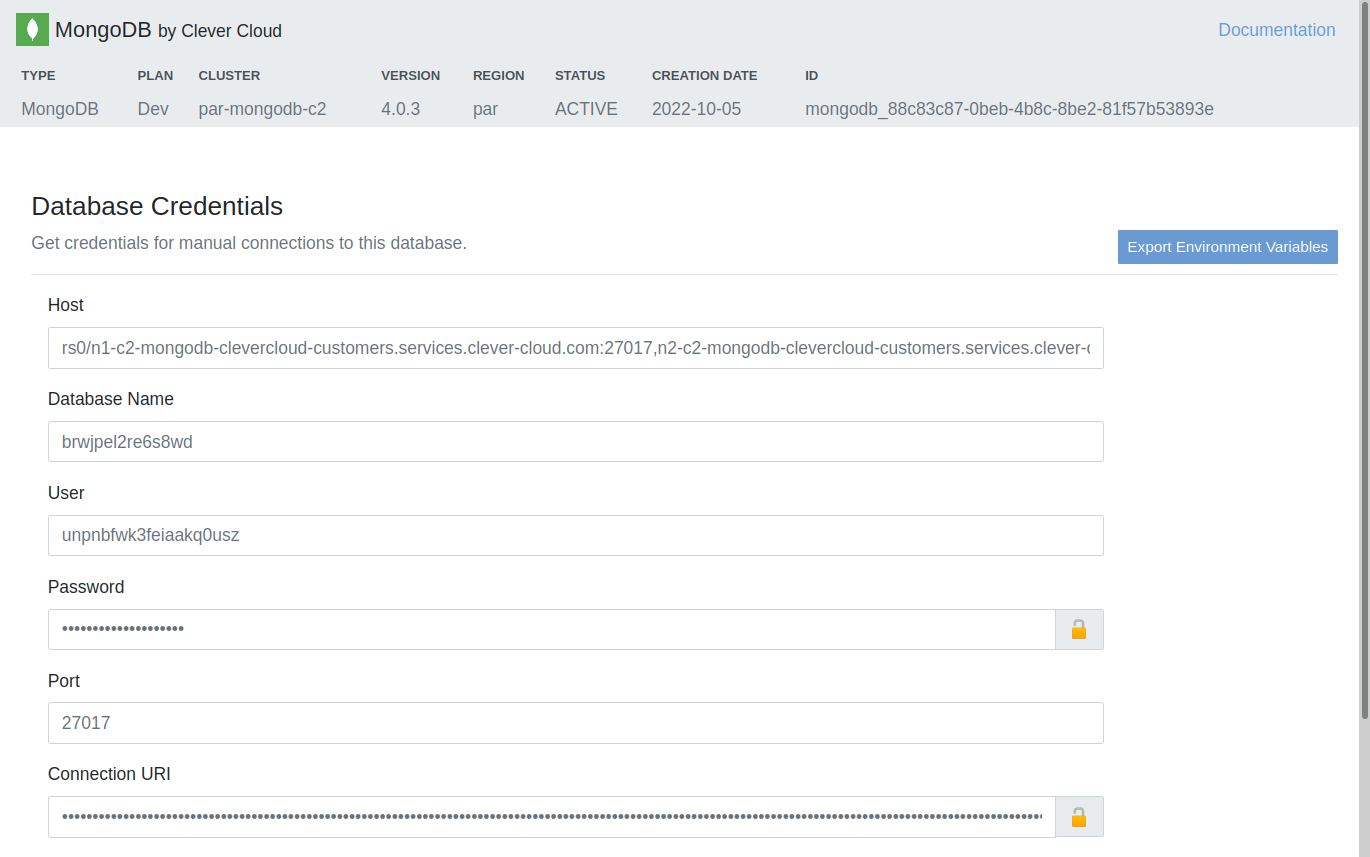
You should now have a new MongoDB database created with all the details to connect to it. Copy the Mongo CLI connection command from the Clever Cloud add-on dashboard shown below.

Copy and replace “mongo” with “mongosh” before executing the command in your terminal, as demonstrated below:
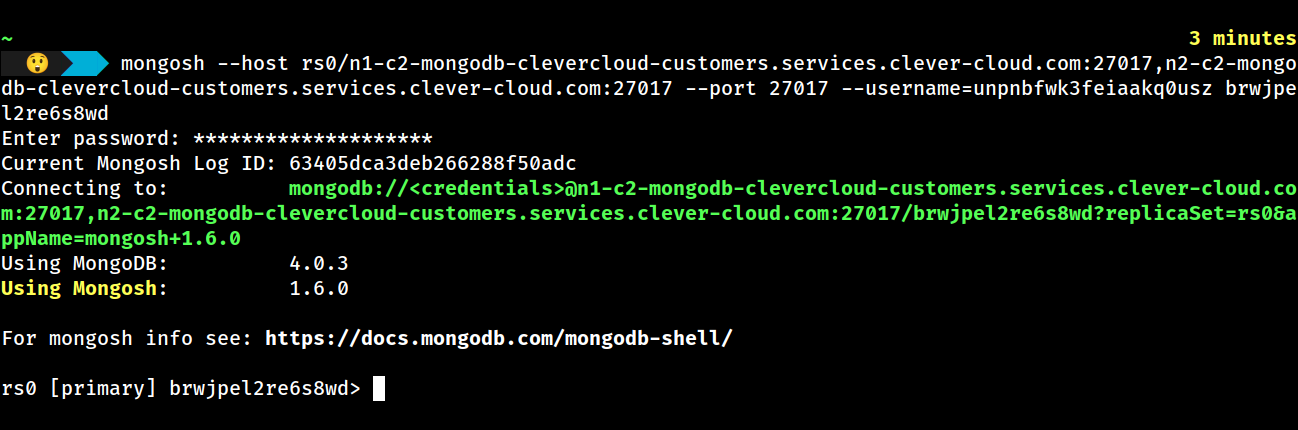
You should now be connected to the PRIMARY replica of the MongoDB replica set (indicated by [primary] in the shell).
In the Airbyte connection to MongoDB, you will make use of the URL for the primary replica. This can be retrieved by running rs.isMaster().primary in the MongoDB shell, which will respond with a string in the format of [hostname]:[port]. In our case, the URL returned by this command is n2-c2-mongodb-clevercloud-customers.services.clever-cloud.com:27017
Step 1-B: Add Data to MongoDB (Optional)
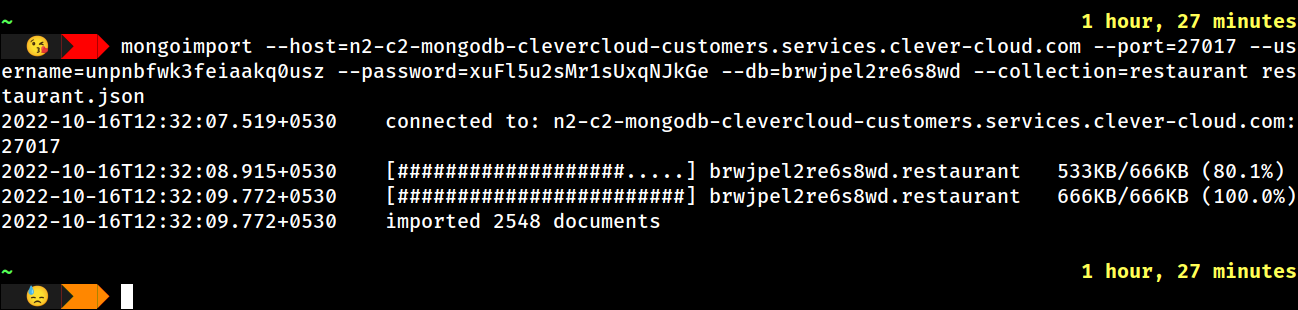
For this demo, we download and then import a sample restaurant collection using the mongoimport db tool command.
mongoimport --host=n2-c2-mongodb-clevercloud-customers.services.clever-cloud.com --port=27017 --username= --password= --db= –collection=restaurant restaurant.json
Step 2: Configure a MongoDB Source Connector
Create an Airbyte MongoDB source by choosing sources from your Airbyte dashboard and clicking on the New Source button. Then, from the list of sources, choose MongoDB, and you should see a UI similar to the following:

To keep this tutorial simple and for demonstration purposes only, in the above image, we have selected a Standalone MongoDB instance. However, you may also consider selecting one of the alternative MongoDB configuration parameters if you wish to have a more resilient connection to your MongoDB cluster.
Enter the Host, Port, Username, DB Name, and Password that were shown earlier in the Clever Cloud MongoDB configuration UI. Then choose Set up source.
Step 3: Launch PostgreSQL
To set up a PostgreSQL database, create a new add-on on your Clever Cloud dashboard and choose PostgreSQL from the available add-ons.
For the plan, choose the DEV option, which provides 256 MB for storage.

Give a name to your add-on, and choose a location.
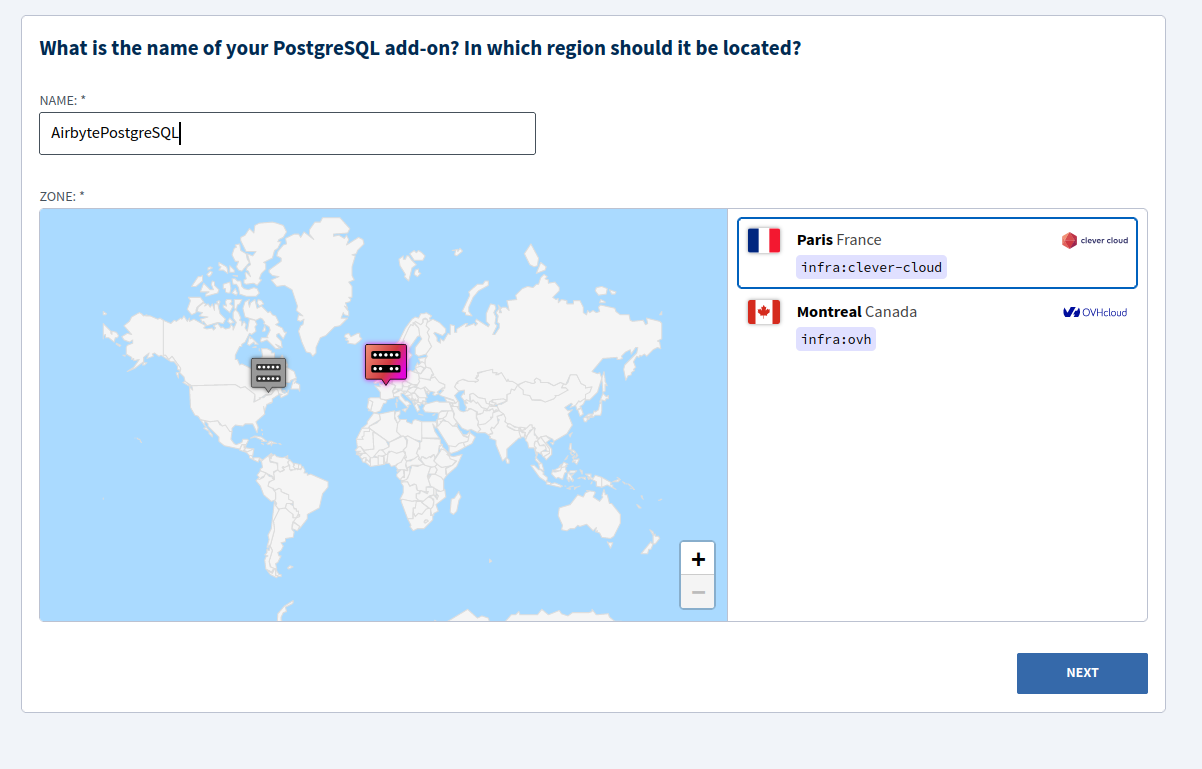
Click on Next once you are satisfied with your configurations, and then Clever Cloud should show you the PostgreSQL database credentials with information that will be required by Airbyte, including host, user, password, and database name.
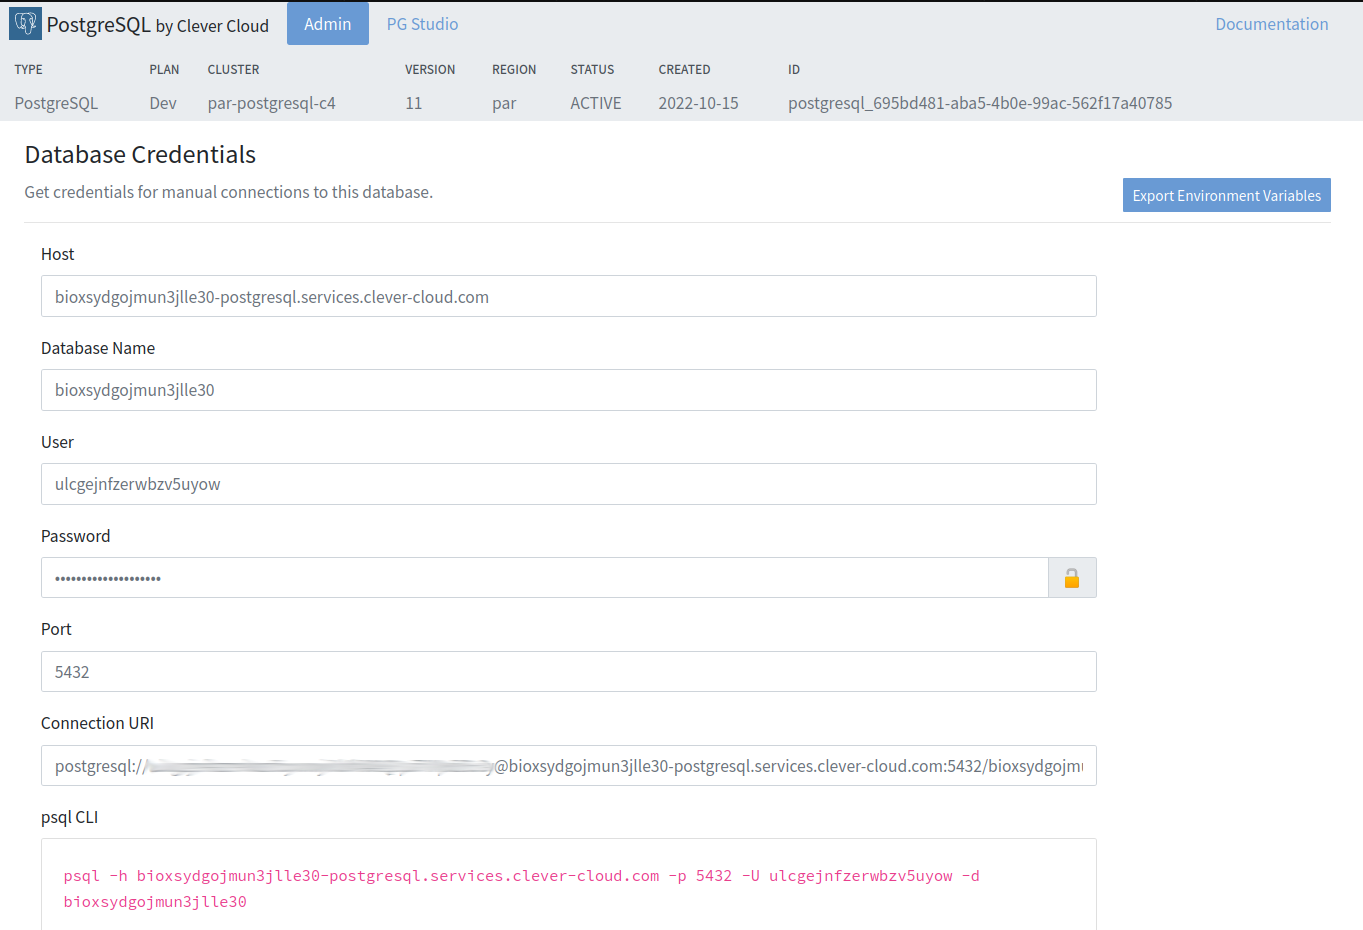
To connect to our newly created database, copy the Connection URI and provide it as an argument to the PSQL CLI tool, as shown below.
Step 4: Configure a PostgreSQL Destination Connector
Go to Destinations in your Airbyte Dashboard, choose to Create destination from the list, and choose PostgreSQL. You will then see a UI similar to the following:

Enter the PostgreSQL parameters that were returned by Clever Cloud, and click Set up destination.
Step 5: Set up an Airbyte Connection From MongoDB to Postgres
Go to Connections in your Airbyte dashboard and choose New connection. Select the source and the destination that you just created, at which point you should see a UI similar to the following:
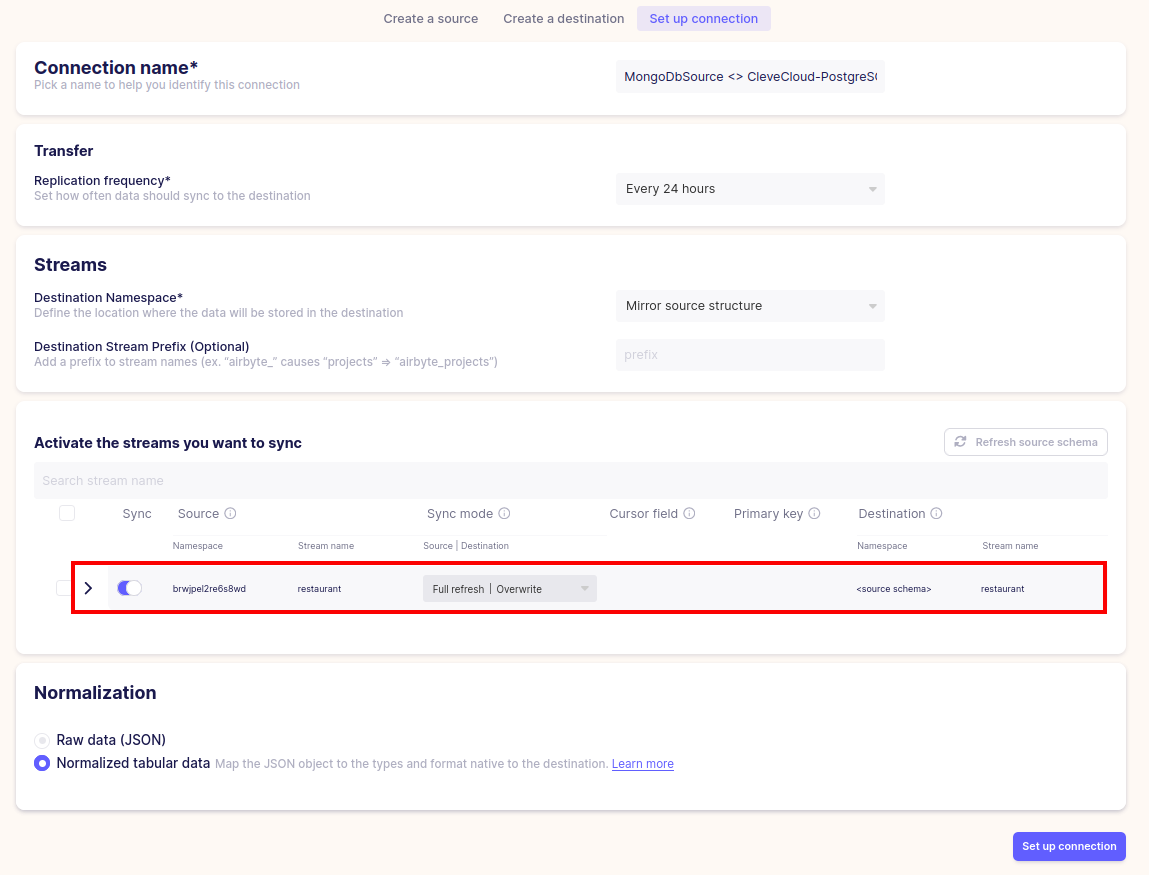
Airbyte has correctly detected the restaurant collection as a stream, and you can choose how it should be replicated to PostgreSQL. For sync mode, choose one from the available modes.
For Replication frequency, specify the interval between sync runs. Once you are done with the configurations, choose Set up connection, and Airbyte will start its first sync. Once complete, you will be able to see how many records were replicated.

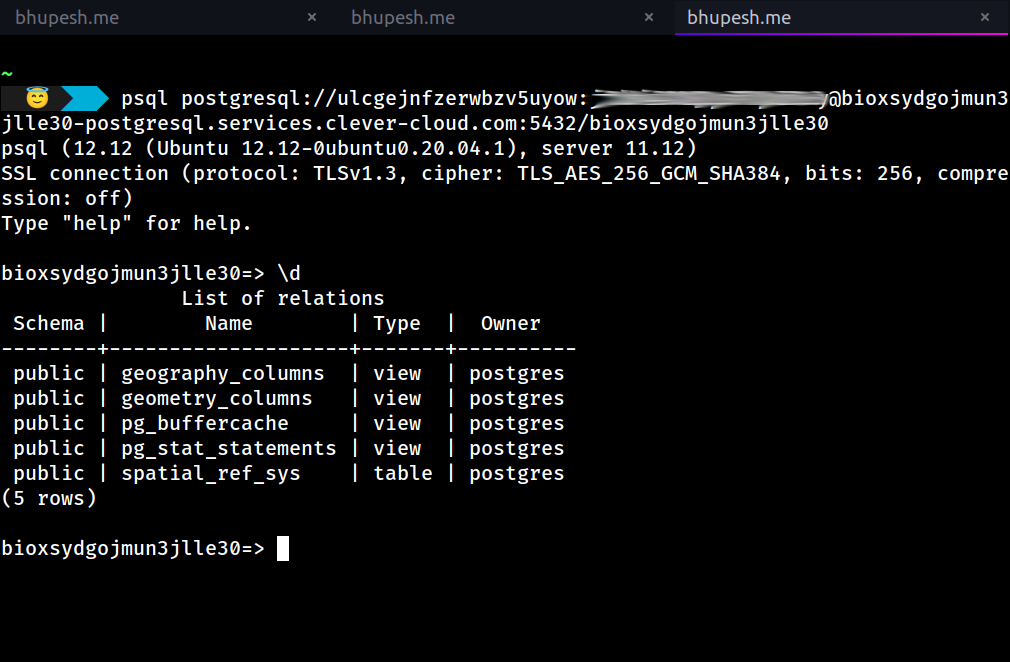
Log in to the Postgres host to see the replicated data. Note that you must change the search_path according to the DB Name that you specified when you set up the PostgreSQL destination in Airbyte.
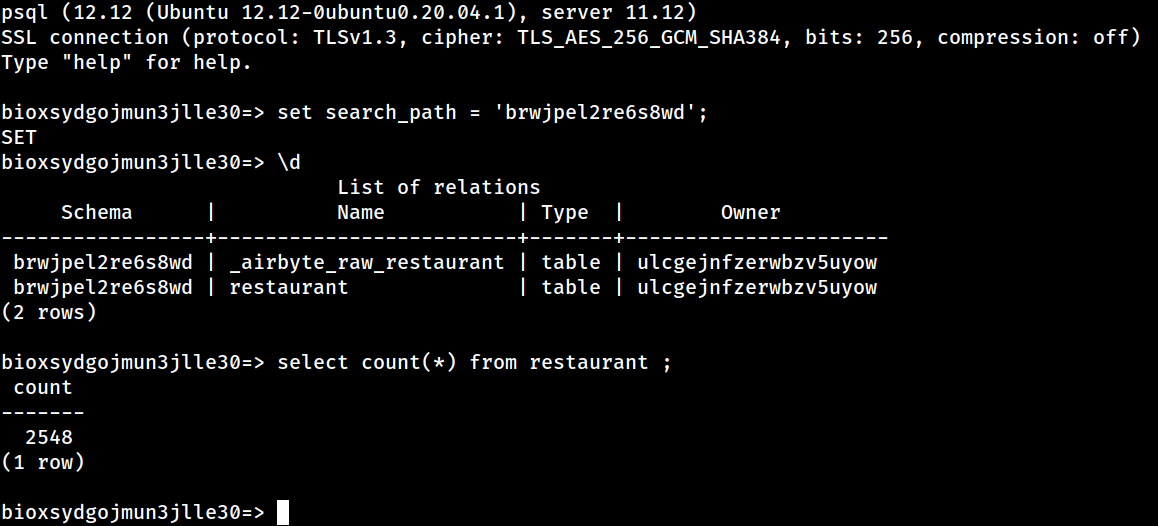
You should now be able to view the replicated data using standard SQL commands.
Conclusion
In summary, in this tutorial, you have learned how to:
- Launch a MongoDB database on Clever Cloud, and then how add some test data to it.
- Configure an Airbyte source connector to read data from MongoDB.
- Launch a PostgreSQL database on Clever Cloud.
- Configure an Airbyte destination connector to send data into PostgreSQL.
- Create an Airbyte connection that replicates data from MongoDB to Postgres.
Published at DZone with permission of John Lafleur. See the original article here.
Opinions expressed by DZone contributors are their own.
Comments