How to Load Test IPv6 With JMeter
IPv6 is the new 128-bit IP address system, replacing IPv4. Take a look at how you can identify an IPv4 site and use JMeter to load test it.
Join the DZone community and get the full member experience.
Join For FreeIPv6 is the advanced version of IP, which is the address and identification system for computers and devices on the internet. Currently, most devices on the internet are identified in the network through IPv4. IPv4 is based on 32-bit addresses, represented by 4 decimal numbers with dots between them (e.g 100.15.1.17). The need to create an advanced version of IP came from the concern that the number of possible IPs would run out, with the growing number of devices on the internet.
As a result, IPv6 was created, and it consists of addresses made of 128 bits, represented by 8 groups of four hexadecimal digits, separated by colons (e.g. AB01:C002:0000:9067:DEFA:C79G:H333:BAC1). The length of these addresses can sometimes be shortened; learn more about that here.
IPv6 provides many more IP options than IPv4. However, it seems that IPv4 is currently sufficient for internet purposes as IP addresses are often recycled. This blog post will explain how to load test devices that use IPv6, with Apache JMeter.
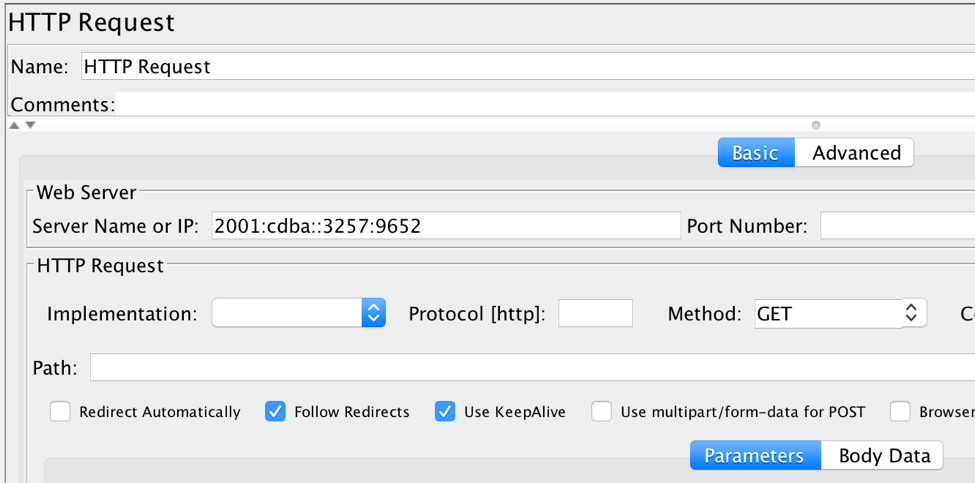
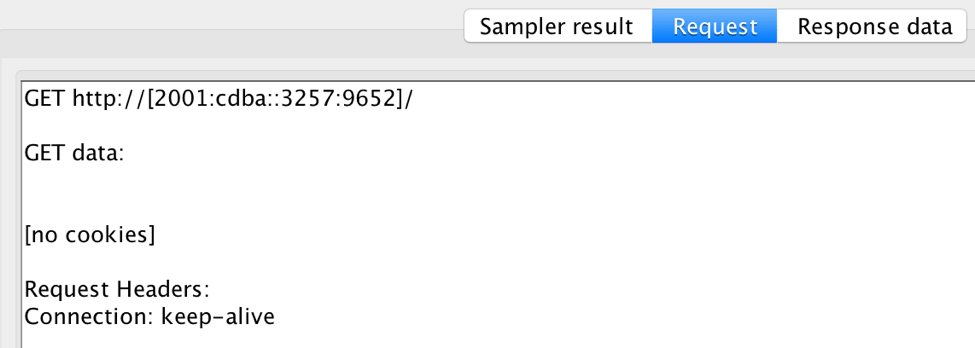
JMeter's HTTP Request Sampler supports IPv6 out of the box. If you set the 'Server Name or IP' field to an IPv6 address, for example, 2001:cdba::3257:9652, JMeter will automatically wrap it with brackets to match the IPv6 format for HTTP requests when sent to the server. In this case, GET http://[2001:cdba::3257:9652]/.
The HTTP Request Sampler:
See how the request is sent in the View Results Tree Listener:
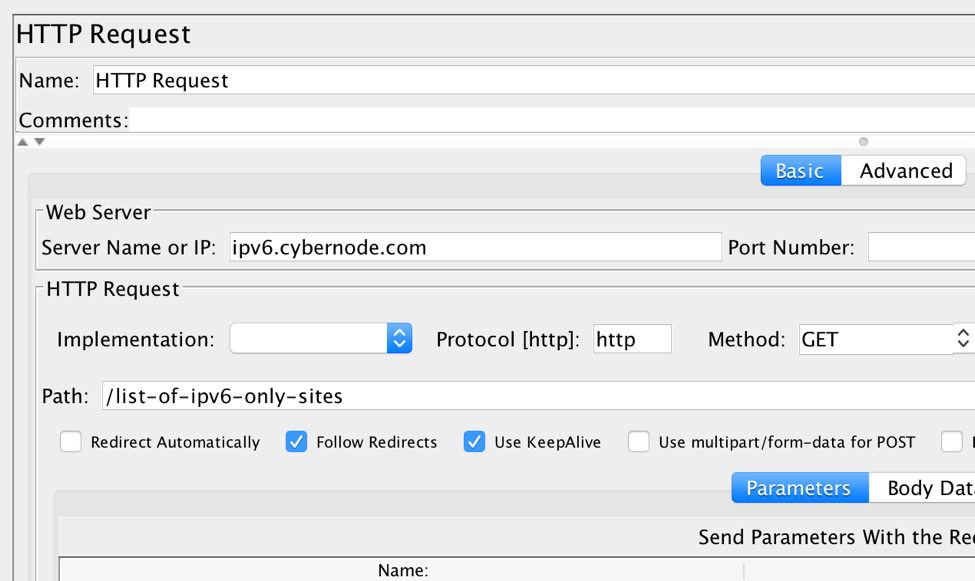
Of course, if your website supports IPv6 and has a matching Server name in DNS, you can simply set the 'Server Name or IP' field in the HTTP Request Sampler to your server name, for example: ipv6.cybernode.com/list-of-ipv6-only-sites.
You can see that this server name has an IPv6 address by running the curl -6 command with the verbose option in your console:

As you can see, the system is trying to reach an IPv6 address.
Important: Don't forget that in order to send an HTTP request to an IPv6 address, the machine that you are sending the request from must also have an IPv6 address.
If you are using a cloud provider like AWS to create your machines, you can follow its documentation to set up a VPC and Subnet that supports IPv6 addressing and then create a new machine on this VPC and Subnet. (Please note that this is not a free process.)
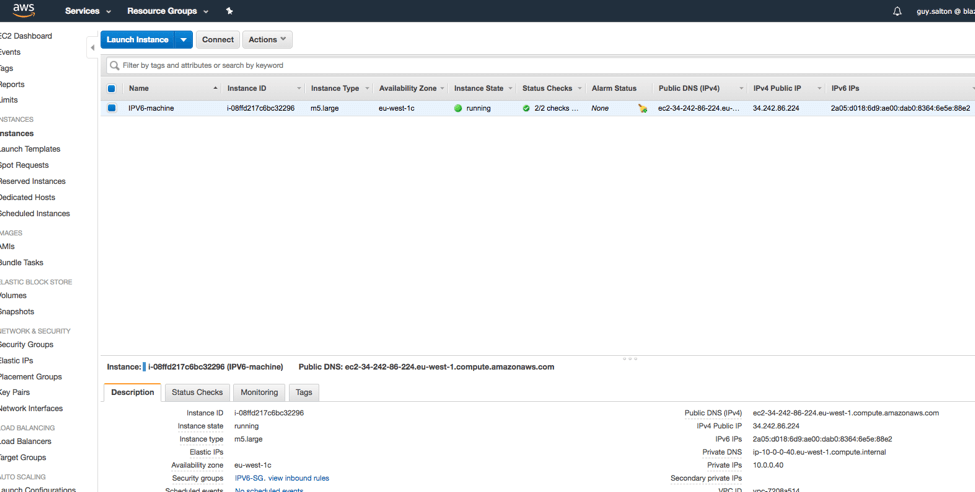
Once your machine is ready, you can verify that it has a public IPv6 address by running the following command:

The first IP on this list, which has Scope:Global after it, is your public IPv6 address.
Now, install JMeter on your new machine, copy your JMeter script and run the test in non-GUI mode with 1 thread for 1 iteration, just to see that you get a successful response:
- -n non-GUI mode
- -t JMX file
- -l log file name of JTL file to log sample results to

Great! You have now verified that you can run a load test on an IPv6 website with JMeter. Just adjust the script according to your needs, and run it.
But what about real-time reporting? The good news is that BlazeMeter supports IPv6!
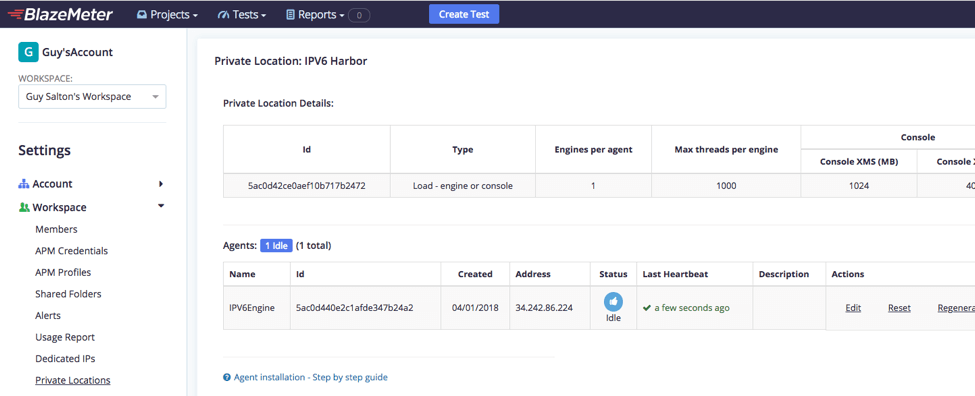
Just follow the instructions in this article to install a BlazeMeter Private Location agent on the machine that you configured the IPv6 address on, and you should see a new agent on the 'Private Locations' section in your BlazeMeter account:
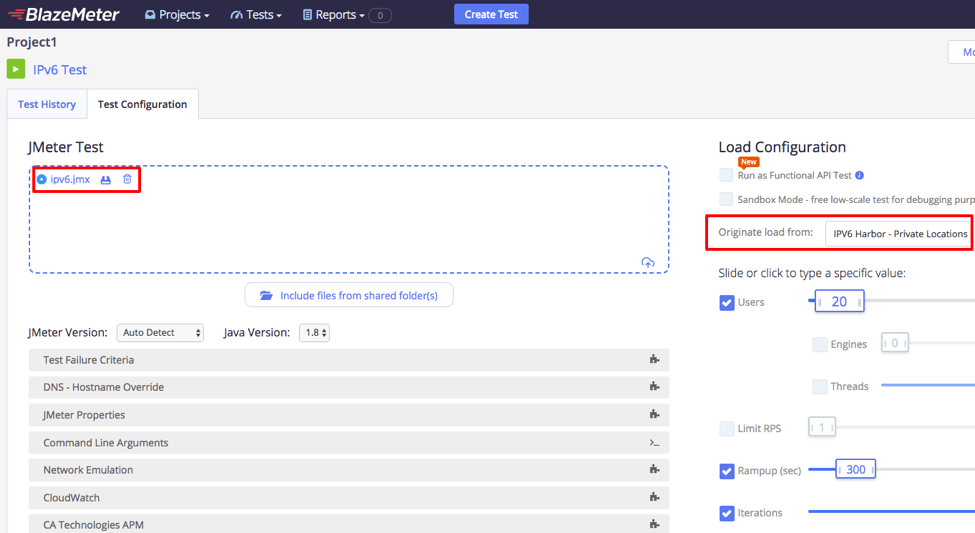
You can now create a new JMeter Test in BlazeMeter, upload the JMeter script that you created and choose the new Private Location that you installed as the location:
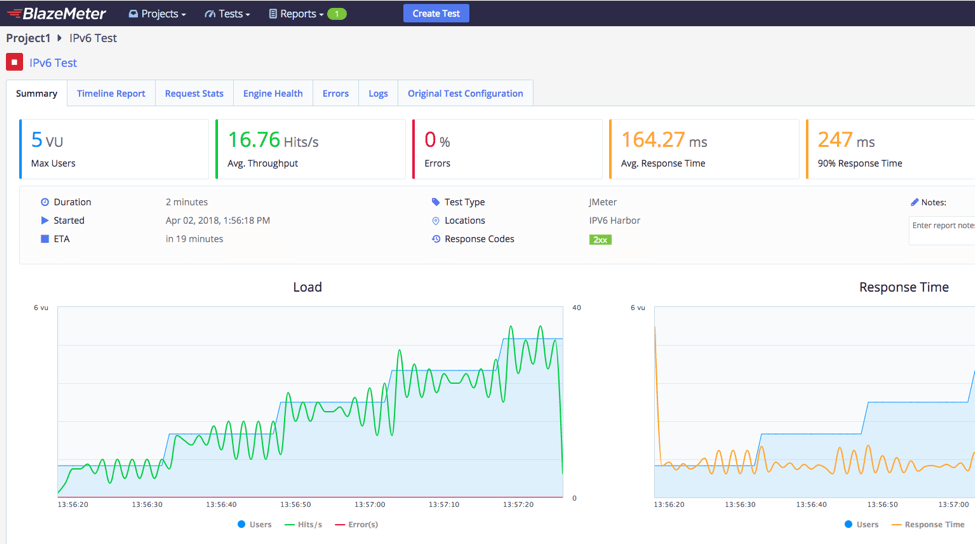
That's it! You can now run your IPv6 load test in BlazeMeter and get real-time reporting and all the other BlazeMeter features like workspace collaboration and the ability to share your tests with non-technical audiences. To learn more, request a demo.
Published at DZone with permission of Guy Salton, DZone MVB. See the original article here.
Opinions expressed by DZone contributors are their own.

Comments