How to Run a Load Test of 50k+ Concurrent Users
Learn more about how you can run your own load test with over 50k concurrent users.
Join the DZone community and get the full member experience.
Join For FreeThis article will describe the steps you need to take to easily run a load test with 50k concurrent users test (as well as bigger tests with up to 2 million users).
Quick Steps Overview
1. Write your script
2. Test it locally using JMeter
3. BlazeMeter SandBox testing
4. Setup the amount of Users-per-Engine using one Console and one Engine
5. Setup and test your Cluster (one Console and 10-14 Engines)
6. Use the Master/ Slave feature to reach your max CC goal
Step 1: Write Your Script
Before you begin, make sure to get the latest JMeter version from the JMeter Apache community.
Before you get started, you need to download the JMeter Plugins Manager. Once you've downloaded the JAR file, put it into JMeter's lib/ext directory. Then, start JMeter and go to "Options" menu to access the Plugins Manager.
There are many ways to get your script:
- Use the BlazeMeter Chrome Extension to record your scenario
- Using the JMeter HTTP(S) Test Script Recorder, you can set up a proxy, run your test through, and record everything
- Going manually all-the-way and constructing everything from scratch (probably for functionality/ QA tests)
If your script is the result of a recording (like steps 1 and 2), keep that in mind:
- You will need to change certain parameters, such as username and password, or you might want to set a CSV file with those values so each user can be unique.
- You might need to extract elements such as Token-String, Form-Build-Id, and others using Regular Expressions, JSON Path Extractor, XPath Extractor — in order to complete requests as "AddToCart," "Login," and more.
- Keep your script parameterized and use config elements, such as HTTP Requests Defaults, to make your life easier when switching between environments.
Step 2: Testing Locally Using JMeter
Start debugging your script with one thread, one iteration, using the View Results Tree element, Debug Sampler, Dummy Sampler, and the Log Viewer opened (in case some JMeter errors are reported).
Go over all the scenarios (true and false responses) to make sure the script behaves as it should.
After the script has run successfully using one thread, raise it to 10-20 threads for 10 minutes and check:
- If you intended that each user be unique — is that so?
- Are you getting any errors?
- If you are doing a registration process, look at your backend — are the accounts created according to your template? Are they unique?
- From the summary report, you can see statistics about your test — does it make sense? Look for average response time, errors, hits/s.
Once your script is ready:
- Clean it up by removing any Debug/Dummy Samplers and deleting your script listeners
- If you use the Listeners (such as "Save Responses to a file"), make sure you don't use any Paths! If it's a Listener or a CSV Data Set Config, make sure you don't use the path you have used locally. Instead, use only the filename, as if it was on the same folder as your script.
- If you are using your own proprietary JAR file(s), be sure to upload it too.
- If you are using more than one Thread Group (or not the default one), make sure to set the values before uploading it to BlazeMeter.
Step 3: BlazeMeter SandBox Testing
If that's your first test, you should review this article about how to create tests in BlazeMeter.
SandBox it actually any test that has up to 300 users and uses one console only up to 50 minutes.
The configuration for SandBox allows you to test your script and backend to ensure that everything works well from BlazeMeter.
To do that, first, press the grey button: JMeter Engines I want complete control! to get full control over your test parameters.
Common issues you may come across include:
- Firewall — make sure your environment is open to the BlazeMeter CIDR list (which is being updated from time to time) and whitelist them
- Make sure all of your test files, e.g. CSVs, JAR, JSON, User.properties, etc., are present
- Make sure you did not use any paths
If you still having trouble, look at the logs for errors (you should be able to download the entire log).
A SandBox configuration can be:
- Engines: Console only (one console, 0 engines)
- Threads: 50-300
- Ramp-up: 20 minutes
- Iteration: Test continues forever
- Duration: 30-50 minutes
This will allow you to get enough data during your ramp-up period (in case you will get some issues there), and you will be able to analyze the results to ensure the script is executed as expected.
You should look at the Waterfall/ WebDriver tab to see the requests are OK. You shouldn't get any error at this point (unless that was your intention).
You should watch the Monitoring tab to see how much memory and CPU was used — this should help you with step 4 while you will try to set up the number of users per engine.
Step 4: Set Up the Amount of Users-Per-Engine Using One Console and One Engine
Now that we are sure the script runs flawlessly in BlazeMeter, we need to figure out how many users we can apply to one engine.
If you can use the SandBox data to determine that, great!
Here, I will give you a way to figure this out without looking back on the SandBox test data.
Set your test configuration to:
- Number of threads: 500
- Ramp-up 40 minutes
- Iteration: forever
- Duration: 50 minutes
Next, use one console and one engine.
Run the test and monitor your test's engine through the Monitoring tab.
If your engine did not reach either a 75 percent CPU utilization or 85 percent memory usage (one time peaks can be ignored):
- Change the number of threads to 700 and run the test again
- Raise the number of threads until you get either to 1000 threads or 60 percent CPU/ memory usage
If your engine passed the 75 percent CPU utilization or 85 percent memory usage (one time peaks can be ignored):
- Look at the point of time you first got to 75 percent and then see how many users you had at that point.
- Run the test again; instead of a ramp-up of 500, put the number of users you got from the previous test
- This time, put the ramp-up you want to have in the real test (5-15 minutes is a great start) and set the duration to 50 minutes.
- Make sure you don't go over 75 percent CPU or 85 percent memory usage throughout the test
You can go safer and decrease 10 percent of the threads per engine just to be on the safe side.
Step 5: Set Up and Test Your Cluster
We now know how many threads we can get from one engine. At the end of this step, we will know the number of users one Cluster (test) can get us.
A Cluster is a logical container that has only one console and 0-14 engines. Even though you can create a test with more than 14 engines, it actually creates two clusters (you can see that number of consoles that will grow) and clone your test.
The maximum number of 14 engines per console is based on BlazeMeter's own testing to guarantee that the console can handle the pressure of 14 engines, which creates a lot of data to process.
So, at this step, we will take the test from step 4 and change only the amount of engines and raise it to 14.
Run the test for the full length of your final test (1, 2, 3, etc.) hours. While the test is running, go to the monitoring tab and verify:
- None of the engines is passing the 75 percent CPU or 85 percent memory limit
- Locate your console label. You can find its name if you will go to the Logs Tab -> Network Information and look for the private IP of your console. It should not reach the 75 percent CPU or 85 percent memory limit.
If your console reached that limit, decrease the number of engines and run it again until the console is within these limits.
At the end of this step, you know:
- The users per Cluster you will have
- The hits per Cluster you will reach
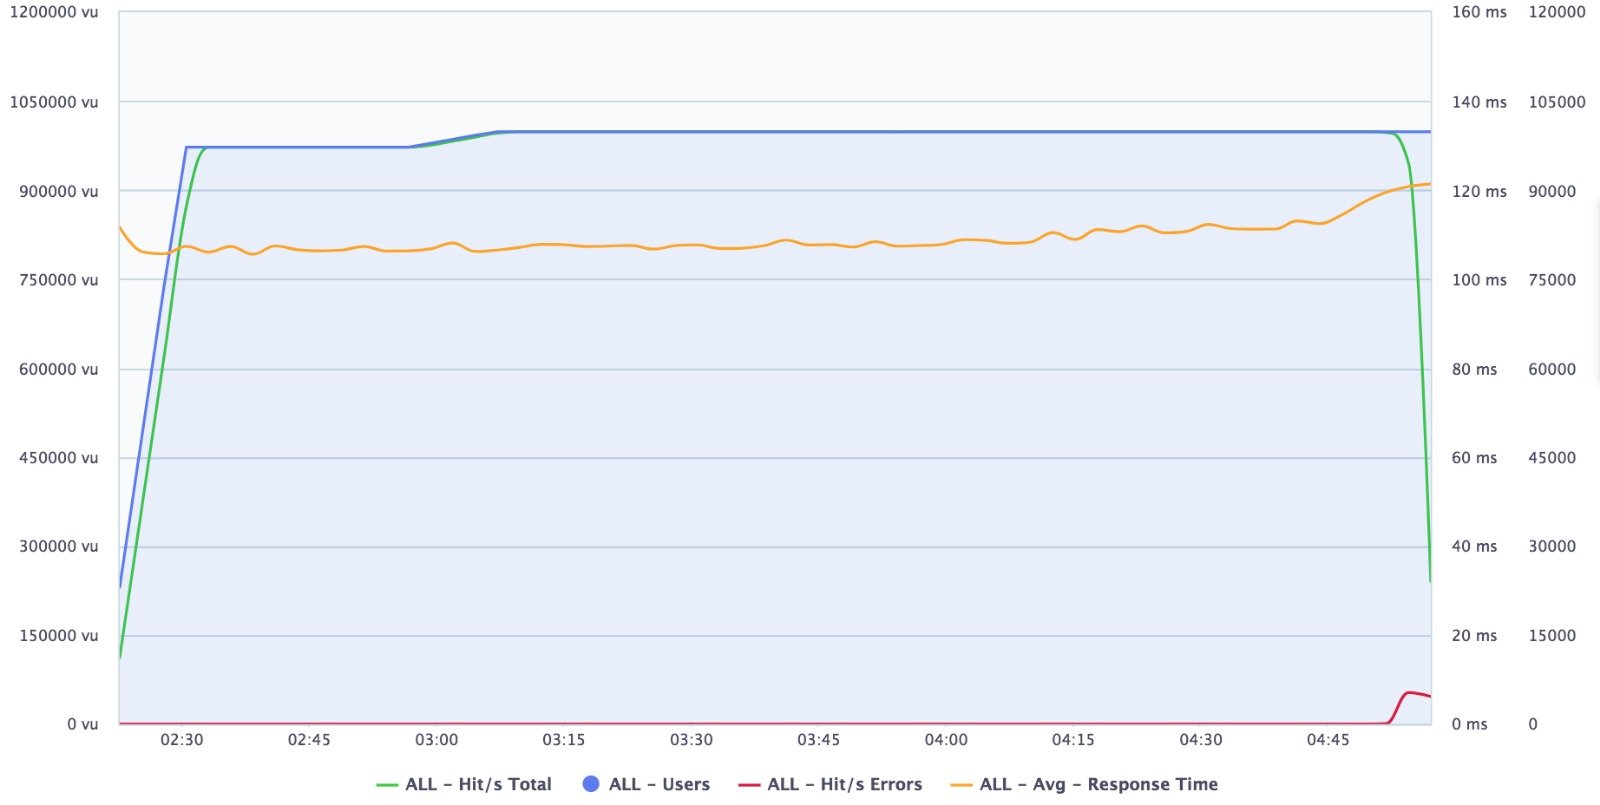
Look for other statistics in the Aggregate Table found under your load results graph for more information about your Cluster's throughput.
Step 6: Use the Master/ Slave Feature to Reach Your Maximum CC Goal
We've gotten to the final stage.
We know the script is working, we know how many users one engine can sustain, and we know how many users we can get from one Cluster.
Let's assume we have these values:
- One engine can have 500 users
- The cluster will have 12 engines
- Our goal is a 50k test
So, to do that, we will need to create 50,000 \ (500*12) = 8.3 clusters.
We could go with eight clusters of 12 engines (48K) and one cluster with four engines (the other 2k). But, it would be better to spread the load like this:
Instead of 12 engines per cluster, we will use 10, so we will get 10*500 = 5K from each cluster and will need 10 clusters to reach 50k.
That will help us by:
- Not maintaining two different test types
- We can grow by 5k by simply duplicating an existing cluster (5k is much more common than 6k)
- We can always add more if we need to.
We are now ready to create our final Master/ Slave test with 50k users:
- Changing the name of the test from "My prod test" to "My prod test - slave 1."
- So, we go back to our test in step 5, and under the Advanced Test Properties, we change it from Standalone to Slave.
- Pressing save, we now have the first out of nine Slaves and one Master.
- Go back to your "My prod test -slave 1."
- Press Duplicate.
- Now, repeat steps 1-5 until you create all nine slaves.
- Go back to your "My prod test -salve 9" and press Duplicate.
- Change the test name to "My prod test -Master."
- Go to Advanced Test Properties and change it from Slave to Master.
- Check all the slaves we've just created (My prod test -salve 1-9) and press save.
Your Master-Slave test for 50k users is ready to go. By pressing start on the master, you will launch 10 tests (one master and nine slaves) with 5k users from each one.
You can change each test (slave or master) to come from a different region, have a different script/csv/other file, use different Network Emulation, and/or different parameters.
The aggregate report of your master and slave will be found in a new tab at the master report called "Master load results," and you could still see each individual test result by simply opening its report.
Happy testing!
Published at DZone with permission of Refael Botbol. See the original article here.
Opinions expressed by DZone contributors are their own.
Comments