How to Use Adafruit Touch LCDs With NXP LPC55S69-EVK
Learn how NXP LPC55S69-EVK boards can be used with Adafruit TFT LCD boards.
Join the DZone community and get the full member experience.
Join For Free
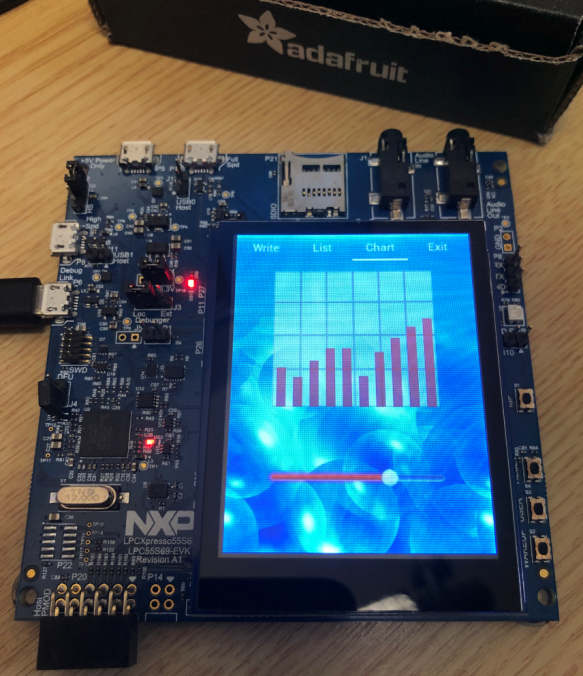
The NXP LPC55S69-EVK is a versatile board. In this article, we demonstrate how it can be used with Adafruit TFT LCD boards, both with resistive and capacitive touch. For the software, I’m using the open-source LittlevGL GUI.
Software and Hardware Used
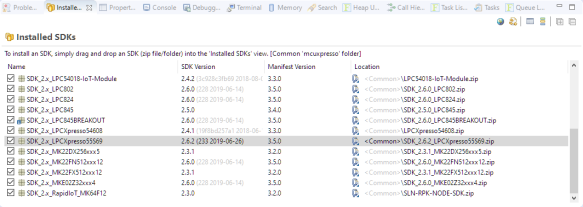
- NXP MCUXpresso IDE V11.0.1 with NXP MCUXpresso SDK V2.6.2
- LPCXpresso55S69 Board (LPC55S69-EVK)
- Adafruit 2.8″ TFT Touch Shield for Arduino with capacitive Touch Screen: https://www.adafruit.com/product/1947 (recommended)
- Or: Adafruit 2.8″ TFT Touch Shield for Arduino with Resistive Touch Screen: https://www.adafruit.com/product/1651
- LittlevGL (Open Source GUI Library) V6.0.2: https://littlevgl.com/
- McuOnEclipse Library V1.0.2: https://github.com/ErichStyger/McuOnEclipseLibrary with FreeRTOS V10.2.1
An example project with all the files is available on GitHub (see links section at the end of this article). The software is configured to use the capacitive or resistive touch display. I recommend using the capacitive touch version, as the touch is much more accurate and there is no need for manual calibration.
Hardware
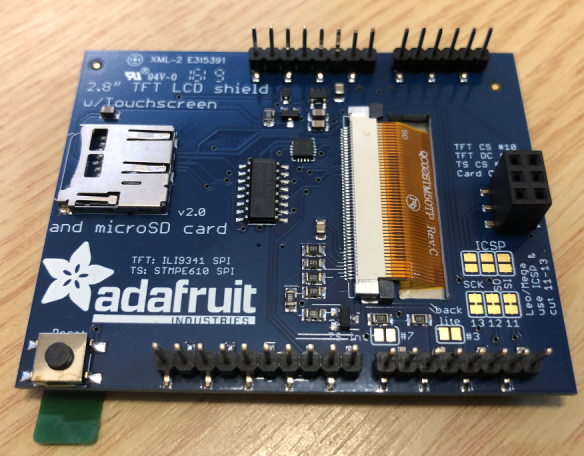
Both the capacitive and resistive Adafruit LCD boards are using the popular ILI9341 display controller. On the resistive version, the STMPE610 (SPI) touch controller is used. On the capacitive version, the FT6206 (I2C) is present.
The Adafruit board includes a micro-SD card slot on the back:

To use the board with the LPC55S69-EVK, the jumpers 11, 12, and 13 for the SPI bus have to be closed with solder, and the three jumper traces on the right have to be cut with a sharp knife:

For the analog touch display version, no hardware modification is required.
To verify the signals with a logic analyzer, the first version of the software has been developed with a ‘free wire’ connection:
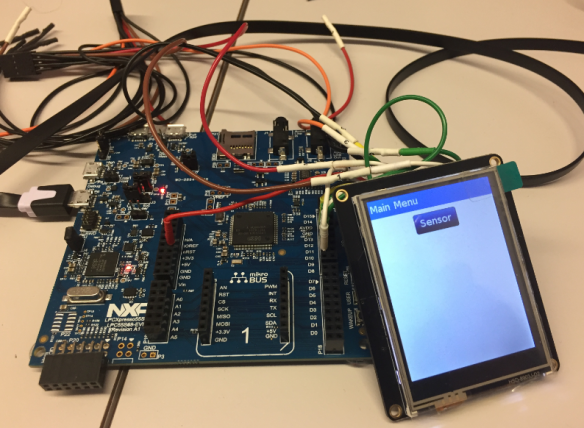
The board can be used with the Adafruit Feather LCD board too:

Software
As IDE, the NXP MCUXpresso IDE is used.

The project includes support both for the capacitive touch and resistive touch display:
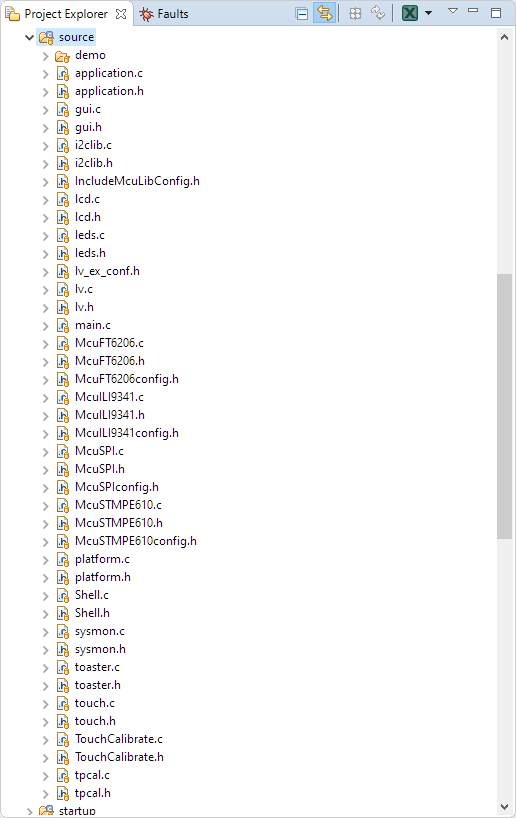
- McuILI9341: driver for the ILI9341 LCD controller
- tpcal: Touch point calibration for resistive display
- McuFT6206: driver for the capacitive touch controller (I2C)
- McuSTMPE610: driver for resistive touch controller (SPI)
- McuSPI: reentrant SPI driver
- I2clib: reentrant I2C driver
- lv, gui: LittlevGL GUI and display drivers
Using settings in platform.h, the software, and drivers can be turned on or off:

The project includes a command line (Shell) interface to configure and inspect the display and drivers. The default communication way is using SEGGER RTT:
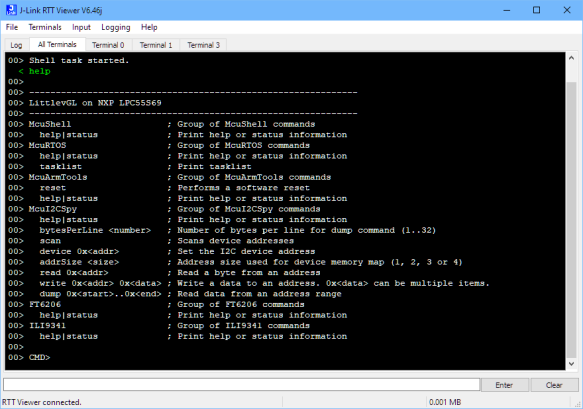
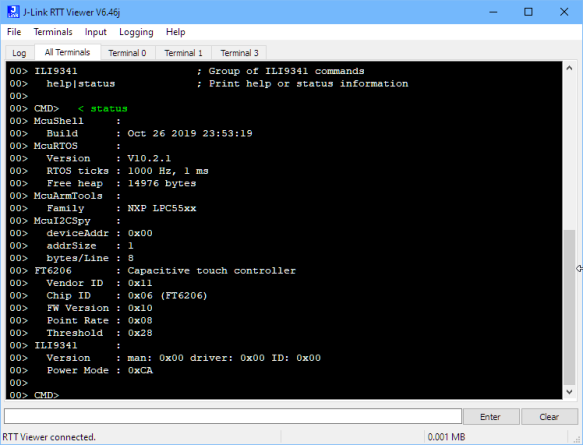
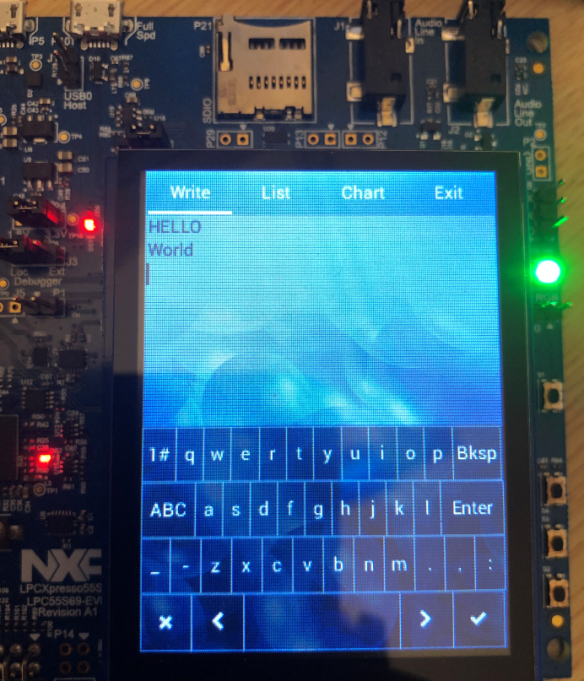
The application on GitHub includes a few demos, including how to use the LittlevGL list widgets or the on-screen keyboard control:

The picture below shows the on-screen keyboard:

Summary
The Adafruit ILI9341 based touch displays are a great and easy way to extend a board like the NXP LPC55S69 with a state-of-the-art open-source GUI library. The project presented here supports both the capacitive and resistive touch displays from Adafruit.
Happy LittlevGLing!
Additional Resources
- Project on GitHub: https://github.com/ErichStyger/mcuoneclipse/tree/master/Examples/MCUXpresso/LPC55S69-EVK/LPC55S69_AdafruitLCD
- Adafruit 2.8″ TFT Touch Shield for Arduino with Resistive Touch Screen: https://www.adafruit.com/product/1651
- Adafruit 2.8″ TFT Touch Shield for Arduino with capacitive Touch Screen: https://www.adafruit.com/product/1947
- Adafruit 2.4 FeatherWing: https://www.adafruit.com/product/3315
- NXP MCUXpresso IDE V11.0.1
- McuOnEclipse Library: https://github.com/ErichStyger/McuOnEclipseLibrary
- LittlevGL: https://littlevgl.com/ and https://github.com/littlevgl/lvgl
Published at DZone with permission of Erich Styger, DZone MVB. See the original article here.
Opinions expressed by DZone contributors are their own.

Comments