Unlocking Local AI: Build RAG Apps Without Cloud or API Keys
In this tutorial, we will use Chipper, an open-source framework that simplifies building local RAG applications without cloud dependencies or API keys.
Join the DZone community and get the full member experience.
Join For FreeRetrieval-augmented generation (RAG) is transforming how we interact with AI models by combining retrieval techniques with generative models. But what if you could build RAG applications locally, without API keys or cloud dependencies?
Let's meet Chipper, an open-source framework that makes building local RAG apps simple. No more struggling with document chunking, vector databases, LLM integration, and UI setups separately. With Chipper, you can set up a self-contained RAG system on your local machine in minutes.
In this tutorial, we'll walk through:
- How RAG architectures work under the hood
- How to set up a local RAG application with Chipper
- Customizing and optimizing Chipper for better performance
- A real-world example: Building a legal document analyzer
Let’s get started!
Understanding RAG With Chipper
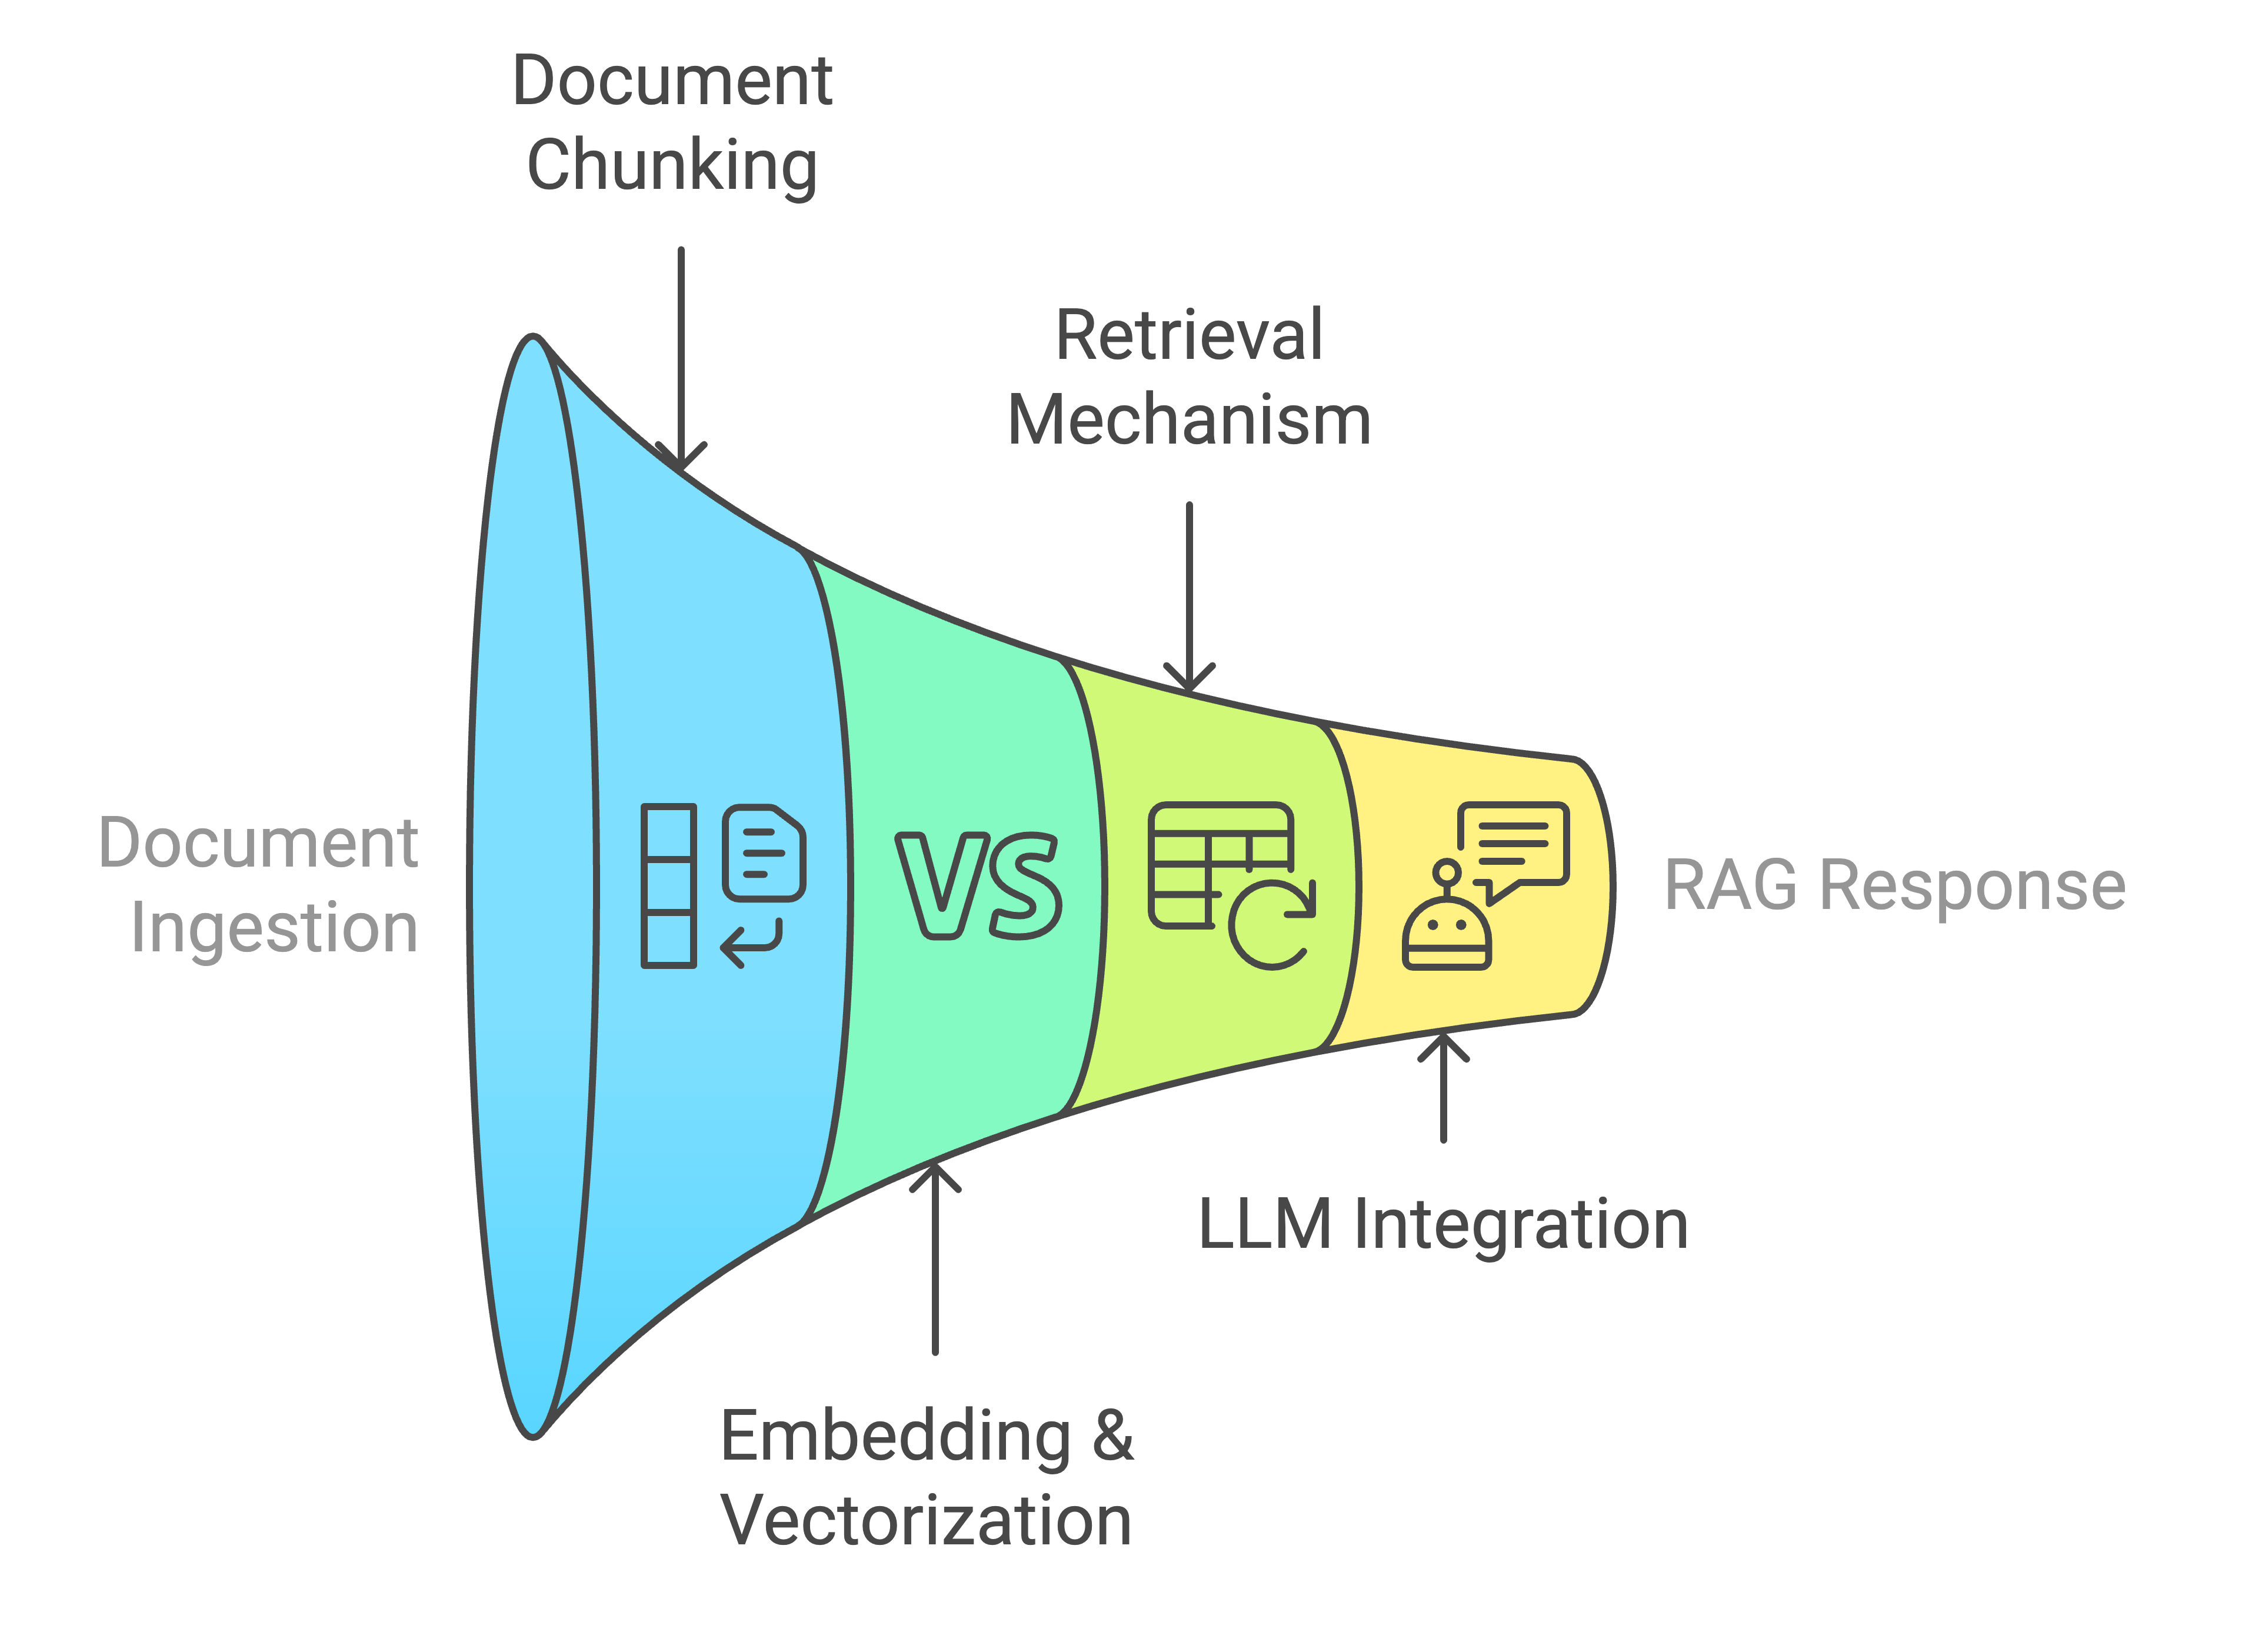
Before diving into the setup, let’s break down the retrieval-augmented generation (RAG) pipeline and how Chipper simplifies it:
Document Ingestion and Chunking
- Chipper automatically splits documents into meaningful chunks (sentence or paragraph-based) for better retrieval.
- You can customize chunk sizes for different use cases.
Embedding and Vectorization
- Each document chunk is converted into vector embeddings using a pre-trained model.
- Chipper uses Facebook AI Similarity Search (FAISS) to store and index these embeddings efficiently.
Retrieval Mechanism
- When a user queries, Chipper searches FAISS for similar document chunks.
- The most relevant pieces are sent to the LLM to generate a response.
LLM Integration and Query Processing
-
Chipper acts as a proxy for Ollama, sending retrieved document content as context for the LLM’s response.
Step 1: Install and Configure Ollama (LLM Runtime)
Since Chipper requires a local LLM to function, we’ll use Ollama, a lightweight LLM runtime.
1. Install Ollama
On macOS (via Homebrew)
brew install ollamaOn Linux
curl -fsSL https://ollama.ai/install.sh | shOn Windows
Download and install Ollama from Ollama’s official site.
2. Verify Ollama Installation
Check if Ollama is installed:
ollama --versionIf Ollama is not running, start it manually:
ollama serve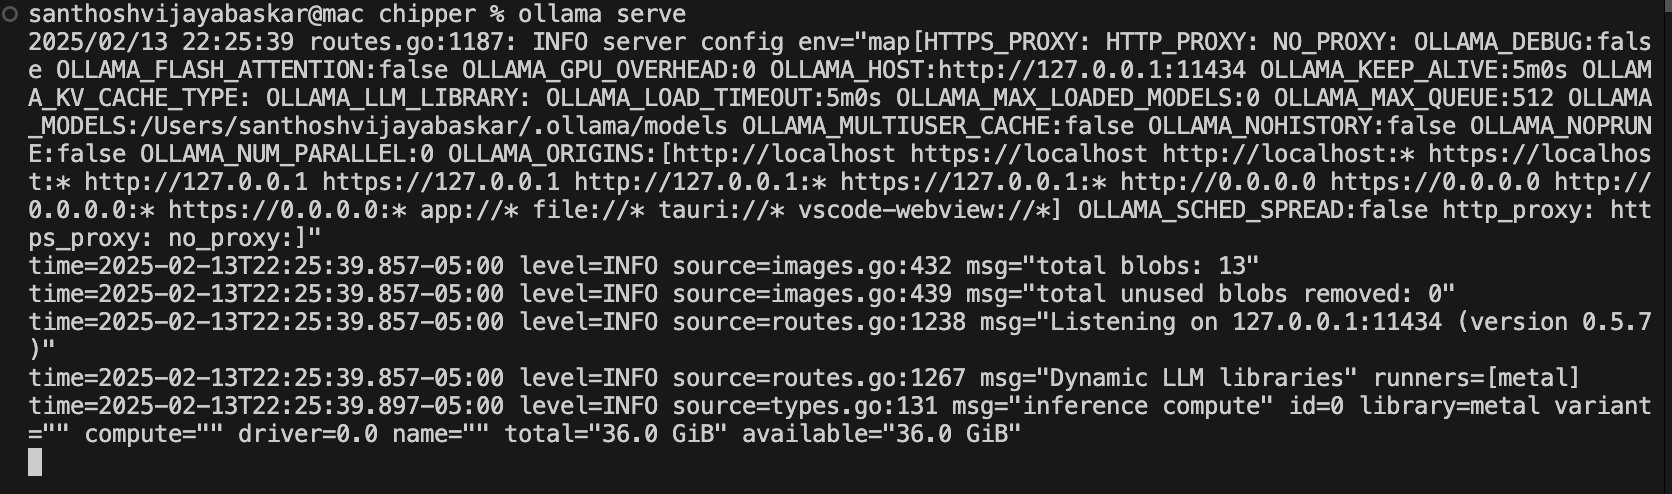
3. Download the Phi-4 Model (or an Alternative)
Chipper uses a local LLM via Ollama. If no model is found, it will automatically download Phi-4.
To manually pull Phi-4, run:
ollama pull phi4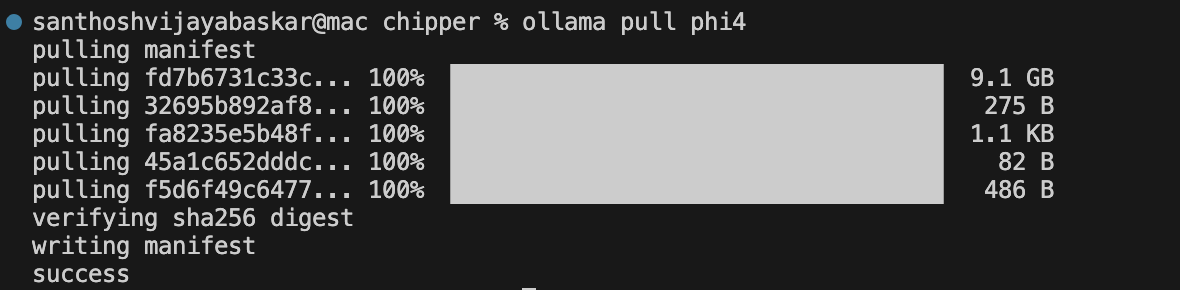
Alternatively, you can use Mistral 7B (a more powerful model):
ollama pull mistral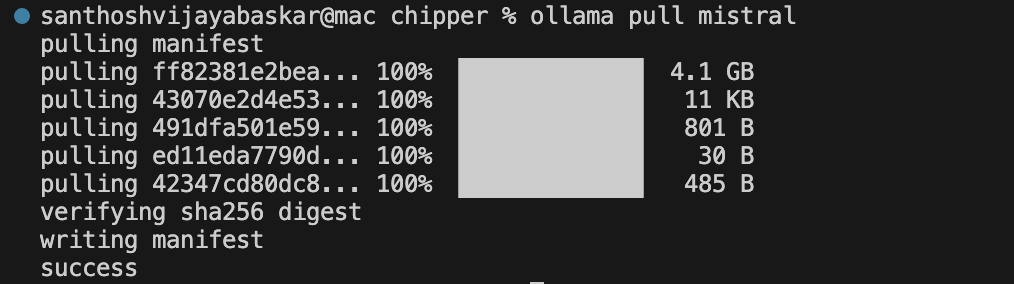
4. Configure Ollama to Use a Specific Model
If you want to manually set which model Chipper should use, edit:
nano services/api/.envLook for this line and update it to your preferred model:
OLLAMA_MODEL=phi4Save and exit (CTRL + X, then Y, then Enter).
Step 2: Install Chipper
1. Clone the Chipper Repository
git clone [email protected]:TilmanGriesel/chipper.git
cd chipper
2. Launch Chipper Using Docker
Chipper is packaged into Docker containers, which makes it easy to set up.
Run the following command to start Chipper:
./run.sh up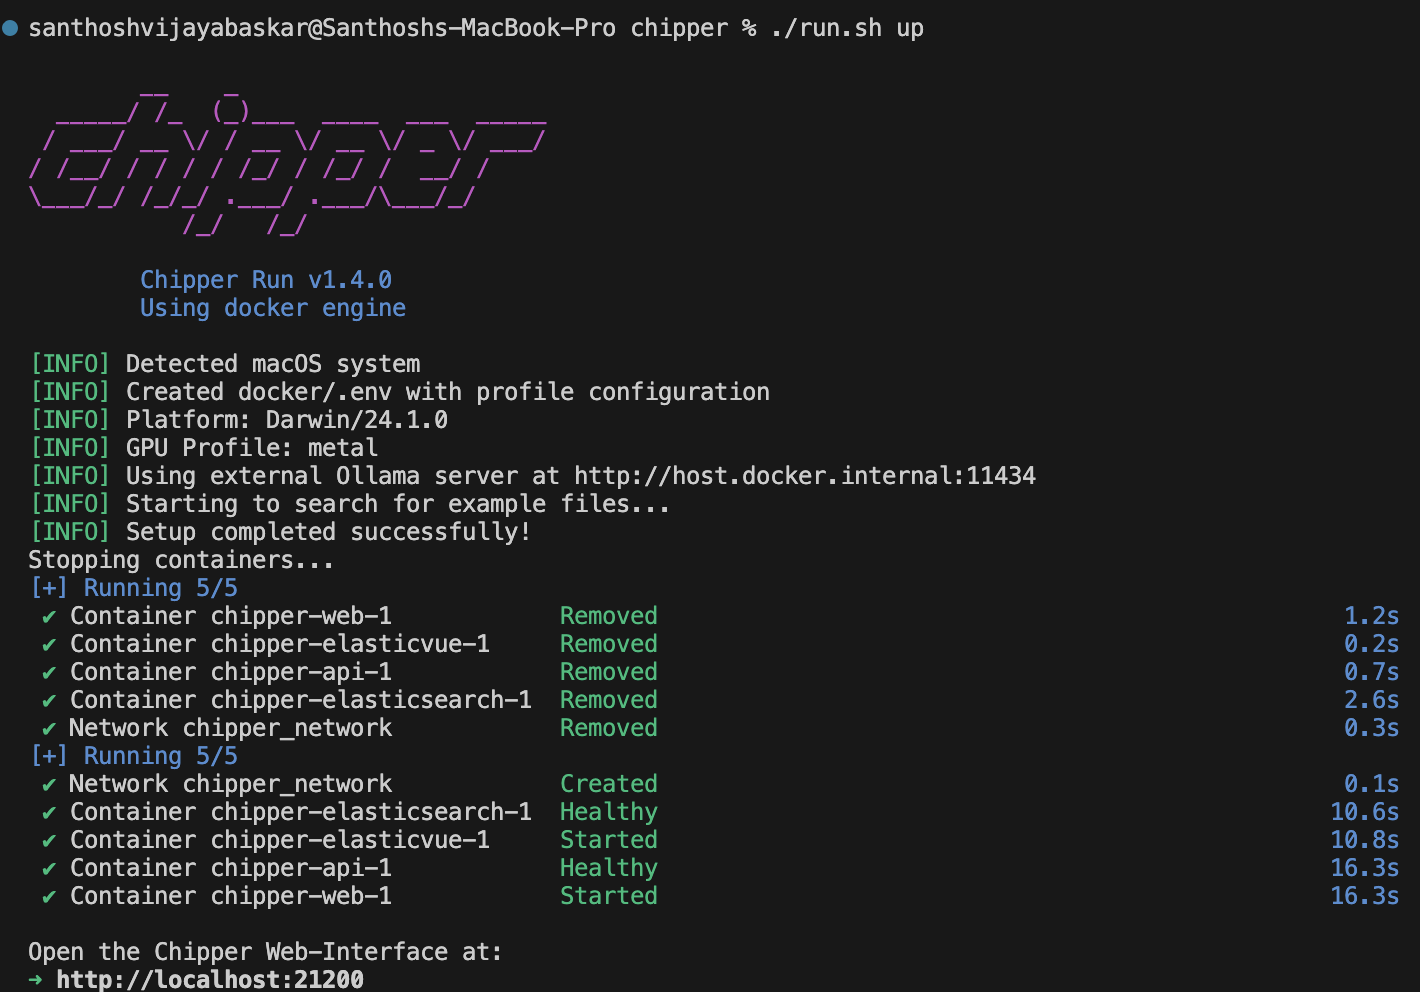
This will:
- Download and build all required services
- Launch Chipper’s processing services
- Connect to the local LLM (via Ollama)
To stop Chipper:
./run.sh downNote: This step may take some time as Docker downloads all required dependencies.
Step 3: Index and Query Documents
1. Load Documents into Chipper
Chipper allows you to drop in documents for retrieval.
mkdir my_docs
mv research_paper.pdf my_docs/
Now, index them:
chipper ingest my_docs/This will:
- Chunk the documents
- Generate vector embeddings
- Store them in FAISS or ChromaDB
2. Run a Query
Once indexed, you can query the documents:
./run.sh cliYOU: "What are the key takeaways from the research paper?"Chipper retrieves the most relevant document chunks and sends them to the local LLM (via Ollama) for response generation.
Step 4: Run Chipper as a Local AI Assistant
1. Launch Chipper in the Web Browser
Once Chipper is running, you can interact with it via the web browser. Follow these steps:
-
Open your terminal and ensure Chipper is running:
Shell./run.sh upIf Chipper is already running, you should see logs indicating it is active.
-
Open your browser and navigate to:
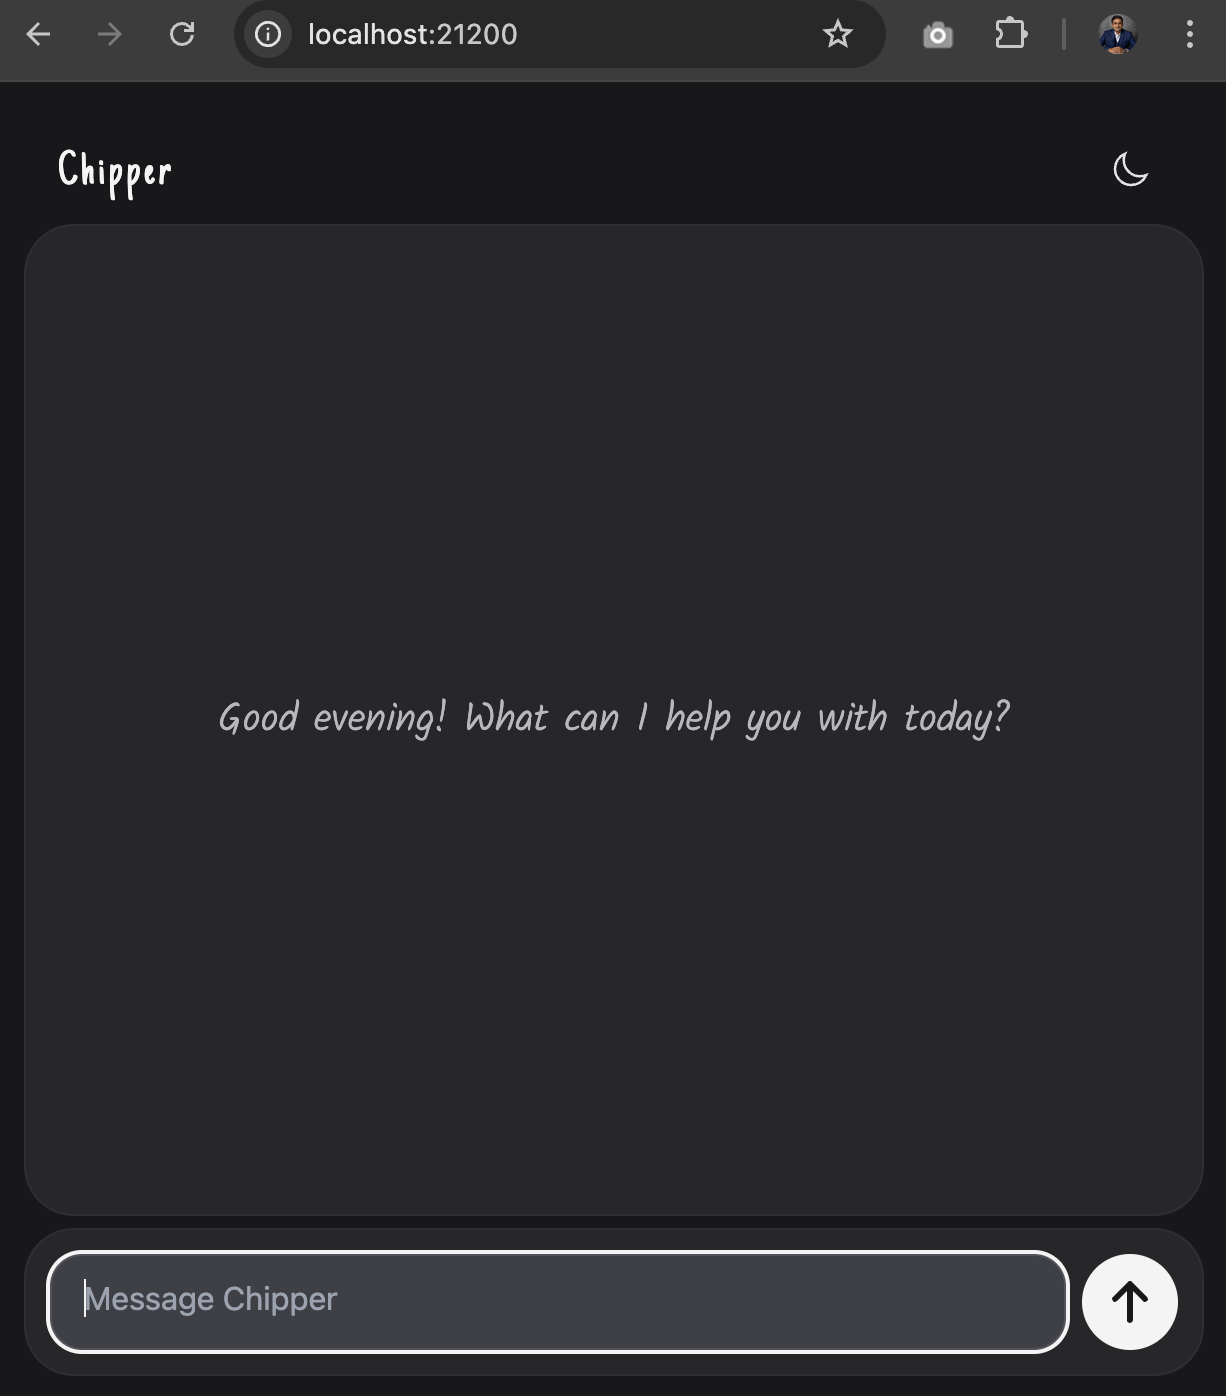
Shellhttp://localhost:21200This will launch the Chipper UI, where you can interact with your RAG application.
![Interact with your RAG app]()
-
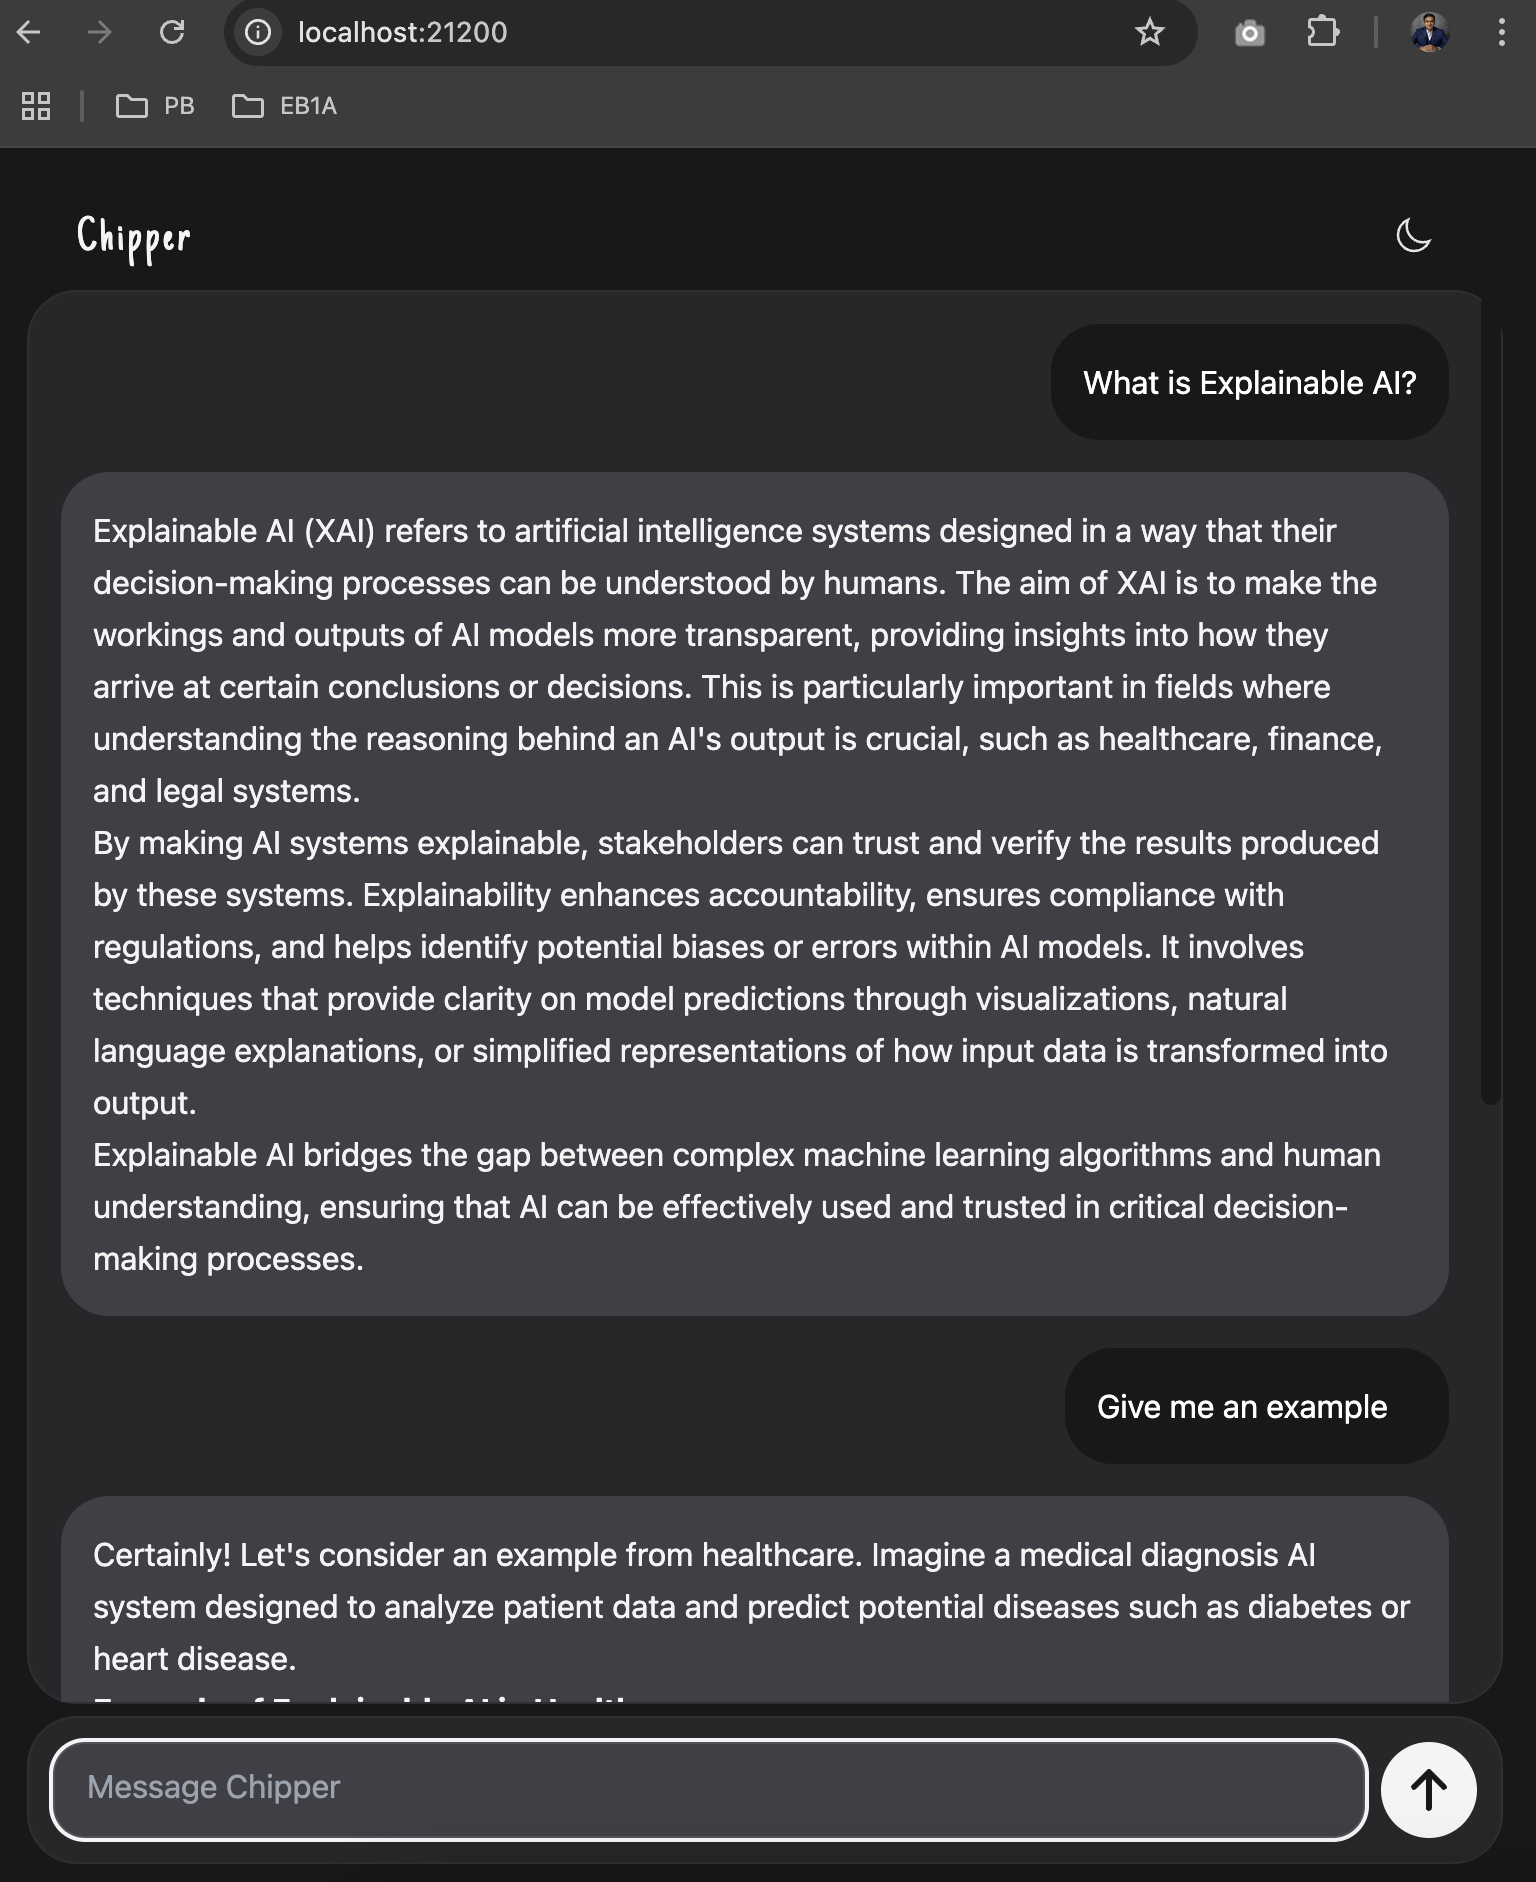
In the web UI, enter your prompt and start querying your indexed documents or testing general AI capabilities.
2. Run Chipper in Command Line
To start an interactive chat session in the terminal:
./run.sh cliExample:
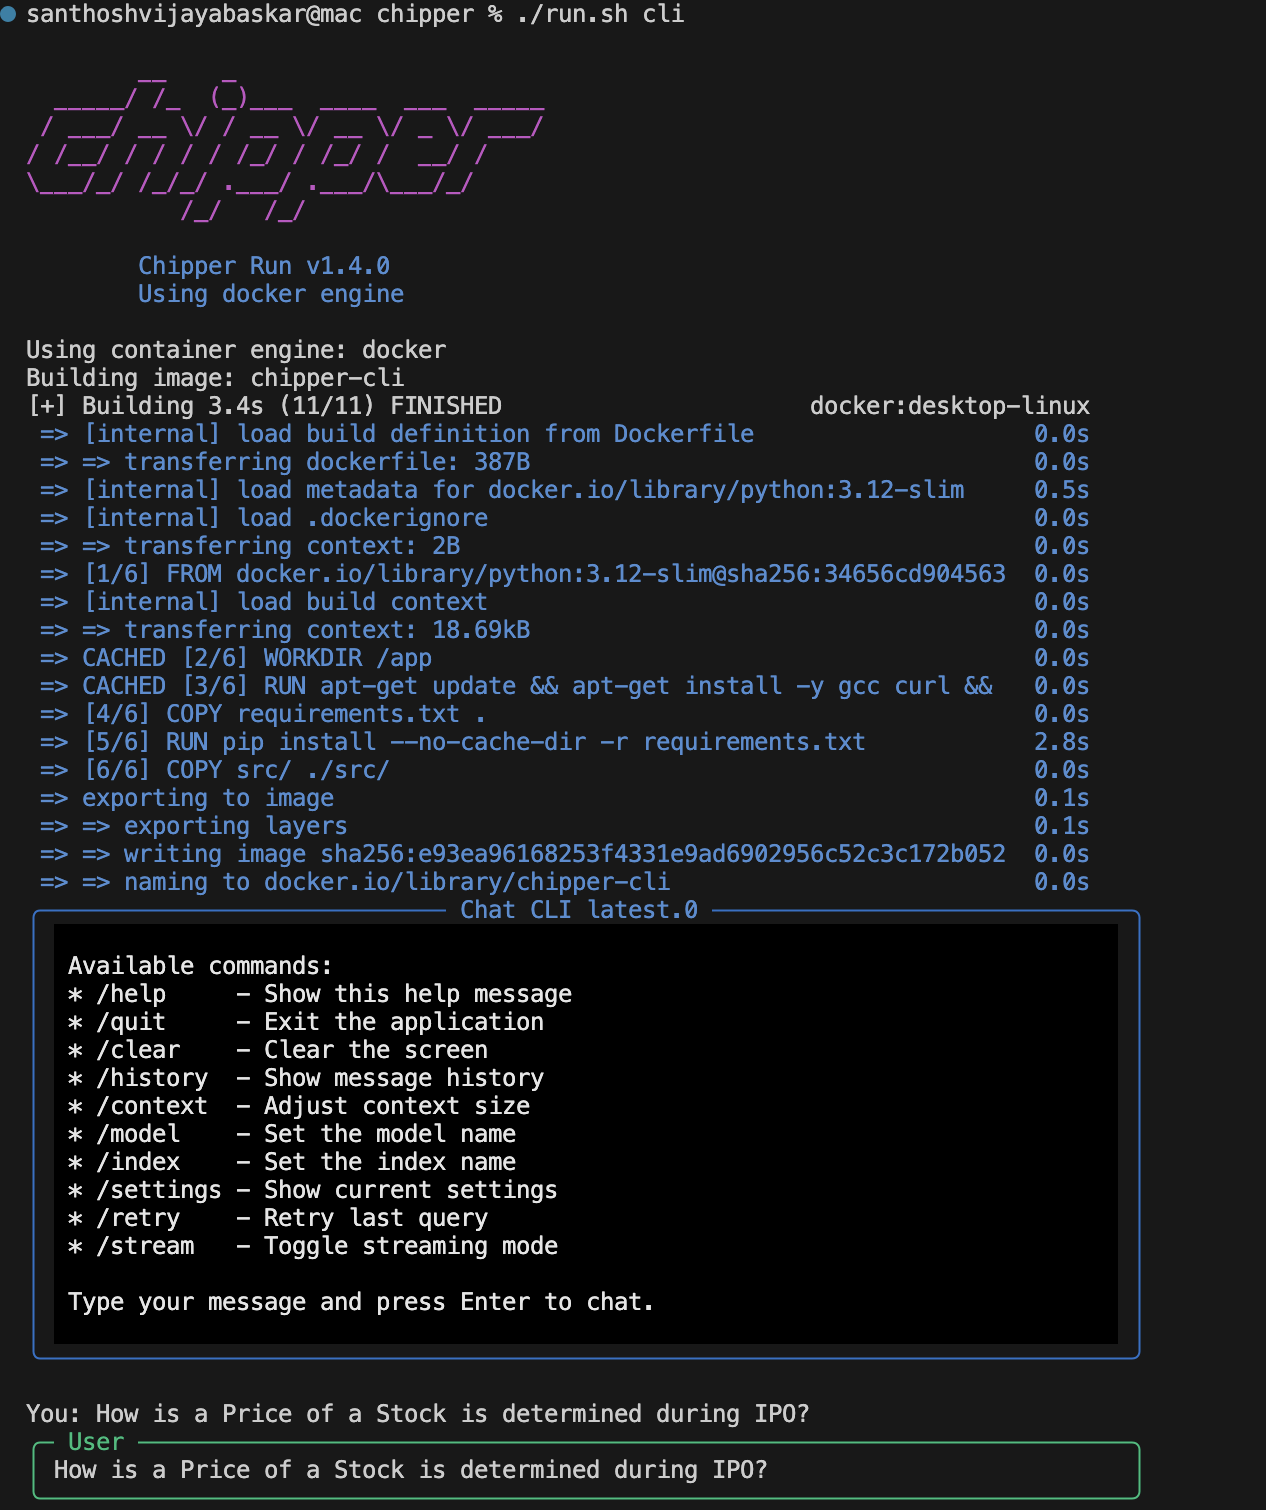
Conclusion
By now, you’ve set up Chipper and Ollama, built a local RAG-powered AI assistant, and explored how to interact with it via both the command line and the browser. This hands-on journey has given you the foundation to harness the power of AI — all running privately on your machine, without cloud dependencies. This ensures privacy, speed, cost efficiency, and total control over your AI workflows.
- No API Keys; runs fully offline.
- Custom model support. Use Phi-4, Mistral, or Llama 3.
- Supports web scraping and audio transcription.
- Optimized for RAG applications in research, legal, and enterprise use cases.
What’s Next?
Now that you've got Chipper up and running, here are some exciting ways to build on what you’ve learned:
- Experiment with document chunking and vector database configurations
- Build a custom local AI assistant!
- Experiment with different models (
ollama pull mistralorollama pull llama3) to see how responses vary. - Try indexing more complex document sets and fine-tuning the retrieval process.
- Dive into Chipper’s API integrations and explore how it can be embedded into existing applications.
- Check out the official guide here.
Opinions expressed by DZone contributors are their own.
Comments