How To Verify Database Connection From a Spring Boot Application
In this post, we will learn how to use Neo4j driver's verifyConnectivity() method to check for a successful connection to the Neo4j database.
Join the DZone community and get the full member experience.
Join For FreeI have recently been working on a self-paced learning course for Spring Data Neo4j and wanted users to be able to test the database connection. Typically, in a Spring Boot application with Spring Data, you set the database credentials as properties in the application.properties file. You can run the application with just these details, but it only fails when the database URI has improper syntax. The application does not actually test the connection to see if it is valid and successfully connects.
In this blog post, I will show you how to test the connection to a Neo4j database from a Spring Boot application using the verifyConnectivity() method from the Driver class.
Ways To Test the Connection
You might ask, "Why doesn't the application test the connection?" This is because it isn't a config property, so we have to test it at runtime. There are a few different ways to go about this.
- Use a CommandLineRunner with the driver and use the
verifyConnectivity()method. - Move the CommandLineRunner to its own config class (cleaner).
- Write a test for that uses the
verifyConnectivity()method. - Write application functionality (domain, repository, controller classes) that utilize the connection.
The last option has been what I have done in the past because I haven't focused on only the connectivity step. However, it is not ideal for testing the connection because it requires you to write a lot of code that you don't need. If the connection is wrong, then we have to troubleshoot a lot more code when something else might actually be causing the problem. We want to only deal with the database connection.
The first and second options were my next approach and are pretty good options, but require you to run the whole application. Once you have the test method, it either gets run along with it every time, or you have to comment out/remove that piece of code.
The third option is the best because it is a test that you can run at any time. It doesn't increase the overhead of the actual application, and you can run individual tests only when desired. This will be our goal, but I will show you how to write the first and second options, as well.
The verifyConnectivity() Method
First, let's look at the verifyConnectivity() method. I didn't realize this existed until now, so I did a bit of research. The info in the Java API docs says that it verifies the driver can connect to the database and throws an exception if it fails to connect. This is exactly what we want!
The method is part of the Driver class, which is part of the Neo4j Java Driver. So, in order to execute the verifyConnectivity() method, we will need to create a driver object.
Setup: Create a Spring Boot Project
Let's start by creating a Spring Boot project. I like to do this through the Spring Initializr site. I will use the following settings:
- Project: Maven Project
- Language: Java
- Spring Boot: Latest stable release (currently 3.1.3)
- Project Metadata:
- Group: com.jmhreif
- Artifact: verify-connectivity
- Dependencies:
- Spring Data Neo4j
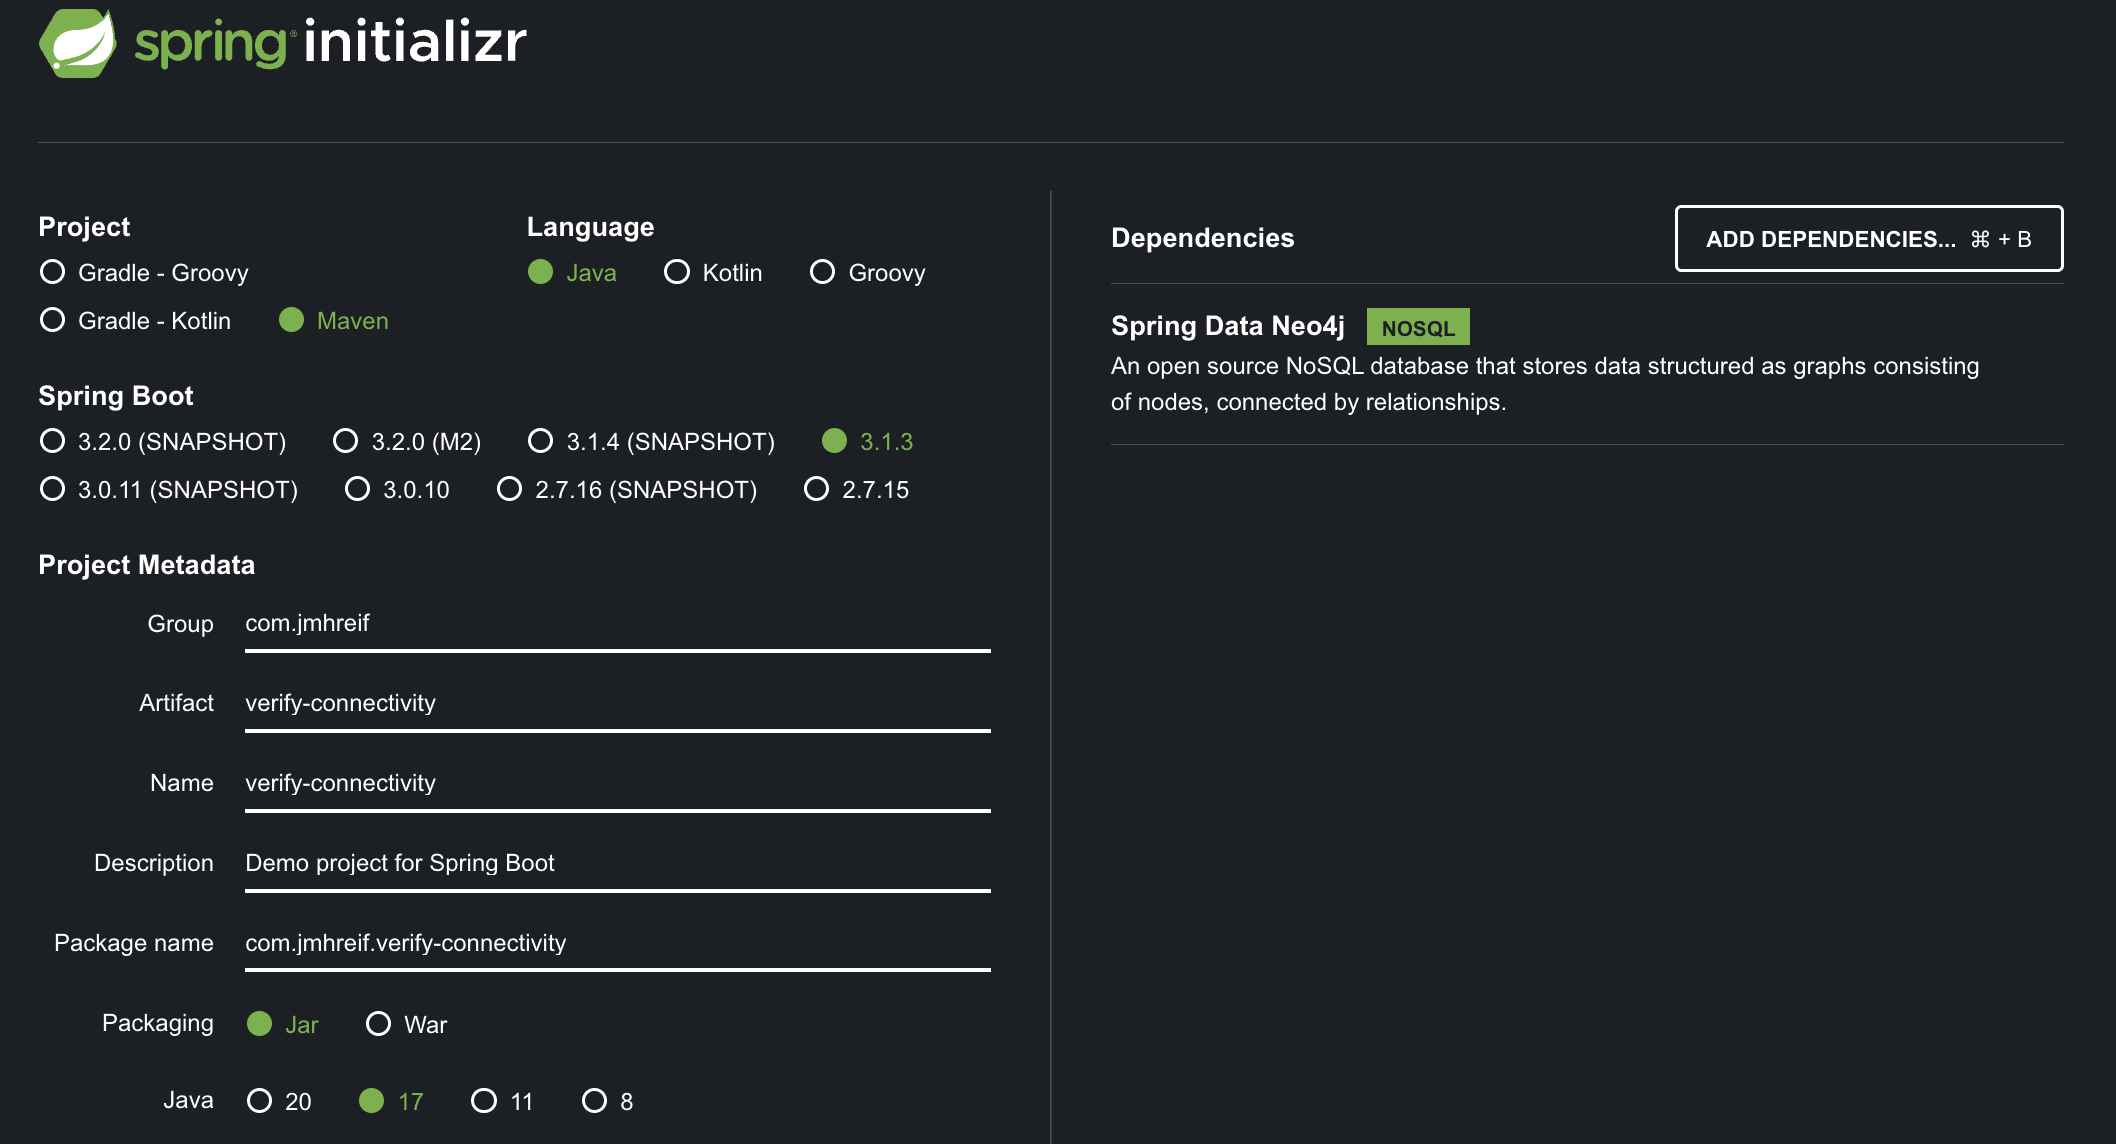
Spring Initializr settings
Once you have downloaded the project, open it in your preferred IDE. The first thing we will need to do is to set the database credentials in the application.properties file. This will give us something to test.
If you don't already have an instance of Neo4j running, you can spin up a free cloud instance of Neo4j Aura in a few minutes. Neo4j Aura is a fully managed cloud database service. Once you have an instance, you can get the connection URI from the Aura console.
Next, open the application.properties file and add the following properties:
spring.neo4j.uri=neo4j+s://dbhash.databases.neo4j.io
spring.neo4j.authentication.username=neo4j
spring.neo4j.authentication.password=test
spring.data.neo4j.database=neo4j
Note that you will need to update at least the URI and password fields to match your instance (the username and database fields are defaulted unless you customize them later). Now, we can create a CommandLineRunner class to test the connection.
Each of the options we will cover in this post is in a separate branch in the accompanying GitHub project. You can follow along by checking out the branch for the option as we walk through each one. The main branch is the preferred solution using a test in the test class.
- Option 1: Method in main application class
- Option 2: Method in config class
- Option 3 (main): Test in test class
Option 1: Use CommandLineRunner
With our project ready, we can start adding code to test the database connection. Open the main application class (VerifyConnectivityApplication.java, if your project name is verify-connectivity) and add code so it matches the class below:
@SpringBootApplication
public class VerifyConnectivityApplication implements CommandLineRunner {

    public static void main(String[] args) {
        SpringApplication.run(VerifyConnectivityApplication.class, args);
    }

    final Driver driver;

    public VerifyConnectivityApplication(@Autowired Driver driver) {
        this.driver = driver;
    }

    public final void run(String... args) {
        driver.verifyConnectivity();
    }
}
We have our class implement the CommandLineRunner interface so that the bean we create to test our connection is run on application startup. Next, we inject the driver on line 17 and create a constructor that uses the driver on line 19.
Line 23 is where we actually test the connection, though. We implement the run() method, which uses the Driver object to call its verifyConnectivity() method. If the connection is successful, then the method will return a 0 success status code. If the connection fails, then the method will throw an exception and the application will exit with an error code.
We can test this by running the application. If the output returns the 0 status code, then it works as it's supposed to. You can also test to make sure it fails by putting some bad data into the database properties in the application.properties file and running the app again.
Testing the connection in the main application class isn't the best solution because we have cluttered up our main class with the test code. We can make this a bit cleaner by moving this code to its own config class.
Option 2: Set Up a Config Class
We are not really changing any functionality with this option, but are rather moving a chunk of configuration code to a separate class. This will allow us to keep our main application class clean and focused on the application's main functionality.
First, we need to create a new Java class. You can name it anything you like, but I called it Config.java. Open the class and copy/paste the code from the main application class so that your config class looks like the following:
@Configuration
public class Config implements CommandLineRunner {

    final Driver driver;

    public Config(@Autowired Driver driver) {
        this.driver = driver;
    }

    public final void run(String... args) {
        driver.verifyConnectivity();
    }
}
Ensure you remove the copied code from the main class, and then test the application again. It should still work the same as before when a 0 status code means success, but now we have separated the connection test code into its own configuration part of the application.
This solution also isn't ideal because we still have to run the whole application to test the connection. We can do better by writing a test in the test class so that it only runs when we need to check that piece of functionality.
Option 3: Write a Test
The third option is the best one. It doesn't increase the overhead of the actual application, and we can run an individual test as needed. To do this, we need to open the VerifyConnectivityApplicationTests.java file and add the following code:
@SpringBootTest
class VerifyConnectivityApplicationTests {

    final Driver driver;

    public VerifyConnectivityApplicationTests(@Autowired Driver driver) {
        this.driver = driver;
    }

    @Test
    final void testConnection() {
        driver.verifyConnectivity();
    }
}
You will also need to remove the Config.java class, as we don't need it anymore. Now, we can run the test, and it will verify the connection. If the connection is successful, then the test will pass. If the connection fails, then the test will fail. You can alter the values in the application.properties to verify you get the expected results for both success and failure.
This version of the code is much cleaner, and since we want to test a connection, it makes sense to put this in the test class. For more rigorous and comprehensive application testing, we could improve this further by using a test suite such as Neo4j harness or Testcontainers, but that is out of the scope of this blog post. In our case, it is sufficient to create a plain test that verifies our application can connect to the database.
Wrap Up!
In today's post, we saw how to use the verifyConnectivity() method to test the connection to a Neo4j database from a Spring Boot application. We saw three different ways to do this, and the pros and cons of each. We also discussed why the best option is to utilize the test class and write a test. If the connection succeeds, the test passes. If the connection fails, the test fails, and we can troubleshoot connection details.
Happy debugging!
Resources
- Documentation: Java API
verifyConnectivity()method
Opinions expressed by DZone contributors are their own.
Comments