Inferno JS: Build and Authenticate an App - Part I
In this 3-part tutorial, we'll introduce the Inferno JavaScript library, then build a simple Inferno app and authenticate it with Auth0.
Join the DZone community and get the full member experience.
Join For FreeInferno JS is a blazing-fast, lightweight, React-like JavaScript library. React developers will find it comfortably familiar. Inferno JS also supplies better performance, smaller size, and other improvements. Inferno is highly modular and unopinionated, encouraging developers to add only the pieces we require and write code to suit our personal preferences. In this tutorial, we'll introduce the Inferno JavaScript library, then build a simple Inferno app and authenticate it with Auth0. The final code can be found at the inferno-app GitHub repo.
Introduction to Inferno JS
Inferno is a fast, lightweight JavaScript library that resembles React. Minified and gzipped, Inferno weighs in at only 8kb (React gzipped is over 40kb). It's also extremely performant in benchmarks as well as real-world applications. Inferno can render on both the client and server and at the time of writing, it is the fastest JavaScript UI library that exists.
These features are very attractive, but many JavaScript developers are overwhelmed by the number of libraries and frameworks already out there. A few tools have emerged as mindshare and usage leaders, React among them. So what are the reasons behind Inferno's creation? Who should use Inferno and why?
Why Was Inferno JS Created?
Inferno's author, Dominic Gannaway, wanted to examine whether a UI library could improve experience for web apps on mobile devices. This included addressing issues that existing UI libraries had with battery drain, memory consumption, and performance. Inferno builds on the same API as React to greatly diminish the barrier to entry and take advantage of the best features of React. The result was a lightweight and incredibly performant UI library that React developers will find delightfully familiar but also improved.
Inferno JS Features
Inferno has many features, including but not limited to:
- Component driven, one-way data flow architecture
- Partial synthetic event system
- A
linkEventfeature, which removes the need for arrow functions or binding event callbacks - Isomorphic rendering on both client and server with
inferno-server - Lifecycle events on functional components
- Controlled components for input/select/textarea elements
You can read more about the features of Inferno and how Inferno works in the Inferno GitHub README and an indepth Inferno interview with Dominic Gannaway on the SurviveJS blog.
Note: I strongly recommend reading the interview article. It provides the technical details of Inferno, how it works, and how it compares to similar libraries like React and Preact.
Release Date
Inferno is in beta at the time of writing, but the first final release is imminent. The Inferno team intends to publish at the end of 2016 / early 2017. This release will include version 1.0 of the Inferno JS library as well as the launch of the official Inferno website and documentation.
Who Should Use Inferno?
Dominic Gannaway initially developed Inferno to improve performance on mobile. He says:
"Inferno is a great library for building UIs for mobile where performance has been poor in other libraries and people are looking around for alternatives." —Dominic Gannaway
Learning and Using the Inferno JS Library
Because Inferno is built on the same API as React, developers gain several adoption advantages when learning or switching to Inferno:
- React developers will find Inferno very familiar, resulting in a low barrier to entry; no extra time or money is needed to invest in learning a different library.
- Extensive availability of React resources online means that these tutorials and docs are helpful when learning Inferno as well.
- An
inferno-compatpackage allows developers to switch existing React projects to Inferno in just a few lines of code. - There is a growing set of Inferno packages available, such as
inferno-redux,inferno-mobx,inferno-router, and more.
For learning Inferno, Dominic Gannaway recommends the React courses on egghead.io as well as React tutorials by Wes Bos. In addition, resources such as Auth0's React Quick Start and Secure Your React and Redux App with JWT Authentication can offer insight into managing authentication with Inferno.
Developers can get started easily with Inferno with the create-inferno-app project. This is a fork of create-react-app and sets up boilerplate for developing, testing, building, and serving an Inferno app.
Set Up an Inferno App
Now that we've learned a little bit about Inferno, let's build a simple app that calls an API to get a list of dinosaurs. We'll be able to click a dinosaur's name to display more information. Let's get started!
Dependencies
We'll need Node.js (with npm) installed globally. If you don't have Node already, download and install the LTS version from the Node.js website.
We're going to use create-inferno-app to generate the boilerplate for our application. Install create-inferno-app globally with the following command:
$ npm install -g create-inferno-app
Create a New Inferno App
Let's scaffold a new Inferno project with create-inferno-app. Navigate to a folder of your choosing and run the following commands to create a new app and start the local server:
$ create-inferno-app inferno-app
$ cd inferno-app
$ npm start
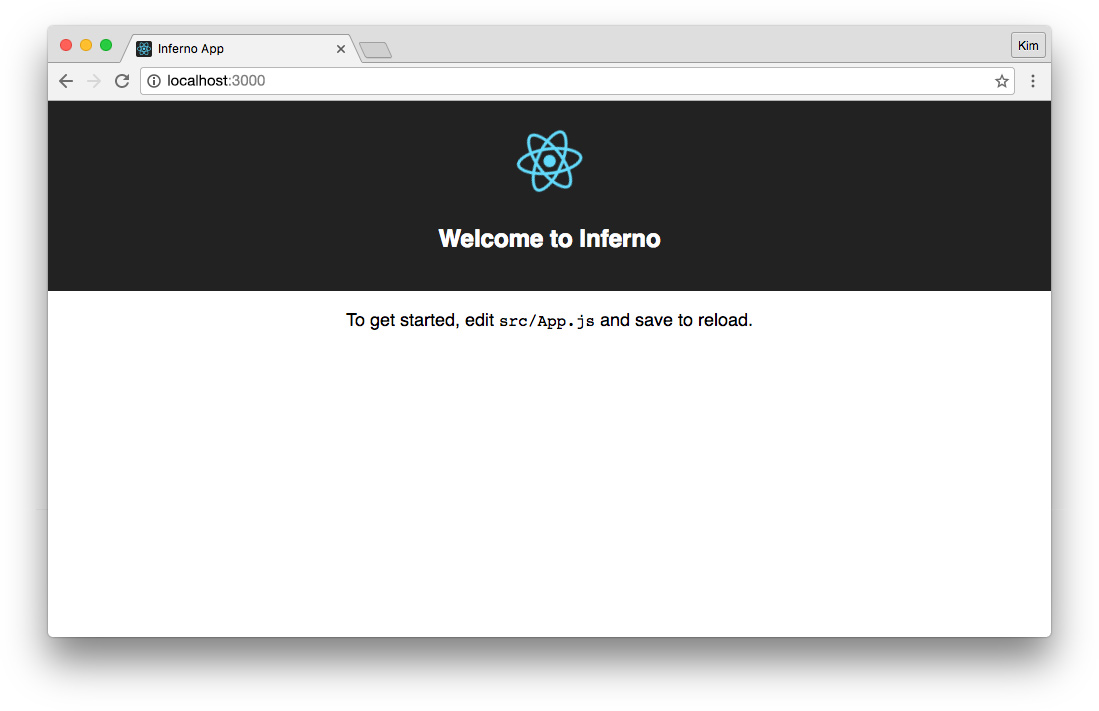
The app can now be accessed at http://localhost:3000 and should look like this in the browser:
Install Bootstrap CSS
To style our components quickly, let's use Bootstrap. Version 3 is the latest stable release at the time of writing. We'll use npm to install Bootstrap:
$ npm install bootstrap@3 --save
Import the Bootstrap CSS file in the src/index.js file to make it available in the application:
// src/index.js

...
import 'bootstrap/dist/css/bootstrap.css';
Install Node.js Dinosaurs API
Our app needs an API. Let's clone sample-nodeserver-dinos in the root of our Inferno app and then rename the repo folder to server. Then we'll execute npm install to install the necessary dependencies to run our API.
Note: The command to rename files or folders is
mvon Mac/Linux orrenon Windows.
$ git clone https://github.com/auth0-blog/sample-nodeserver-dinos.git
$ mv sample-nodeserver-dinos server
$ cd server
$ npm install
Our Inferno app runs on a local development server at localhost:3000 and the dinosaur API runs on localhost:3001.
Note: For brevity, we're going to run the app by launching the API server and app server in separate command windows. However, if you'd like to explore running multiple processes concurrently with one command, check out this article: Using create-react-app with a Server.
Call a Node API in an Inferno App
Let's start our API server. From the server folder, run:
$ node server.js
Create an API Service
To call our API, we can build a service to fetch data. App components can then use this service to make API requests. Let's create a new folder: src/utils. Inside this folder, make a new file and call it ApiService.js:
// src/utils/ApiService.js

const API = 'http://localhost:3001/api/';

// GET list of all dinosaurs from API
function getDinoList() {
  return fetch(`${API}dinosaurs`)
    .then(_verifyResponse, _handleError);
}

// GET a dinosaur's detail info from API by ID
function getDino(id) {
  return fetch(`${API}dinosaur/${id}`)
    .then(_verifyResponse, _handleError);
}

// Verify that the fetched response is JSON
function _verifyResponse(res) {
  let contentType = res.headers.get('content-type');

  if (contentType && contentType.indexOf('application/json') !== -1) {
    return res.json();
  } else {
    _handleError({ message: 'Response was not JSON'});
  }
}

// Handle fetch errors
function _handleError(error) {
  console.error('An error occurred:', error);
  throw error;
}

// Export ApiService
const ApiService = { getDinoList, getDino };
export default ApiService;
The fetch API makes HTTP requests and returns promises. We want to create methods to GET the full list of dinosaurs as well as GET an individual dinosaur's details by ID. We'll make sure the response is valid, handle errors, and then export the getDinoList() and getDino(id) methods for our components to use.
Get API Data and Display Dino List
Now we need to call the API from a component so we can display the list of dinosaurs in the UI. Open the src/App.js file. This has some boilerplate in it that we can delete and replace:
// src/App.js

import Inferno from 'inferno';
import Component from 'inferno-component';
import ApiService from './utils/ApiService';
import './App.css';

class App extends Component {
  componentDidMount() {
    // GET list of dinosaurs from API
    ApiService.getDinoList()
      .then(
        res => {
          // Set state with fetched dinos list
          this.setState({
            dinos: res
          });
        },
        error => {
          // An error occurred, set state with error
          this.setState({
            error: error
          });
        }
      );
  }

  render(props, state) {
    return(
      <div className="App"> <header className="App-header bg-primary clearfix"> <h1 className="text-center">Dinosaurs</h1> </header> <div className="App-content container-fluid"> <div className="row"> { state.dinos ? ( <ul> { state.dinos.map((dino) => ( <li key={dino.id}>{dino.name}</li> )) } </ul> ) : ( <p>Loading...</p> ) } </div> </div> </div>
    );
  }
}

export default App;
If you have React experience, this should look familiar. If you're new to React and Inferno, please check out the React docs to learn about general syntax, state and lifecycle, JSX, and more.
In the componentDidMount lifecycle hook, we'll call our ApiService to get an array of all dinosaurs. We'll set state for our dinosaur array on success and error on failure. In the render(), we can pass props (there are none in this case) and state as parameters so we don't litter our render() function with this. For example, this way we can use state.dinos instead of this.state.dinos.
Now that we've replaced the boilerplate JS, let's delete everything in src/App.css and replace it with the following:
/* src/App.css */

.App-header {
  margin-bottom: 20px;
}
.App-header h1 {
  margin: 0;
  padding: 20px 0;
}
.App-content {
  margin: 0 auto;
  max-width: 1000px;
}
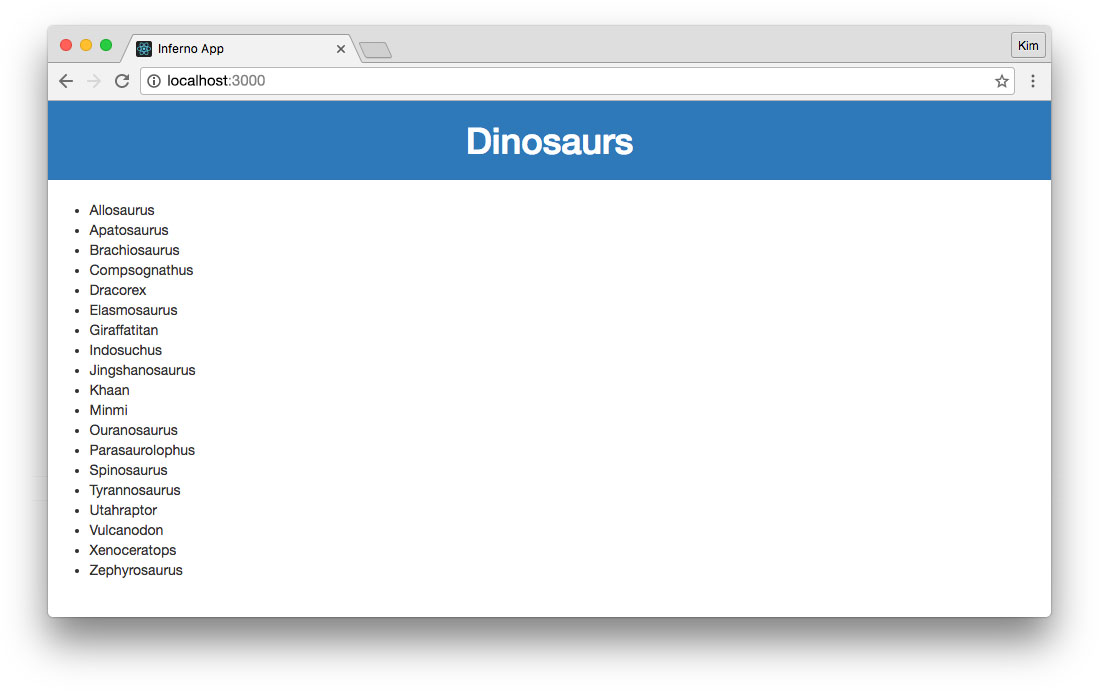
Our app now looks like this:
Stay tuned for Parts II and III.
Published at DZone with permission of Kim Maida. See the original article here.
Opinions expressed by DZone contributors are their own.
Comments