Integration of Salesforce Apex API With MuleSoft
Here we are going to Build one sample Salesforce Apex Api and further, we will use the MuleSoft apex connector to access the Apex API.
Join the DZone community and get the full member experience.
Join For FreeHere we are going to Build one sample Salesforce Apex Api and further, we will use the MuleSoft apex connector to access the Apex API.
In this example, we will build one sample Apex API which will be fetched out all the Account name and phone number from the salesforce, and then we will build one Mulesoft rest API which will further access the salesforce apex API and then return the payload in response.
So let's follow the below steps to build the Example.
- Log in to your Salesforce developer account with your username and password
- Click on Setup on the top right-hand corner

- On the left-hand side menu, under Build category go to Develop -> Apex Classes
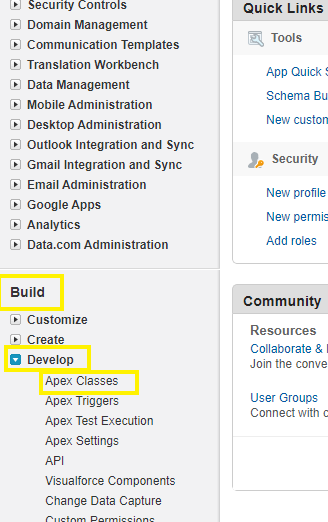
- Click on New -> (write below code) -> click save
Java
x22
1(urlMapping='/showAccountsDetails')2global class checkAccount3{456global static LIST<Account> getAccount()7{8LIST<Account> lst;9try10{11lst = [select name,phone from Account];12return lst;13}14catch(Exception ex)15{16system.debug('Error'+ex.getMessage());17}1819return lst;20}2122}
- Now open Anypoint Studio
- Click on File -> New -> Mule Project
- Enter the Project Name as “test-apex-API” and click Finish
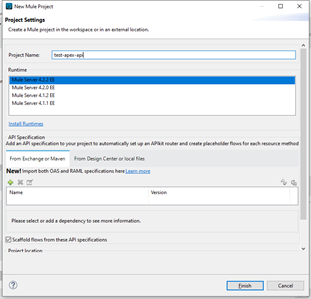
- After clicking on Finish project will be created. Now, Expand the project and open pom.xml
- Under the dependencies, tag add below dependency
XML
xxxxxxxxxx1
1<dependency>2<groupId>com.mulesoft.connectors</groupId>3<artifactId>mule-salesforce-connector</artifactId>4<version>10.1.0</version>5<classifier>mule-plugin</classifier>6</dependency>7
(Note: Kindly use version above 9.9.1. Because some people were facing session token error issue and they have fixed the issue in above version) - Now we will create the mule flow. Open the test-apex-api.xml
- Search for the HTTP listener in Mule Palette
- Drag and drop the listener on the test-apex-api.xml Message Flow tab
- Now, let's configure the listener. So, click on the listener then below tab will get open
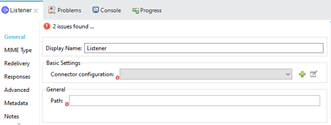
- Click on the plus symbol against the Connector configuration, add below details as per the screenshot and click OK
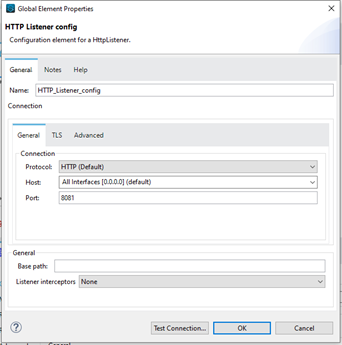
- Under the General add the path “/test apex”
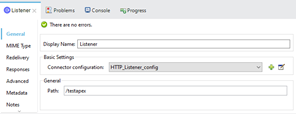
- Search for the logger in Mule Palette, Drag and drop the logger
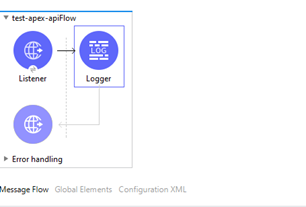
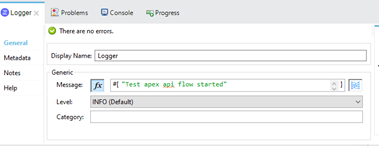
- Now configure logger message “Test apex API flow started”
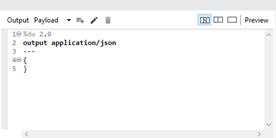
- Search for the Transform Message in Mule Palette, Drag and drop the Transform Message after logger and set the empty JSON in payload
- Search for the Invoke apex rest method in Mule Palette, Drag and drop the Invoke apex rest method after Transform Message
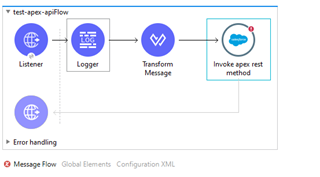
- Now, let's configure the apex connector. Click on the plus symbol next to “connector configuration”
- Fill out all your salesforce configuration details as mention below in the screenshot
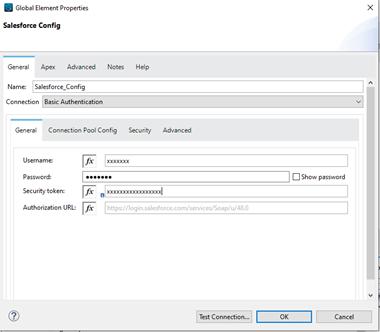
(Note: If you don’t have the security token of your developer account you can generate it. Got to your salesforce developer account My Settings -> Personal -> Reset My Security Token. Click Reset Security Token and it will send a security token to your registered email ) - After filling out the salesforce details you can test your connection by clicking on Test Connection. As soon as you get the Test connection successful. Click OK on test connection window and then click Ok on Salesforce Config Window
- Now in the “Invoke apex rest method” connector in going to “General” under “Apex class definition” write below details
- Apex Class Name: checkAccount
- Apex Class Method Name:
getAccount (getAccount^/showAccountsDetails^HttpGet^List<Account>^)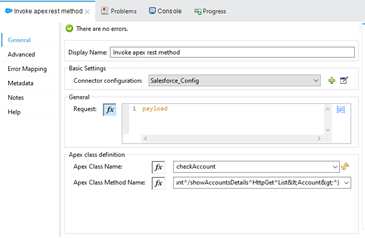
- Note: Apex Class Name and Apex Class Method Name will be auto-populate by data sense. As soon as you give the Connector configuration of your developer account. It will be giving all the apex classes you have. Which you can further choose from the drop-down to access and the same will happen with the method, It will populate all the methods available in that particular class. If the data sense is not working you should check the connector configuration details again and test the connection. Then click the refresh option against the Apex Class Name
- Now add one “Transform Message” which will convert the response payload coming from apex API to JSON format. Just drag and drop the “Transform Message” from Mule Pallete after “Invoke apex rest method” connector and add below code
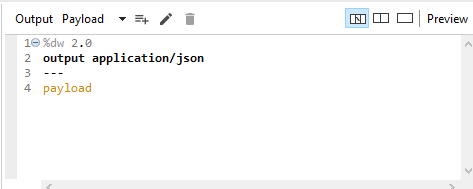
- Now add the logger to print the response. Drag and drop the “Logger” from Mule Pallete after the “Transform Message” connector.
- Configure the “Logger” as per below screenshot

-
Now your final flow will look like below
xxxxxxxxxx1
1%dw 2.02output application/json3---4payload5
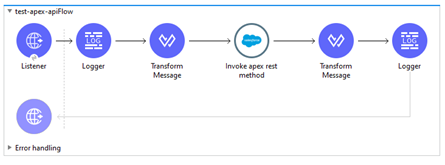
- Run the Mule Project
- After Running your mule project open the postman and give a GET call to “http://localhost:8081/testapex “
You will get the output
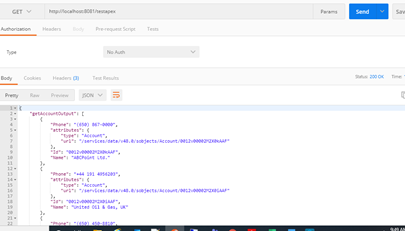
Note: The response output will be stored against the key method_name_output. For example, here we have used the method getAccount so the key will be getAccountOutput.
Opinions expressed by DZone contributors are their own.

Comments