Interacting With a Leaflet Map in an Ionic Framework PWA
sdlkdsjkl
Join the DZone community and get the full member experience.
Join For FreeUpon popular request, I had recently written a tutorial that demonstrated using the HERE JavaScript SDK in an Ionic Framework progressive web application (PWA) that used Angular. This previous tutorial demonstrated showing an interactive map in a web application and mobile application using the same set of code and it used the default HERE interactive map renderer.
However, HERE is very flexible when it comes to the tools and libraries that you can use with it. For example, you could use Leaflet, a popular renderer, with your HERE data, something I demonstrated in a tutorial titled, Render and Interact with HERE Location Data using Leaflet and Angular. This time around, we’re going to accomplish the same, but within a PWA using Ionic Framework.
To get an idea of what we want to accomplish, take a look at the following animated image:
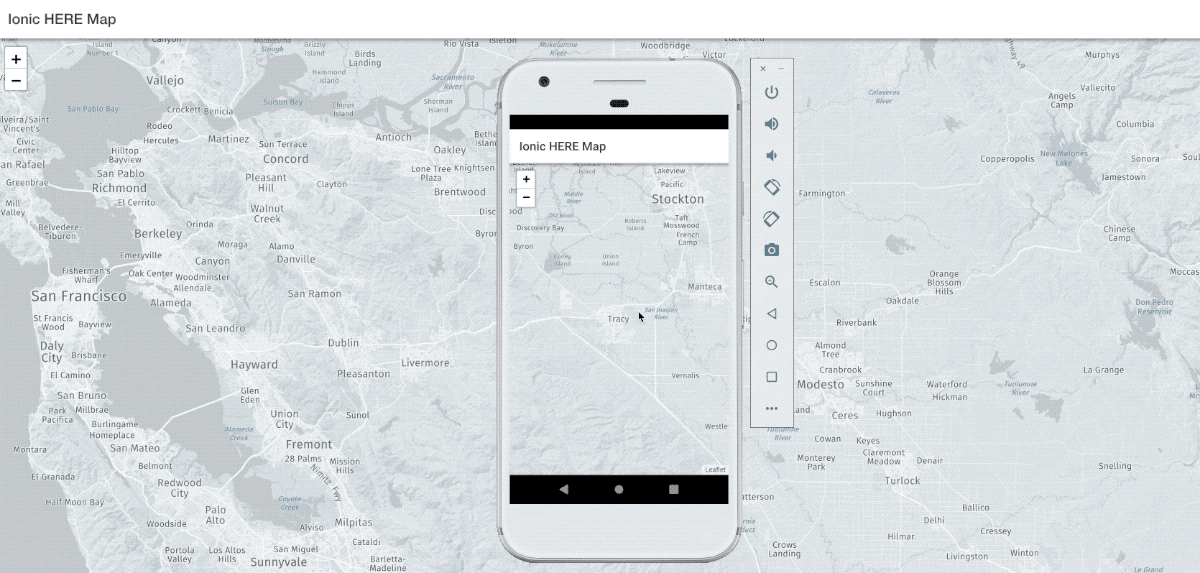
As you can see, we have our application running in a web browser and in an Android simulator. The thing to note is that we’re using Leaflet to render our map tiles rather than the default renderer that is part of the HERE JavaScript SDK.
Start a New Ionic Framework Project With the Leaflet Dependencies
To keep this project simple and easy to understand, we’re going to start fresh. Something to note about this tutorial versus my previous tutorial is that we’re going to be using Ionic 4.x this time around, whereas in the previous we were using Ionic 3.x.
Assuming you have the latest Ionic CLI installed, execute the following:
ionic start HereMapProject blankWe’re not going to explore anything too fancy so a blank project with a single page is fine for us. With the Ionic 4.x project created, we need to include the Leaflet JavaScript and CSS dependencies.
Open the project’s src/index.html file and include the following:
<!DOCTYPE html>
<html lang="en">
    <head>
        <meta charset="utf-8" />
        <title>Ionic HERE Map</title>
        <base href="/" />
        <meta name="viewport" content="viewport-fit=cover, width=device-width, initial-scale=1.0, minimum-scale=1.0, maximum-scale=1.0, user-scalable=no" />
        <meta name="format-detection" content="telephone=no" />
        <meta name="msapplication-tap-highlight" content="no" />
        <link rel="icon" type="image/png" href="assets/icon/favicon.png" />
        <meta name="apple-mobile-web-app-capable" content="yes" />
        <meta name="apple-mobile-web-app-status-bar-style" content="black" />
        <link rel="stylesheet" href="https://unpkg.com/[email protected]/dist/leaflet.css" crossorigin=""/>
    </head>
    <body>
        <app-root></app-root>
        <script src="https://unpkg.com/[email protected]/dist/leaflet.js" crossorigin=""></script>
    </body>
</html>
In the above HTML markup, you’ll notice that we didn’t include any of the HERE libraries. This is because we’ll be using the HERE RESTful API to feed our tile information into Leaflet.
At this point in time, our project is ready to begin actual development.
Creating a Map Component to be Reusable Within the Application
There are numerous ways to get a map into your Ionic Framework project. However, since it uses Angular, it probably makes sense to create an Angular component out of the interactive map HTML and TypeScript.
From the Ionic CLI, execute the following command:
ionic generate component here-mapThe above command behaves like it would with the Angular CLI, but the Ionic CLI massages it into the Ionic Framework project correctly.
With the component created, the first thing we probably want to do is get the HTML figured out. Open the project’s src/app/here-map/here-map.component.html and include the following:
<div #map ></div>In the above markup, we are making reference to the element through the #map attribute. This will later be used in our TypeScript code. We are also setting the width and height to 100 percent because we want it to take the full size of the parent component that it resides in.
With the short HTML out of the way, let’s look at the project’s src/app/here-map/here-map.component.ts file:
import { Component, OnInit, ViewChild, ElementRef, Input } from '@angular/core';

declare var L: any;

@Component({
    selector: 'here-map',
    templateUrl: './here-map.component.html',
    styleUrls: ['./here-map.component.scss']
})
export class HereMapComponent implements OnInit {

    @ViewChild("map")
    public mapElement: ElementRef;

    @Input()
    public appId: any;

    @Input()
    public appCode: any;

    @Input()
    public lat: any;

    @Input()
    public lng: any;

    public constructor() { }

    public ngOnInit() { }

    public ngAfterViewInit() {
        const map = L.map(this.mapElement.nativeElement, {
            center: [this.lat, this.lng],
            zoom: 10,
            layers: [L.tileLayer("https://2.base.maps.api.here.com/maptile/2.1/maptile/newest/reduced.day/{z}/{x}/{y}/512/png8?app_id=" + this.appId + "&app_code=" + this.appCode + "&ppi=320")],
            zoomControl: true
        });
        setTimeout(() => {
            map.invalidateSize();
        }, 1000);
    }

}
In the above TypeScript, we are obtaining the #map reference from the HTML and storing it in a mapElement variable based on the ViewChild. Each of the @Input variables will represent potential values coming from the user as tag attributes.
So how does Leaflet get what we need from HERE?
In the ngAfterViewInit we plug in the HERE Map Tile API endpoint into the Leaflet function for layers. This API endpoint includes the app id and app code values that can be found in the HERE developer portal.
There is a catch though. Because Ionic Framework does some things at load time prior to the views being built, Leaflet cannot determine the correct window sizing information immediately. Because of this, some or all tiles may be missing from the view. To correct this, we can set a short timeout and invalidate the map size causing it to refresh.
Showing a Leaflet Map on the Screen With HERE Data
With the component created, now it really comes down to displaying it on any given page within the application. We can’t just display custom components as we please. We first need to import them into the modules that we wish to use.
For example, open the project’s src/app/home/home.module.ts file and include the following:
import { NgModule } from '@angular/core';
import { CommonModule } from '@angular/common';
import { IonicModule } from '@ionic/angular';
import { FormsModule } from '@angular/forms';
import { RouterModule } from '@angular/router';

import { HereMapComponent } from '../here-map/here-map.component';

import { HomePage } from './home.page';

@NgModule({
    imports: [
        CommonModule,
        FormsModule,
        IonicModule,
        RouterModule.forChild([
            {
                path: '',
                component: HomePage
            }
        ])
    ],
    declarations: [HomePage, HereMapComponent],
    exports: [HereMapComponent]
})
export class HomePageModule {}
Notice that we’ve imported our component and added it to the declarations array as well as the exports array of the @NgModule block. By doing this we are saying that we can now use this custom component in our home page, which is the only page of this particular application.
With the module ready to go, open the project’s src/app/home/home.page.html file and include the following:
<ion-header>
    <ion-toolbar>
        <ion-title>
            Ionic HERE Map
        </ion-title>
    </ion-toolbar>
</ion-header>

<ion-content>
    <here-map appId="APP-ID-HERE" appCode="APP-CODE-HERE" lat="37.7397" lng="-121.4252"></here-map>
</ion-content>
In the above HTML file, we are adding our custom <here-map> tag with each of the possible attributes that we defined in the TypeScript code. Remember, you’ll need to get your app id and app code tokens from the HERE developer portal, otherwise, nothing will render on your map.
Conclusion
You just saw how to include Leaflet in your Ionic Framework progressive web application (PWA). The steps to include Leaflet are really no different from including the default HERE renderer with the HERE JavaScript SDK. While this example demonstrated Ionic 4.x, I had written a previous example that demonstrated Ionic 3.x.
Out of the box, you’ll be able to deploy for the web, but if you want to deploy on Android or iOS you’ll need to get the appropriate Apache Cordova dependencies and configure them for Ionic Framework. You won’t need to alter your code, but there may be some configuration changes on your computer.
Published at DZone with permission of Nic Raboy. See the original article here.
Opinions expressed by DZone contributors are their own.
Comments