

LocalStack and Terraform: A Clean Local AWS Setup Guide
LocalStack mocks AWS services locally, while Terraform provisions them. Together, they let you test infrastructure code instantly, without cloud costs or internet.
Join the DZone community and get the full member experience.
Join For FreeRunning AWS resources locally is a game-changer for engineering velocity, cost optimization, and developer autonomy. Traditionally, testing cloud infrastructure required deploying directly to a staging or sandbox AWS account. This workflow introduced painful friction points: waiting for slow cloud provisioning cycles, tracking down orphaned resources that inflate the monthly bill, and requiring a constant, high-speed internet connection.
LocalStack solves this by emulating core AWS services, such as S3, SQS, DynamoDB, and other services directly on your local machine inside a Docker container. When paired with Terraform, you can safely write, plan, and apply infrastructure-as-code (IaC) configuration blueprints against this local simulator.
This guide walks you through the definitive "happy path" for configuring LocalStack and Terraform, followed by a robust troubleshooting handbook for common architecture-specific and container networking errors. This allows you to provision these mock resources cleanly. This allows testing Terraform code with local resources without incurring real AWS costs, requiring internet connectivity, or dealing with slow cloud provisioning cycles.
The Happy Path Setup
Step 1: Setting the Stage: Launching LocalStack With Docker
To get started, we need our local AWS cloud stack running inside a container. We will pull the official LocalStack image, set up our credentials, and spin up the container.
First, pull the latest official image to your local machine:
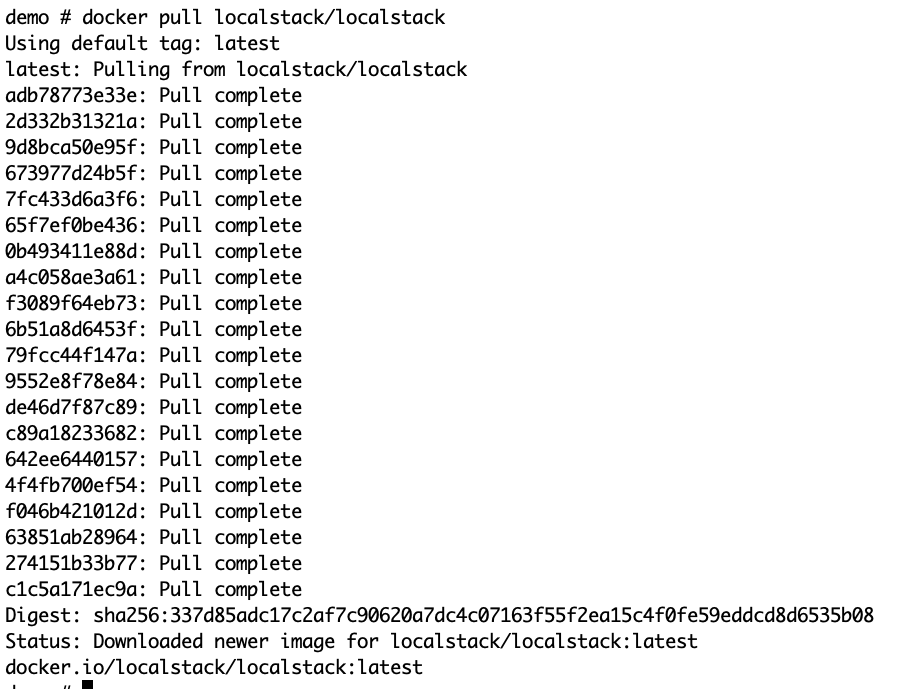
Before firing up the container, head over to the LocalStack Web App Dashboard to grab your personal access token (PAT). While LocalStack offers an open-source community edition, advanced features or specific emulated APIs may check for a valid token.
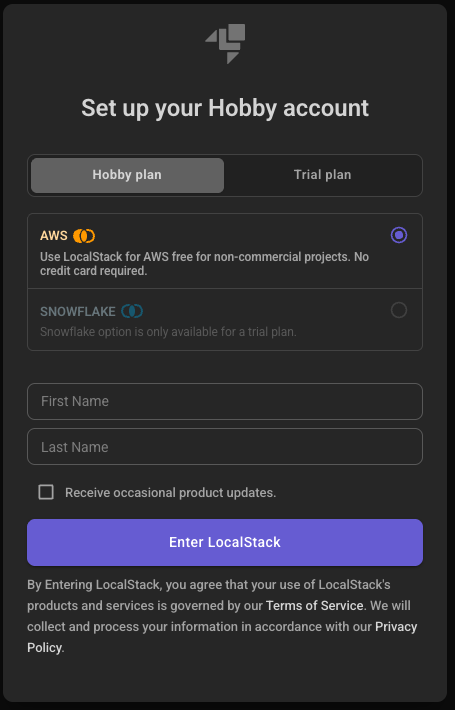
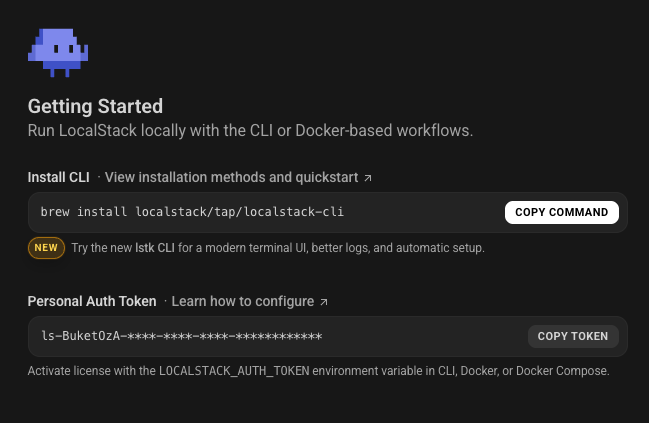
Export this token into your shell environment so the container can authenticate and activate premium features on startup:
export LOCALSTACK_AUTH_TOKEN="ls-..."
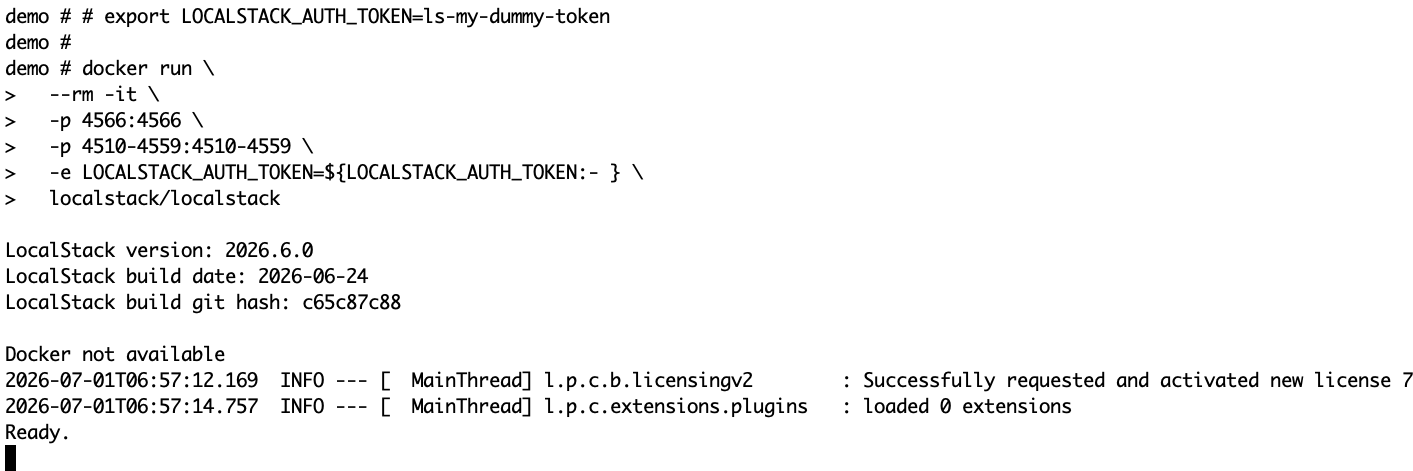
Now, launch the container. We need to map the primary edge gateway port (4566), which routes all inbound AWS API requests, along with the standard range of ports used by individual internal services (4510-4559). We also pass our token as an environment variable:
docker run --rm -it \
  -p 4566:4566 \
  -p 4510-4559:4510-4559 \
  -e LOCALSTACK_AUTH_TOKEN=$LOCALSTACK_AUTH_TOKEN \
  localstack/localstack
Keep an eye on your terminal logs. LocalStack will quickly validate your token, pull your license configuration, and initialize the mock runtimes. You will see a clear notification when the edge proxy is fully ready to handle incoming API requests.
Step 2: The S3 Sanity Check: Talking to LocalStack
Before configuring our automation toolchain, let's run a quick manual sanity check using the standard AWS CLI. Because LocalStack runs entirely on your machine, we must override the default cloud routing by passing a custom --endpoint-url pointing to our local edge proxy. To verify that LocalStack is running and reachable, create a local S3 bucket and upload a test file using the AWS CLI.
1. Create a Bucket
aws s3 \
mb s3://demo-bucket \
--endpoint-url=http://localhost:4566 \
--region us-east-1
2. Upload an Object
Create a dummy text file and copy it into your new mock bucket:
aws s3 \
cp /tmp/demo.txt s3://demo-bucket \
--endpoint-url=http://localhost:4566 \
--region us-east-1
3. List Objects
Verify the object is safely stored inside the mock container:
aws s3 \
ls s3://demo-bucket \
--endpoint-url=http://localhost:4566 \
--region us-east-1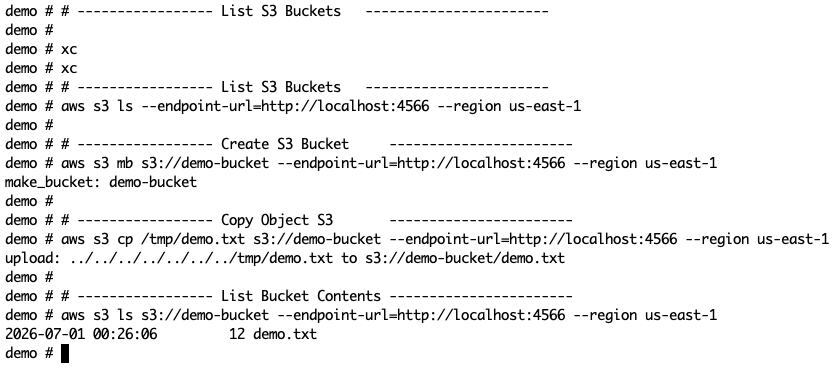
Step 3: Writing the Blueprint: Configuring the Terraform Provider
Now let's automate things. To instruct Terraform to deploy resources to our local simulator instead of the real AWS cloud, we must customize the AWS provider block. We enforce dummy credentials, bypass cloud-only identity validations, and explicitly force all API endpoints to route directly to http://localhost:4566.
Providers Configuration
Create a file named providers.tf with the following content:
terraform {
  backend "local" {
    path = "terraform.tfstate"
  }

  required_providers {
    aws = {
      source  = "hashicorp/aws"
      version = "~> 5.0"
    }
  }
}

provider "aws" {
  region                      = "us-east-1"
  access_key                  = "mock_access_key"
  secret_key                  = "mock_secret_key"
  skip_credentials_validation = true
  skip_metadata_api_check     = true
  skip_requesting_account_id  = true
  s3_use_path_style           = true

  # Redirect all endpoints to LocalStack's edge port
  endpoints {
    apigateway     = "http://localhost:4566"
    cloudwatch     = "http://localhost:4566"
    dynamodb       = "http://localhost:4566"
    ec2            = "http://localhost:4566"
    iam            = "http://localhost:4566"
    lambda         = "http://localhost:4566"
    rds            = "http://localhost:4566"
    s3             = "http://localhost:4566"
    secretsmanager = "http://localhost:4566"
    sns            = "http://localhost:4566"
    sqs            = "http://localhost:4566"
    ssm            = "http://localhost:4566"
    sts            = "http://localhost:4566"
  }
}
SQS Resource Definition
Next, define the SQS queue we want to provision. Create a file named main.tf:
resource "aws_sqs_queue" "local_queue" {
  name                      = "my-local-queue"
  delay_seconds             = 90
  max_message_size          = 2048
  message_retention_seconds = 86400
  receive_wait_time_seconds = 10
}

output "queue_url" {
  value = aws_sqs_queue.local_queue.id
}
Step 4: The Moment of Truth: Initializing and Applying Configuration
With our configuration defined, we can run Terraform. Ensure you are executing a native binary that matches your host system architecture (such as a native darwin_arm64 binary if you are working on an Apple Silicon machine) to prevent execution overhead.
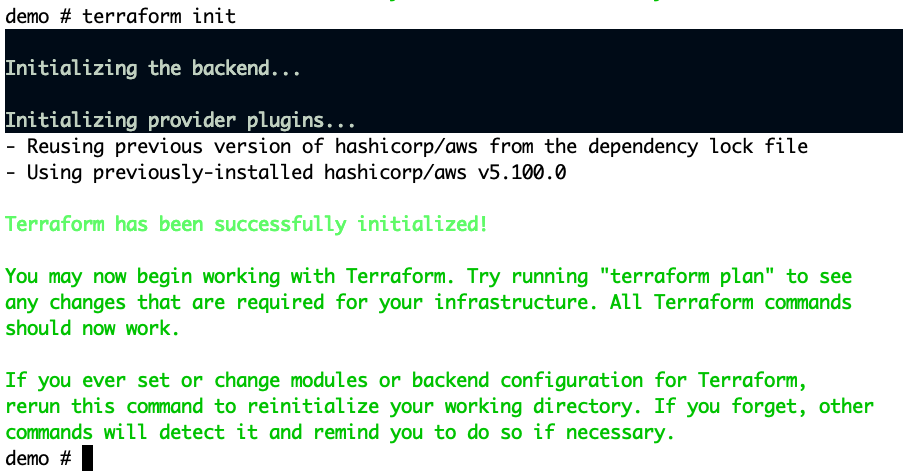
Initialize Terraform
First, initialize the working directory to download the AWS provider plugins:
Generate and Review the Plan
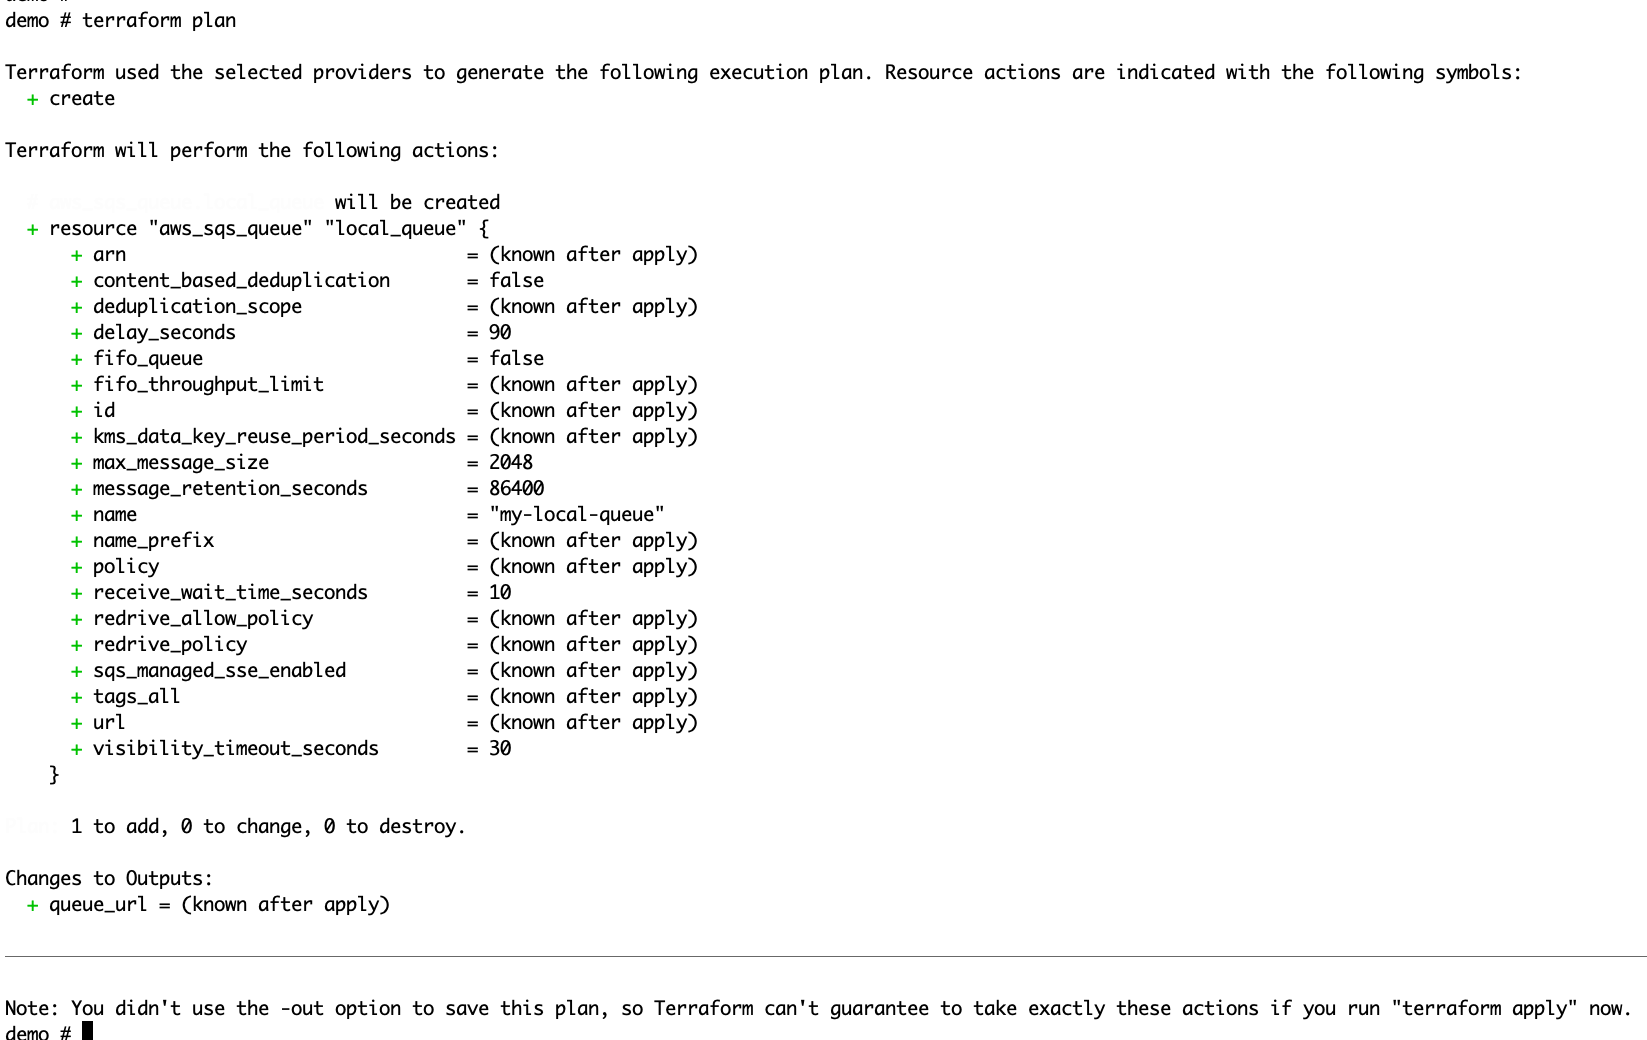
Next, generate and review an execution plan. The plan output will detail our local queue configuration without attempting to connect to actual AWS endpoints:
Apply the Plan
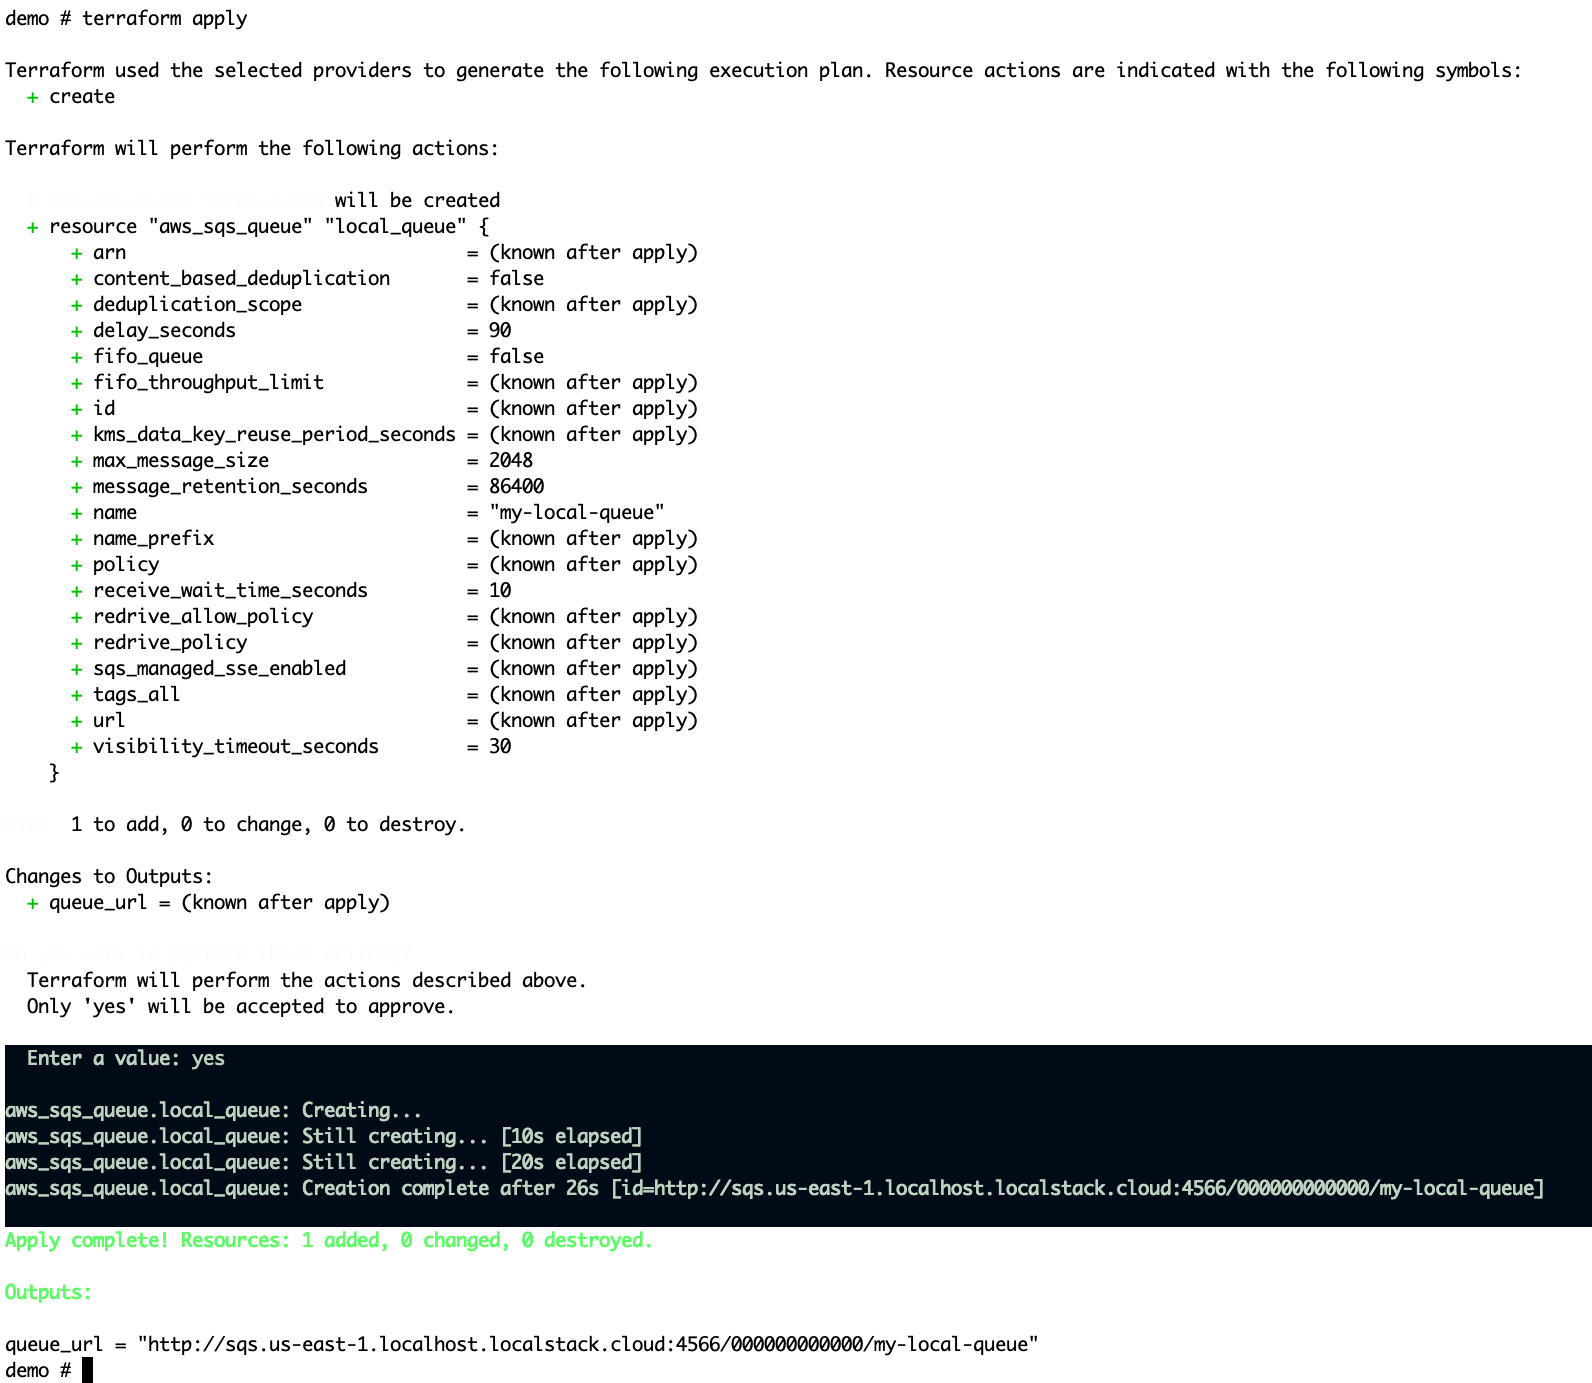
Apply the plan to deploy the queue directly to LocalStack. Upon completion, Terraform will write your state file locally and output your new mock SQS queue URL:
Step 5: Taking It for a Spin: Sending and Receiving SQS Messages
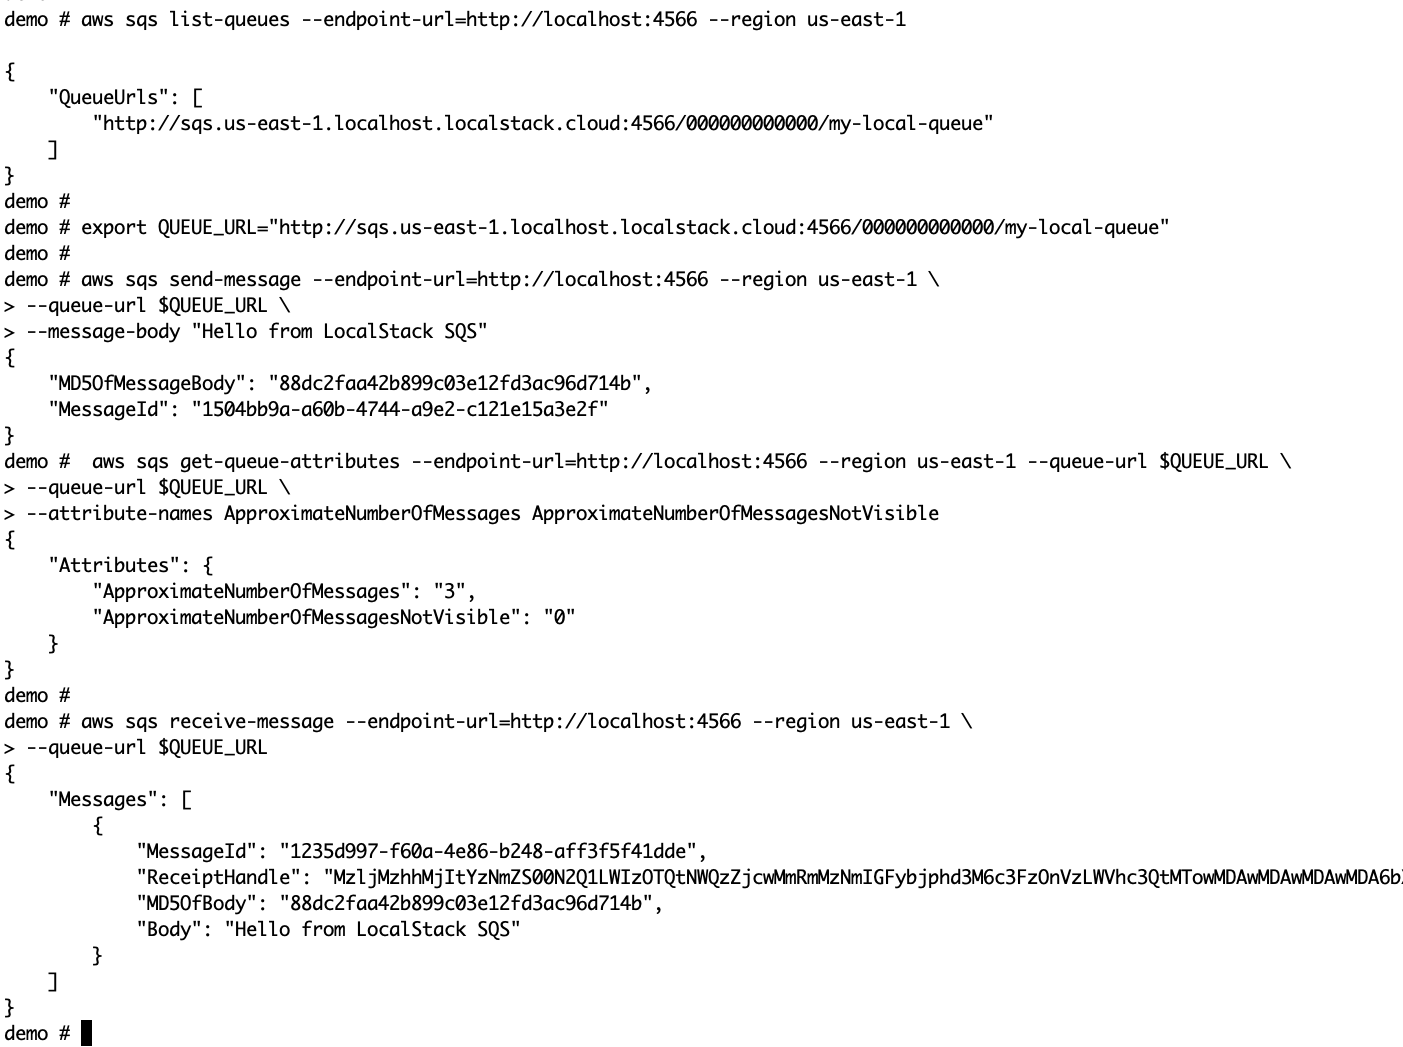
To confirm that our Terraform-provisioned SQS queue is fully operational, let's capture the output URL and push a real message through it using the AWS CLI.
1. Send a Message
 export QUEUE_URL="http://sqs.us-east-1.localhost.localstack.cloud:4566/000000000000/my-local-queue"

 aws sqs send-message \
     --endpoint-url=http://localhost:4566 \
     --region us-east-1 \
     --queue-url $QUEUE_URL \
     --message-body "Hello from LocalStack SQS"
2. Receive the Message
   aws sqs receive-message \
     --endpoint-url=http://localhost:4566 \
     --region us-east-1 \
     --queue-url $QUEUE_URL

 {
     "Messages": [
         {
             "MessageId": "1235d997-f60a-4e86-b248-aff3f5f41dde",
             "ReceiptHandle": "NzYxOThkMDAtMWJiOC00OGVhLTllMDEtNTU3ZTY3ZGQ5M2I4IGFybjphd3M6c3FzOnVzLWVhc3QtMTowMDAwMDAwMDAwMDA6bXktbG9jYWwtcXVldWUgMTIzNWQ5OTctZjYwYS00ZTg2LWIyNDgtYWZmM2Y1ZjQxZGRlIDE3ODI4OTI2MzcuMjg2ODc1NQ==",
             "MD5OfBody": "88dc2faa42b899c03e12fd3ac96d714b",
             "Body": "Hello from LocalStack SQS"
         }
     ]
 }
Your terminal will return a successful JSON payload containing your message body, confirmation IDs, and MD5 hashes, proving that the local loop is entirely complete.
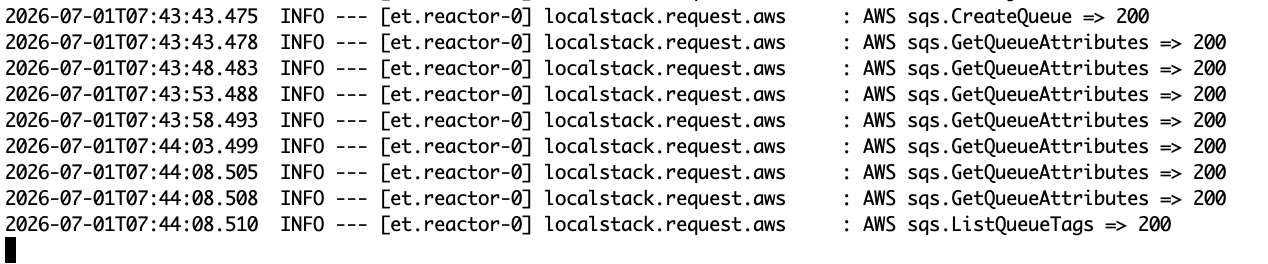
Event Verification in LocalStack Logs
Checking the LocalStack container console confirms the queue creation, message send, and message fetch operations were handled successfully:
Troubleshooting Guide
Even on a happy path, local container networks and mixed system architectures can throw a wrench into your workflow. Here is how to fix the most common bottlenecks.
The Apple Silicon (M1/M2/M3) Rosetta Loop
Symptom: The LocalStack container crashes unexpectedly on startup, or loops endlessly while attempting to launch internal components like local Lambda runtimes, throwing qemu: uncaught target signal 11 errors.
The Cause: LocalStack occasionally spins up secondary processes or helper binaries inside the container. If Docker Desktop is forced to emulate an x86_64 architecture via Virtualization frameworks on an ARM64 Apple Silicon chip, the emulation layer can break during heavy nested execution.
The Fix: Ensure your Docker Desktop configuration has Use Virtualization framework enabled under Settings -> General, and turn on Rosetta for x86/amd64 emulation under the Features in Development tab. Alternatively, force Docker to fetch the native ARM64 container image by updating your execution command to include the specific platform flag:
docker run --platform linux/arm64 --rm -it -p 4566:4566 localstack/localstack"Port Already in Use"
Symptom: Docker fails to bind ports, displaying an error message like: Bind for 0.0.0.0:4566 failed: port is already allocated.
The Cause: A previous instance of LocalStack didn't shut down cleanly, or another local development tool is monopolizing port 4566.
The Fix:
Option 1: Check for lingering Docker containers
Often, a container crashed or was backgrounded but didn't release the port. Find any container using 4566:
docker ps -a | grep 4566If a container shows up, stop and remove it (replace <CONTAINER_ID> with your specific ID):
docker stop <CONTAINER_ID>
docker rm <CONTAINER_ID>
Option 2: Kill native background processes
If Docker isn't holding the port, another process on your host machine is. You'll need to find its Process ID (PID) and force-quit it.
Find the PID:
lsof -i :4566
Kill it (look for the number under the PID column):
kill -9 <PID>Wrapping Up
Combining LocalStack and Terraform gives you a lightning-fast, zero-cost, offline sandbox for cloud infrastructure development. Once your environment is configured correctly with a valid personal access token, precise Docker port mappings, and native toolchains matched to your host CPU, you can prototype, test, and tear down AWS configurations in seconds.
No more waiting for slow cloud deployments or tracking down orphaned cloud resources. Happy local provisioning!
Opinions expressed by DZone contributors are their own.
Comments