Mule Domain Project and Deploying Domain Project in Mule Standalone Server
This document is primarily focused on the implementation of Mule Domain project in Mule 4.
Join the DZone community and get the full member experience.
Join For FreeWhat is Mule Domain Project?
A Mule Domain Project is implemented to configure the resources that are shared among different projects. These resources can be used by all the projects associated with this domain. Mule applications can be associated with only one domain, but a domain can be associated with multiple projects. Note: Mule Domain Project and the associated Mule applications must be in the same workspace.
Requirements
This document is primarily focused on the implementation of Mule Domain project in Mule 4, so it requires that you are using Anypoint Studio 7.1 or newer with Mule runtime 4.1.2 or newer and Mule Enterprise Standalone version 4.1.2 runtime or newer
Creating a Mule Domain Project
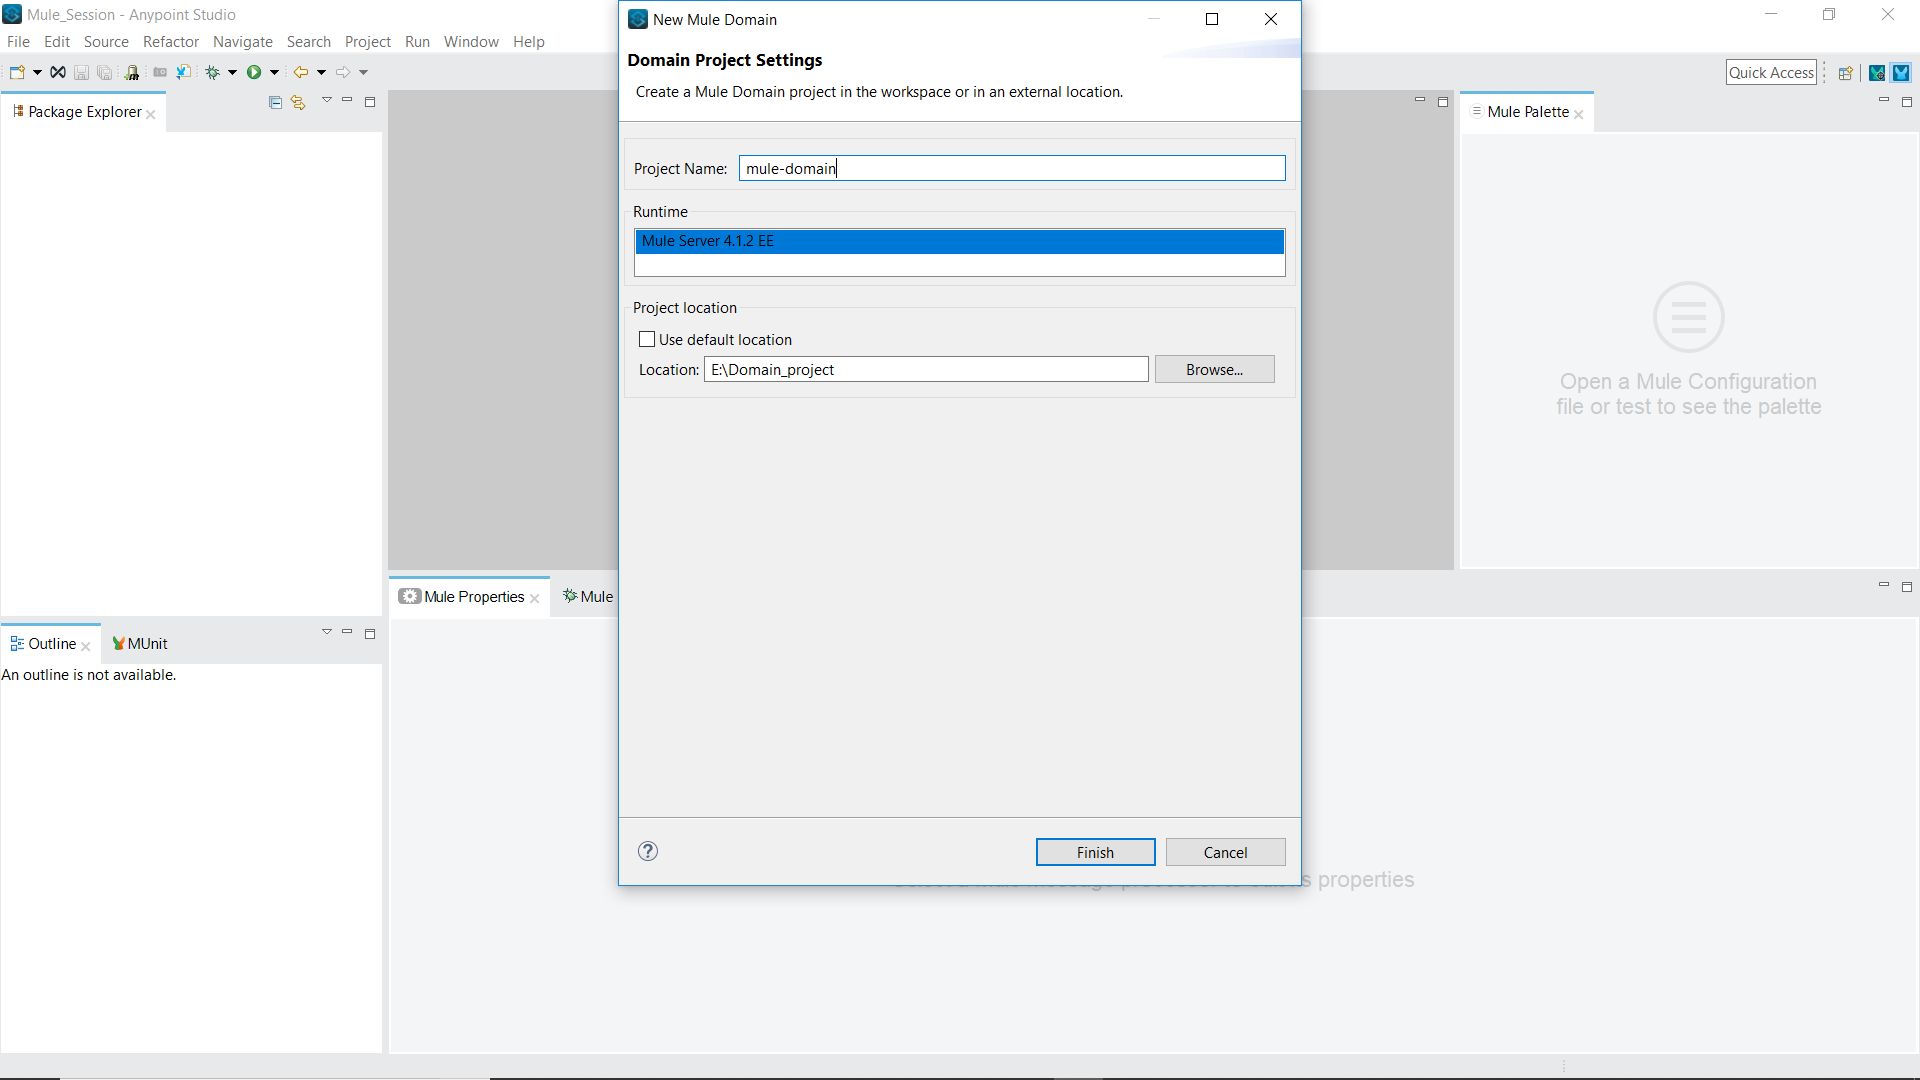
In Mule 4, the creation of Mule Domain Project is similar to that in Mule 3. Go to File -> New -> Mule Domain Project, and give a name to your project.
Once the domain project is created, the file structure will look like something like this.
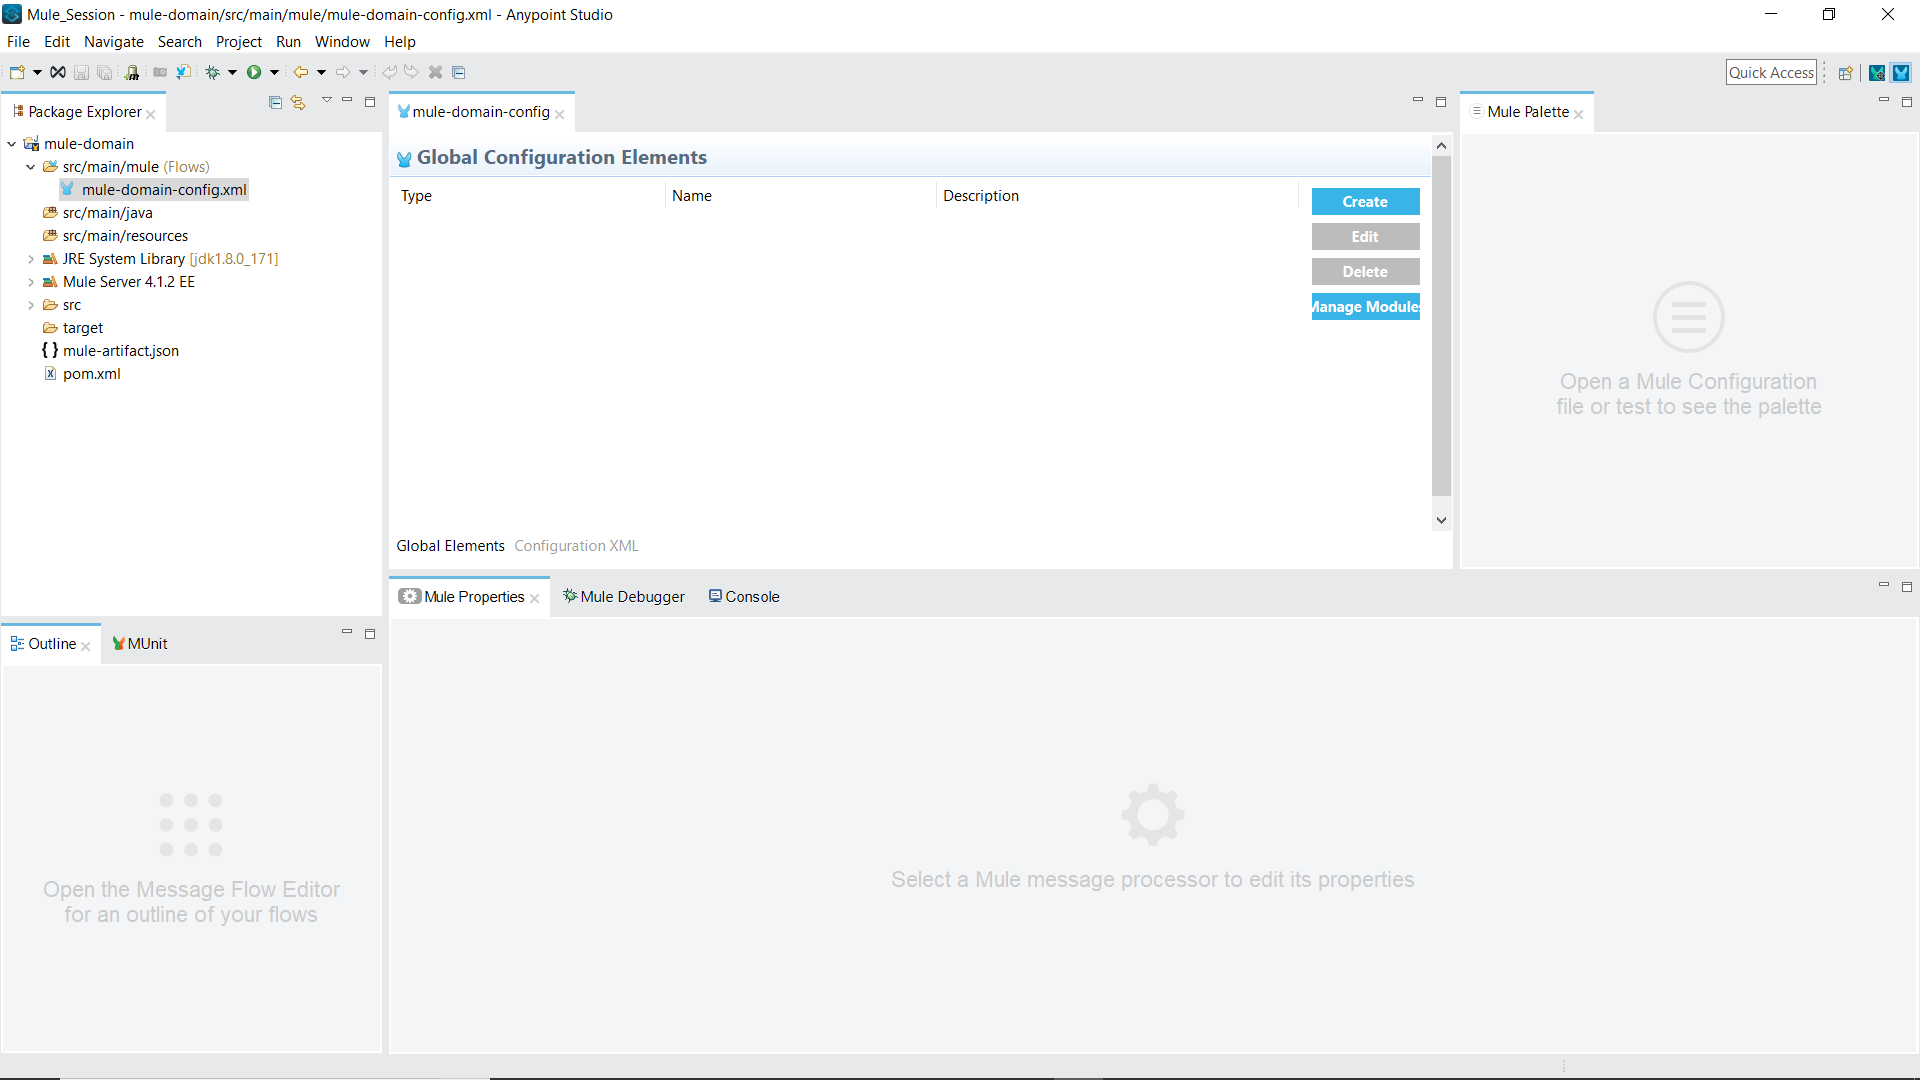
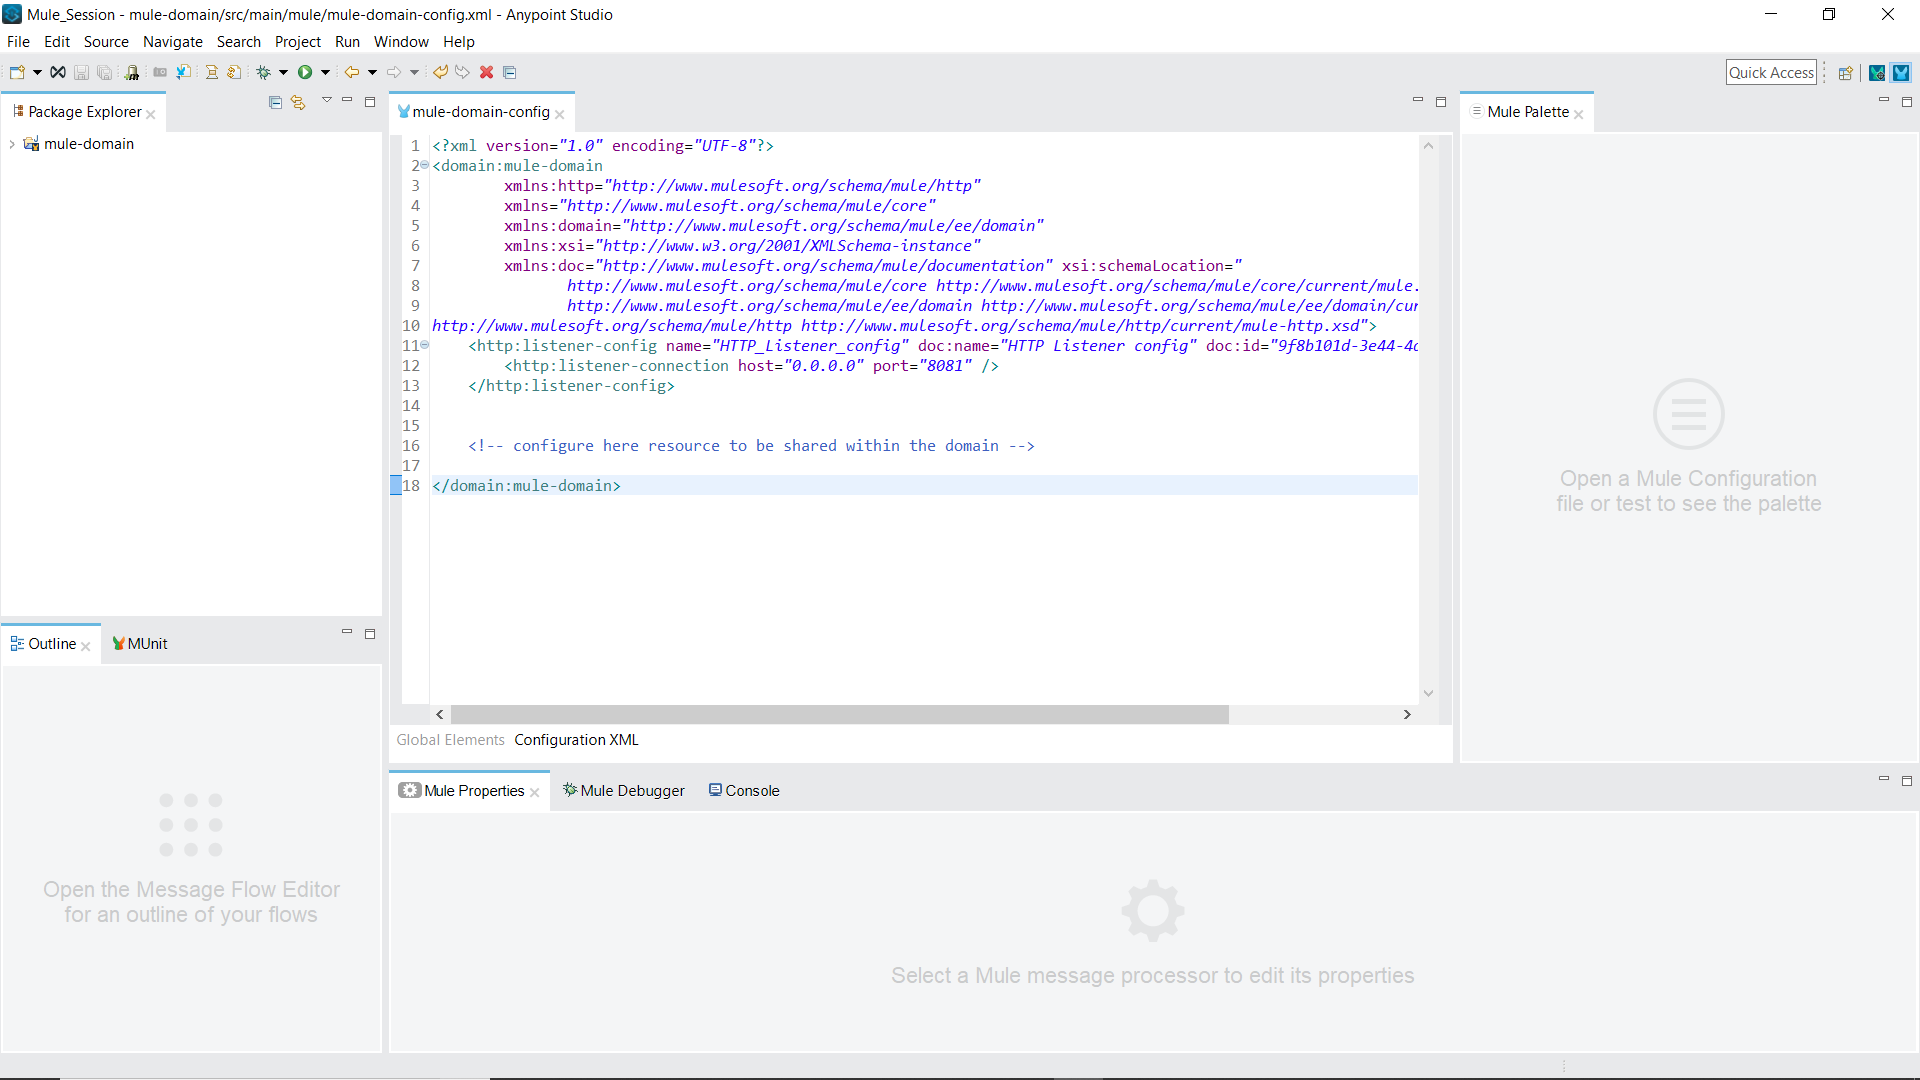
An XML file is created inside src/main/mule where we can define the shared resources.
We can create a configuration by clicking on the “Create” button. In this documentation, we will configure an HTTP Listener, which will be shared among different Mule applications. The modules that are not present in the default Configuration Elements can be imported from the exchange. In our case, the HTTP module has to be imported from the exchange, so to import a module, click on the “Manage Module” button. Go to Mule Project -> Modules -> Add Module. On clicking the Add Module button, an interface will be provided from where we can search the module to import.
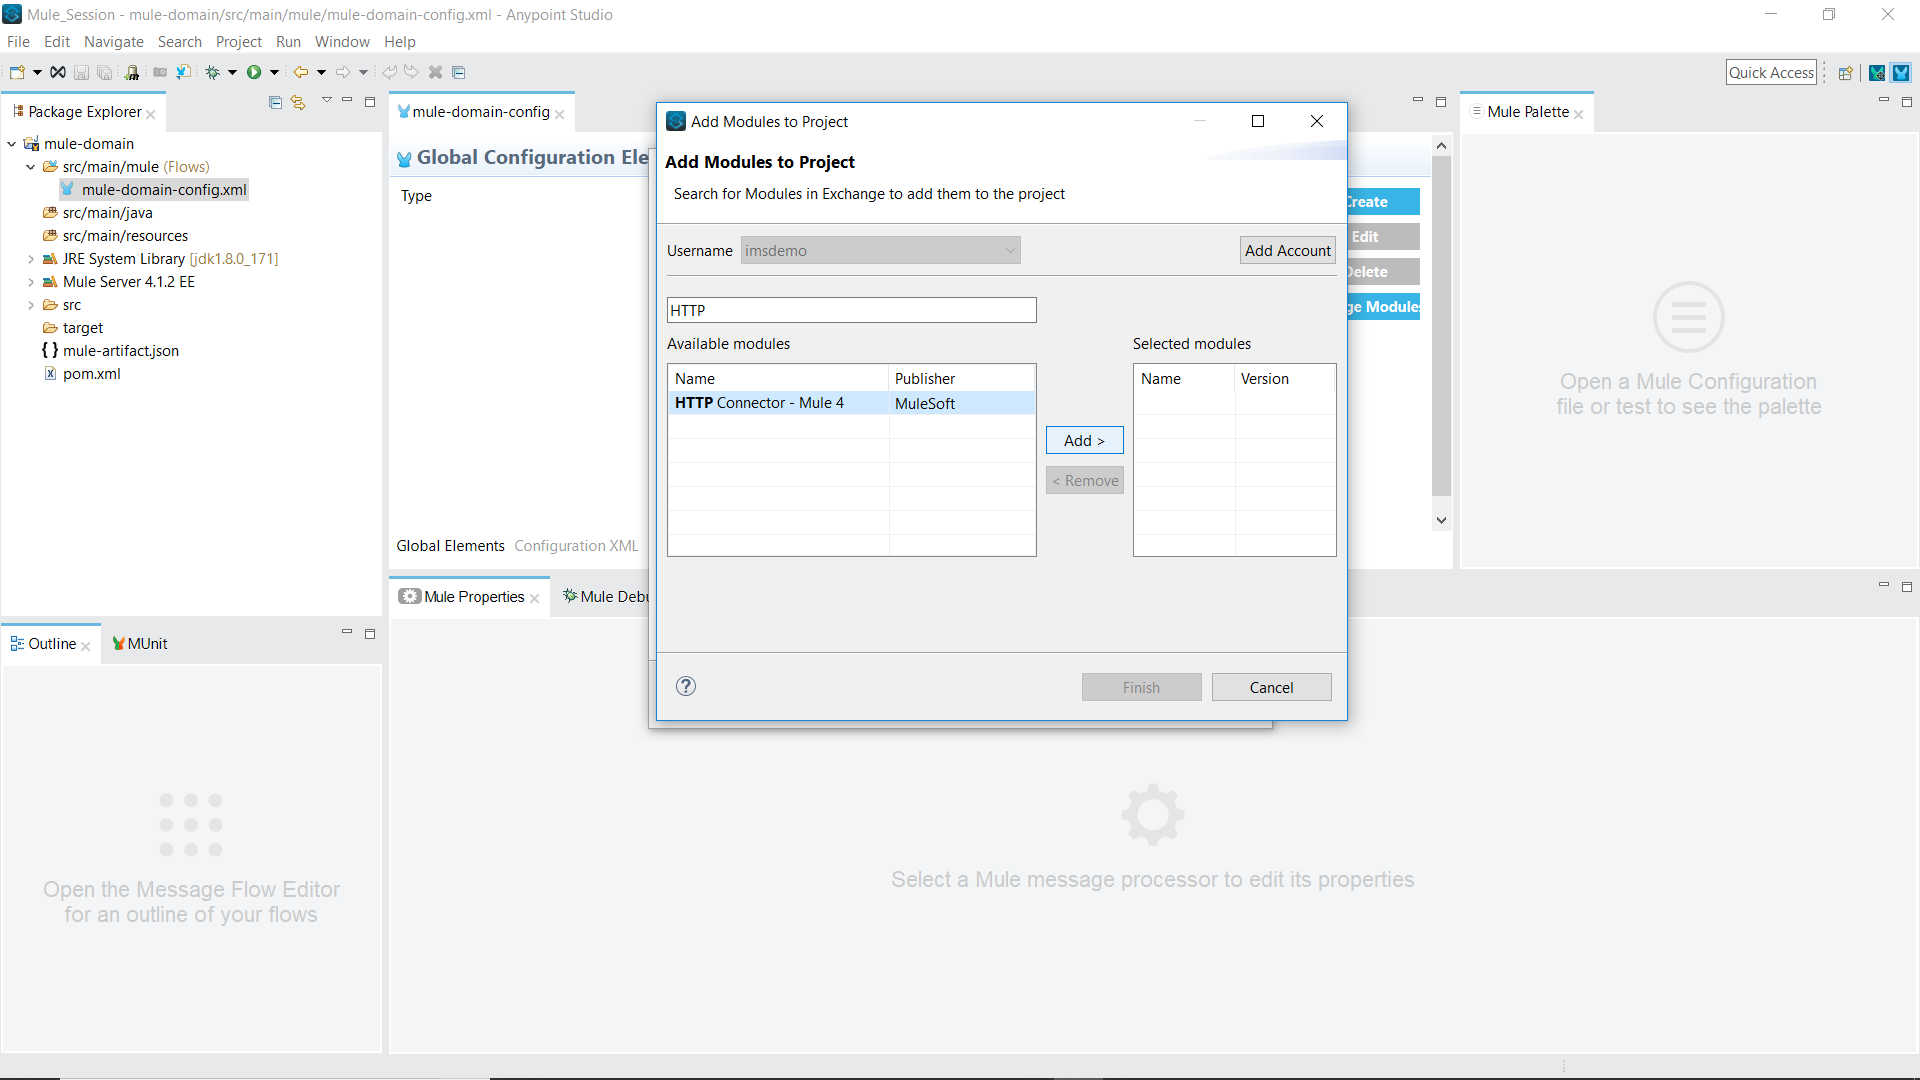
Select the module and add it to the domain project. Once the module is added, an additional option of “Connector Configuration” will be added on the Create option.
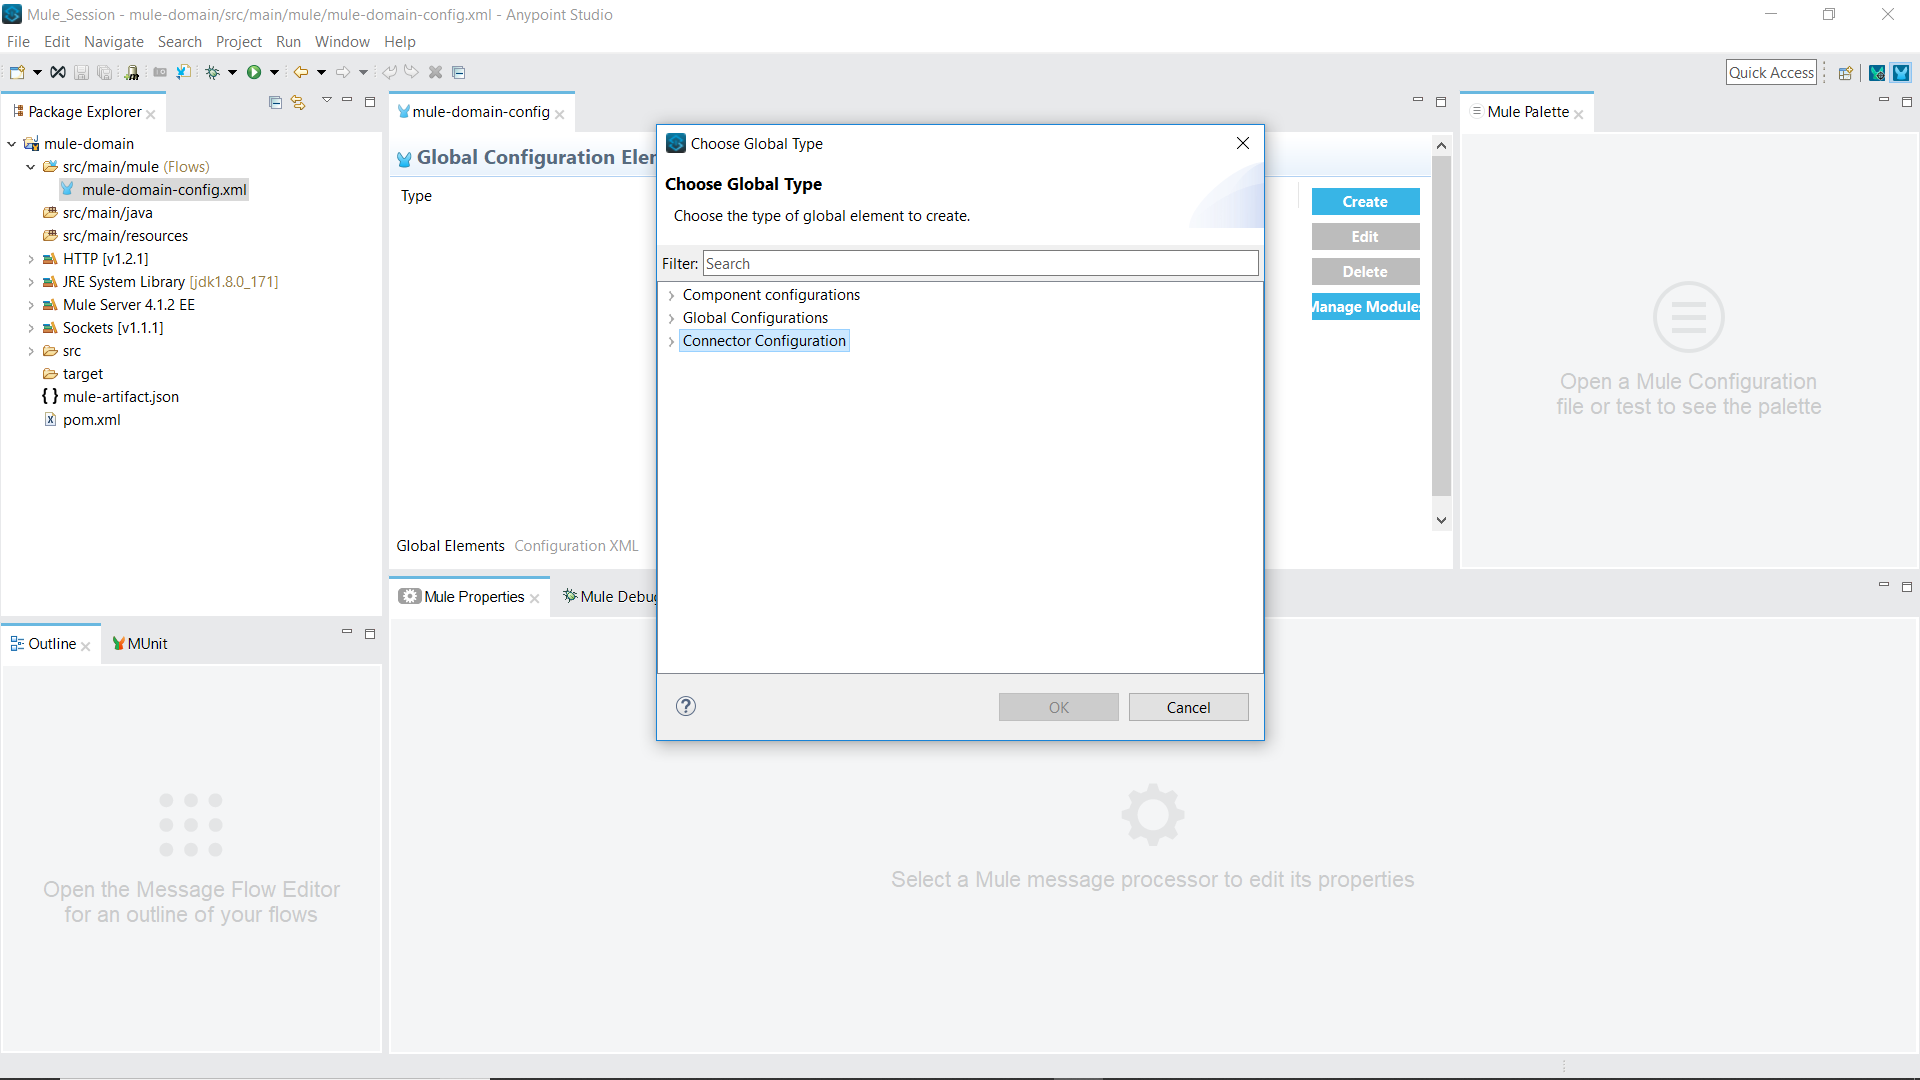
Go to Connector Configuration -> HTTP Listener config and select OK.
Configure the HTTP Listener config.
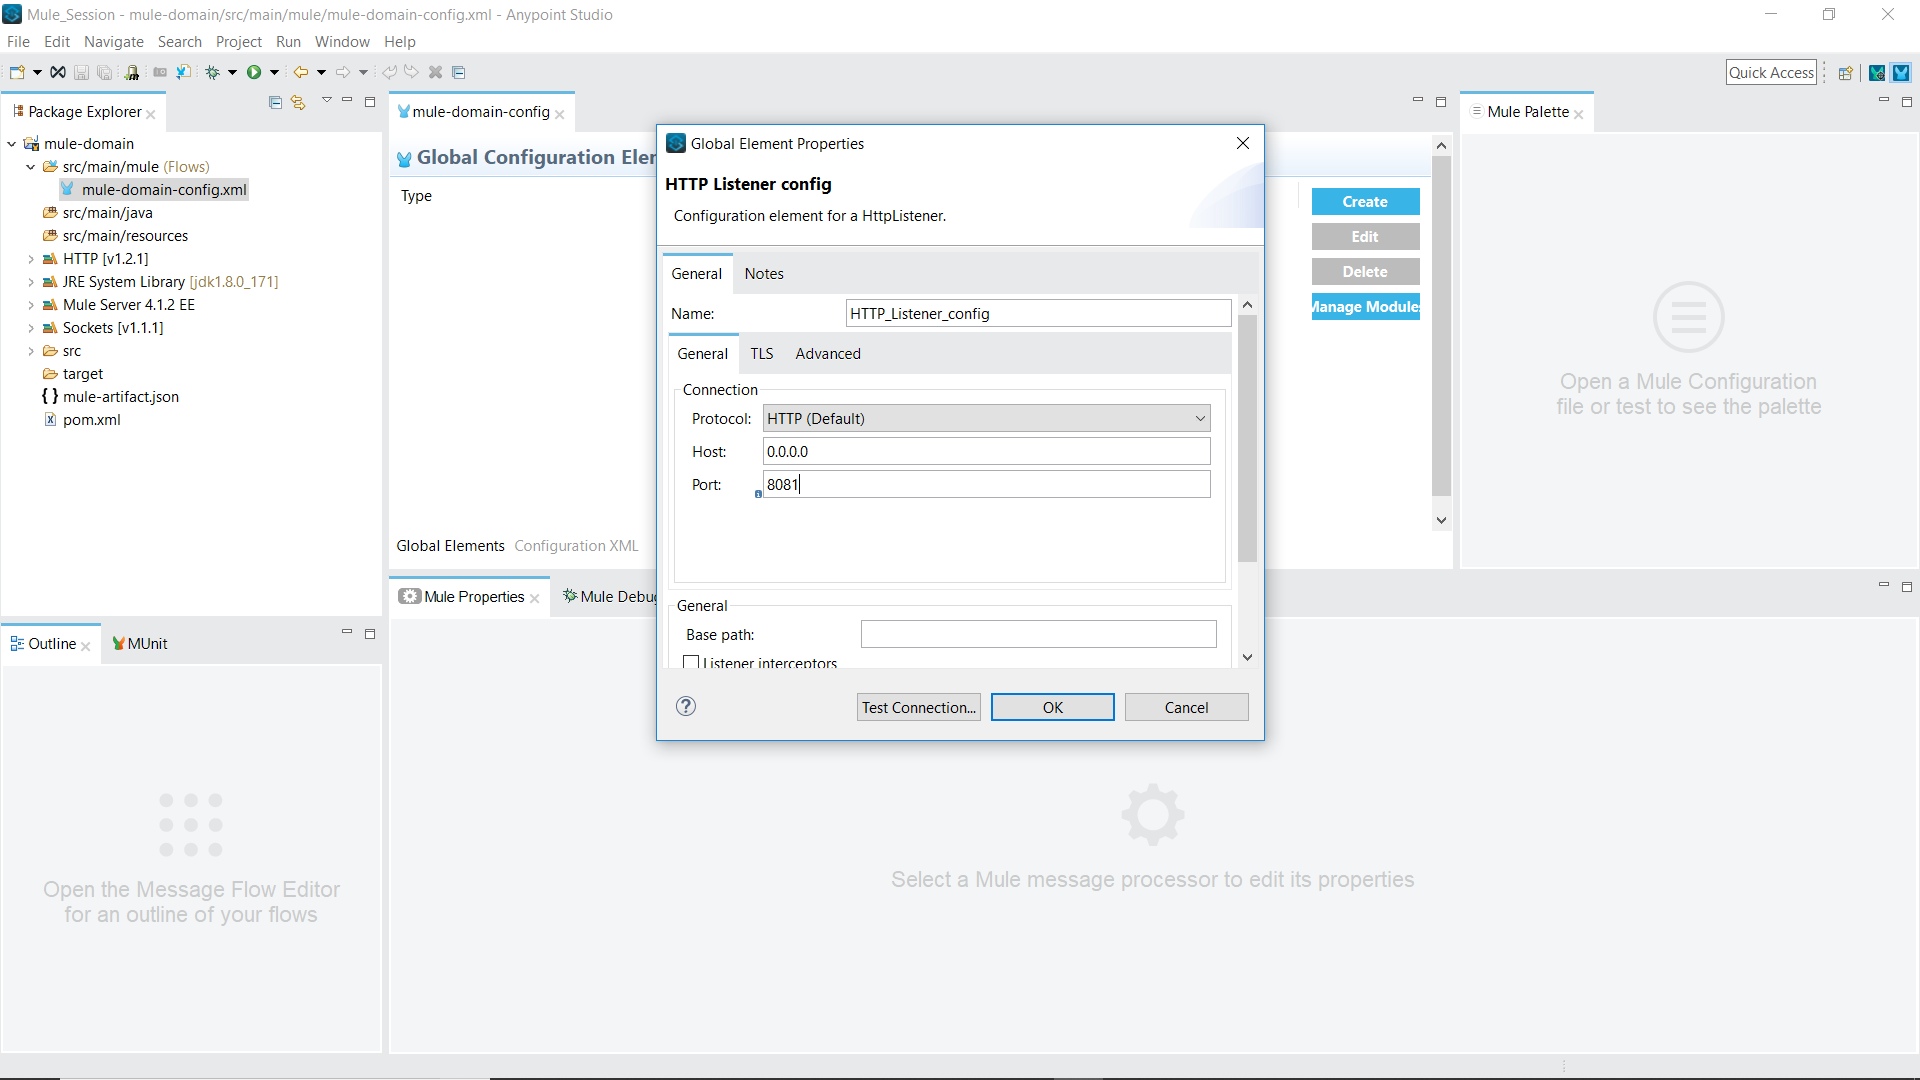
Once configured, click OK. The resource is now created and can be shared among different applications within the workspace.
Importing a Mule Domain Project in a Mule Application
To use the shared resource created, let us create a Mule application within the same workspace. In this case, let us create a simple “Hello World” application. Once the project structure is generated, right click on the project name and go to Properties -> Mule Project.
There will be an option to select the domain for this project. From the drop-down select “mule-domain.”
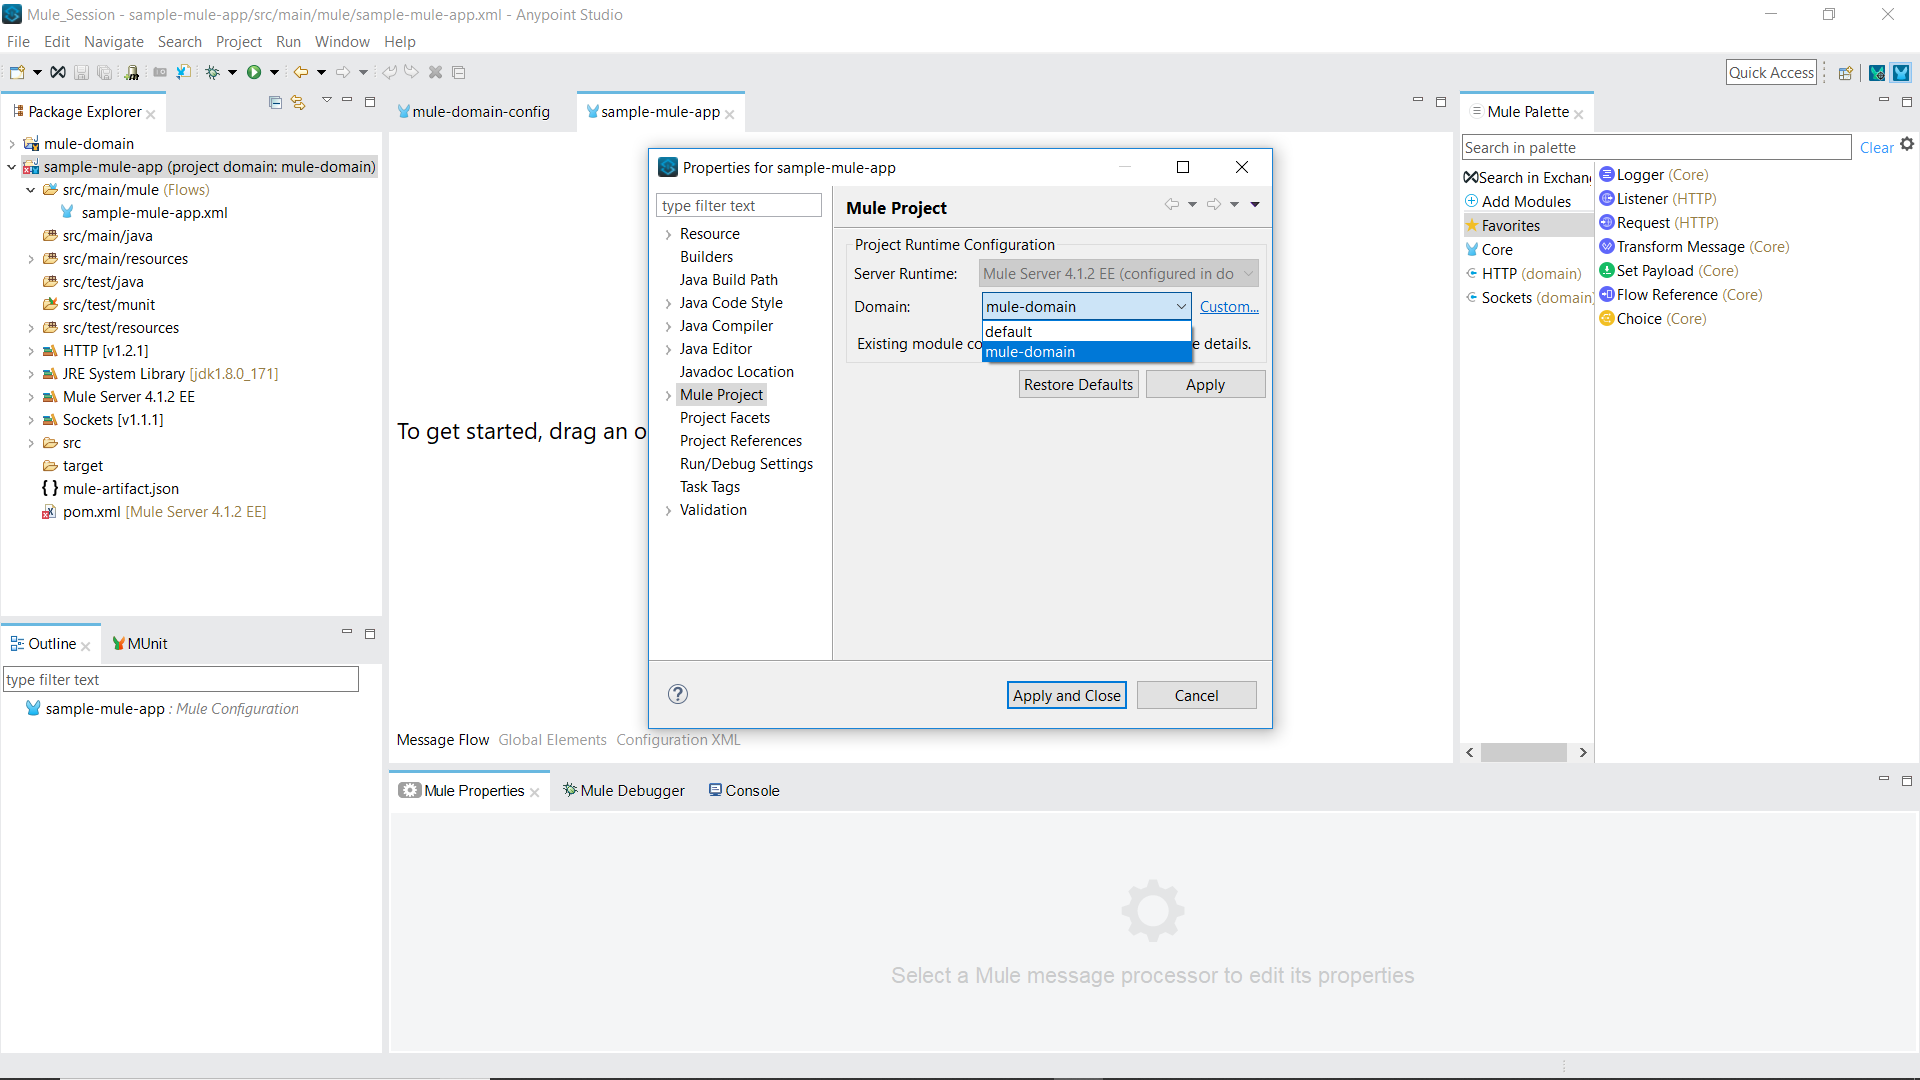
Click on Apply and Close.
The next step is to use the resources inside this domain. Currently, we have only HTTP Listener configuration in the domain project, so we will drag Listener from the palette to our flow. In the connector configuration, select “HTTP_Listener_config” from the drop-down.
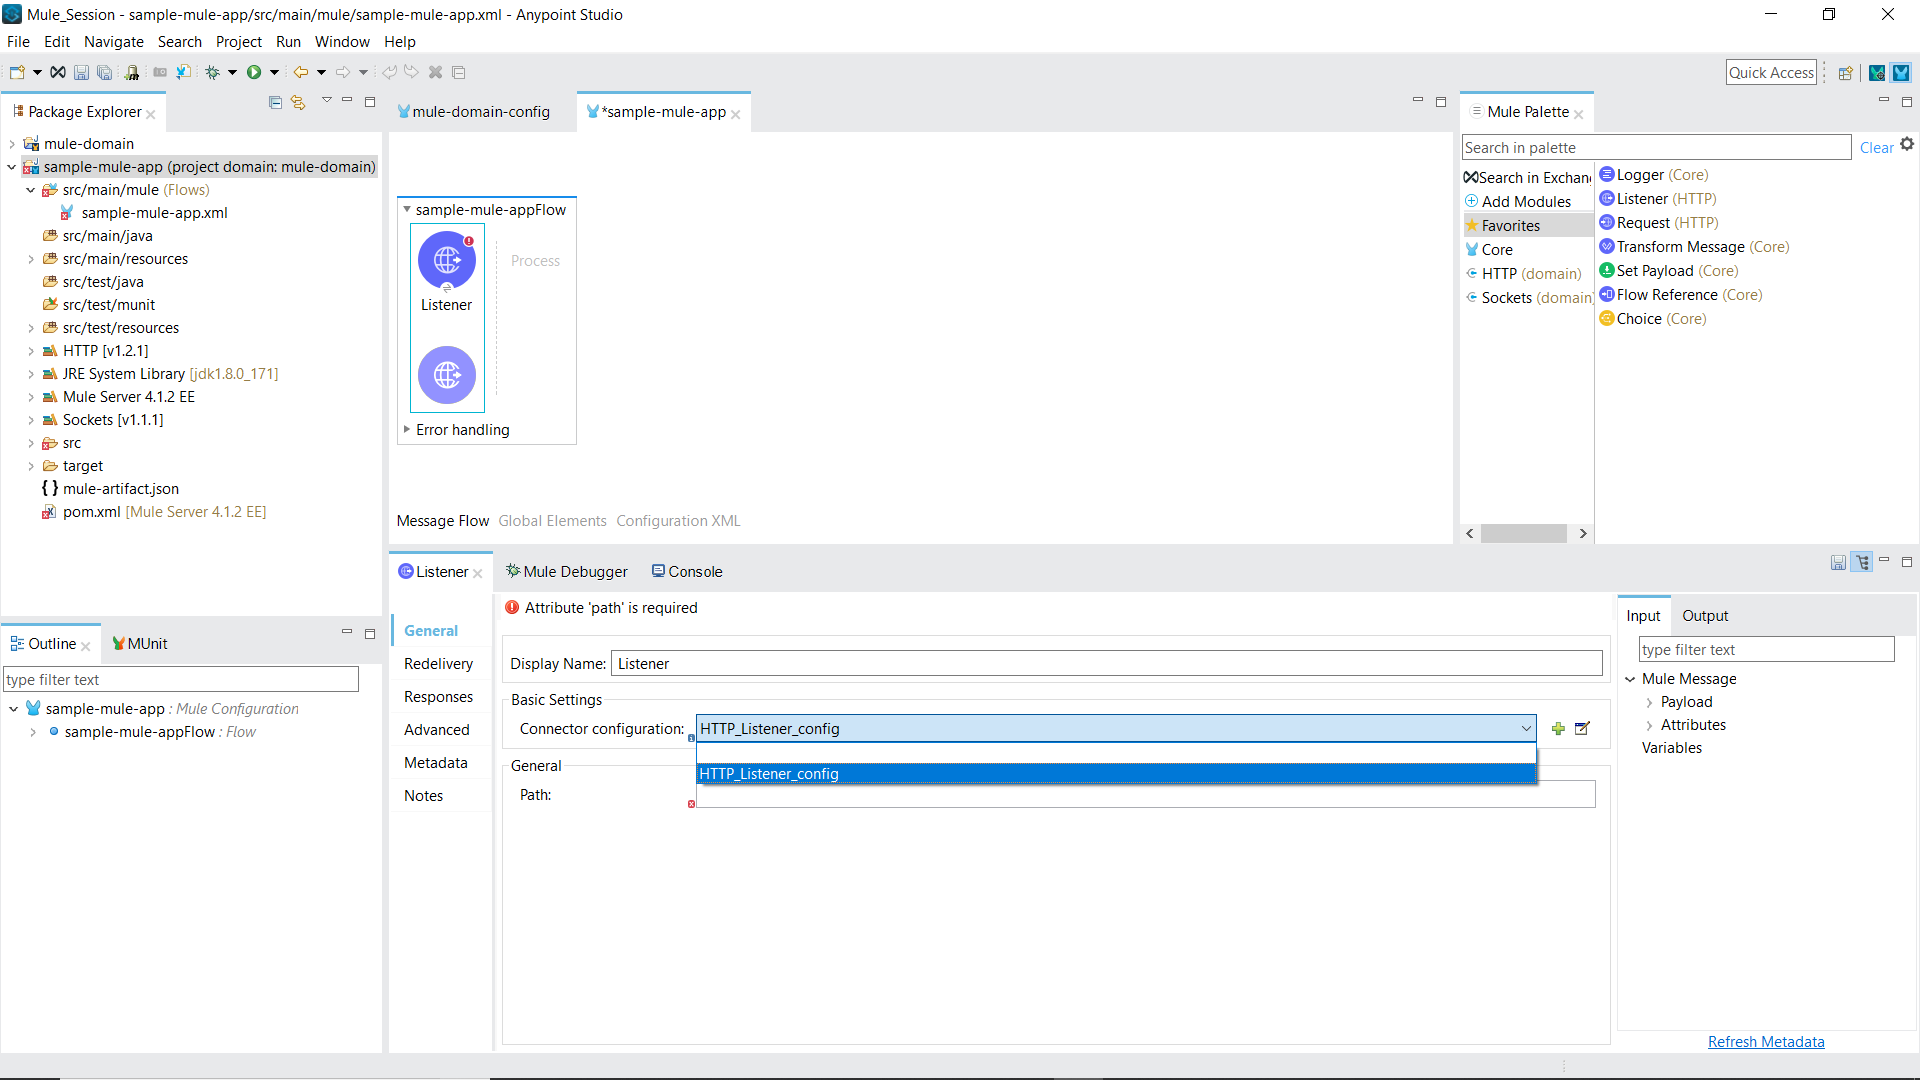
Give path as “/test.”
Drag “Set payload” from the palette and set the value as “Hello World.”
The final flow will look something like this. 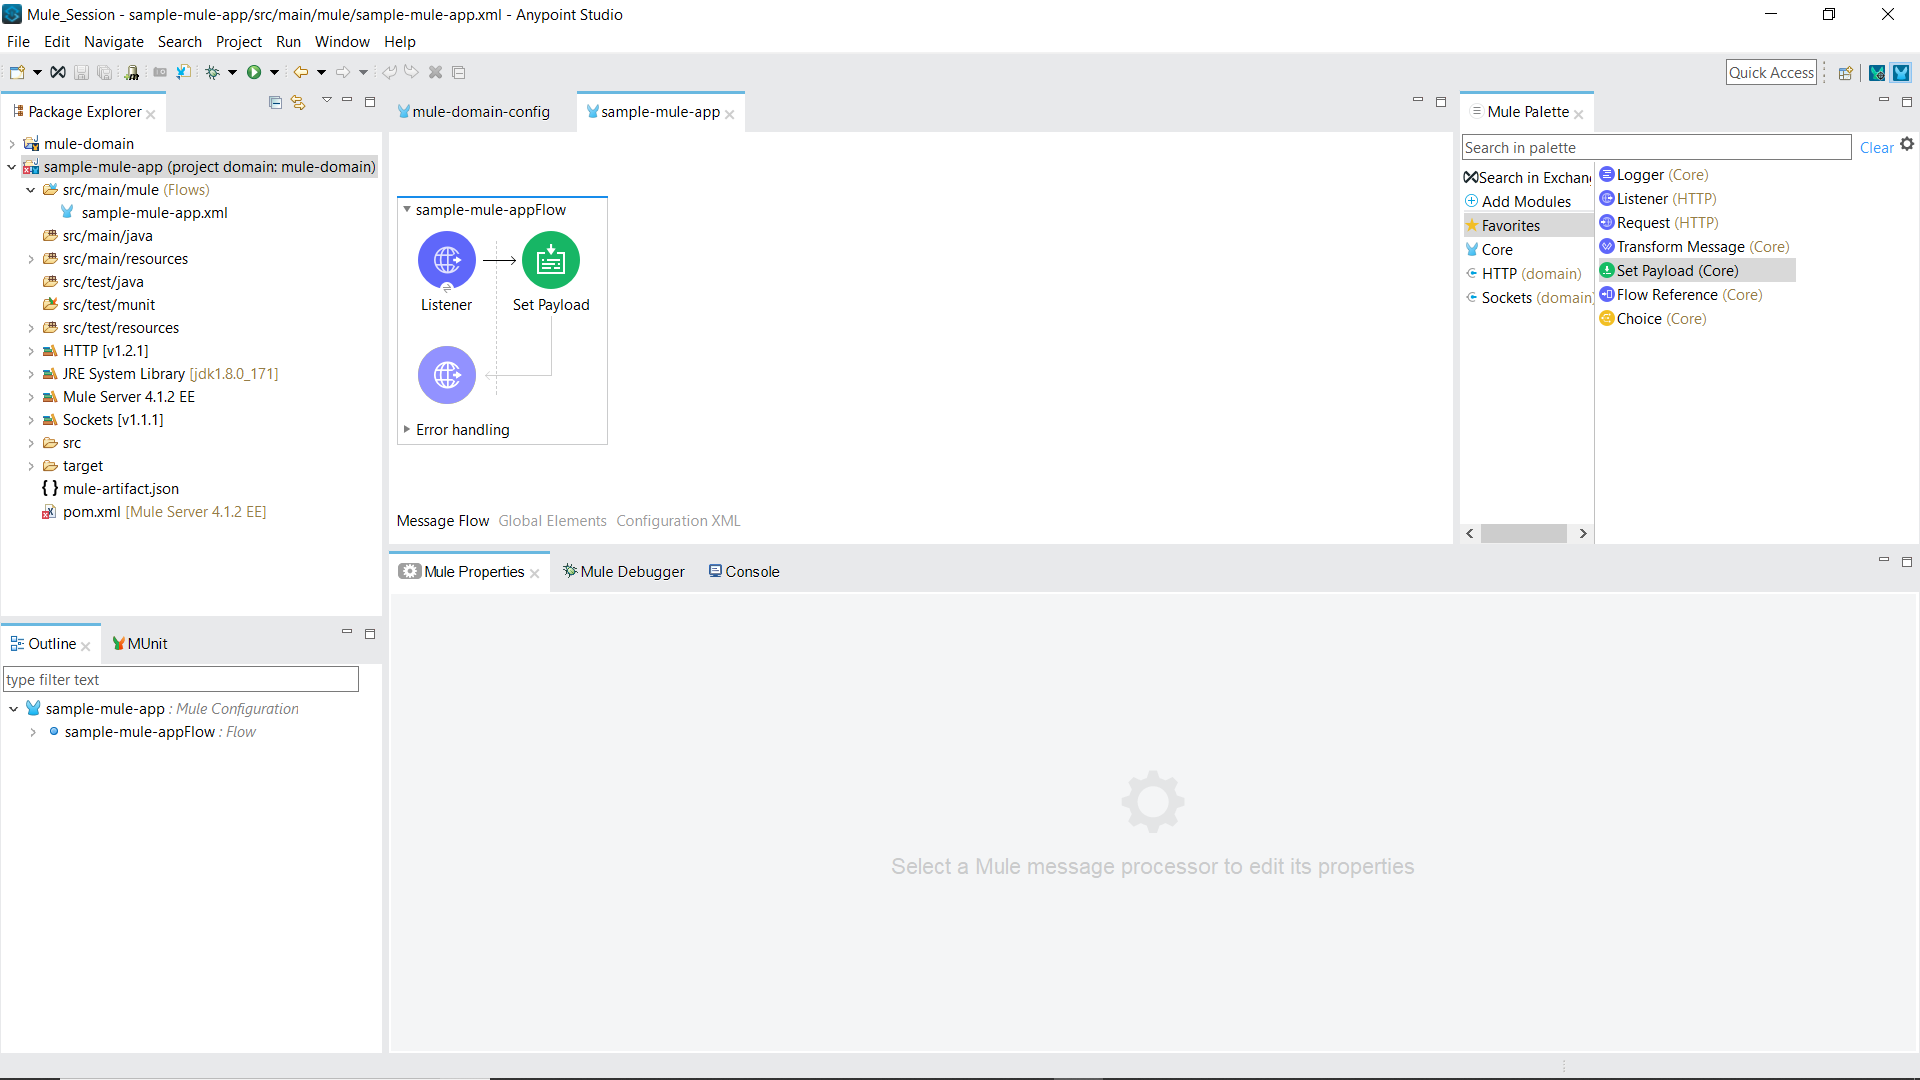
Now, run this Mule application.
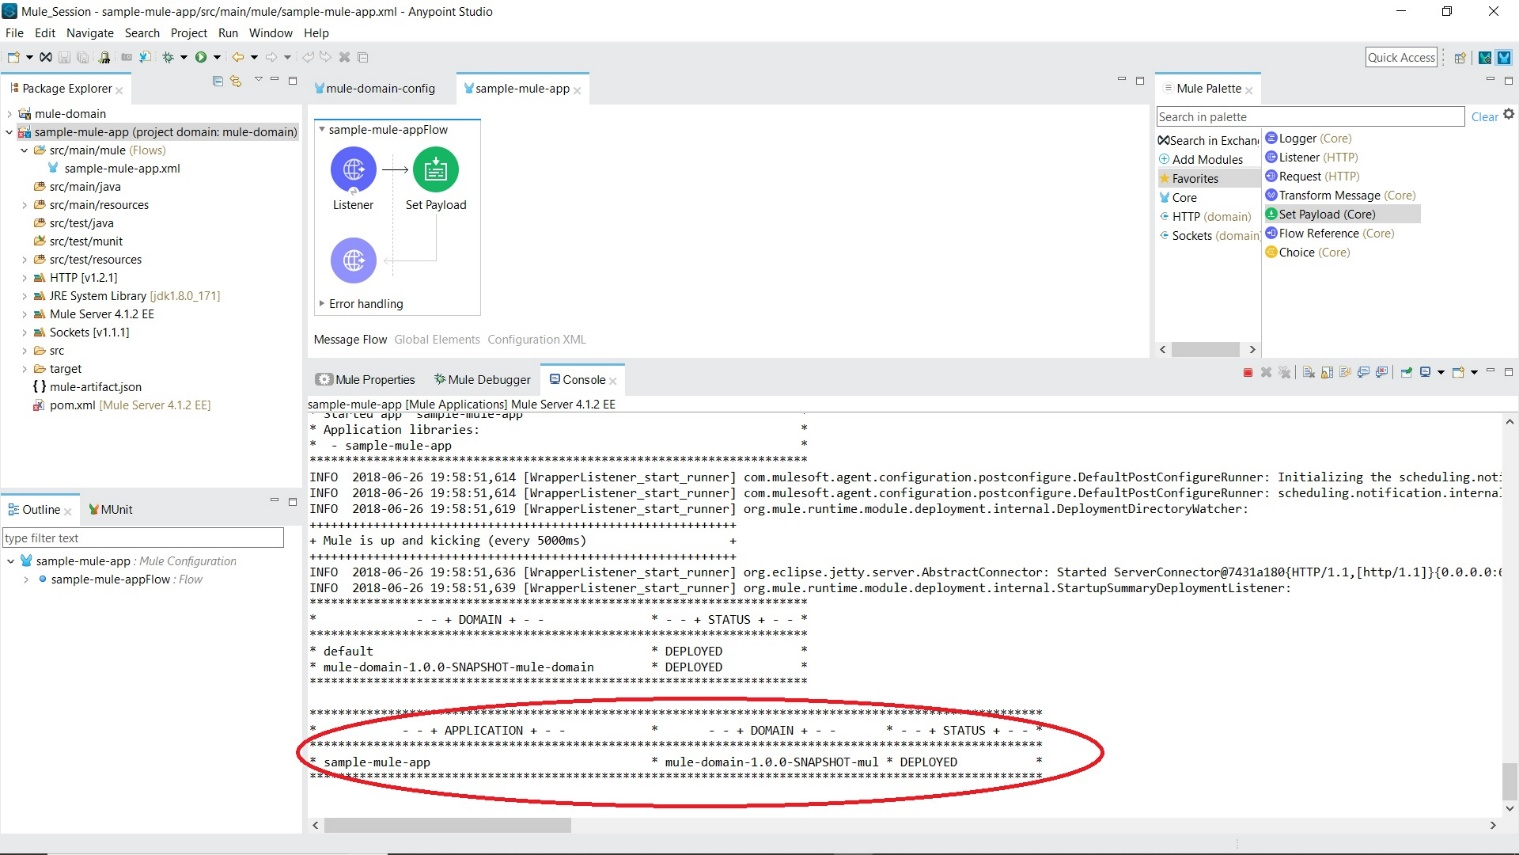
On successful execution, you can see in the console that the application is now deployed in the domain “mule-domain.”
Deploying Domain Project in Mule Standalone Server
To deploy a domain project in Mule Standalone Server, we need to create an executable JAR of our project. The executable jar can be created in two ways.
1. Command Line Maven
This method is the preferred method. Open your “Command Line” and navigate to the folder where you have the pom.xml of the domain project. Execute “mvn clean package” command.
On Successful Build, the output would look like this.
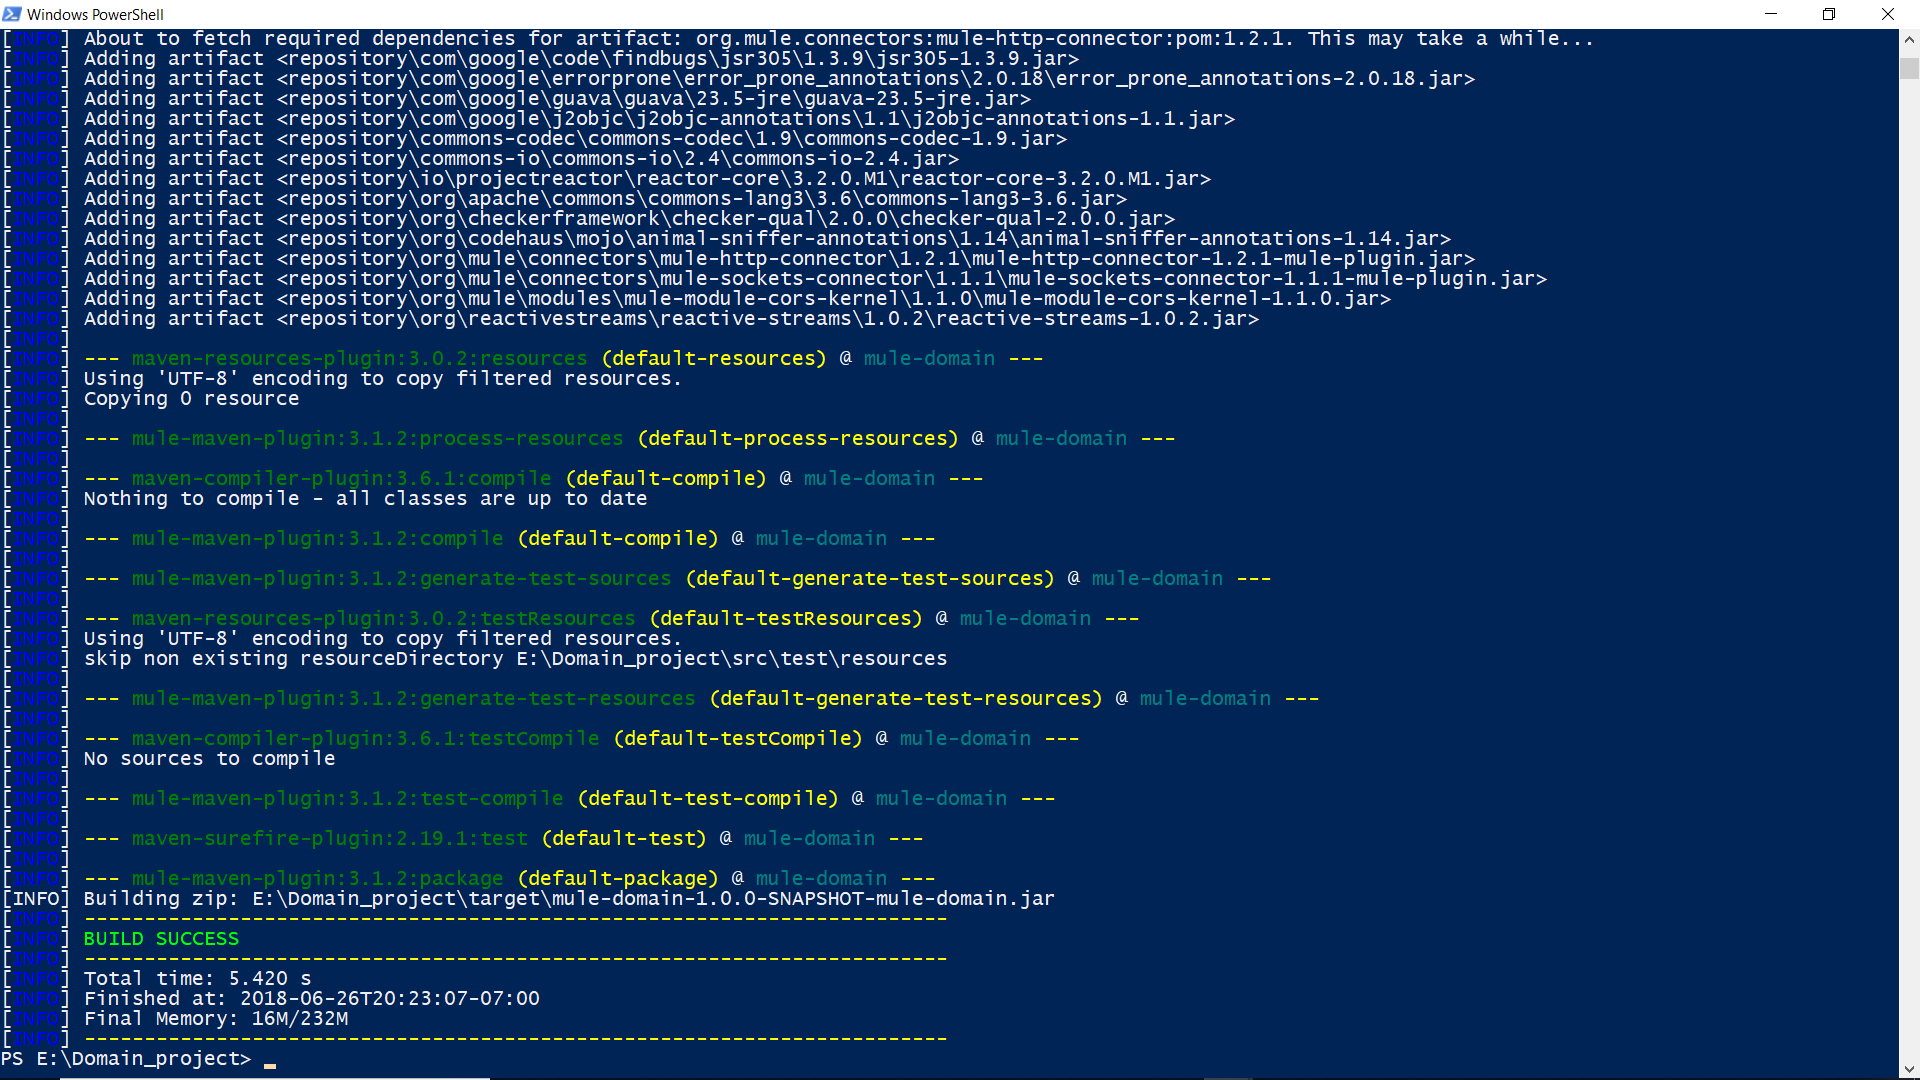
The executable jar file is created inside the “target” folder.
2. Anypoint Studio
Right-click on the Domain project (“mule-domain”) -> Export -> Mule -> Anypoint Studio Project to Mule Deployable Archive (includes Studio metadata), choose a path, and click Finish.
Note: Append “-1.0.0-SNAPSHOT-mule-domain” to the jar file name. So, the name of the jar file created will be “mule-domain-1.0.0-SNAPSHOT-mule-domain.jar”
Repeat the same step for the Mule application (“sample-mule-app”).
Once both the executable jars are created, open the file explorer and navigate to the folder “//pathTo/mule-enterprise-standalone-4.1.2”.
The folder structure must look similar to this.
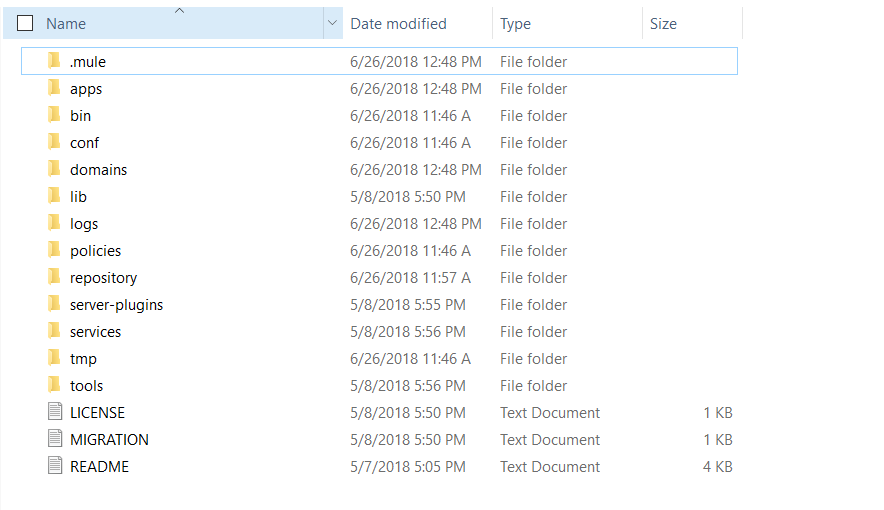
Copy the executable jar for the Domain project and save it inside the “domains” folder and copy the executable jar for the Mule application and save it inside the “apps” folder.
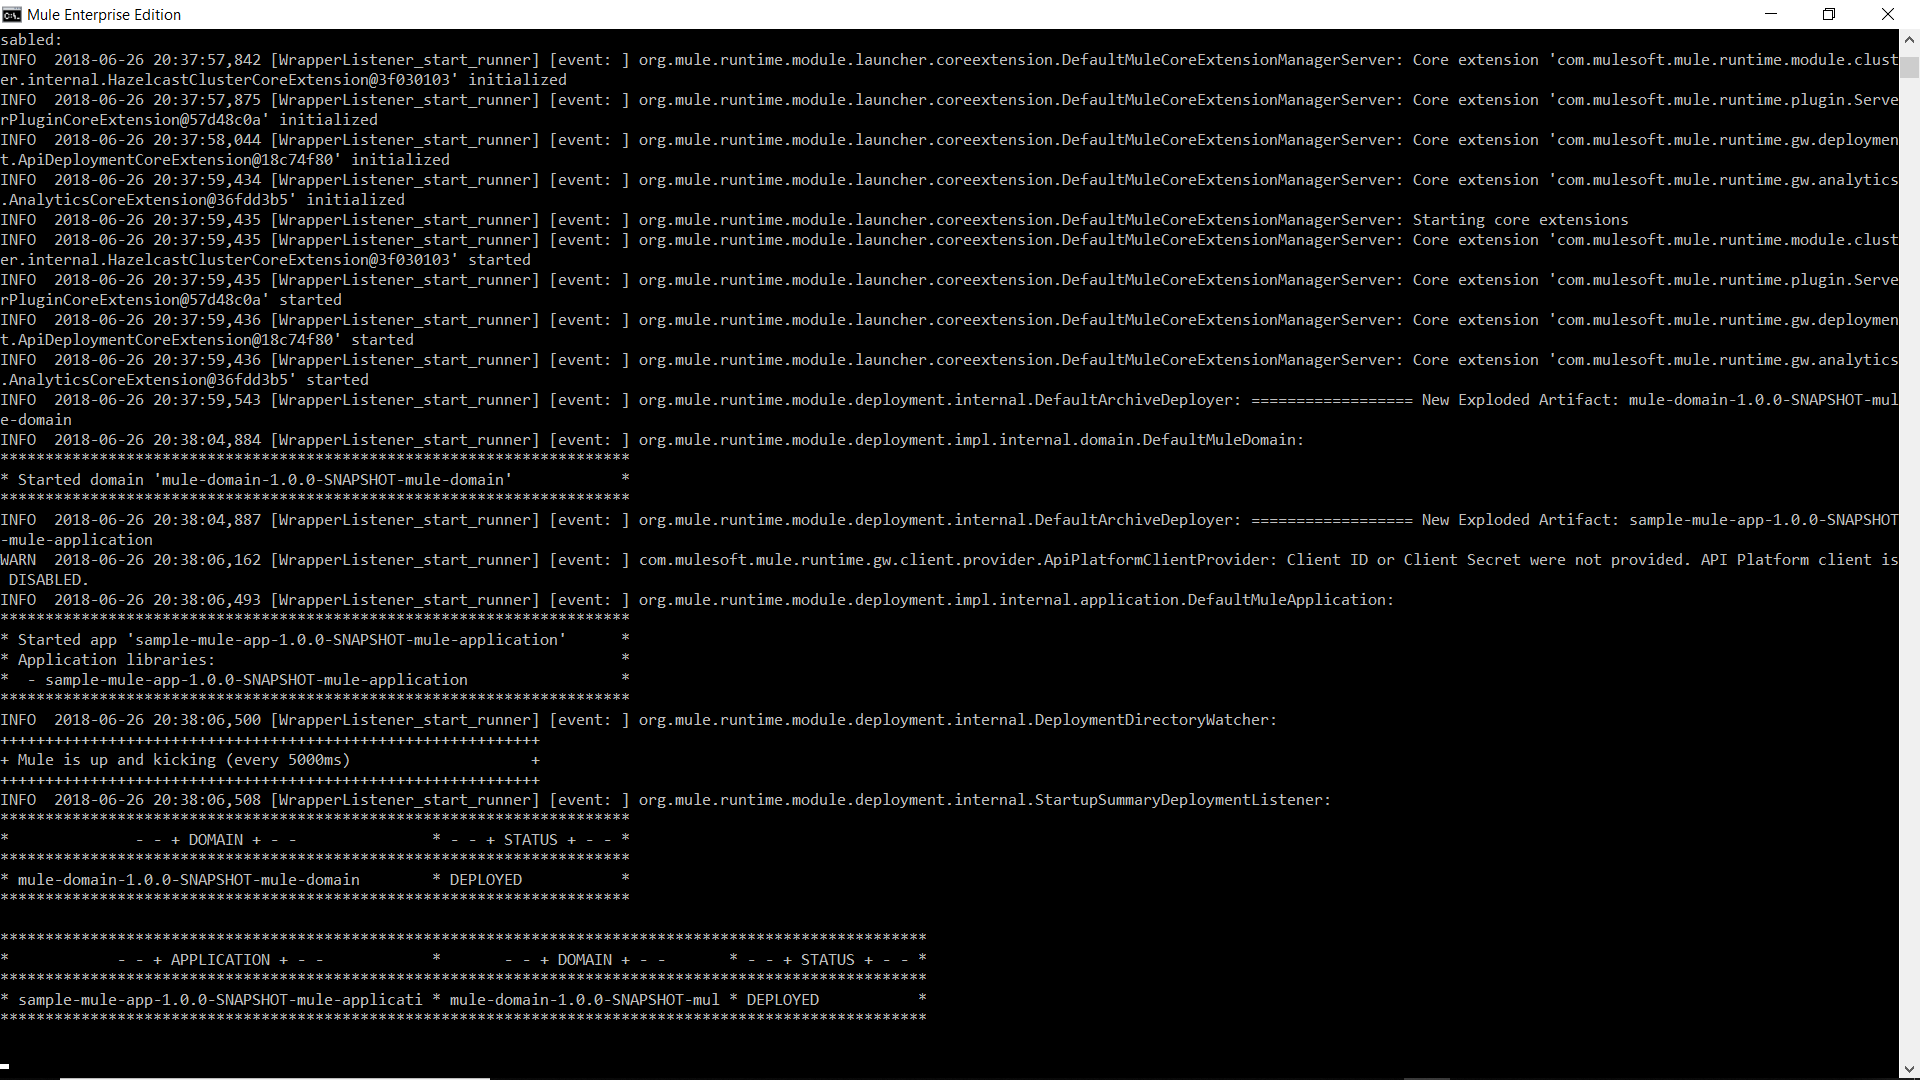
Go to the “bin” folder and click on the “mule” batch file. The server should start and on successful deployment, the output should like this.
Summary
A Mule Domain Project is of great use when one needs to share resources among various projects. You cannot define Flows, SubFlows, or any Message Processors inside a Domain Project.
Opinions expressed by DZone contributors are their own.

Comments