Mule Runtime Instance for AWS with Terraform
Take a look at how you can use AWS and Terraform to create and install an instance of Mule through Anypoint Studio's Cloudhub.
Join the DZone community and get the full member experience.
Join For FreeCloudhub is the Platform-as-a-Service (PaaS) component of Anypoint Studio. As a payment tool, it has great advantages such as managing the system in the cloud; however, it is possible to access Mule Runtime Community Edition in the cloud through EC2 instances of Amazon Web Services.
With Terraform, we can use a simple and declarative programming language that can be used for cloud services such as AWS, Google Cloud, or Microsoft Azure.
In this example, an instance will be created from Amazon Linux AMI as a base, so an Amazon AWS account and the credentials associated with the account are required.(AWS_ACCESS_KEY_ID and AWS_SECRET_ACCESS_KEY).
Assuming we have Terraform installed on our local system, we will start by creating a folder where all the necessary files will be.
We start by defining in the file variables.tf all the values to be used:
variable "aws_access_key" {
  default     = "ACCESS_KEY_HERE"
  description = "the user aws access key"
}

variable "aws_secret_key" {
  default     = "SECRET_KEY_HERE"
  description = "the user aws secret key"
}

variable "region" {
  default = "us-east-2"
}

variable "ami_id_mule" {
  default     = "ami-f63b1193"
  description = "the id ami mule runtime 390"
}
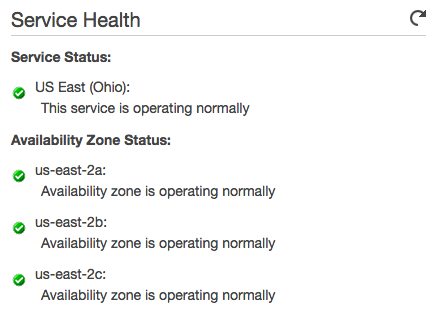
Authentication will be done through static credentials and the region can be obtained by viewing the status of the services from EC2 Manager Console. In my case, I will use us-east-2a.
The AMI ID, by default, must start with ami- and can be modified; it is not necessary to use it as in the example.
Next, we define the provider and the resource in the main mule.tf file with the calls to the variables:
provider "aws" {
  access_key = "${var.aws_access_key}"
  secret_key = "${var.aws_secret_key}"
  region     = "${var.region}"
}

resource "aws_instance" "mule-standalone" {
  ami           = "${var.ami_id_mule}"
  instance_type = "t2.small"
  key_name      = "mchuecosKey"
  user_data     = "${file("mule_install.sh")}"
}
The instance type must be at least t2.small because Mule requires a minimum of 1GB of RAM to start, so with t2.nano and t2.micro it will fail to start it.
We must create a key from Network & Security> Key Pairs to be able to connect through SSH from our local machine and be able to deploy our projects. The name of the generated key is equivalent to the key_name value.
Finally, we create the shell script named mule_install.sh that will automate the entire Mule installation and startup process:
  #!/bin/bash
  yum update -y
  wget -O mule-standalone-3.9.0.zip https://repository-master.mulesoft.org/nexus/content/repositories/releases/org/mule/distributions/mule-standalone/3.9.0/mule-standalone-3.9.0.zip
  sudo yum install -y unzip
  unzip mule-standalone-3.9.0.zip
  sudo mule-standalone-3.9.0/bin/mule start
In the example Mule Standalone 3.9.0 is used but it is possible to use any version by modifying the value 3.9.0 in the file names and in the URL.
We use terraform init to initialize the download of the provider plugins to the local system. The output of the above command is shown below:
Initializing provider plugins...
 - Checking for available provider plugins
 - Downloading plugin for provider "aws" (1.15)...
* provider.aws: version = "~> 1.15"
Terraform has been successfully initialized!
After initializing, you type terraform plan command to see what are you going to deploy. The output of plan command is as below:
Refreshing Terraform state in-memory prior to plan...
The refreshed state will be used to calculate this plan, but will not be
persisted to local or remote state storage.

aws_instance.mule-standalone: Refreshing state... (ID: i-08d168e264be161f2)
------------------------------------------------------------------------
An execution plan has been generated and is shown below.
Resource actions are indicated with the following symbols:
  + create

Terraform will perform the following actions:

  + aws_instance.mule-standalone
      id:                           <computed>
      ami:                          "ami-f63b1193"
      associate_public_ip_address:  <computed>
      availability_zone:            <computed>
      ebs_block_device.#:           <computed>
      ephemeral_block_device.#:     <computed>
      get_password_data:            "false"
      instance_state:               <computed>
      instance_type:                "t2.small"
      ipv6_address_count:           <computed>
      ipv6_addresses.#:             <computed>
      key_name:                     "mchuecos94"
      network_interface.#:          <computed>
      network_interface_id:         <computed>
      password_data:                <computed>
      placement_group:              <computed>
      primary_network_interface_id: <computed>
      private_dns:                  <computed>
      private_ip:                   <computed>
      public_dns:                   <computed>
      public_ip:                    <computed>
      root_block_device.#:          <computed>
      security_groups.#:            <computed>
      source_dest_check:            "true"
      subnet_id:                    <computed>
      tenancy:                      <computed>
      user_data:                    "c29a0640d1d2b442309f2773844c7dce2cd3cb2c"
      volume_tags.%:                <computed>
      vpc_security_group_ids.#:     <computed>

Plan: 1 to add, 0 to change, 0 to destroy.
Next, you type terraform apply to apply the changes in AWS. If anything in apply command is incorrect, an error message will be displayed that should be reviewed and corrected.
We check from EC2 Dashboard that an instance has been created and is already started or it is starting.
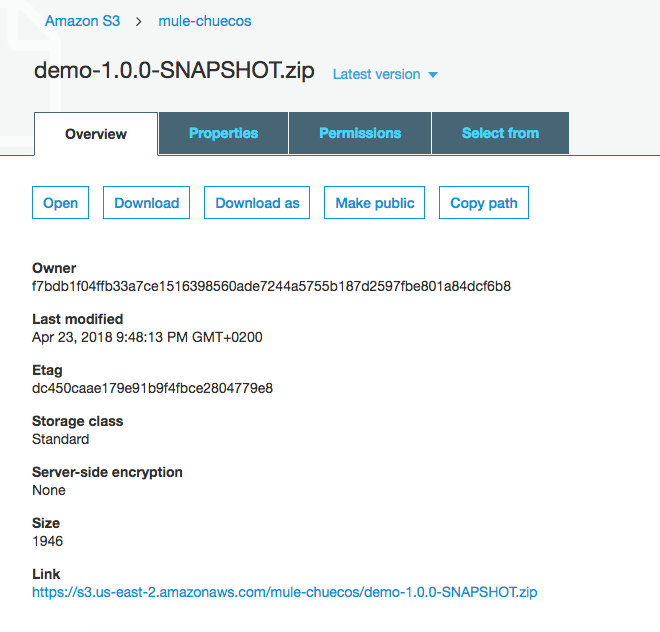
To verify that it works correctly, we deploy a project generated by Anypoint Studio. In this case, I have created a Bucket on Amazon S3 and then, I have uploaded the artifact called demo-1.0.0-SNAPSHOT.zip.
Select the instance EC2 and press connect. They show us a series of instructions to follow in which we must give permission to the .pem file and finally, connect via ssh to the instance.
Once connected, from the root folder, go to mule-standalone.3.9.0/apps directory and execute the wget command to download the artifact:
sudo wget https://s3.us-east-2.amazonaws.com/mule-chuecos/demo-1.0.0-SNAPSHOT.zipWe verify from the browser that it has been displayed correctly:

In the case of returning error, we must add the port that we use in the Security group called Default in EC2 Management Console.
Opinions expressed by DZone contributors are their own.
Comments