Mule Standalone Runtime Setup and Deployment
You will see how to configure a standalone mule runtime server on a local server. This is typically used when an organization wants to secure its entire data.
Join the DZone community and get the full member experience.
Join For FreeWhen most of the integration data is lying inside an organization's data center and data is highly secured, then the On-Prem deployment model is the right solution.
It does offer the flexibility to set up your load balancing, domains, VPC, and anything you want to do to your environment as you will be building it in your own data center. You can cluster specific servers that you have in your infrastructure and set them accordingly.
Deployment Architecture
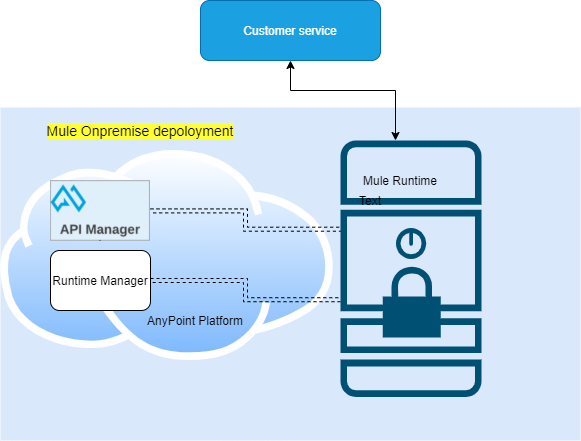
Prerequisites
- Your enterprise license is current.
- You are running Mule 3.6.0 or later, and API gateway 2.1 or later.
For Mule 3.6.x, install the Runtime Manager agent.
Minimum Hardware Requirements
- 2 GHz CPU or 1 virtual CPU in virtualized environments.
- 1 GB of RAM.
- 4 GB of storage.
Adjust RAM to match your latency requirements and the size and number of simultaneous messages that applications process.
Software Requirements
- MacOS 10.15/ HP-UX 11i V3, AIX 7.2/ Windows Server 2019/ Windows 10/ Solaris 11.3/ RHEL 8/ Ubuntu Server 20.04.
- JDK 1.8.0 or JDK 11.
Recommended JDK: AdoptOpenJDK with the latest version of OpenJDK 8 (LTS) and the HotSpot JVM.
Steps to Configure Mule Runtime Instance on Standalone Server
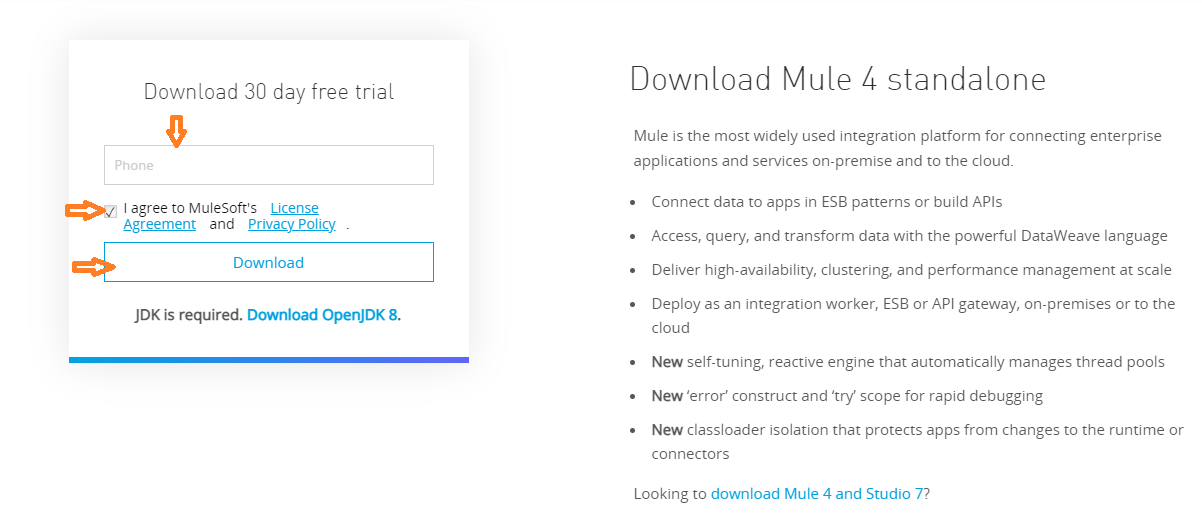
Download Mule4 Standalone Instance
Download link: https://www.mulesoft.com/lp/dl/mule-esb-enterprise.
Provide a phone number, accept the agreement and click on the download button.
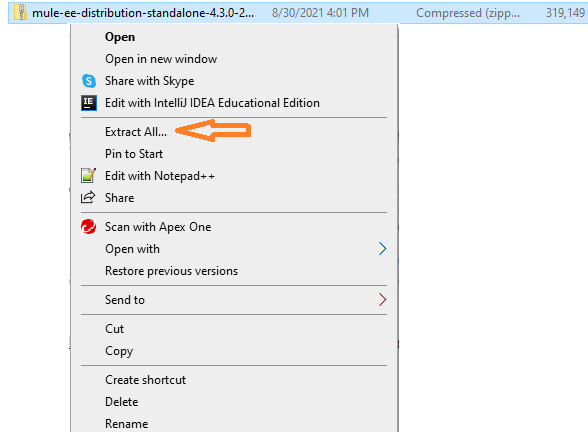
Extract download ZIP file on the location where you want to configure the Mule instance.
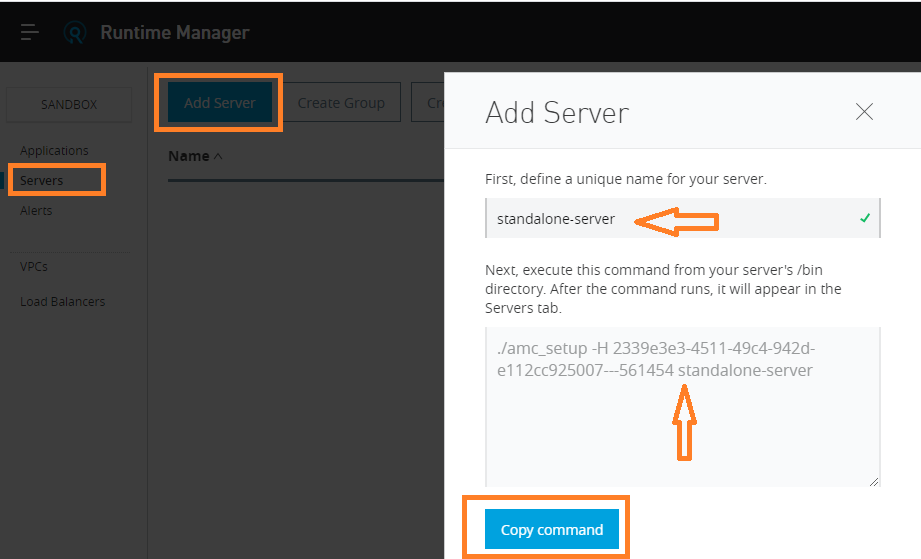
Add Mule Server to Runtime Manager
From Anypoint Platform, select Runtime Manager.
- Click Servers in the left menu.
- Click the Add Server button.
- Enter a name for your server.
- Server names can contain up to 60 alphanumeric characters (a-z, A-Z, 0-9), periods (.), hyphens (-), and underscores (_), but not spaces or other special characters.
Click the Copy command to copy the
amc_setupcommand.This button appears only if the server name you specify is valid.
Runtime Manager supports Unicode characters in server names. The server name must be unique in the environment, but it can be the same for the same organization in different environments.
Runtime Manager generates the amc_setup command. This command includes the server name you specified (server-name) and the registration token (token) required to register Mule in your environment. The registration token includes your organization ID and the current environment.
- In a terminal window, change to the
$MULE_HOME/bindirectory for the Mule instance that you’re registering. - Paste the command on the command line. For Windows,
amc_setup -H <amc script from step 5> stand-alone, and Linux,./amc_setup -H <amc script from step 5>. - Include any other parameters on the
amc_setupcommand line. - For information, see amc_setup Parameters.
- If your environment requires all outbound calls to go through a proxy, specify proxy settings in either the
$MULE_HOME/conf/mule-agent.ymlfile or the$MULE_HOME/conf/wrapper.conffile.![Step 5 Script]()
- Login to the Anypoint platform and verify the server that registered.

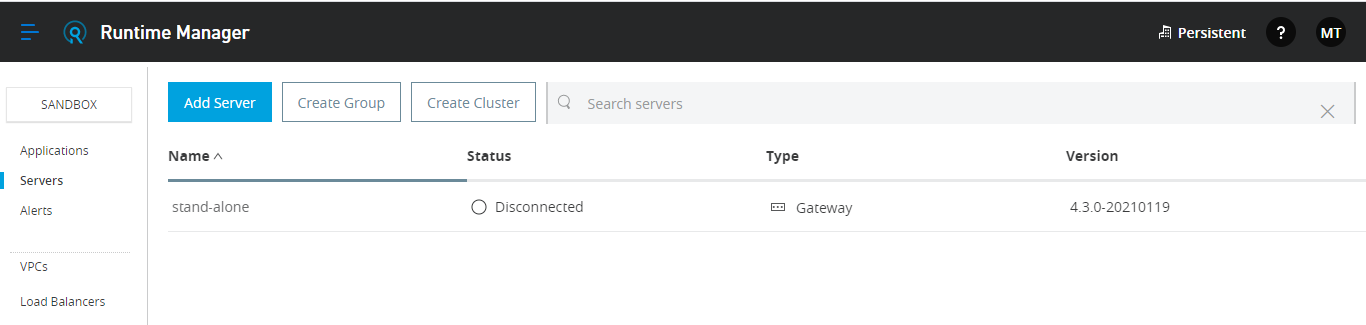
Run Server and Deploy Application
1. Start the server using the below command:
#windows
D:\mule training\on-premise\mule-standalone-4.3.0\bin>mule
#Linux
<mule-home>\bin> ./mule
2. Once the server starts you will see the status of the server as below.

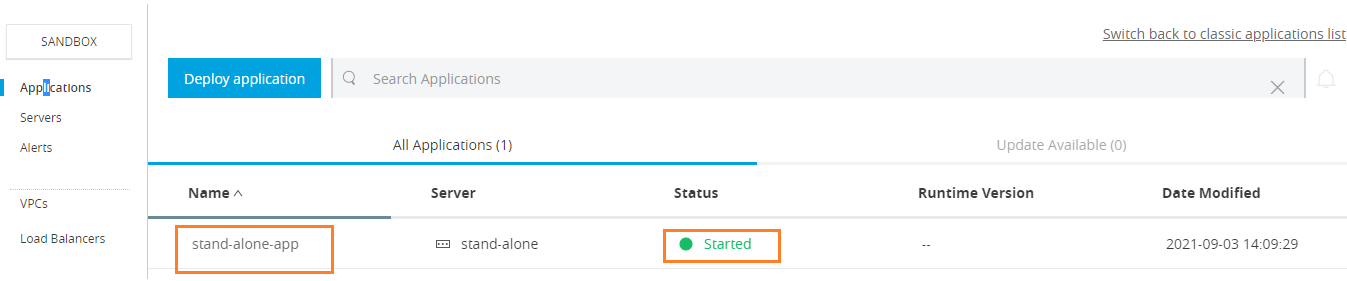
3. Create an application in Anypoint Studio and deploy.
4. Click on Applications.
5. Click on Deploy application.
6. Provide a logical name for the application select target as "stand-alone", choose application file and click on deploy application.

7. After the application deploys and starts you will see staus in Runtime manager is as below.
8. Call endpoint URL and see the output.

9. After deployment from Anypoint Runtime Manager you can verify the application is deployed on your local machine.

Conclusion
This is the end of the tutorial. Hope it will help and you enjoy it.
As this post is a continuation of the previous tutorial, don't forget to check that out and stay tuned for the next article on server groups.
Opinions expressed by DZone contributors are their own.
Comments