Recording Badge Scans in Apache Pinot
Use a real-time analytics database to record NFC badge scans in part 1 of this 3-part project involving environmental data, real-time notifications, and more.
Join the DZone community and get the full member experience.
Join For FreeAbout Pinot
Apache Pinot® is a real-time distributed OLAP datastore. It is designed to provide fast aggregation of metrics with large data sets and is optimized for fast ad-hoc queries. Pinot is column-oriented and is optimized for aggregating metrics. It is designed to scale to trillions of rows and can ingest data in real time.
About This Tutorial
In this post, I’ll show you how I built a badge scanner using smart cards that record every badge scan in Pinot. I’ll also show you how to query the data in Pinot to get insights into badge scans.
I used Kafka as the messaging system to send badge-scan events to Pinot. I’ll show you how to set up both Kafka and Pinot in the cloud. All of the code, etc. required for this is available on GitHub.
Prerequisites
This is both a hardware and software exercise, so you will need a bit of a kit to get this going. You will need:
- A smart-card reader (I recommend the ACR122U because that’s what I used in developing this demo)
- Some smart cards (I recommend the NXP NTAG215 because that’s what I used in developing this demo)
Some knowledge of Go is also helpful, but not essential. All of the code for this is in the badge-reader repository on GitHub.
Setting up the Hardware
The first thing you need to do is to set up the hardware. Here’s what you need to set up the ACR122U smart-card reader and the NXP NTAG215 smart cards.
Setting up the ACR122U
The ACR122U is a USB smart-card reader. It’s a pretty simple device to set up. You just need to plug it into your computer and install the drivers. You can find the drivers on the ACR122U product page.
Note: On macOS, you just need to plug the thing in. No drivers are needed. On Windows, you need to install the drivers. On Linux, you need to install the drivers and the libnfc library.
Setting up the NXP NTAG215
There is literally no setup for this. It’s just a card that has an NFC chip inside. It is inert until you place it on the reader.
Setting up the Software
The next thing you need to do is to set up the software. Here’s what you need to set up the badge reader and the Kafka and Pinot servers.
Setting up the Badge-Reader Software
The badge-reader is a Go program that reads badge scans from the ACR122U and sends them to Kafka. It’s a pretty simple program. It just reads the UID from the smart card and sends it to Kafka. It runs in an infinite loop waiting for a card to be placed on the reader. When a card is placed on the reader, it reads the UID from the card and sends it to Kafka. It then waits for another card to be placed on the reader.
I created a data type for the card information:
type Card struct {
  Badge string `json:"badge"`
  Time  int64 `json:"time"`
}
The Badge field is the UID of the card. The Time field is the time the card was scanned, in milliseconds since the epoch.
The main function is pretty short, too:
func main() {
  for {
    ctx, err := scard.EstablishContext()
    if err != nil {
      die(err)
    }
    defer ctx.Release()
    readers, err := ctx.ListReaders()
    if err != nil {
      die(err)
    }
    if len(readers) > 0 {
      index, err := waitUntilCardPresent(ctx, readers)
      if err != nil {
        die(err)
      }
      card, err := ctx.Connect(readers[index], scard.ShareExclusive, scard.ProtocolAny)
      if err != nil {
        die(err)
      }
      command := []byte{0xFF, 0xCA, 0x00, 0x00, 0x00}
      rsp, err := card.Transmit(command)
      if err != nil {
        die(err)
      }
      uidHex := hex.EncodeToString(rsp)
      fmt.Println("Card UID:", uidHex)
      newCard := Card{Badge: uidHex, Time: time.Now().UnixMilli()}
      message, err := json.Marshal(newCard)
      if err != nil {
        die(err)
      }
      fmt.Println("Message:", message)
      err = sendToKafka("badges", string(message))
      if err != nil {
        die(err)
      }
      for {
        _, err := waitUntilCardGone(ctx, readers)
        if err != nil {
          die(err)
        }
        card.Disconnect(scard.ResetCard)
        card = nil
        ctx.Release()
        ctx = nil
        break
      }
    }
  }
}
I run an infinite loop that connects to the ACR122U and waits for a card to be placed on the reader. When a card is placed on the reader, it reads the UID from the card and sends it to Kafka. It then waits for the card to be removed from the reader.
I put the logic for waiting for a card to be put on the reader and waiting for a card to be removed from the reader in separate functions to keep things as simple as possible. The waitUntilCardPresent function is pretty simple:
func waitUntilCardPresent(ctx *scard.Context, readers []string) (int, error) {
  rs := make([]scard.ReaderState, len(readers))
  for i := range rs {
    rs[i].Reader = readers[i]
    rs[i].CurrentState = scard.StateUnaware
  }
  for {
    for i := range rs {
      if rs[i].EventState&scard.StatePresent != 0 {
        return i, nil
      }
      rs[i].CurrentState = rs[i].EventState
    }
    err := ctx.GetStatusChange(rs, -1)
    if err != nil {
      return -1, err
    }
  }
}
It’s another infinite loop waiting for the card status to change. When the card status changes, it returns the index of the reader that the card was placed on. When a card is placed on the reader, the status changes to CardPresent. When the card is removed from the reader, the CardPresent status is replaced by a 0 status so the waitforCardGone function waits for the status to change to 0 before it returns.
Finally, there is a sendToKafka function that sends a message to Kafka:
func sendToKafka(topic string, message string) error {
  configFile := "./properties"
  conf := ReadConfig(configFile)
  p, err := kafka.NewProducer(&conf)
  if err != nil {
    return fmt.Errorf("error creating producer: %w", err)
  }
  p.Produce(&kafka.Message{
    TopicPartition: kafka.TopicPartition{
      Topic:     &topic,
      Partition: kafka.PartitionAny},
      Value: []byte(message),
  }, nil)
  go func() {
    for e := range p.Events() {
      switch ev := e.(type) {
        case *kafka.Message:
          if ev.TopicPartition.Error != nil {
            fmt.Printf("Failed to deliver message: %v\n", ev.TopicPartition)
          } else {
            fmt.Printf("Produced event to topic %s: key = %s value = %s\n",
              *ev.TopicPartition.Topic, string(ev.Key), string(ev.Value))
          }
        }
      }
  }()
  p.Flush(15 * 1000)
  p.Close()
  return nil
}
That’s it. Wait for a card, read the UID, send the UID to Kafka, wait for the card to be removed, and then start over. This is the kind of card reader that you could use to check people into a conference or a party, or scan merchandise as it is stocked, or sold.
It’s also possible to read more data from the card if it is present, but for now, I’m just reading the UID. Some applications might want to read the name, or job title, from a badge but all NFC cards contain a unique ID, so we will read that and correlate the badge ID with a user in the database.
Setting up the Kafka Server
To make things easy I used Confluent’s Cloud service to set up a Kafka server. I created a free account and then created a new cluster. I then created a new topic called badges and set the retention period to 1 day. I also created a new API key and secret which I used to create a properties file to connect to the Kafka server.
# Required connection configs for Kafka producer, consumer, and admin
bootstrap.servers=<your cloud server>:9092
security.protocol=SASL_SSL
sasl.mechanisms=PLAIN
sasl.username=<your api key>
sasl.password=<your api secret>

# Best practice for higher availability in librdkafka clients prior to 1.7
session.timeout.ms=45000
Running the Program
I ran the program on my laptop and I was able to scan my badge and see the message in the Kafka topic.
$ go run main.go
Card UID: 045e0f7fdf61809000
Message: [123 34 98 97 100 103 101 34 58 34 48 52 53 101 48 102 55 102 100 102 54 49 56 48 57 48 48 48 34 44 34 116 105 109 101 34 58 49 54 56 49 51 51 52 49 50 48 50 48 53 125]
Produced event to topic badges: value = {"badge":"045e0f7fdf61809000","time":1681334120205}
Reading the Messages From Kafka Into StarTree Cloud
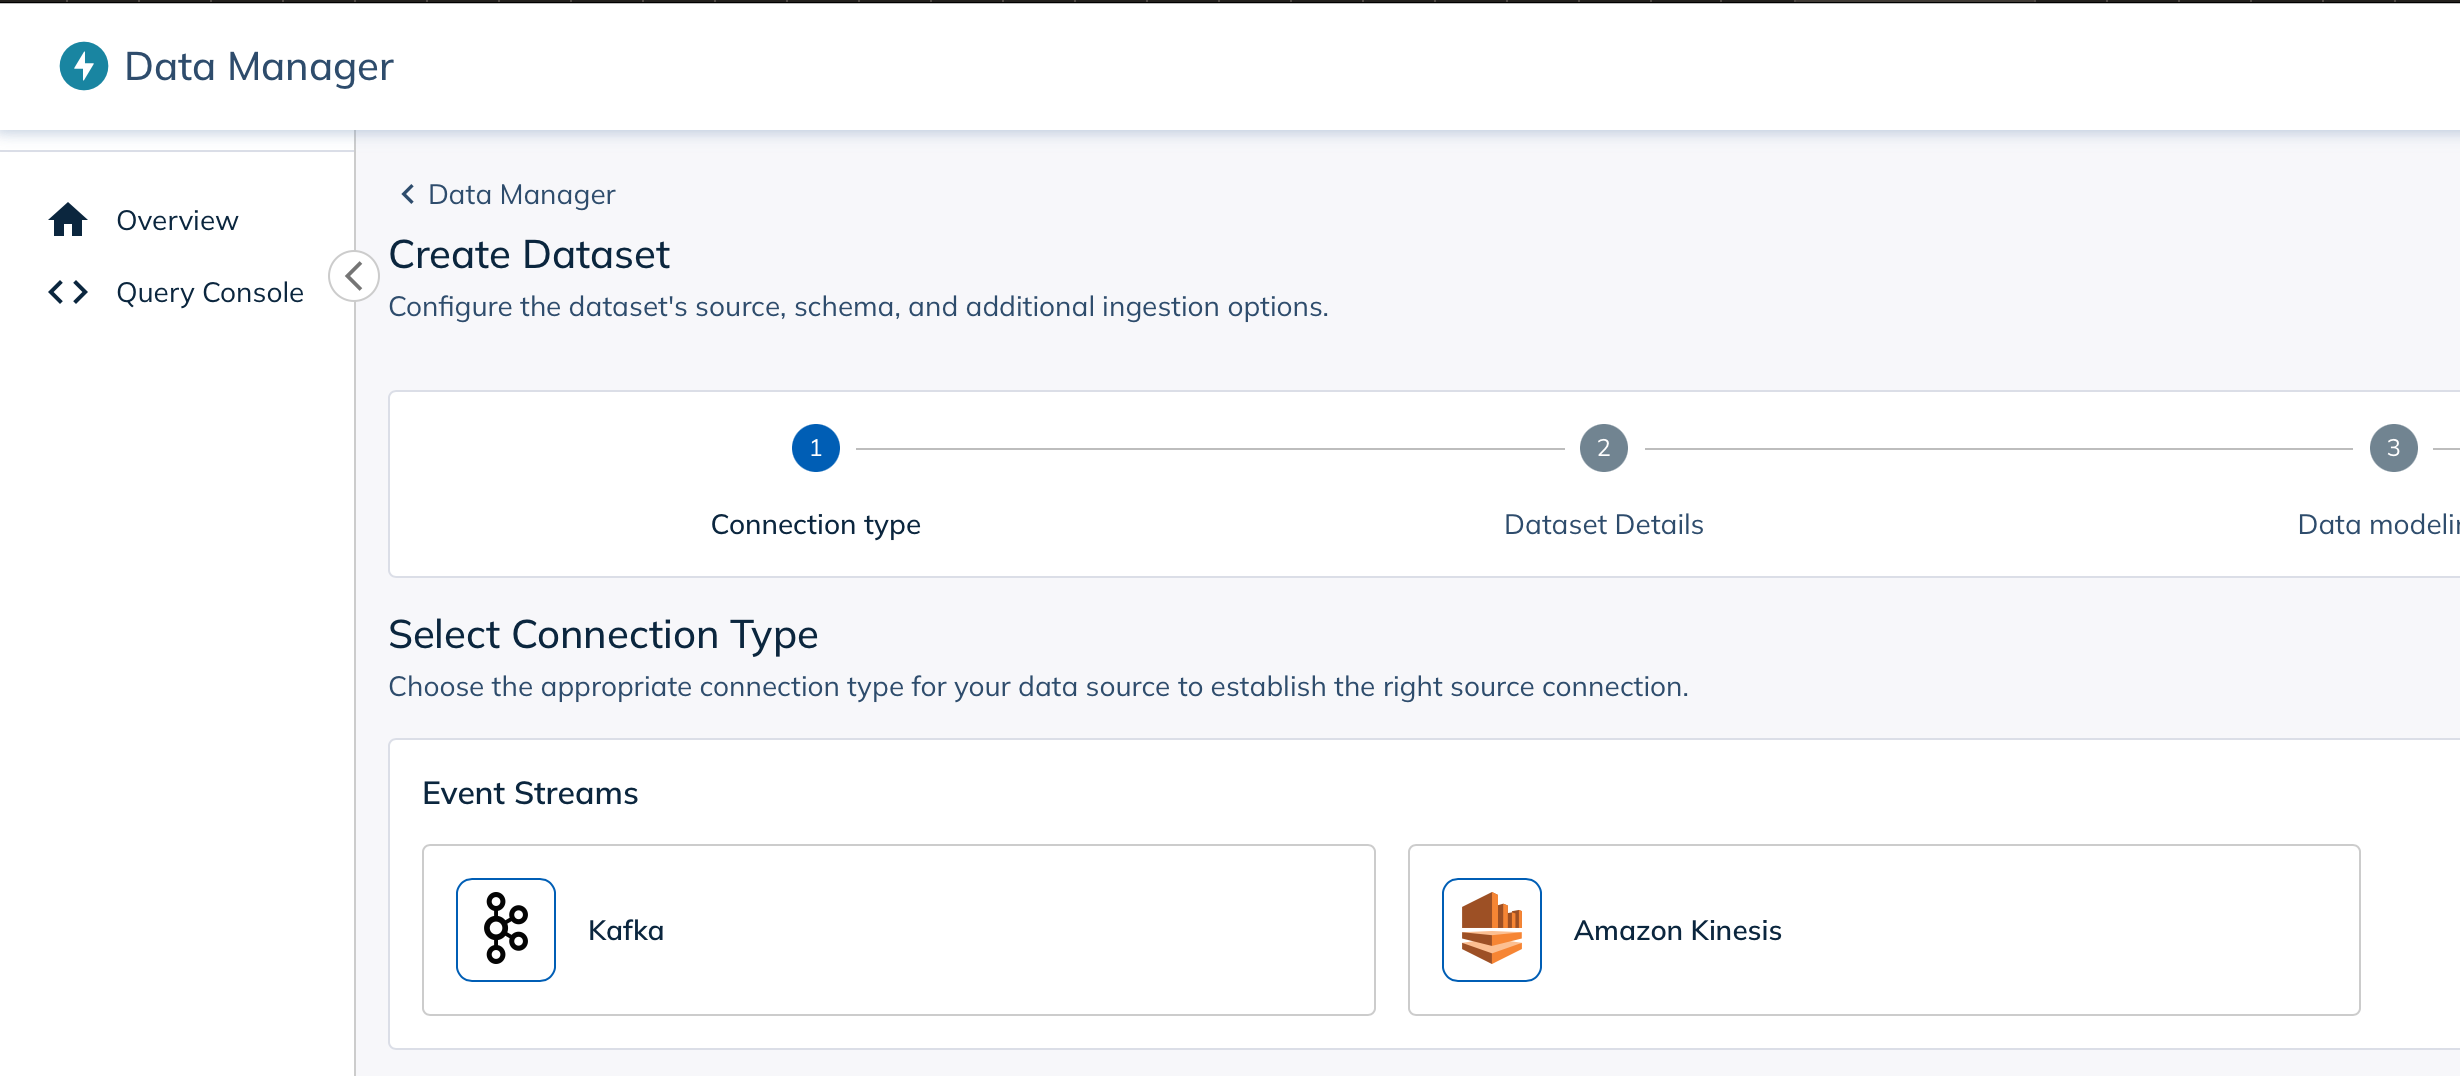
I created a new StarTree Cloud project and then went into Data Manager to create a new data source. I selected Kafka as the data source type and then entered the Kafka server information and the topic name.

Once you click New Connection you will be asked to enter your credentials for your Kafka server. I used the API key and secret that I created earlier and that is in my properties file referenced above.

The next screen will ask you to name your dataset and add a description, after which it will attempt to start retrieving data from Kafka.

If everything is working correctly you should see data show up when you click the Check Sample Data button.

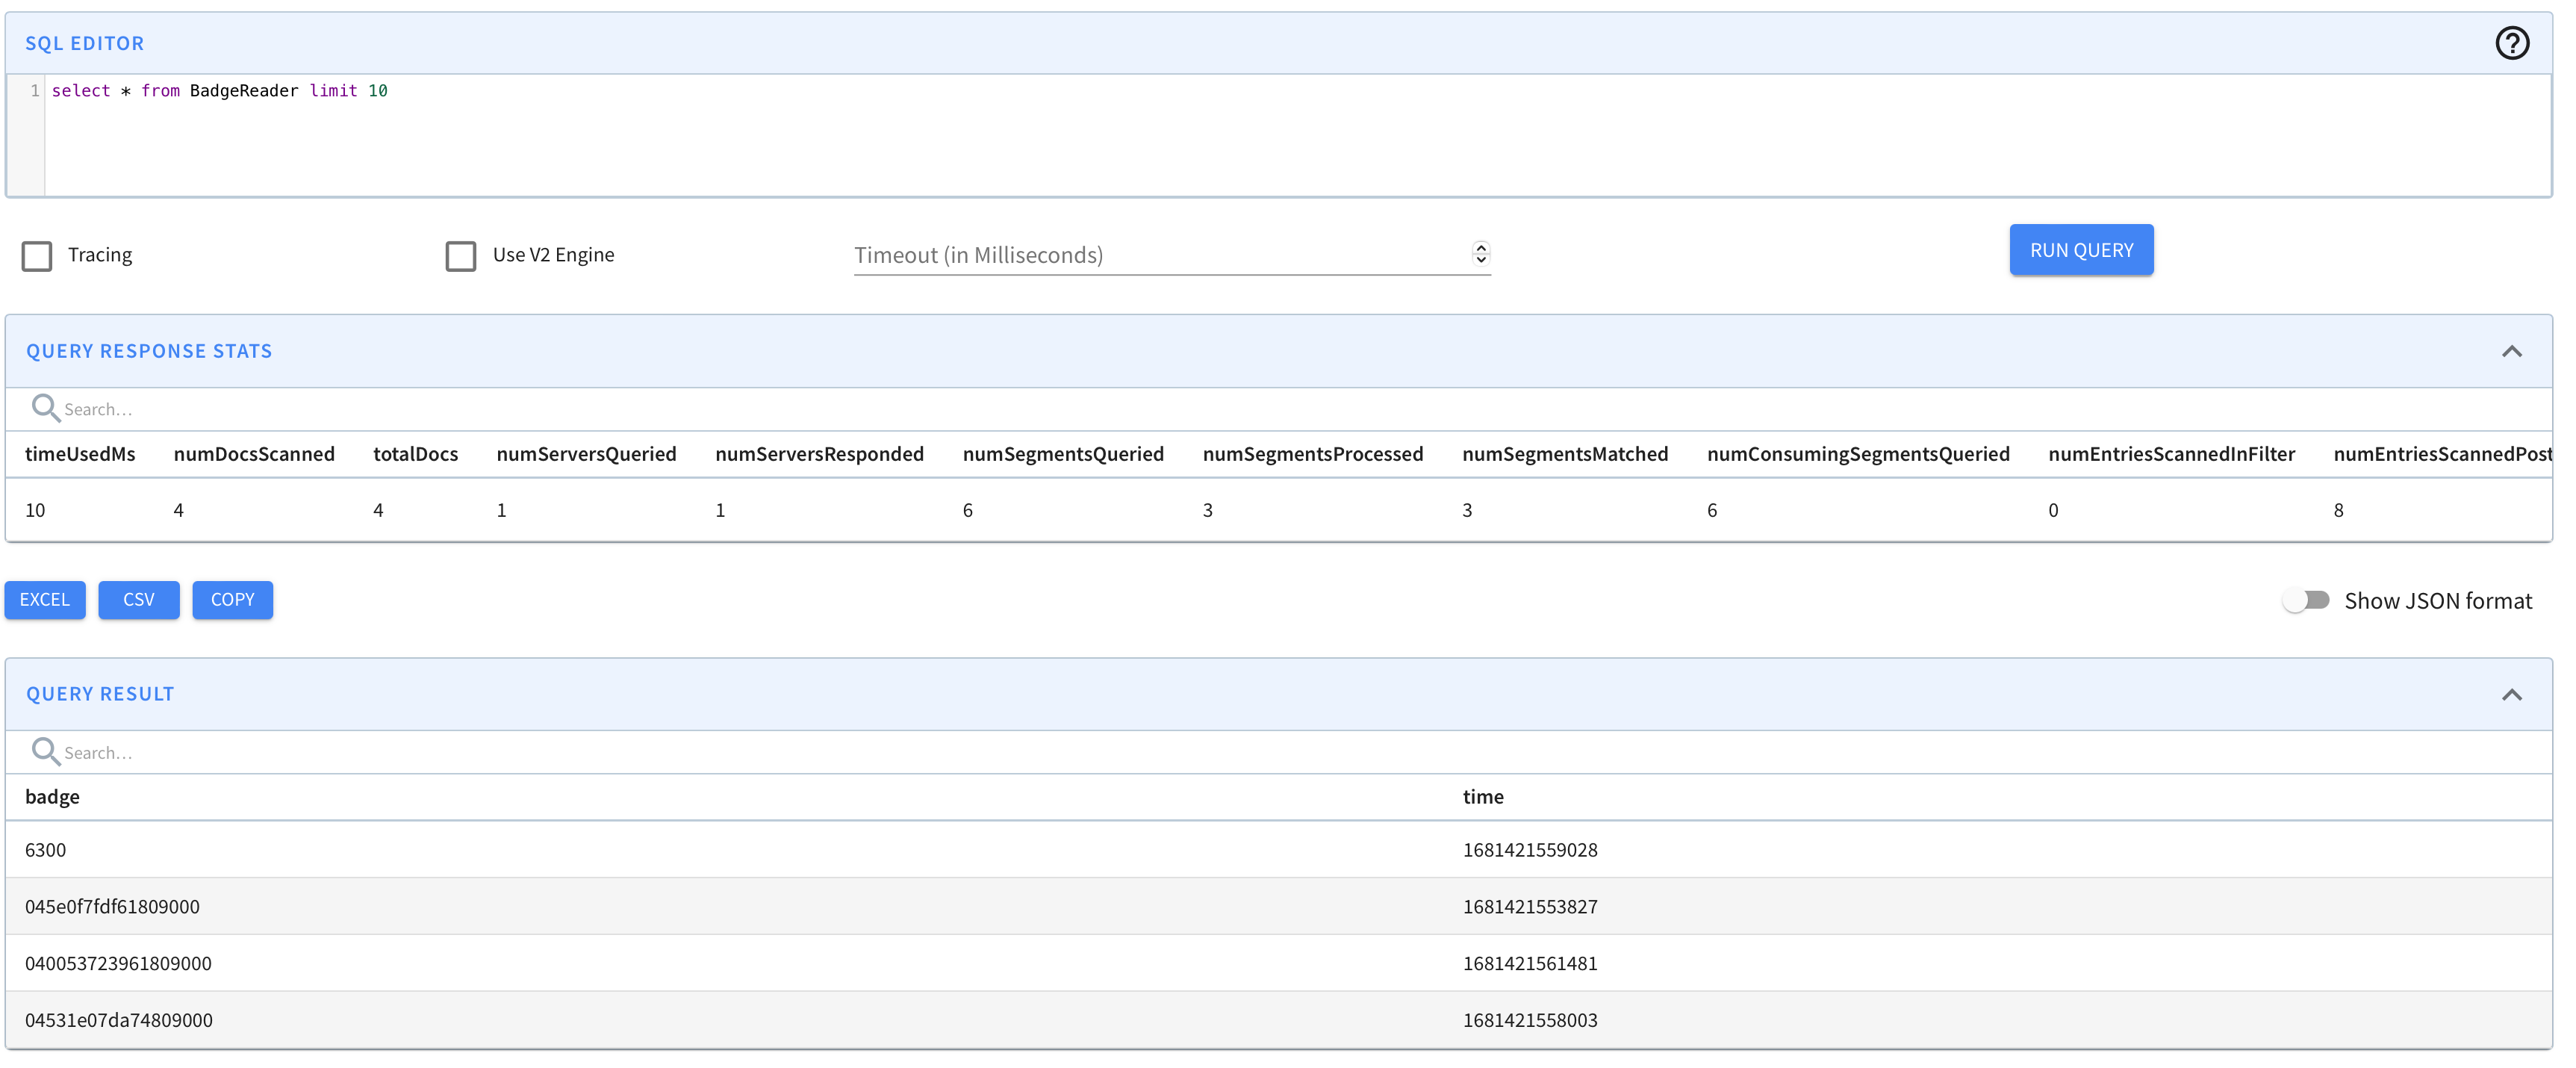
Once I connect to my Kafka broker, I can see a few badge numbers and timestamps that were already in the broker.
Finally, you can click through to Create Dataset and add your new dataset. You’ll then see the Pinot table config and schema displayed.

Once the data source is active you can go to the Data Explorer and start exploring your data.

So far there’s not much data in here, and it may not look entirely useful to have this, but if you follow this series of posts you will see how I use this data, in conjunction with other data, to build something quite useful.
Conclusion
I hope you enjoyed this post. I had a lot of fun building this project and I’m looking forward to building more projects with the ACR122U and StarTree Cloud. If you have any questions or comments, please leave them below.
Opinions expressed by DZone contributors are their own.

Comments