Running Apache Tomcat as a Windows Service for Remote Debugging [Snippet]
In this quick tutorial, we go over using this popular open source solution and to configure it to do some remote debugging.
Join the DZone community and get the full member experience.
Join For FreeDownload Apache Tomcat
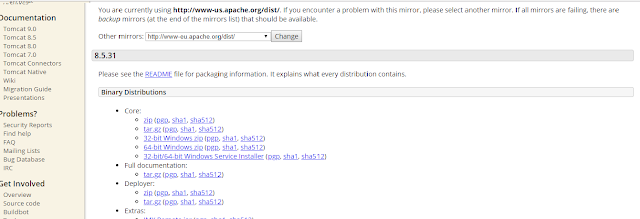
- Go directly to the Apache Tomcat Site, select the version you prefer for download.
- However, it is always advised to use the latest version unless you have a constraint or a specific reason.
- Select the 32-bit/64-bit Windows Service Installer version
- Execute the install as a regular installation.
- Go the installed file location -> bin and run Tomcat8w.
- The Tomcat executable will start a Tomcat instance instead of the service management window.
- The Tomcat Service Window will appear:
Here you can start stop the Tomcat service and manage the properties. Moreover, you can set the start-up type of the Tomcat server to either Manual or Automatic depending on where the service will start when your system starts up.
Apache Tomcat Configuration for Debugging
- Go to the Java tab:
- Add the following under the Java options area:
- Xdebug
- Xrunjdwp:transport=dt_socket,address=8000,server=y,suspend=n
Here you can even set the environment related variable for Java as well.
Restart the Tomcat server and then it will be ready for remote debugging through port 8000.
Note: Here it seems the jpda run is not working as expected when it is set under the startup tab.
Published at DZone with permission of Sameera Nelson. See the original article here.
Opinions expressed by DZone contributors are their own.


Comments