Setting Up a Dedicated Database Server on Raspberry Pi
Learn how to install and set up a MariaDB server on a Raspberry Pi 4 Model B with 8 GB of RAM that you can connect to your local network through WiFi or Ethernet.
Join the DZone community and get the full member experience.
Join For FreeThere is certain gratification when you get a little “naked” mini-computer board to run the software you install on it. Maybe even your own application. Most (if not all) of the real-world applications I have implemented connect in one way or another to a database. It’s not a secret that relational databases are the most popular option in mission-critical applications that require truly ACID compliance. So, installing a good performant SQL database in a Raspberry Pi is, to say the least, a fun exercise to do. Even though the Raspberry Pi can connect to the Internet and consume a Database as a Service (DBaaS) like SkySQL, smaller applications might benefit from having a local-only database running on the same device.
In this article, I show you how to install and set up a MariaDB server on a Raspberry Pi 4 Model B with 8 GB of RAM that you can connect to your local network through WiFi or Ethernet. You can use models with much less RAM memory as well.
By the way, I have placed plenty of photos and screenshots to make this article more enjoyable. Hope you like it!
Before You Start
Before you start, make sure you have:
- a computer (duh!)
- a Raspberry Pi (double-duh!)
- an Internet connection (don’t you say!)
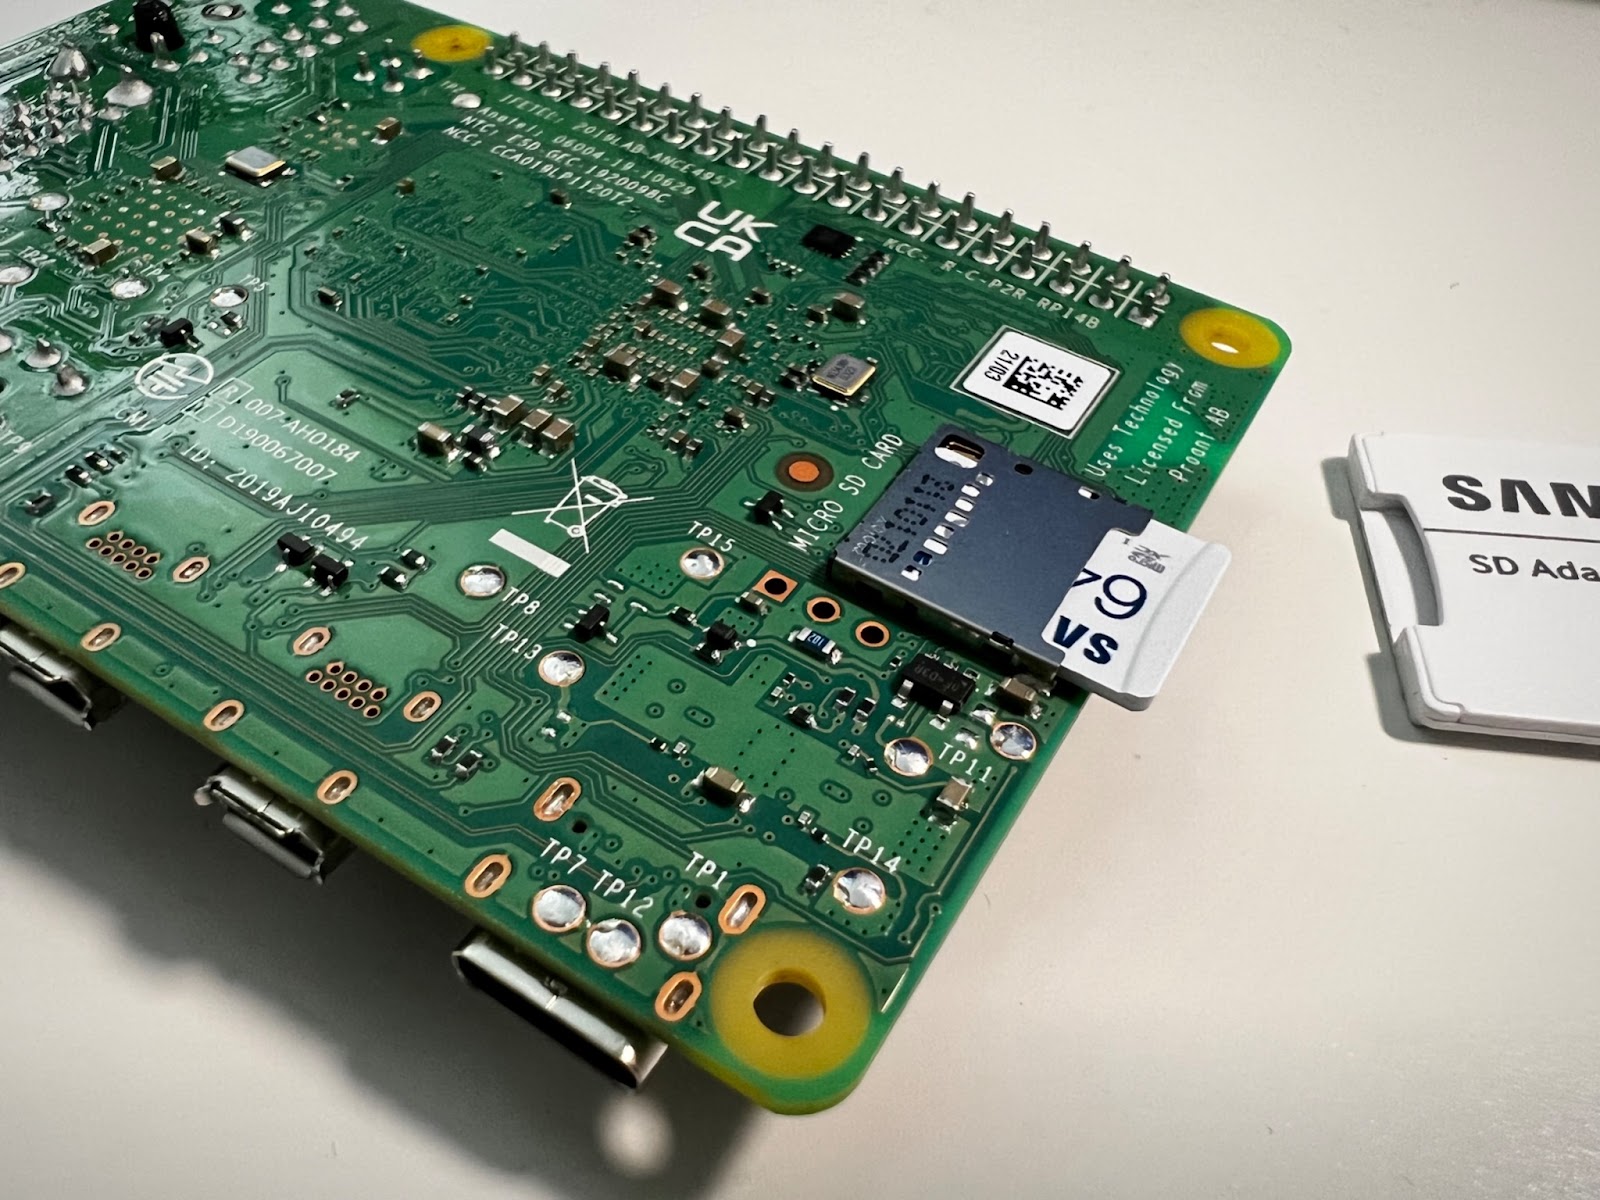
- a microSD card (I recommend at least 32GB)
- and a USB power supply for the Raspberry Pi (I used a phone charger)
Installing Raspberry Pi OS
A Raspberry Pi is a mini-computer. So you need an operating system (OS) for it. There are different flavors of Linux that you can use, but we’ll use the optimized Raspberry Pi OS. The OS is installed on a microSD card that you later plug into your Raspberry Pi:

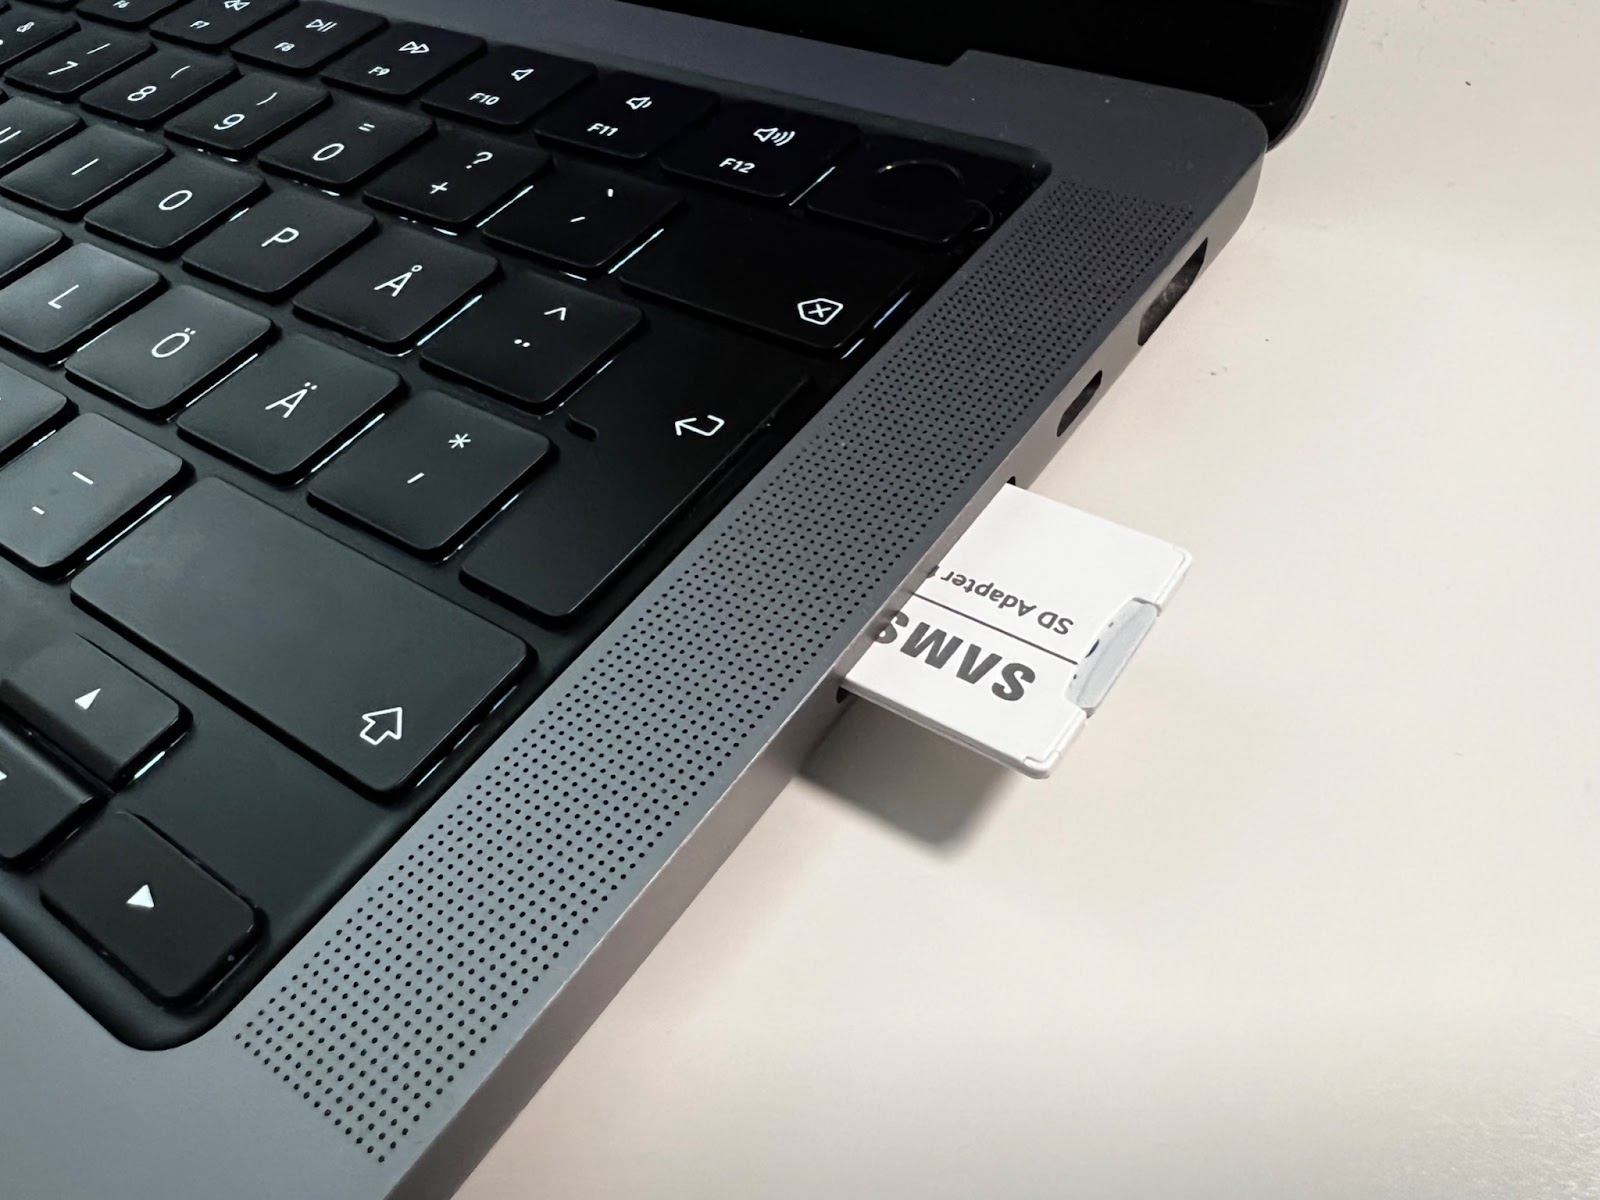
You can use your working computer to download and install the Raspberry Pi OS on the microSD card. Most likely, you’ll need a microSD to USB adapter, or if your computer supports it, an SD adapter for microSD. Either way, connect the microSD card to your computer and you’ll be good to go:
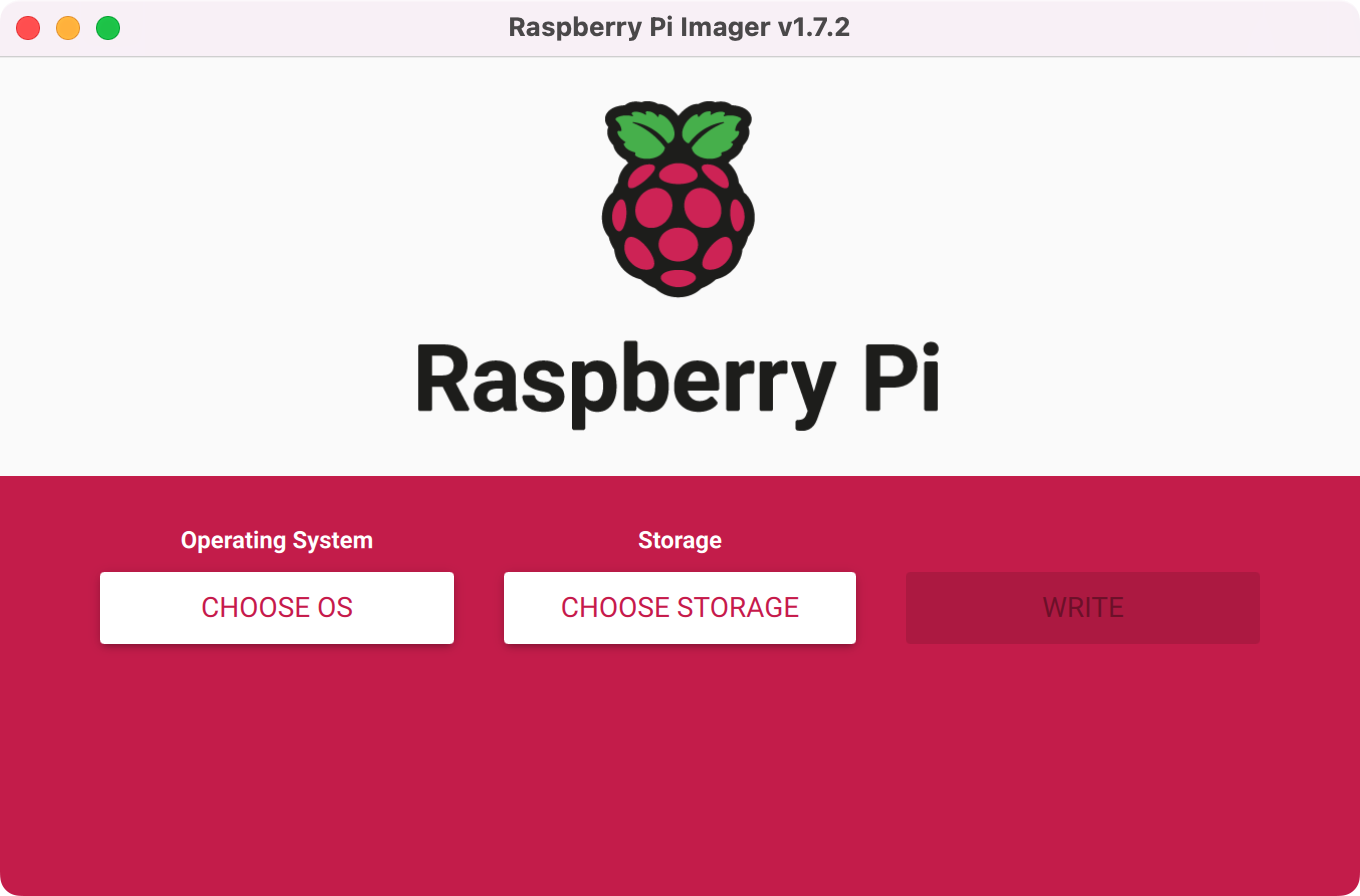
Download and install the Raspberry Pi Imager software on your computer. Start the tool and click on CHOOSE OS:
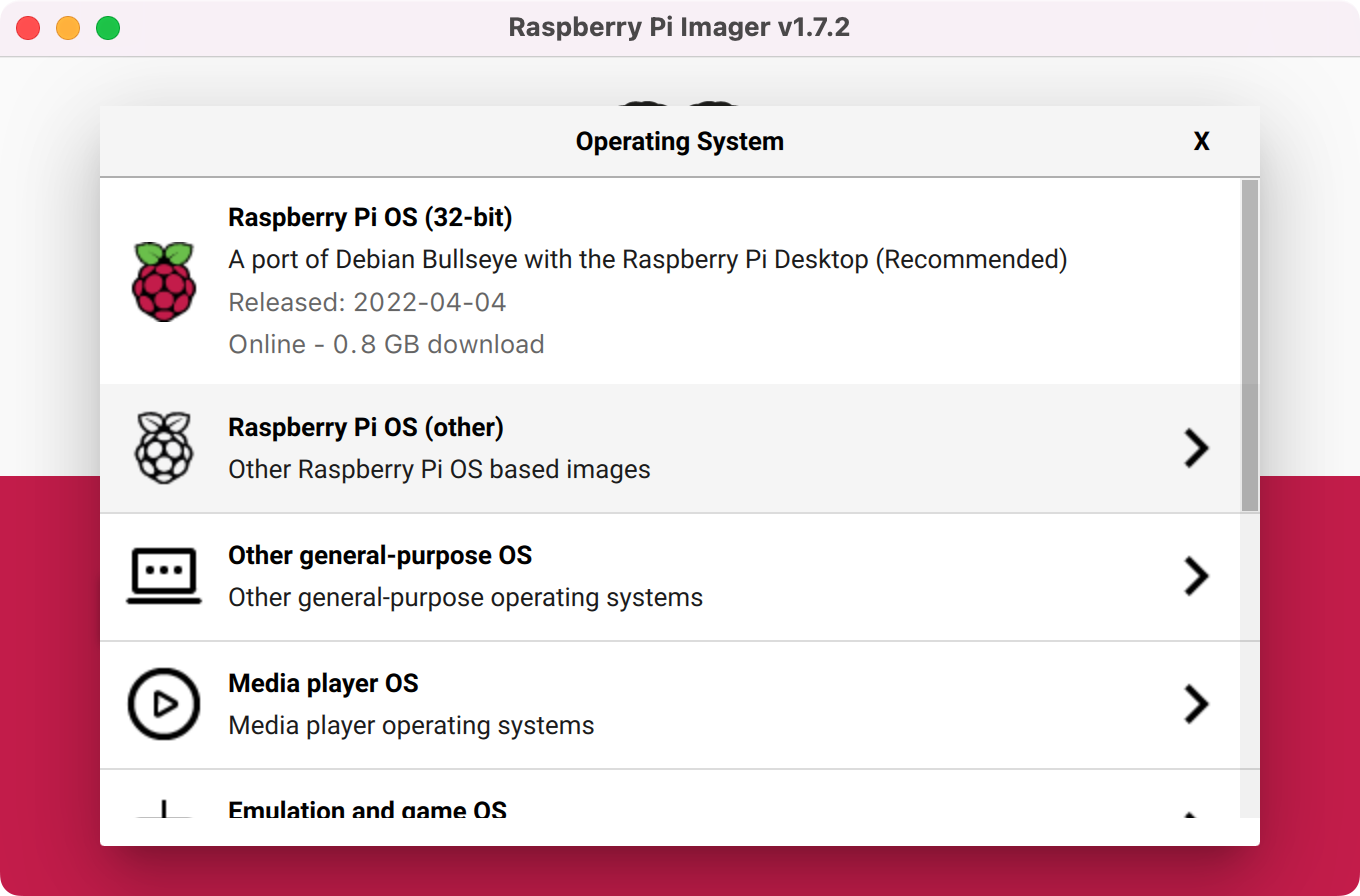
Click on Raspberry Pi OS (other):
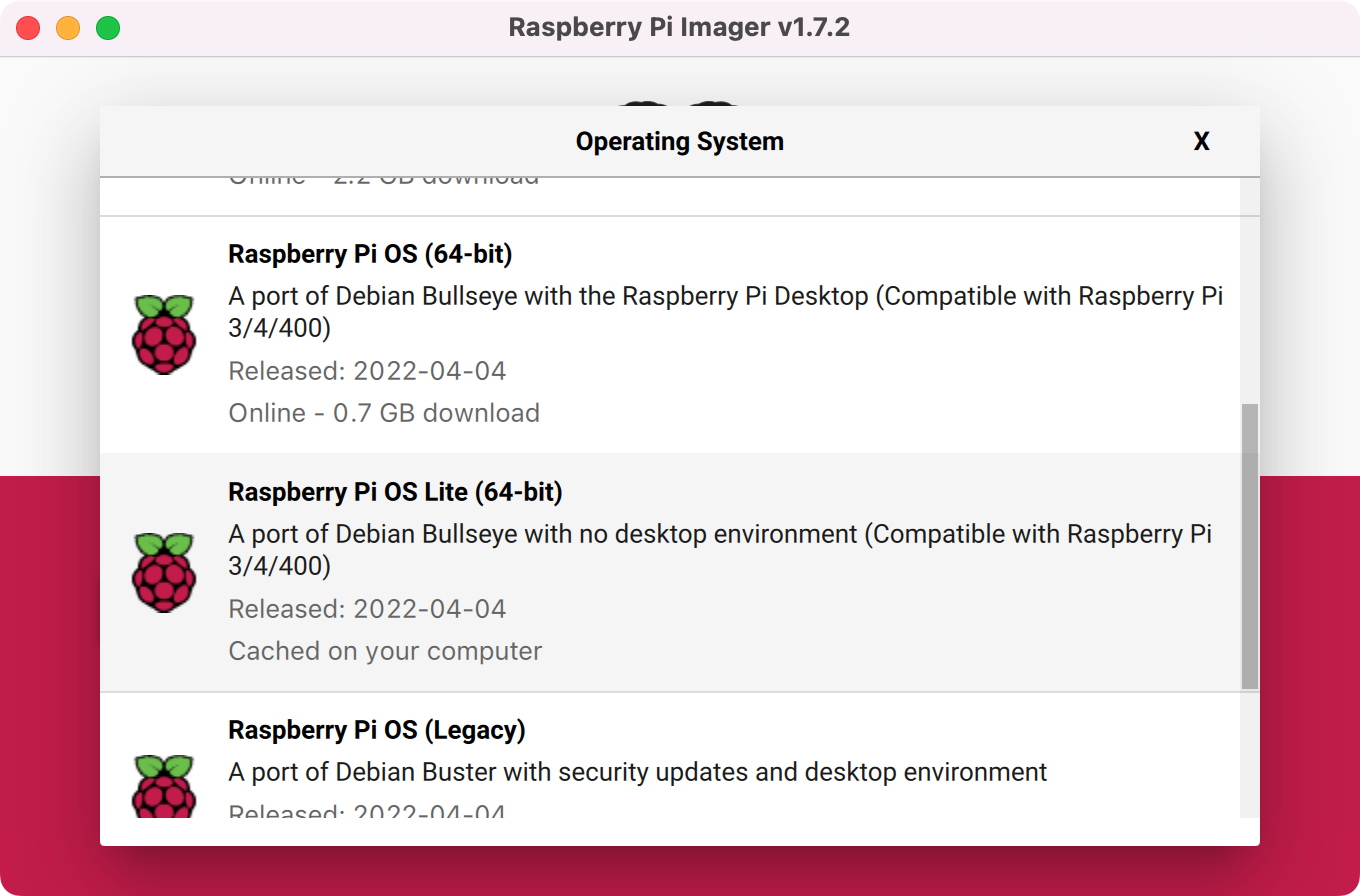
Select Raspberry Pi OS Lite (64-bit) or the 32-bit version depending on your Raspberry Pi model. The Lite version of the OS doesn’t include any GUI which is a better option when installing a database server, or any server-software really. A GUI would use space in the storage device (the microSD card) and will probably run additional processes that are not truly needed and that would also consume RAM. So, go for the Lite (headless) version:
Click on the gear icon (settings), enter a hostname (I’m using raspi01), and enable SSH with password authentication:

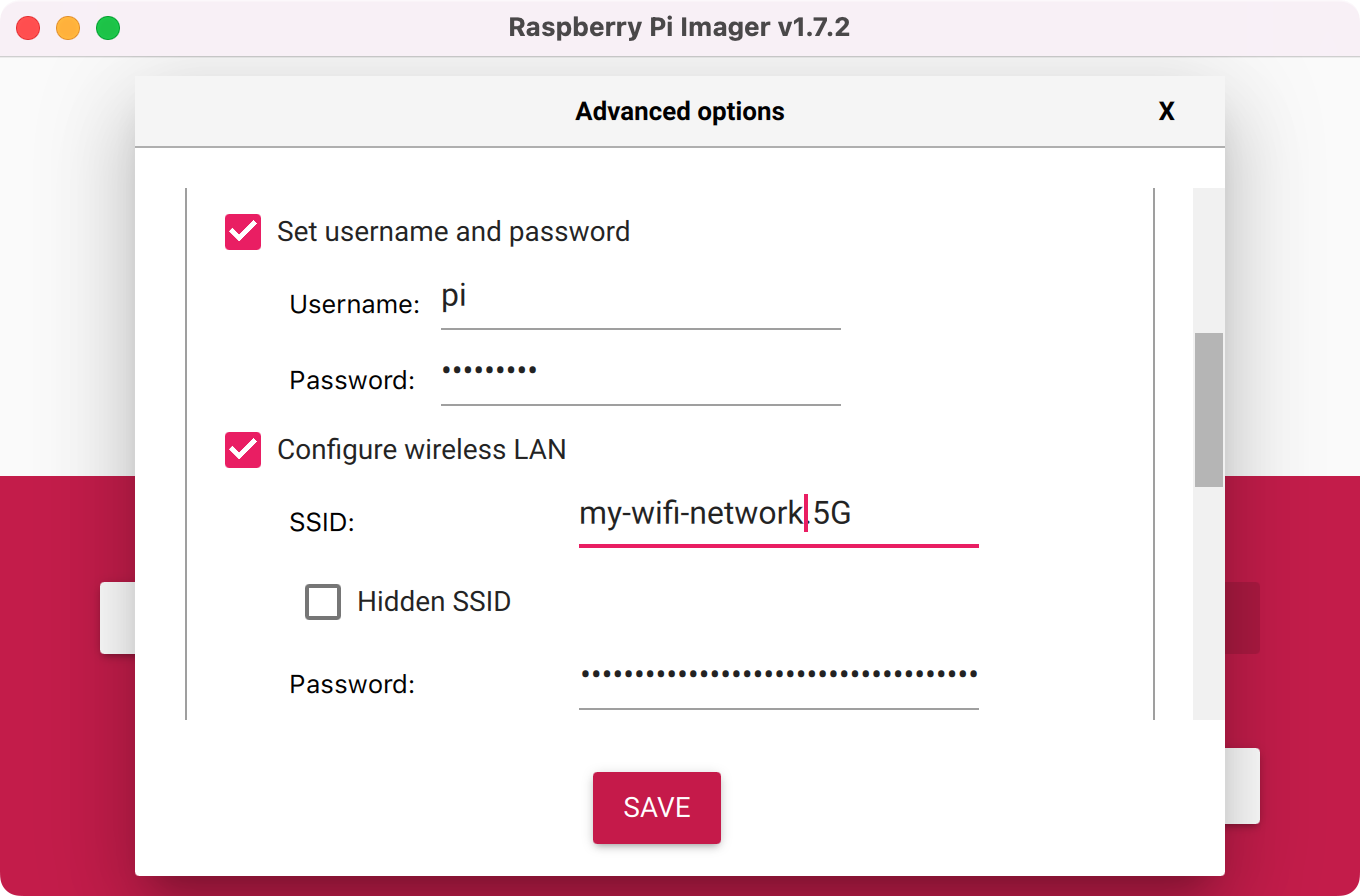
Scroll down and set a username (mine is pi) and password of your preference. Also, enter the details of your WiFi connection:
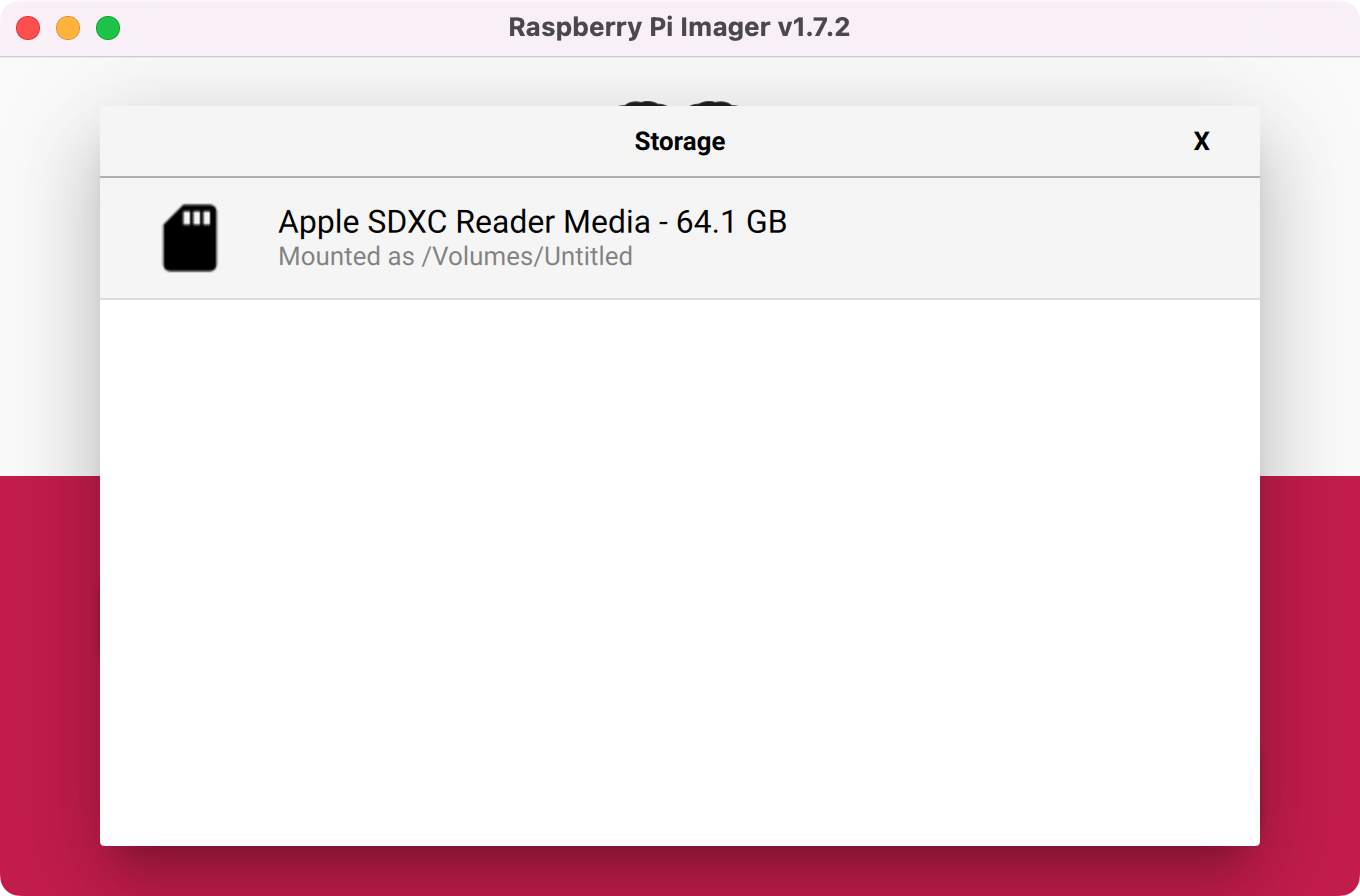
Click on SAVE and then on CHOOSE STORAGE. Select the volume that corresponds to the plugged microSD card:
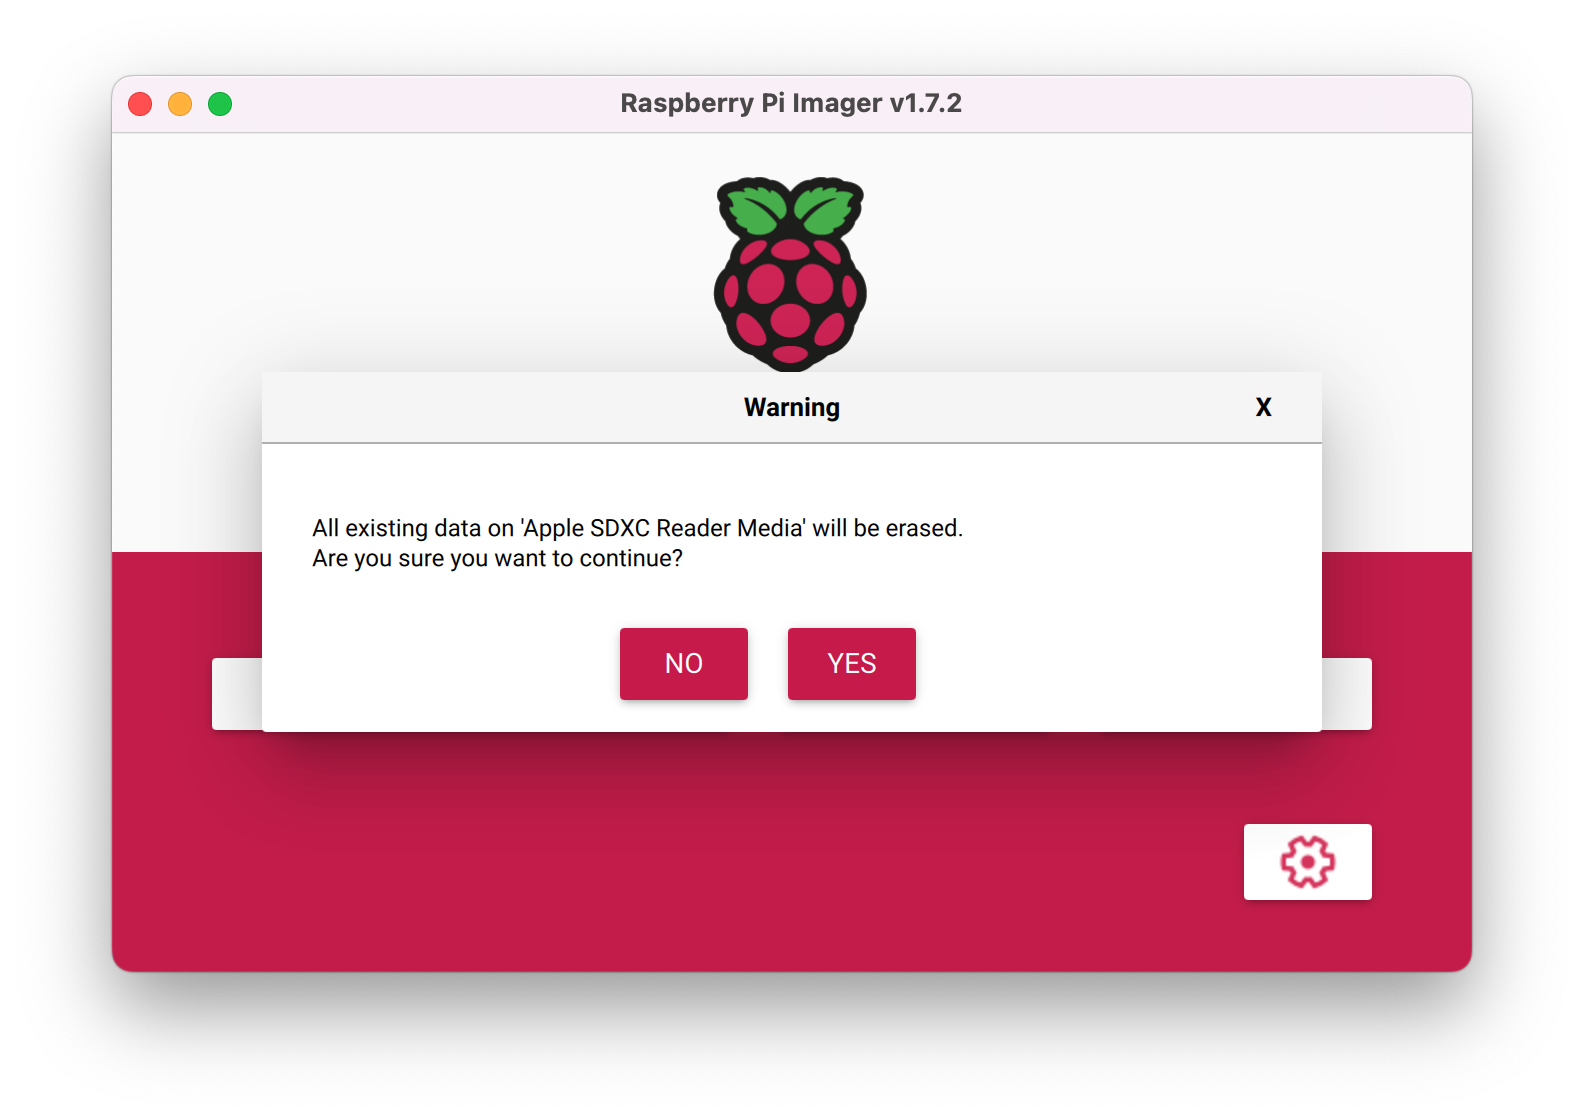
Double-check that you selected the correct media (you don’t want to format your hard drive, right?) and if everything looks okay, click on YES:
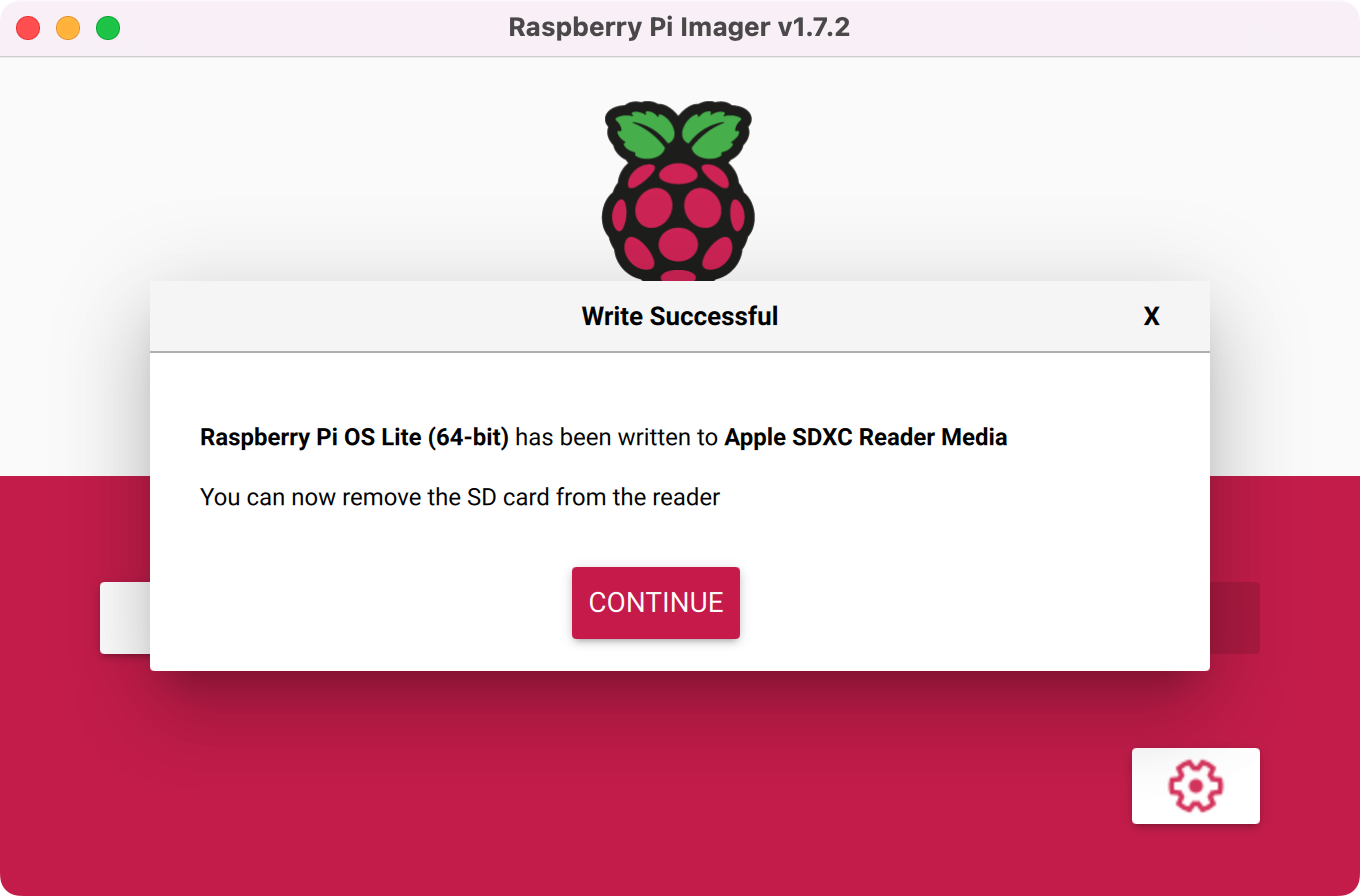
You’ll be prompted to enter your password. Once the process is completed, click on CONTINUE:
Extract the microSD card (now with the Debian-based Raspberry Pi OS fully-operational operating system in it) and plug it into your Raspberry Pi:
Connecting Remotely Through SSH
Time for the most fun part. Connect the USB-C power supply to the Raspberry Pi. This turns on the device and boots the OS. Enjoy the little red (power attached indicator) and green (a program is running) LEDs:

So cool. I’m excited for you as I write this! Give the device some time to boot. Be patient. Depending on the Raspberry Pi model, this could take up to several minutes. In my case, when the green LED started to flash less or was completely off, I knew the mini-computer was ready and (hopefully) connected through WiFi to my local network.
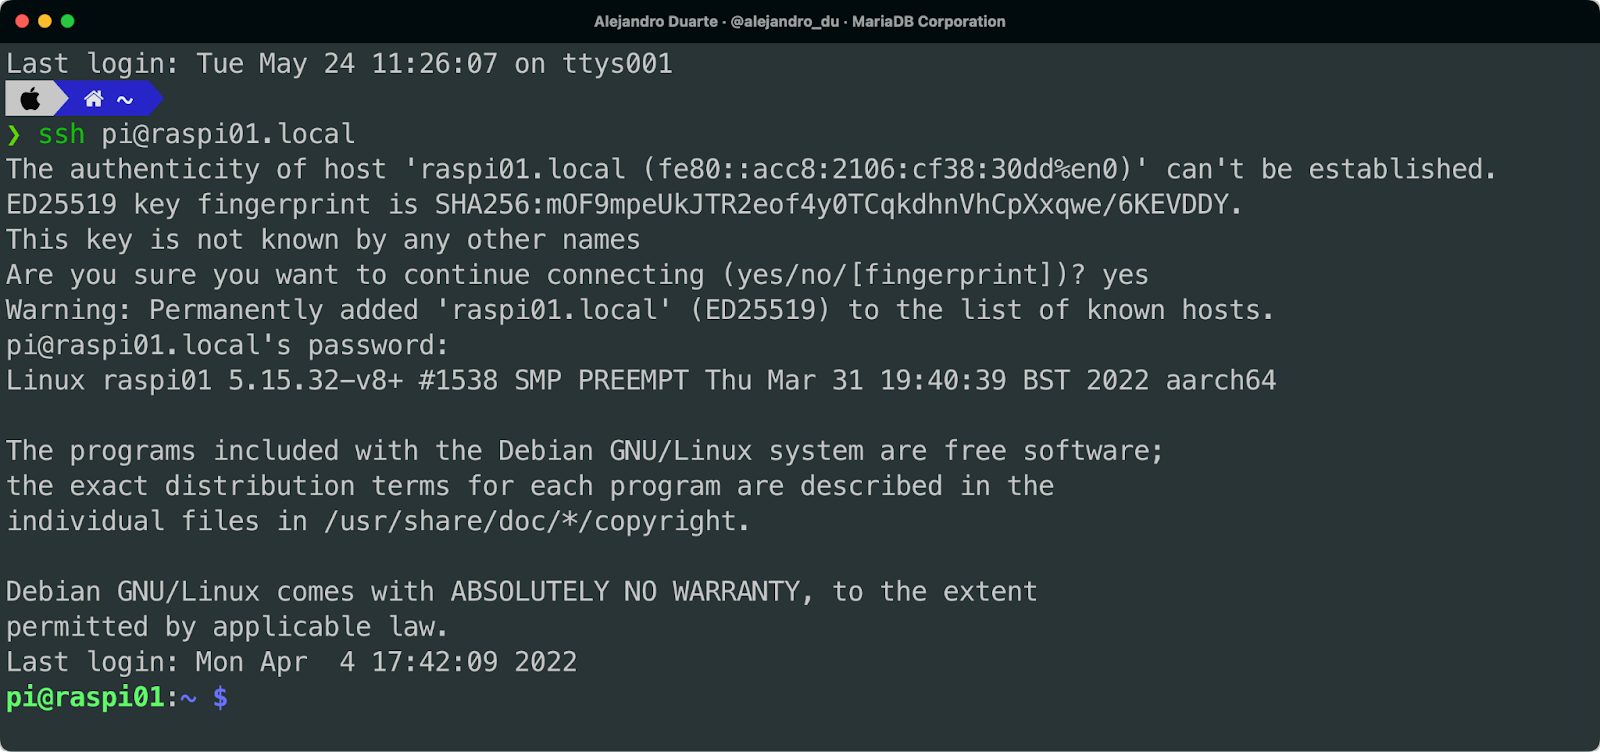
To start talking with this little machine, you can use SSH, which attaches a terminal to the device. To do this, open a terminal or command prompt on your computer, and execute the following:
Use the username and hostname that you configured when you installed the OS. If everything is all right, you should be prompted to add the host to the list of known hosts. Type yes and enter your Raspberry Pi OS password. You are in now:
Sweet! This is a good time to update your Raspberry Pi. Run the following:
sudo apt update

sudo apt upgrade
Installing the MariaDB Database Server
Let’s make your new server more usable by installing MariaDB on it:
sudo apt install mariadb-serverIt cannot get easier than that! A SQL client is included with the server installation, so you can connect to the database and check that it is working:
sudo mariadbTry running a “Hello, World” kind of query there:
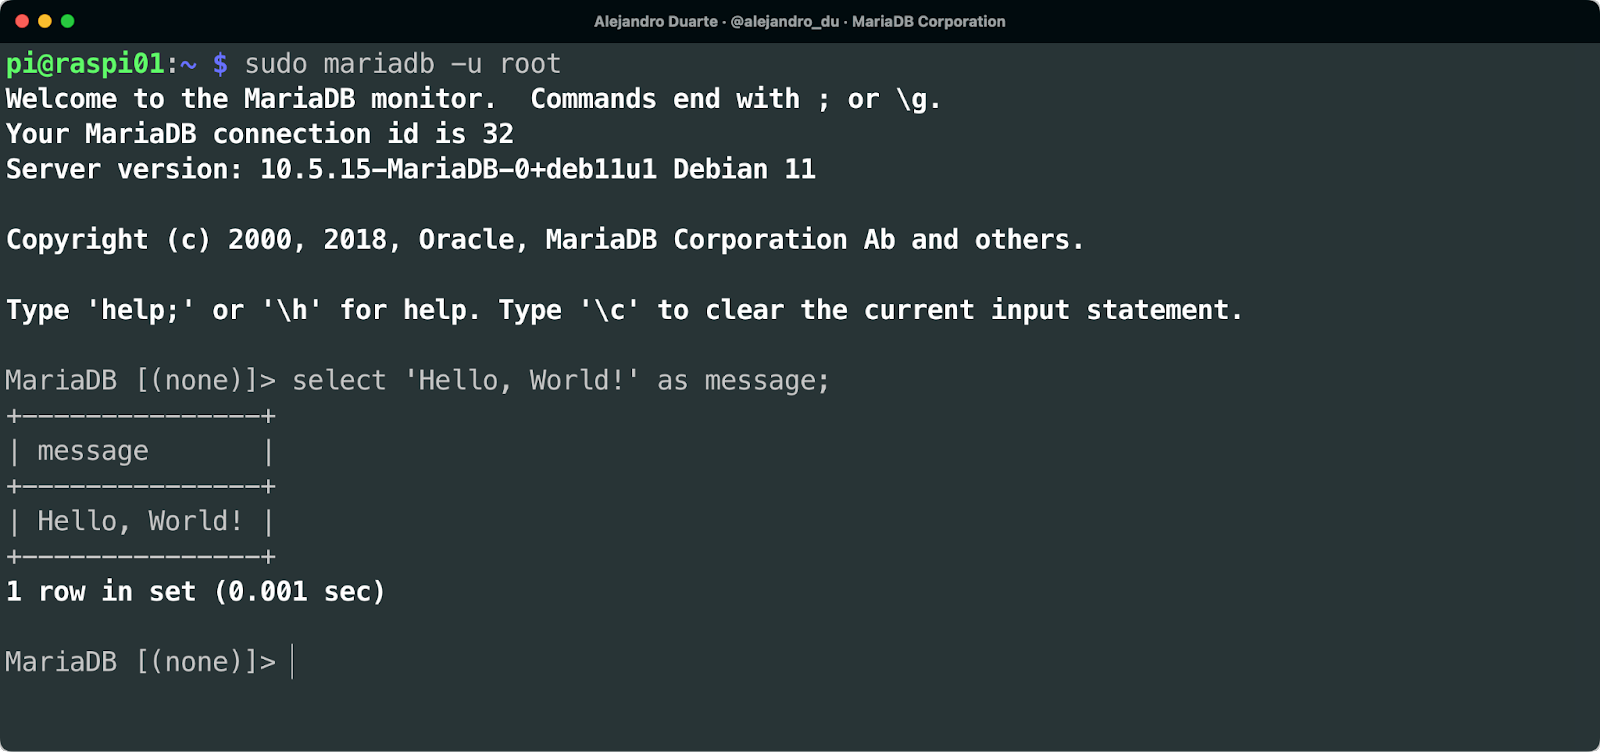
Nice. Before we leave the client, create a new database (more on this later) and a user for it. It’s a good practice to not use the root user when consuming the database from your applications. Here’s what you need to execute:
CREATE DATABASE nation;

CREATE USER 'user'@'%' IDENTIFIED BY 'Password123!';

GRANT ALL PRIVILEGES ON nation.* TO 'user'@'%';
Now you can leave the SQL client:
quitWe’ll connect remotely to the database using the above user later.
Securing the Database Server
You can use the database in its current state, but it’s always a good idea to secure the server. MariaDB includes a tool that easies this process:
sudo mariadb-secure-installationYou’ll be prompted with the root password which by default is empty, so just press enter. The tool asks you questions as you go. Feel free to configure your database server as you wish. For reference, here’s how I answered the questions:
NOTE: RUNNING ALL PARTS OF THIS SCRIPT IS RECOMMENDED FOR ALL MariaDB

      SERVERS IN PRODUCTION USE!  PLEASE READ EACH STEP CAREFULLY!


In order to log into MariaDB to secure it, we'll need the current

password for the root user. If you've just installed MariaDB, and

haven't set the root password yet, you should just press enter here.


Enter current password for root (enter for none):

OK, successfully used password, moving on...


Setting the root password or using the unix_socket ensures that nobody

can log into the MariaDB root user without the proper authorisation.


You already have your root account protected, so you can safely answer 'n'.


Switch to unix_socket authentication [Y/n] n

 ... skipping.


You already have your root account protected, so you can safely answer 'n'.


Change the root password? [Y/n] Y

New password:

Re-enter new password:

Password updated successfully!

Reloading privilege tables..

 ... Success!


By default, a MariaDB installation has an anonymous user, allowing anyone

to log into MariaDB without having to have a user account created for

them.  This is intended only for testing, and to make the installation

go a bit smoother.  You should remove them before moving into a

production environment.


Remove anonymous users? [Y/n] Y

 ... Success!


Normally, root should only be allowed to connect from 'localhost'.  This

ensures that someone cannot guess at the root password from the network.


Disallow root login remotely? [Y/n] Y

 ... Success!


By default, MariaDB comes with a database named 'test' that anyone can

access.  This is also intended only for testing, and should be removed

before moving into a production environment.


Remove test database and access to it? [Y/n] Y

 - Dropping test database...

 ... Success!

 - Removing privileges on test database...

 ... Success!


Reloading the privilege tables will ensure that all changes made so far

will take effect immediately.


Reload privilege tables now? [Y/n] Y

 ... Success!


Cleaning up...


All done!  If you've completed all of the above steps, your MariaDB

installation should now be secure.


Thanks for using MariaDB!
Enabling Remote Database Access
Since you probably want to connect to this database remotely from your working computer or even another Raspberry Pi, you’ll have to enable remote access. Edit the following file using nano or vi:
sudo nano /etc/mysql/mariadb.conf.d/50-server.cnfComment out the following line by adding a hash (#) character at the beginning as shown:
#bind-address = 127.0.0.1That’s it. Save the changes, exit the text editor, and leave the little machine by ending the SSH session:
exitNow you are back into your working computer. If you happen to have the MariaDB client installed on your computer, you can try the remote connection right away (skip this if you don’t have the tool, or install it):
mariadb -h raspi01.local -u user -pIf you see Welcome to the MariaDB monitor, your database is ready!
Connecting to the Database Using DBeaver
Most likely, you want to use a graphical SQL database client. In my opinion, the best free option is DBeaver. If you haven’t, go ahead and download it and install it.
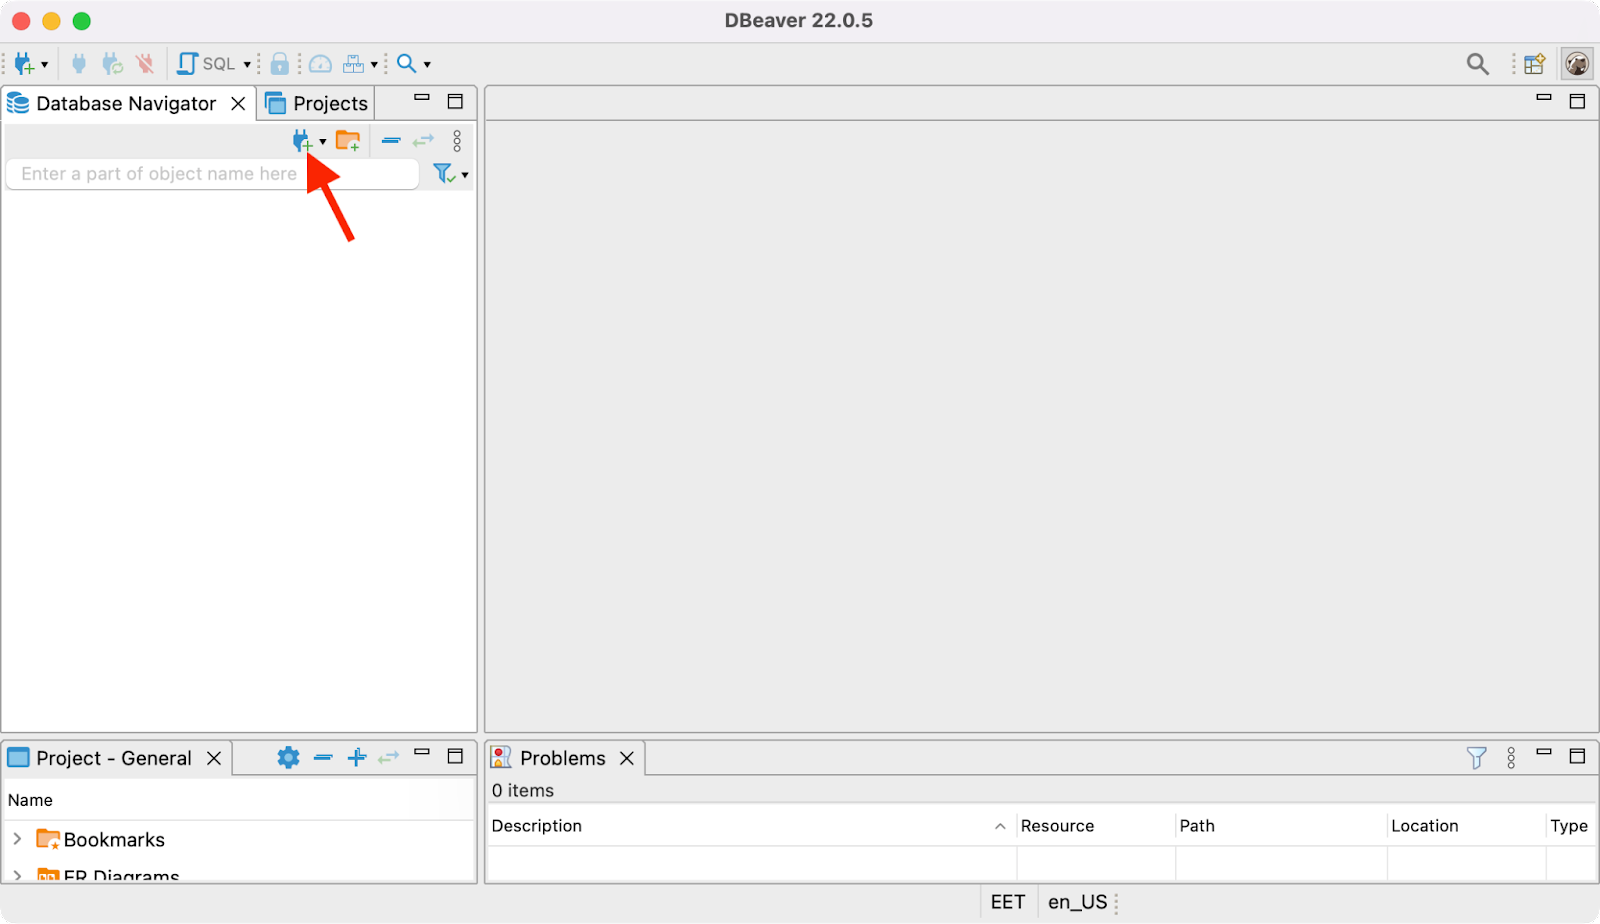
Open DBeaver and click the New Database Connection button:
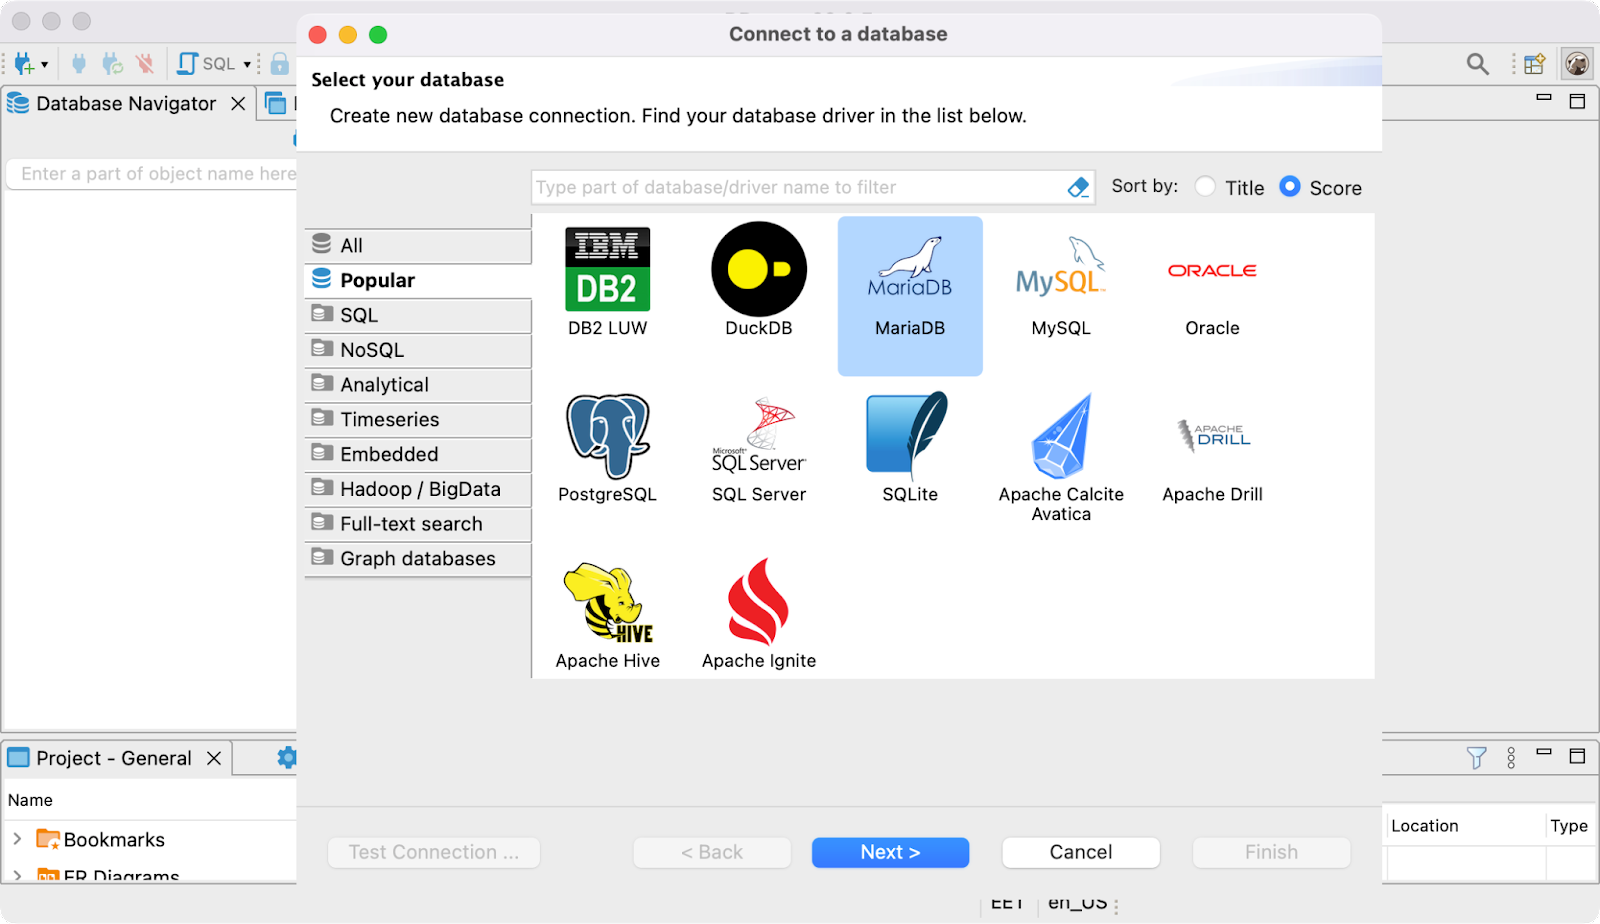
Select MariaDB and click on Next >:
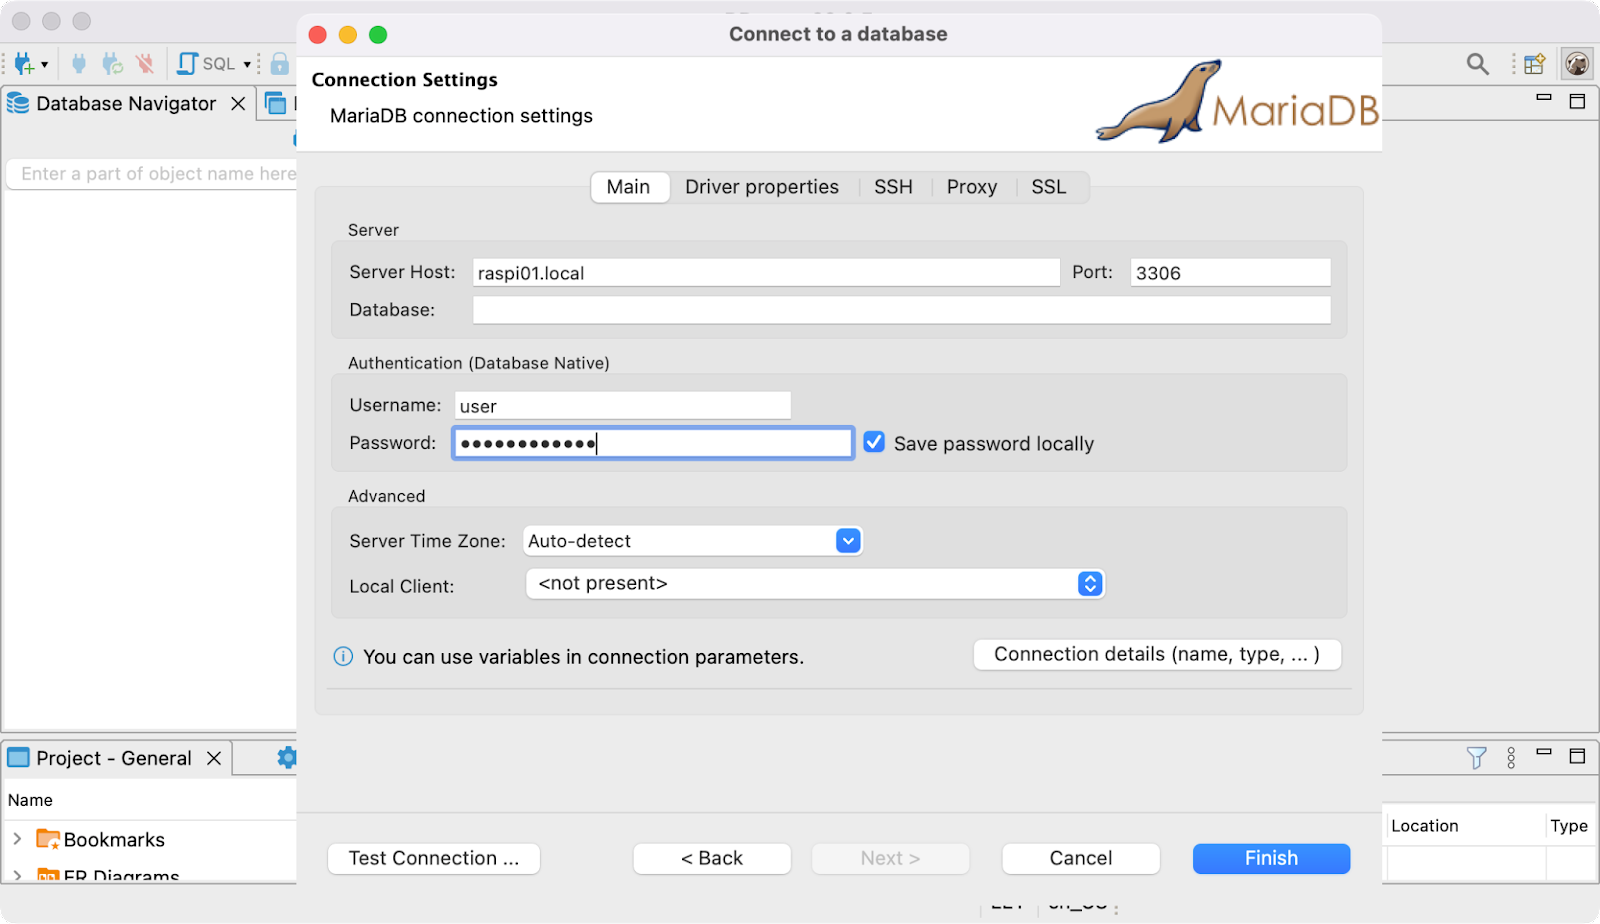
Enter the server host (in my case it is raspi01.local), the username (user), and the password. Click on Test Connection … to make sure all the connection details are correct:
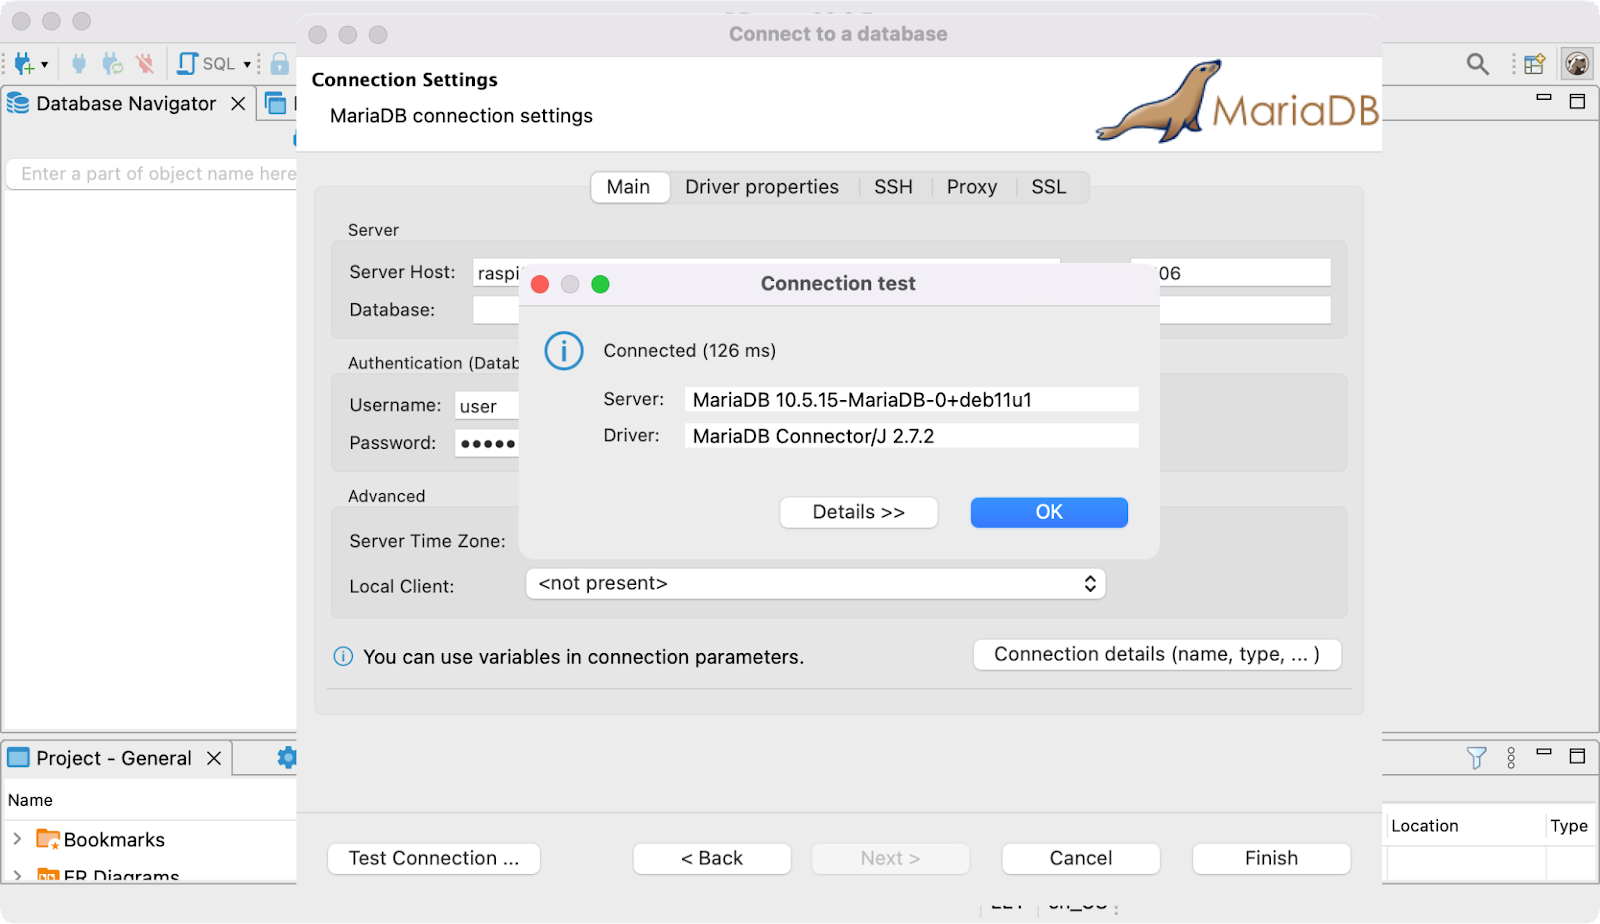
You should see a message like this:
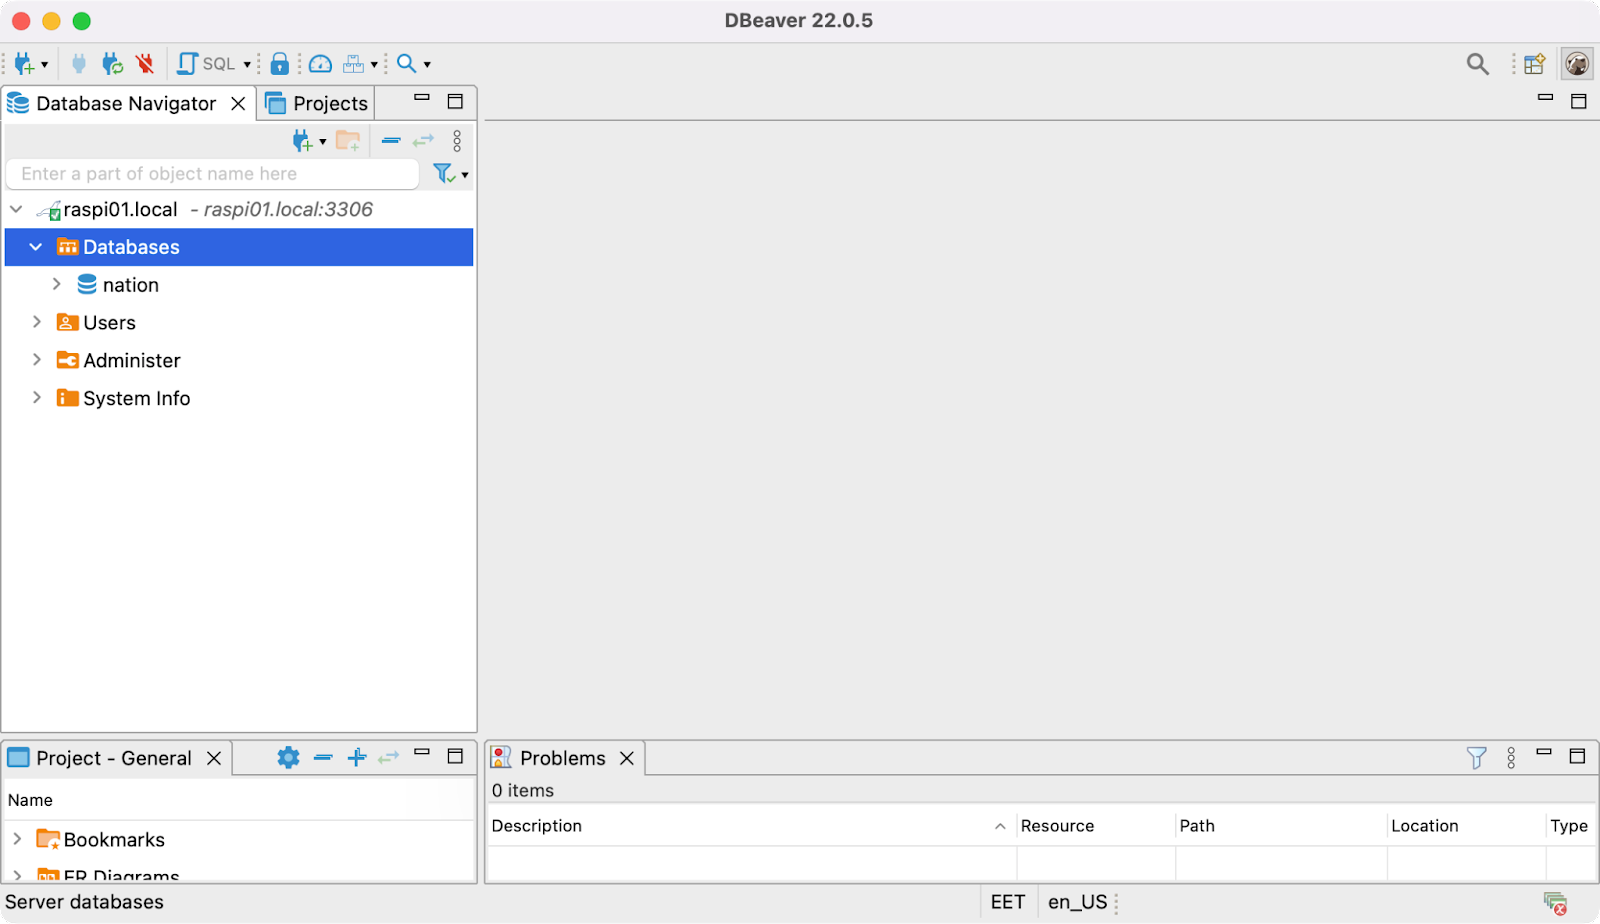
Click OK, and Finish. You should see the new remote connection in the Database Navigator:
Creating a Demo Database
The MariaDB Tutorial website (props to the authors) contains a pretty nice demo database that you can use for experimenting. Download and extract the ZIP file that contains the SQL script. Select File > Open File... in DBeaver and open the nation.sql file.
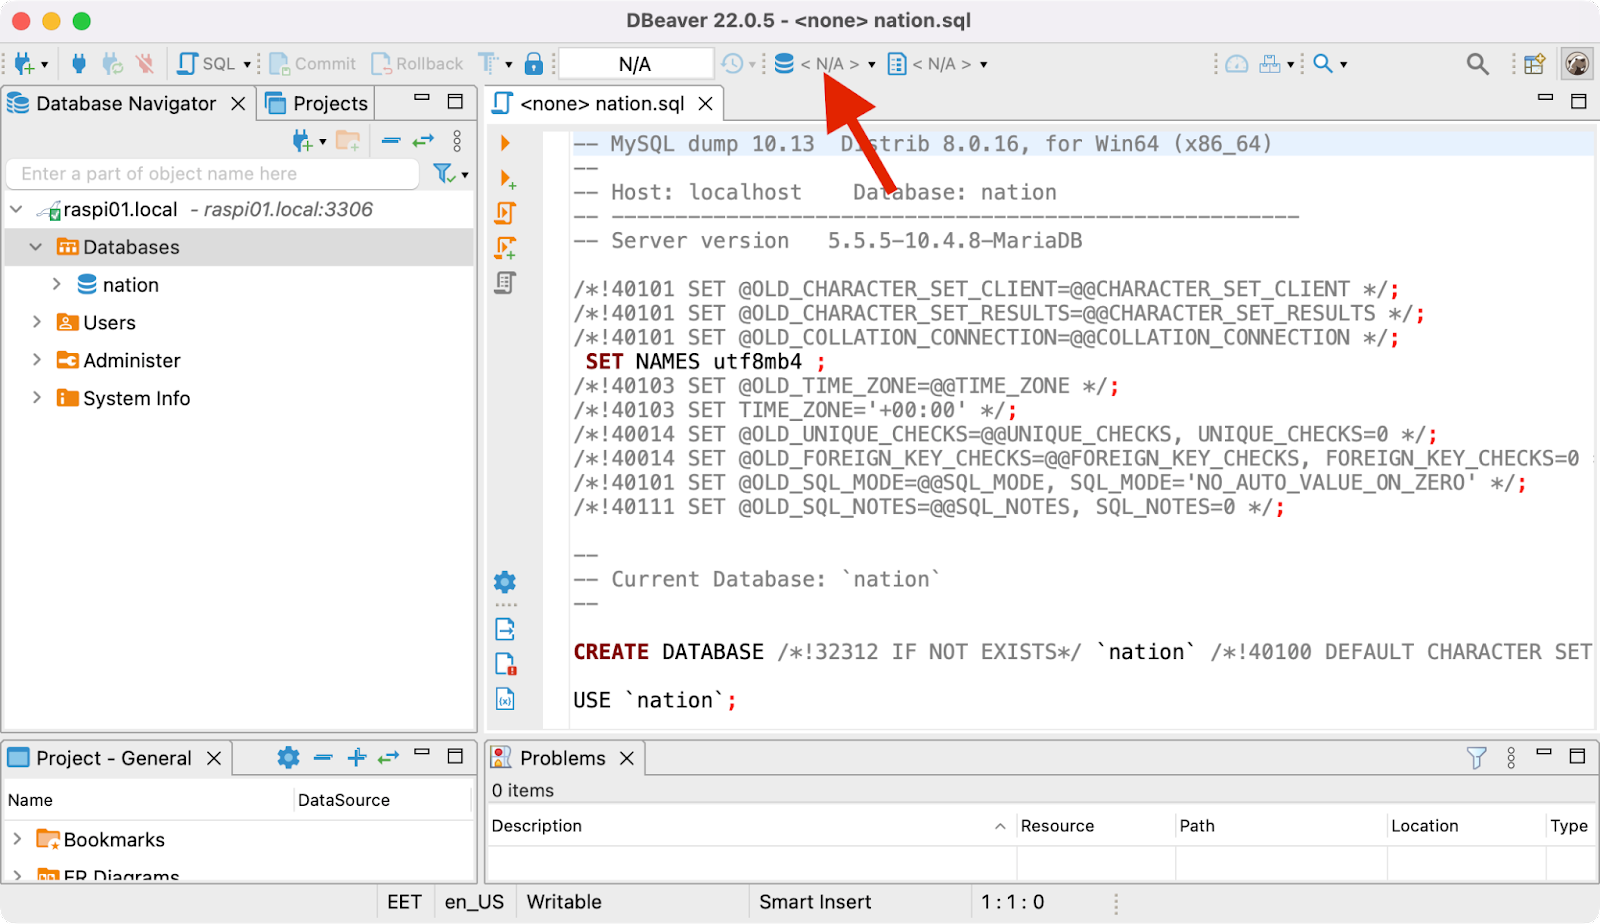
Click the Active datasource button:
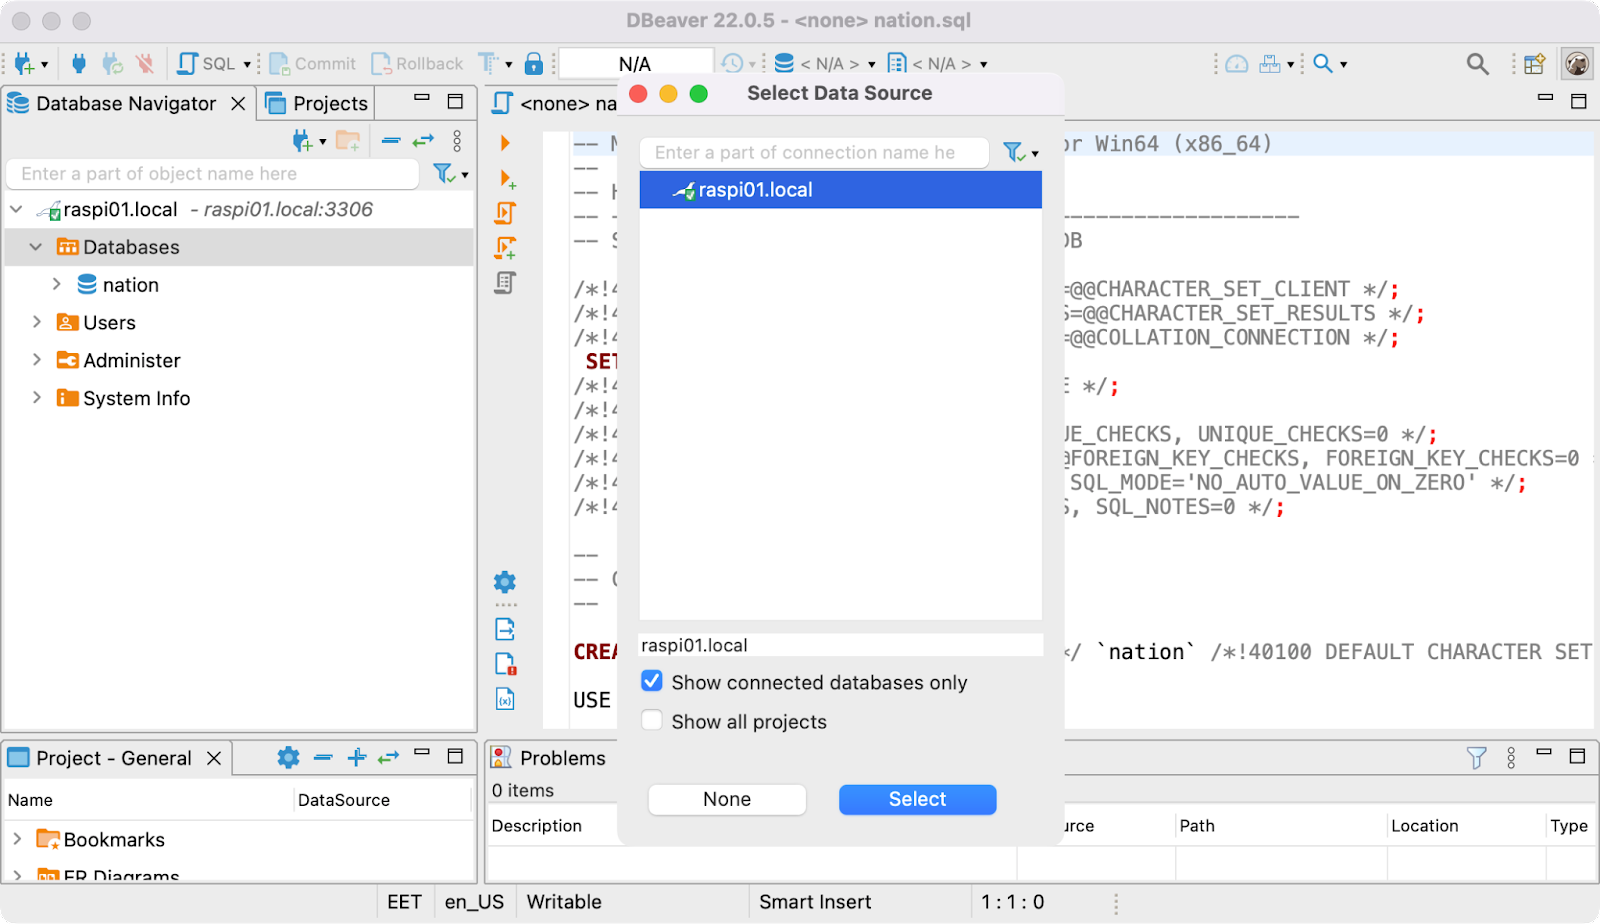
Select the Raspberry Pi connection and click on Select:
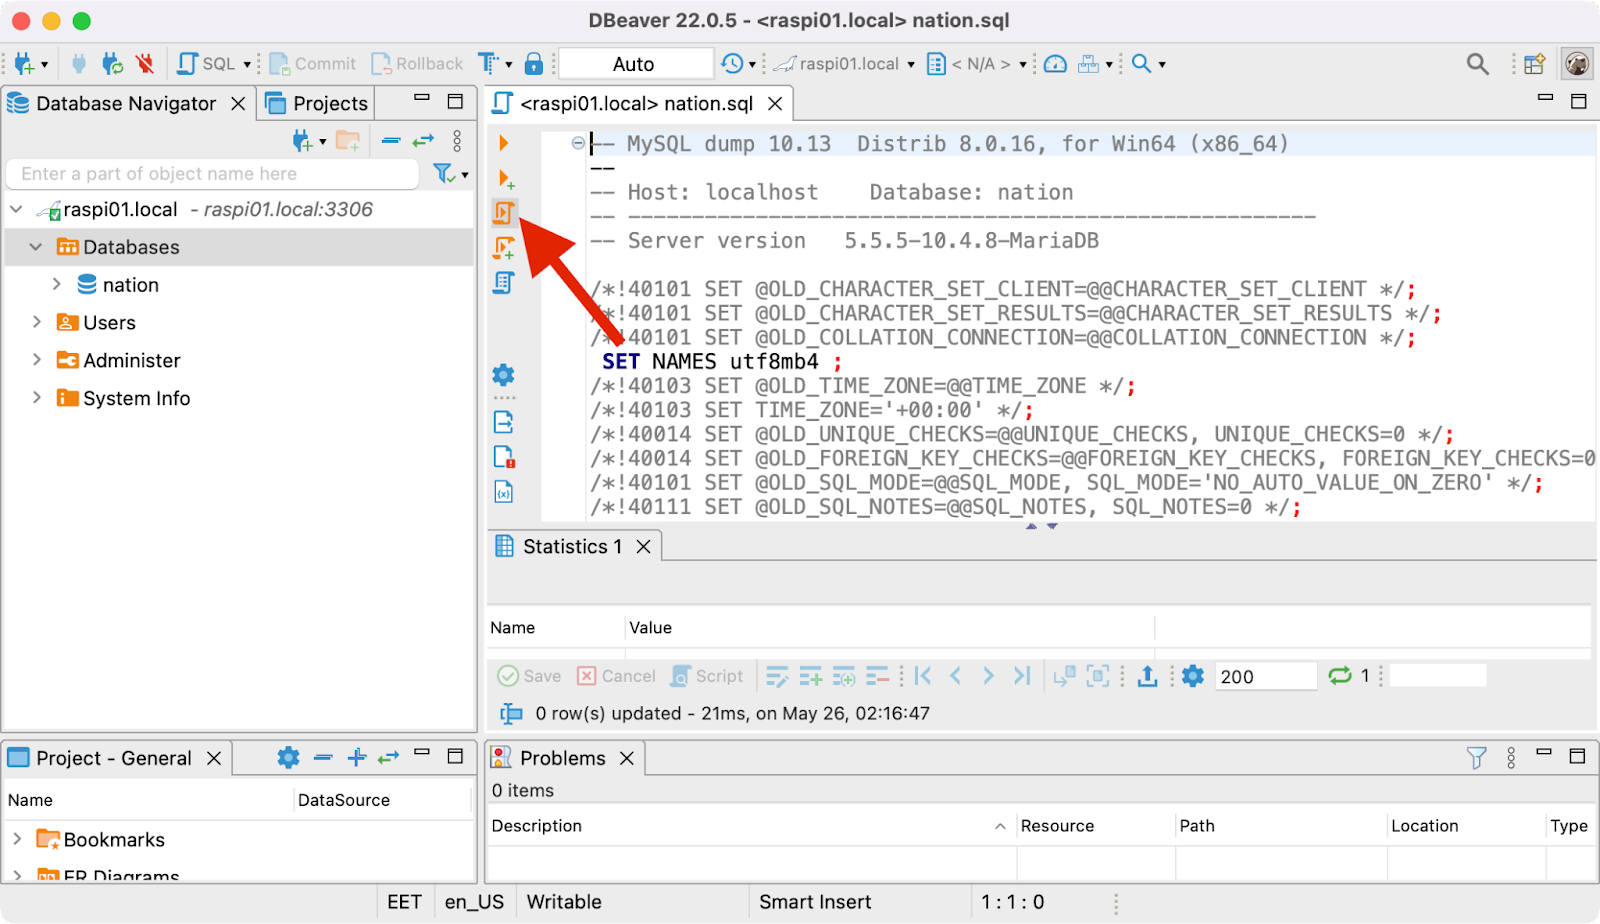
Click the Execute SQL Script button:
Now you have a populated demo database that you can play with! In the Database Navigator, browse the tables and double-click on one of them. For example, explore the Data tab after opening the countries table:
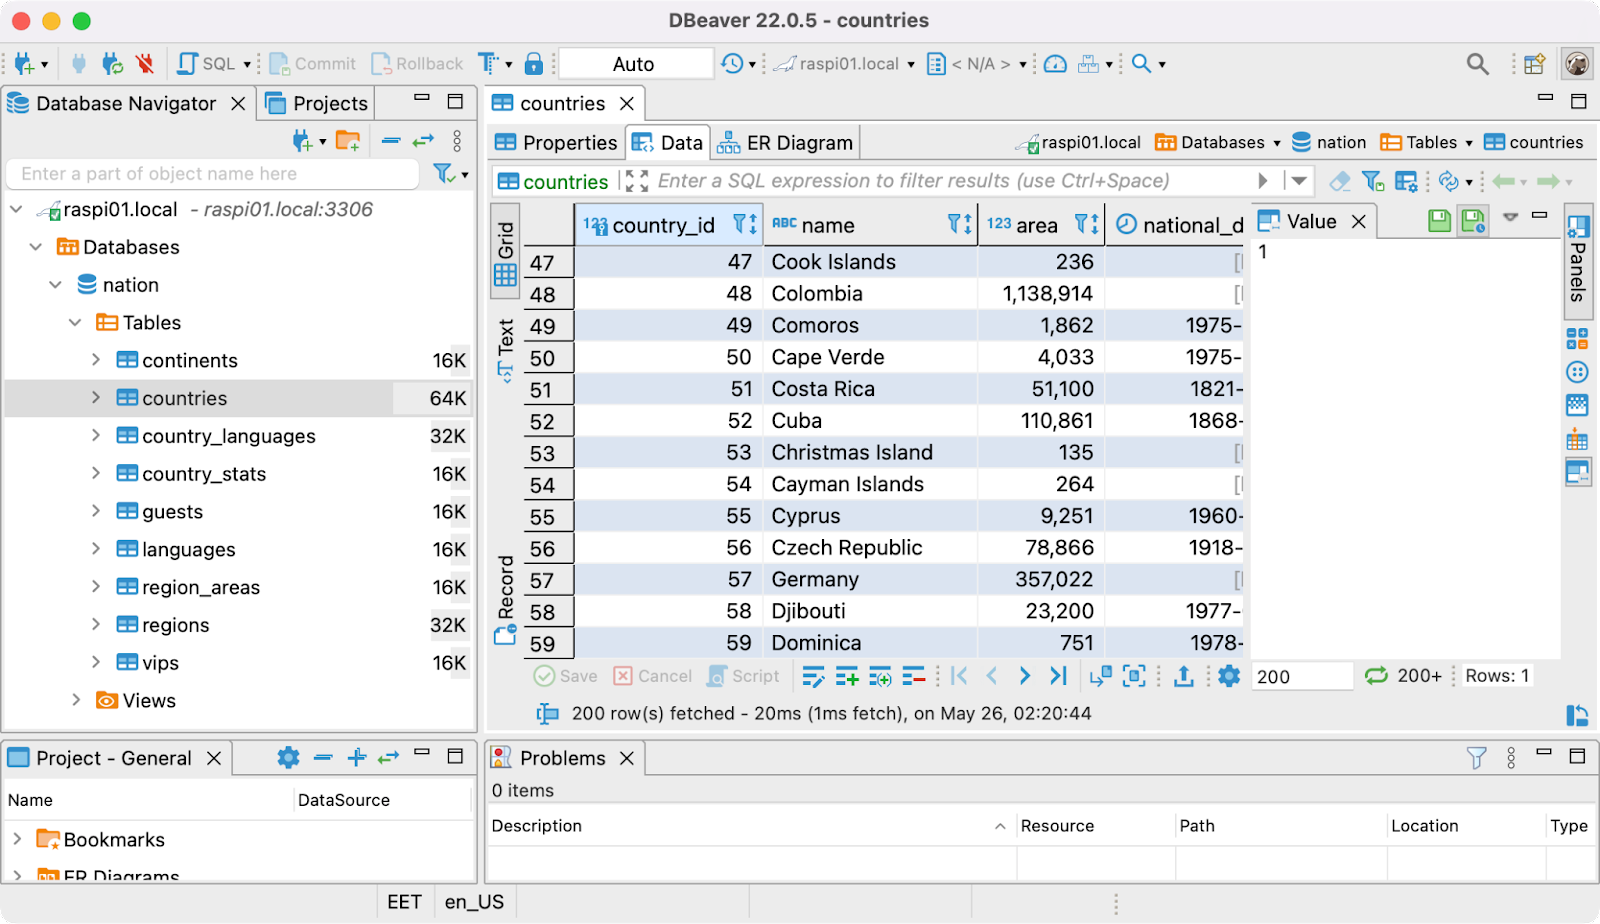
Isn’t it cool to see all that data coming from the little computer?
Running SQL Queries
The whole point of having a database is to be able to execute custom SQL queries. In the Database Navigator, right-click on nation and select SQL Editor > New SQL script. Try for example querying the languages spoken in your country. Here’s my result:

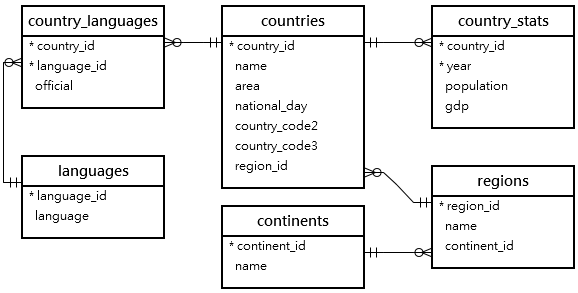
There are many interesting queries you can run, but I’ll let you figure out those. For reference here’s an ER diagram of the database that I took from the MariaDB Tutorial website:
What’s Next?
You might want to try ColumnStore next (get it from here). Or Maybe use one of the MariaDB connectors and create your own applications using Java, JavaScript/Node.js, Python, or C++.
Ah! One final thing. If you want to safely shut down your Raspberry Pi, SSH into it and execute the following:
sudo shutdown nowHappy database querying and coding!
[Interested in learning more? Check out the DZone Refcard IoT Applications With Java and Raspberry Pi]
Opinions expressed by DZone contributors are their own.
Comments