

Setup Jira With MySQL Docker.
Learn how to set up Jira with MySQL docker.

Join the DZone community and get the full member experience.
Join For FreeHello Everyone,
I am here again after a long gap. I have something new and interesting. In this article, we are going to set up a Jira DataCenter/Server-based instance on our host machine.
Prerequisite
- Install the latest version of Jira. Download Jira Software Server. For this demonstration, I used Jira Software 9.1.0 with tar.gz archive distribution. You can also download zip-based distribution. I prefer these as these are mostly platform-independent. Extract it.
- Docker should be installed.
Now let us start the demonstration. I am using a mac for this demo.
We would first create a customized mysql option file my-custom.conf. I created the file the following way.
$ pwd
/Users/cpandey/Docker

$ cat mysql-conf/jiramysql/conf.d/my-custom.conf
[mysqld]
default-storage-engine=INNODB
character_set_server=utf8mb4
innodb_default_row_format=DYNAMIC
innodb_log_file_size=2G
sql_mode=NO_AUTO_VALUE_ON_ZERO
Now I am going to run the following docker commands to run MySQL docker image. Here important point is that as volume, I am providing my-custom.conf as a MySQL option file and also providing mysql-data as the folder name in my host machine so that it persists MySQL data. I have set the container name as jiramysql.
$ docker pull mysql
$ sudo docker run --detach --name=jiramysql --env="MYSQL_ROOT_PASSWORD=password" --publish 6603:3306 --volume=/Users/cpandey/Development/Docker/mysql-data:/var/lib/mysql --volume=/Users/cpandey/Development/Docker/mysql-conf/jiramysql/conf.d:/etc/mysql/conf.d mysql
$ sudo docker ps
CONTAINER ID   IMAGE             COMMAND                  CREATED         STATUS          PORTS                                                  NAMES
e16fe72d3be3   mysql             "docker-entrypoint.s…"   9 minutes ago   Up 9 minutes    33060/tcp, 0.0.0.0:6603->3306/tcp, :::6603->3306/tcp   jiramysql
7ecf80fa4caf   postgres:latest   "docker-entrypoint.s…"   4 weeks ago     Up 27 minutes   0.0.0.0:6432->5432/tcp, :::6432->5432/tcp              postgres1

$ sudo docker exec -it jiramysql bash
bash-4.4# mysql -uroot -ppassword
mysql: [Warning] Using a password on the command line interface can be insecure.
Welcome to the MySQL monitor.  Commands end with ; or \g.
Your MySQL connection id is 9
Server version: 8.0.30 MySQL Community Server - GPL

Copyright (c) 2000, 2022, Oracle and/or its affiliates.

Oracle is a registered trademark of Oracle Corporation and/or its
affiliates. Other names may be trademarks of their respective
owners.

Type 'help;' or '\h' for help. Type '\c' to clear the current input statement.
Now I am creating a user and database in MySQL for my Jira setup. Also, I am providing all privileges.
mysql> create database jiradb character set utf8mb4 collate utf8mb4_bin;
Query OK, 1 row affected(0.01sec)
mysql> create user 'jiradbuser' identified by 'jiradbpassword';
Query OK, 0 rows affected (0.07 sec)

mysql> grant all privileges on jiradb.* to 'jiradbuser'@'%' with grant option;
Query OK, 0 rows affected (0.10 sec)

mysql> flush privileges;
Query OK, 0 rows affected (0.05 sec)
With the following commands, we can check the details of the MySQL docker container.
$ sudo docker ps|grep jiramysql
35c9714543f9   mysql             "docker-entrypoint.s…"   27 minutes ago   Up 27 minutes      33060/tcp, 0.0.0.0:6603->3306/tcp, :::6603->3306/tcp   jiramysql

$ sudo docker inspect jiramysql|grep -A 16 -i mounts
             "Mounts": [
            {
                "Type": "bind",
                "Source": "/Users/cpandey/Development/Docker/mysql-data",
                "Destination": "/var/lib/mysql",
                "Mode": "",
                "RW": true,
                "Propagation": "rprivate"
            },
            {
                "Type": "bind",
                "Source": "/Users/cpandey/Development/Docker/mysql-conf/jiramysql/conf.d",
                "Destination": "/etc/mysql/conf.d",
                "Mode": "",
                "RW": true,
                "Propagation": "rprivate"
            }
We have to set jira.home following way. Jira by default create index cache, plugin cache and application logs in this folder.
$ atlassian-jira-software-9.1.0-standalone$ mkdir jira-home
$ atlassian-jira-software-9.1.0-standalone$ cat atlassian-jira/WEB-INF/classes/jira-application.properties

jira.home = /Users/cpandey/Development/JIRA_SOFTWARE/9_JIRA/atlassian-jira-software-9.1.0-standalone/jira-home
Download the MySQL driver jar file from here. I selected the Platform Independent option for download.
Copy MySQL driver jar to lib folder with Jira installation folder. I used mysql-connector-java-8.0.30.jar driver version.
$ atlassian-jira-software-9.1.0-standalone/lib$ ls -ltr|grep mysql
-rw-r--r-- 1 cpandey cpandey 2513563 Jul  1 03:18 mysql-connector-java-8.0.30.jar
Start Jira.
$ cd atlassian-jira-software-9.1.0-standalone/bin
$ ./start-jira.sh
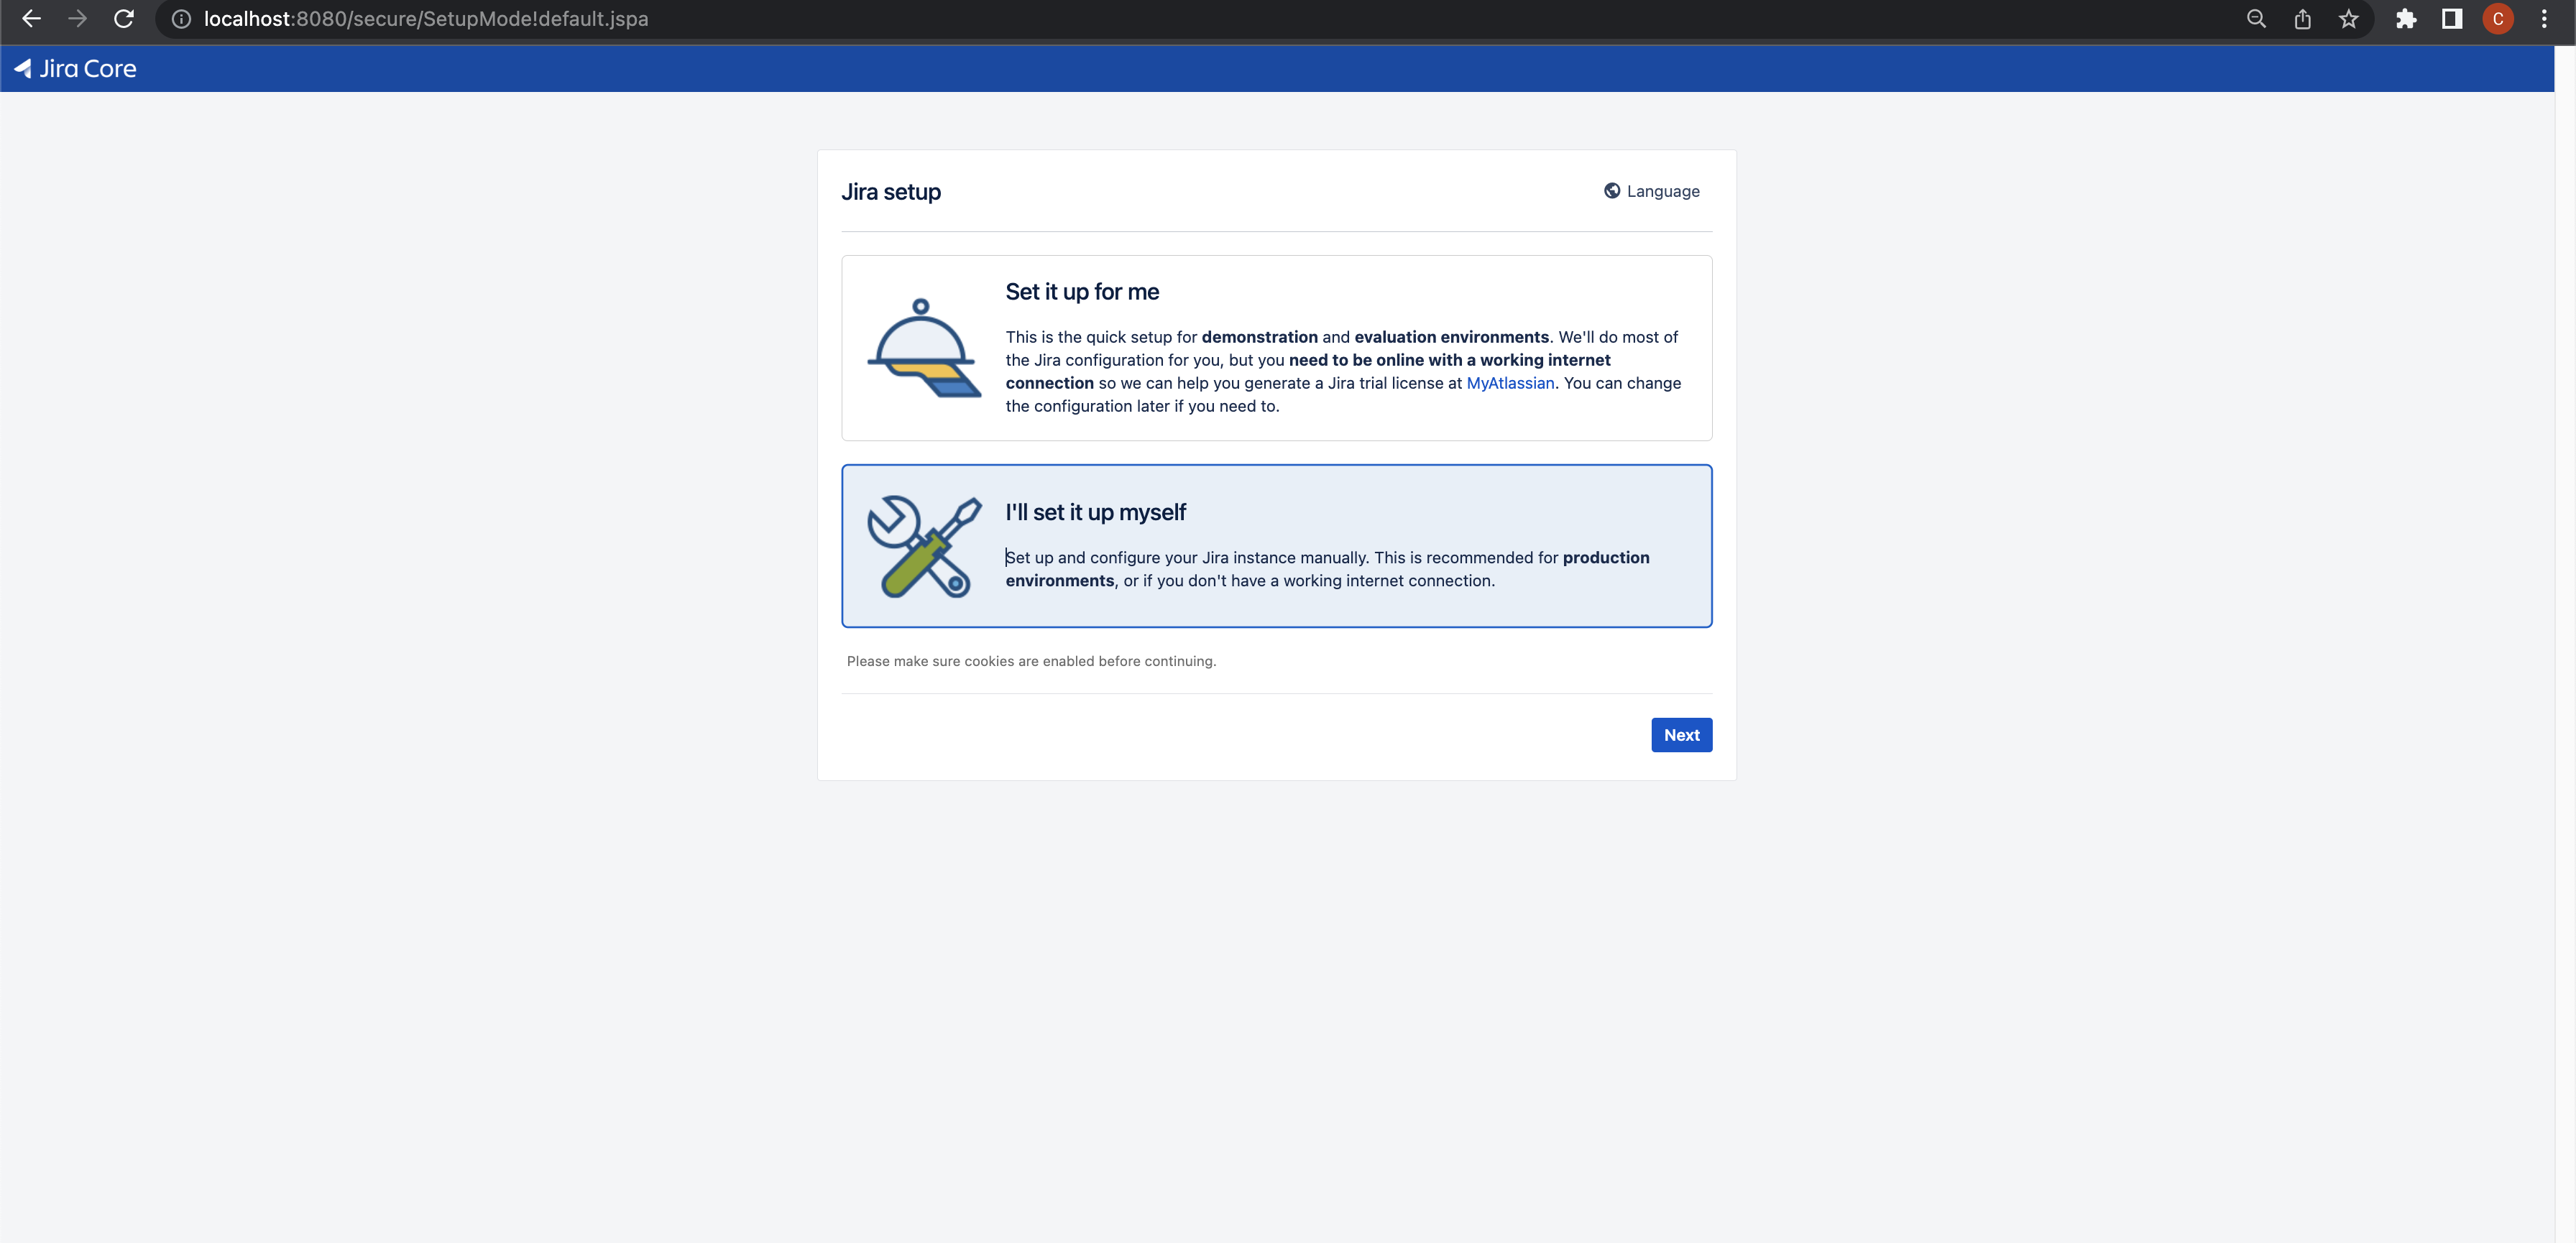
Access Jira using URL http://localhost:8080. If the page loads successfully then select "I'll set it up myself". Click on the Next button.
Now we have to set up a database, and select "My Own Database". Check the following screenshot for the host, port, database type, database name, username, and password details. All these configurations are from our earlier steps when we run MySQL as a docker container. Click on Test Connection, which should be a success. Then click the Next button.

Wait for a while as now database scripts are executed to create a complete Jira database in MySQL. Once it is complete, we will get this screen.
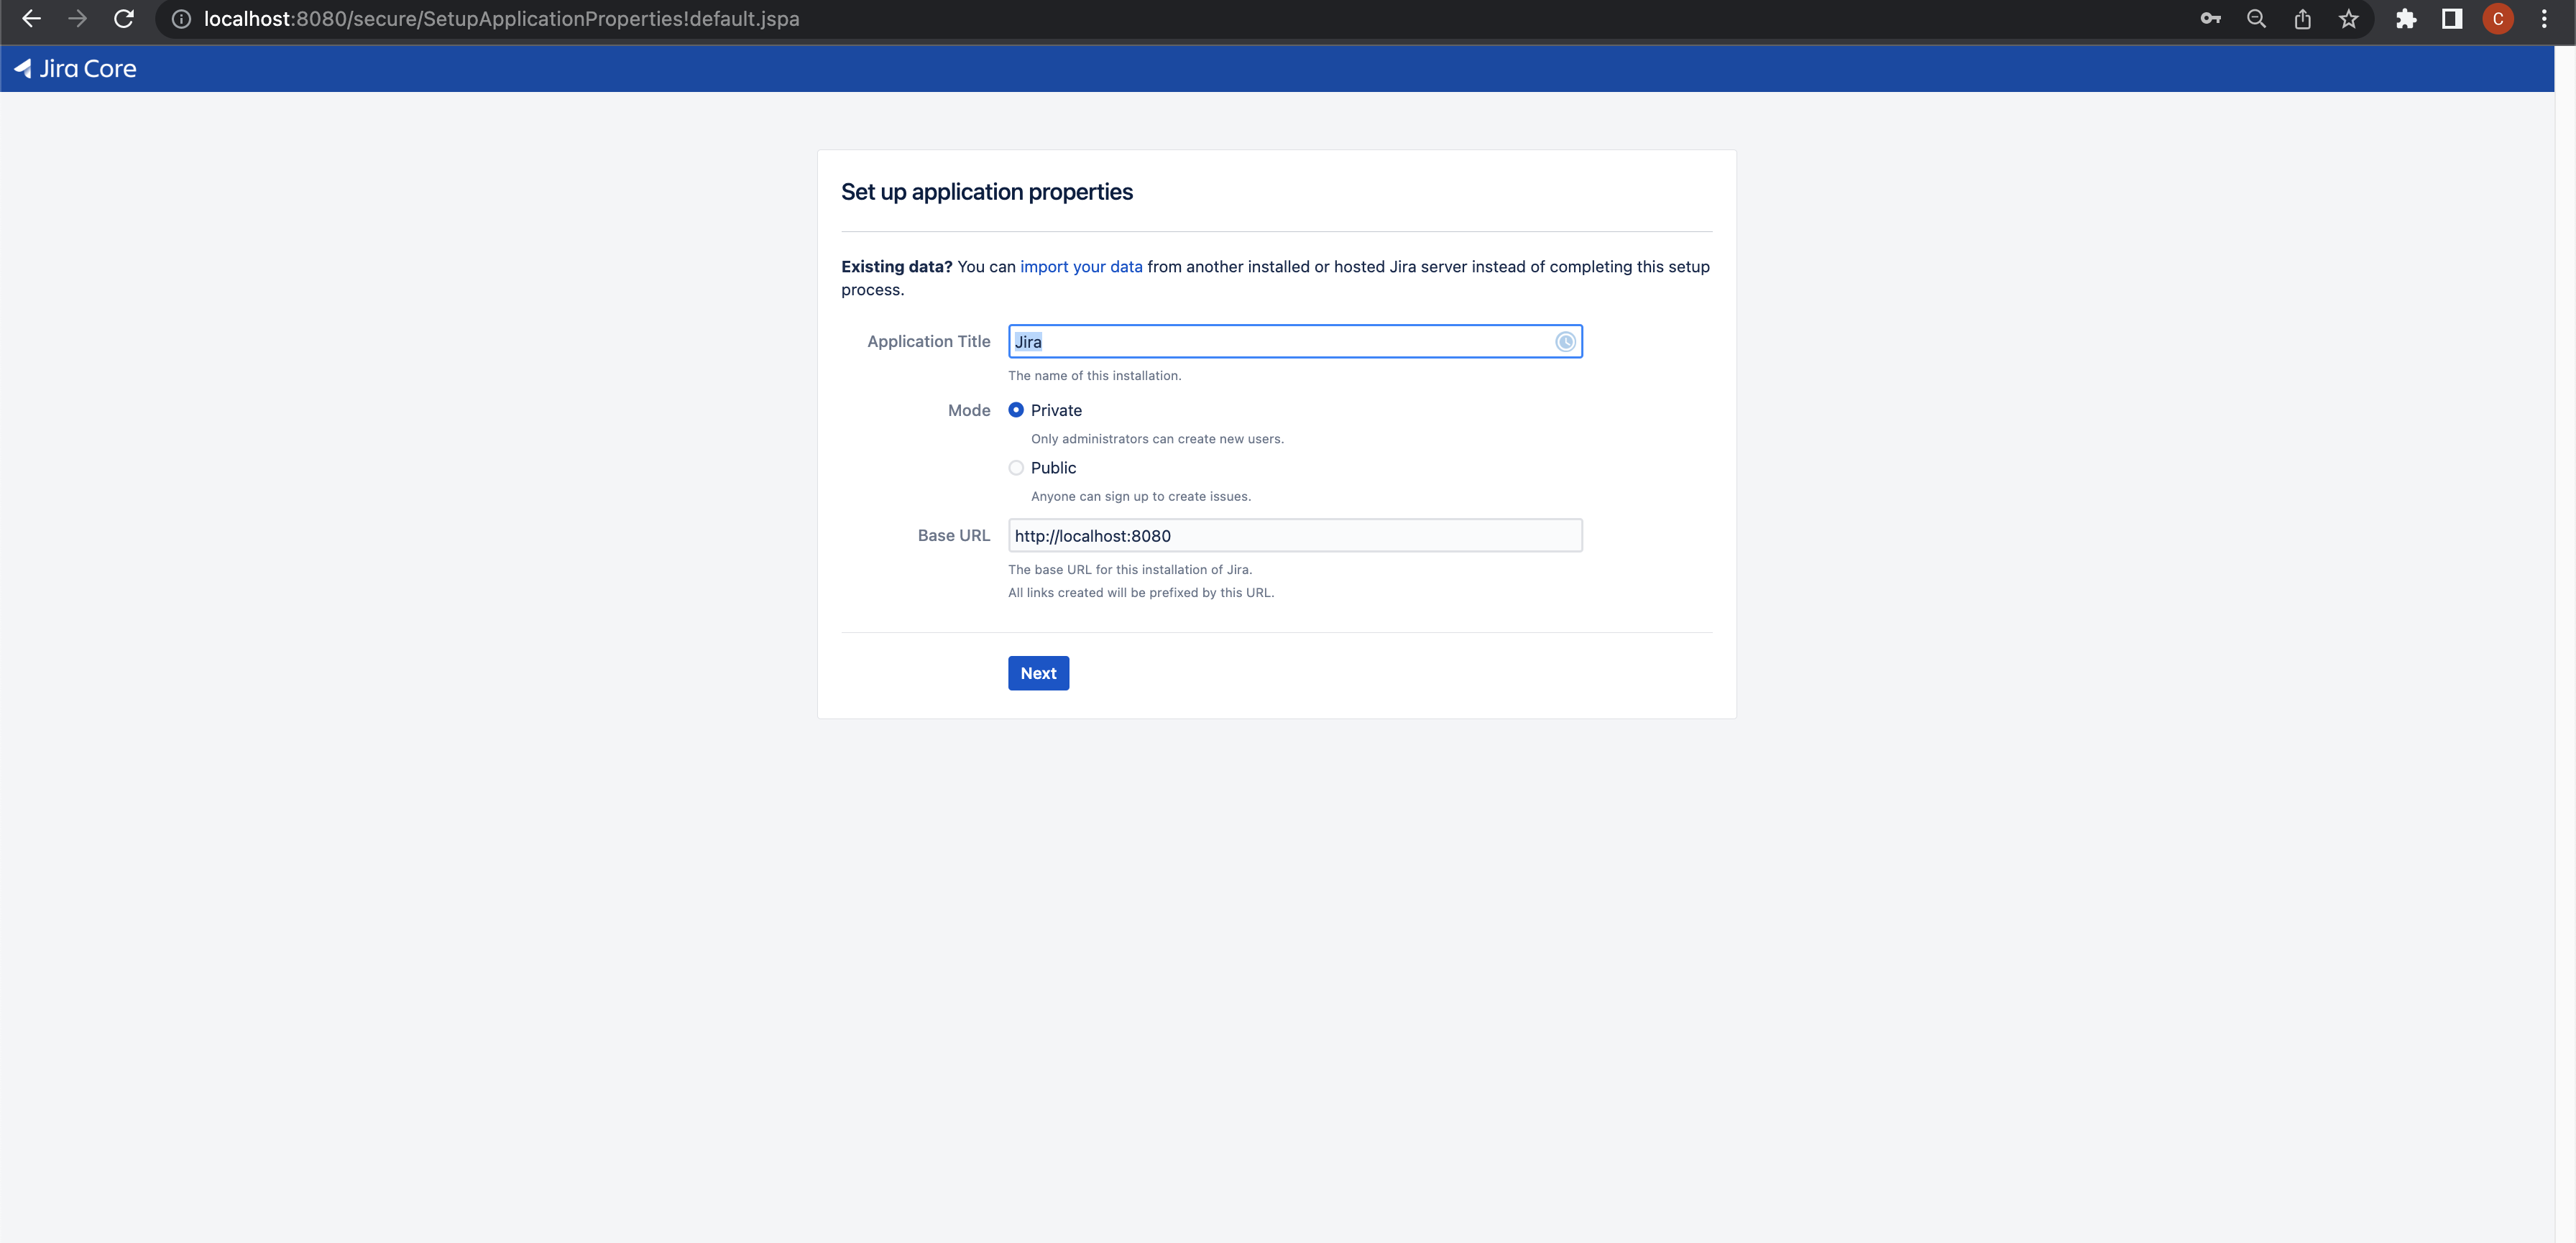
After this, we will be asked for a license. For demonstration purposes, one can use a trial license. Also once the license is set, we would have to next create an Administrator user and finally, we will be requested to Set up email notifications which we can set later.
We can check the database client configuration of Jira at [JIRA-HOME]/dbconfig.xml file. We can further tune this file for DB pool configurations.
$ cd atlassian-jira-software-9.1.0-standalone/jira-home
$ cat dbconfig.xml
<?xml version="1.0" encoding="UTF-8"?>

<jira-database-config>
  <name>defaultDS</name>
  <delegator-name>default</delegator-name>
  <database-type>mysql8</database-type>
  <jdbc-datasource>
    <url>jdbc:mysql://address=(protocol=tcp)(host=localhost)(port=6603)/jiradb?sessionVariables=default_storage_engine=InnoDB</url>
    <driver-class>com.mysql.cj.jdbc.Driver</driver-class>
    <username>jiradbuser</username>
    <password>jiradbpassword</password>
    <pool-min-size>40</pool-min-size>
    <pool-max-size>40</pool-max-size>
    <pool-max-wait>30000</pool-max-wait>
    <validation-query>select 1</validation-query>
    <min-evictable-idle-time-millis>60000</min-evictable-idle-time-millis>
    <time-between-eviction-runs-millis>300000</time-between-eviction-runs-millis>
    <pool-max-idle>40</pool-max-idle>
    <pool-remove-abandoned>true</pool-remove-abandoned>
    <pool-remove-abandoned-timeout>300</pool-remove-abandoned-timeout>
    <pool-test-on-borrow>false</pool-test-on-borrow>
    <pool-test-while-idle>true</pool-test-while-idle>
    <validation-query-timeout>3</validation-query-timeout>
    <connection-properties>nullDatabaseMeansCurrent=true</connection-properties>
  </jdbc-datasource>
</jira-database-config>
That's it. The setup is finished. I hope you find this article helpful.
Opinions expressed by DZone contributors are their own.
Comments