Socket Programming in Python: Client, Server, and Peer-to-Peer Libraries
Tutorial on Python TCP sockets, explaining how to exchange data from a client to a server or directly between two clients with examples.
Join the DZone community and get the full member experience.
Join For FreeIn this tutorial, you'll learn how to exchange data between a client and a server using Python socket programming and the Socket API. Later, this tutorial will discuss exchanging data directly between two or more Python clients using a hosted provider. The source code used in this tutorial can be found within the GitHub repository.
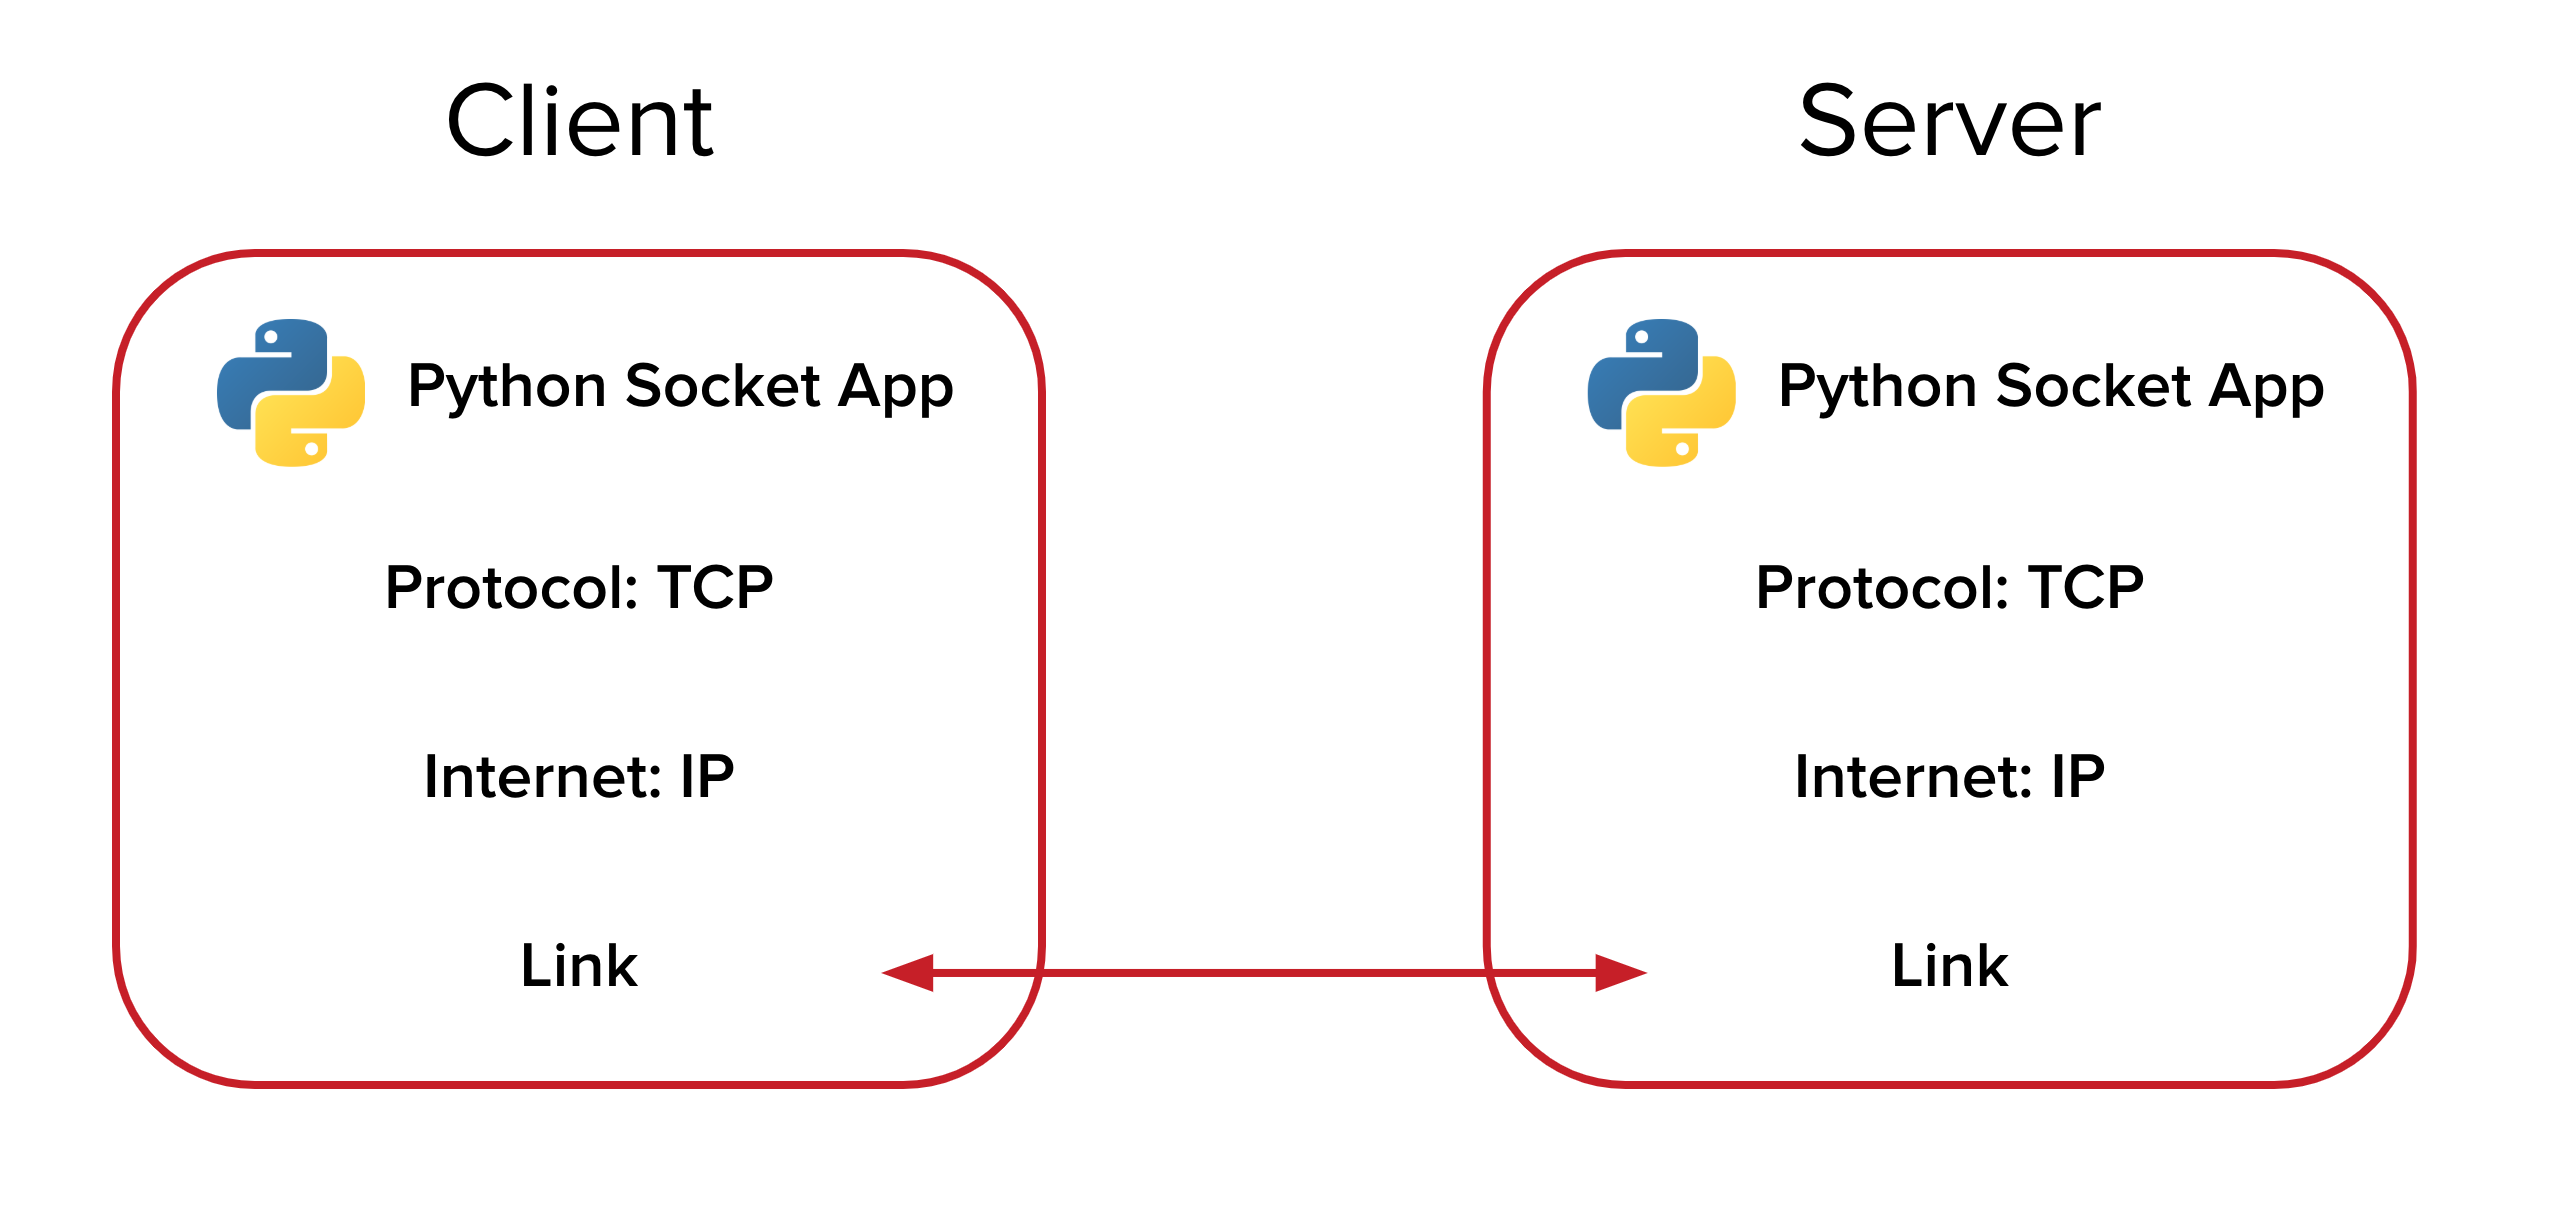
Socket programming connects two sockets (a client socket and a server socket) and allows them to communicate bi-directionally in real time. Direct socket connections can benefit all real-time applications since data can be sent or received anytime.
Environment Set Up
You will need a stable version of Python version 3.x installed on your machine. If you are a Windows user, you have the option of adding Python to your PATH.
You will also need a code editor to follow along with this tutorial. Visual Studio Code is a popular open-source and free code editor that supports many languages and frameworks, including Python. VSCode also supports extensions for Python to help with code completion and debugging.
Build and Run a Python Socket Application
Let’s build a straightforward socket application using Python. Python provides a native socket class (socket module), so developers don’t need to depend on external libraries. Begin by setting up the Python socket client and server:
Create the file client.py in the project directory. To use sockets, import the Python socket library and create a new socket object that connects to a specified IP address (in this case, localhost on port number 8080, but you can select any ipv4 address). Create a new connection to the socket server, send data to the TCP server, and close the socket connection.
Your client.py file should look like this:
import socket
client = socket.socket(socket.AF_INET, socket.SOCK_STREAM)
client.connect(('0.0.0.0', 8080))
client.send("I am CLIENT\n".encode())
from_server = client.recv(4096)
client.close()
print (from_server.decode())
You will need a socket server to listen for incoming connections and messages from your client. Create the file server.py and add the following contents:
import socket
serv = socket.socket(socket.AF_INET, socket.SOCK_STREAM)
serv.bind(('0.0.0.0', 8080))
serv.listen(5)
while True:
   conn, addr = serv.accept()
   from_client = ''
   while True:
       data = conn.recv(4096)
       if not data: break
       from_client += data.decode('utf8')
       print (from_client)
       conn.send("I am SERVER\n".encode())
   conn.close()
   print ('client disconnected and shutdown')
Server.py binds the socket object to the hostname (localhost) on port 8080 and continually listens for new client connections. When a client connects to this address, the server accepts the connection and reads any data. Once the data is successfully read from the client, the server provides a data response, at which point the client terminates the connection.
To test this out yourself, open two terminal windows simultaneously. In one window, run:
python3 server.pyIn the second window, run:
python3 client.pyNotice that the server continues running and will establish a new connection every time you run the client and append any new output.
The client will send the "I am CLIENT" string to the server and wait for a reply. The server will read the client’s message, output it to the terminal, and send back a response to the client.

Socket Programming in Python Using PubNub
So far, this tutorial has covered exchanging messages between a server and a client, but what if you need to communicate directly between Python clients?
Sending data directly between two or more client devices is tricky because you run into many scaling and security considerations as your number of devices increases. A client-server architecture is used to moderate and manage your client-to-client communication. If you don’t have a web server or you worry about your server scaling to meet your application’s demands, you should opt for a hosted, real-time communication solution such as PubNub. PubNub is a globally distributed and scalable cloud platform, so you don’t have to worry about deploying and maintaining servers. PubNub’s cross-platform SDKs, including Python, can identify users and send messages to specific channels, which only subscribed clients will receive.
Client-to-Client Python Socket Programming
So, how would the simple app presented previously be written with PubNub to exchange messages directly between two clients? It’s essential to understand that although PubNub uses the ‘publish’ and ‘subscribe’ architecture (pub/sub) to send and receive bidirectional messages between endpoints, it still uses sockets behind the scenes. PubNub gives you the benefits of socket communication without worrying about the details of Python network programming and maintaining an always-on connection between your clients regardless of the operating system.
To integrate PubNub into the project, install the PubNub package with pip in the terminal; this will allow you to use the PubNub Python SDK and communicate with the PubNub infrastructure.
pip3 install 'pubnub>=7.1.0'You will need to create two clients to connect to and communicate over the PubNub network. Create a file pn_client_1.py and add the following code:
from pubnub.callbacks import SubscribeCallback
from pubnub.enums import PNStatusCategory
from pubnub.pnconfiguration import PNConfiguration
from pubnub.pubnub import PubNub
import time
import os
pnconfig = PNConfiguration()
userId = os.path.basename(__file__)
pnconfig.publish_key = 'demo'
pnconfig.subscribe_key = 'demo'
pnconfig.user_id = userId
pnconfig.ssl = True
pubnub = PubNub(pnconfig)
def my_publish_callback(envelope, status):
   # Check whether request successfully completed or not
   if not status.is_error():
       pass
class MySubscribeCallback(SubscribeCallback):
   def presence(self, pubnub, presence):
       pass
   def status(self, pubnub, status):
       pass
   def message(self, pubnub, message):
       if message.publisher == userId : return
       print ("from device " + message.publisher + ": " + message.message)
pubnub.add_listener(MySubscribeCallback())
pubnub.subscribe().channels("chan-1").execute()
## publish a message
while True:
   msg = input("")
   if msg == 'exit': os._exit(1)
   pubnub.publish().channel("chan-1").message(str(msg)).pn_async(my_publish_callback)
Create the file pn_client_2.py and add the same code as you used for pn_client_1.py
The code above uses ‘demo’ keys, but you can obtain your custom PubNub keys for free.
Run both pn_client_1.py and pn_client_2.py simultaneously in two different terminal windows
python3 pn_client_1.pypython3 pn_client_2.pyEach client initializes its connection to the PubNub network and subscribes to receive new messages whenever they are published to the 'chan-1' channel. You can think of this as sending data over a TCP socket in Python; behind the scenes, PubNub is creating and managing the socket for you and routing your message to all clients who are listening to it. Once the remote client receives the message, the received message is displayed on the command line.

And that’s all there is to it!
Published at DZone with permission of Darryn Campbell. See the original article here.
Opinions expressed by DZone contributors are their own.
Comments