Spring Boot — Messaging With RabbitMQ Queue in PCF
Want to learn more about messaging with RabbitMQ? Check out this tutorial on how to create a message producer with Spring Boot and the RabbitMQ in PCF.
Join the DZone community and get the full member experience.
Join For FreeIn this article, I would like to demonstrate how to create a simple RabbitMQ message producer and consumer using the Spring Boot starter packs and what it takes to deploy the application in PCF.
In the example below, I will create a simple message producer that will drop a simple JSON string into a queue in the PCF RabbitMQ message broker and then create a simple message consumer that will consume the same message and print the details in the console.
build.gradle
buildscript {
  ext {
    springBootVersion = '2.0.4.RELEASE'
  }
  repositories {
    mavenCentral()
  }
  dependencies {
    classpath("org.springframework.boot:spring-boot-gradle-plugin:${springBootVersion}")
  }
}

apply plugin: 'java'
apply plugin: 'eclipse'
apply plugin: 'org.springframework.boot'
apply plugin: 'io.spring.dependency-management'

group = 'com.pras'
version = '0.0.1-SNAPSHOT'
sourceCompatibility = 1.8

repositories {
  mavenCentral()
}

dependencies {
  compile('org.springframework.boot:spring-boot-starter-web')
  testCompile('org.springframework.boot:spring-boot-starter-test')
  compile group: 'org.springframework.amqp', name: 'spring-rabbit', version: '2.0.0.RELEASE'
  compile group: 'org.springframework.boot', name: 'spring-boot-starter-cloud-connectors'
}
The spring-boot-starter-cloud-connectors will add the following dependencies to your project.
spring-cloud-cloudfoundry-connector
spring-cloud-connectors-core
spring-cloud-heroku-connector
spring-cloud-spring-service-connector
spring-cloud-localconfig-connector
In your local environment, Spring Boot will auto-configure the ConnectionFactory bean with the default host URL (localhost) and default host port (5672) of the local RabbitMQ instance and inject the same to the Spring container. But, when it comes to the cloud environment, we need to auto-configure the ConnectionFactory bean with the bounded RabbitMQ instance's URL and port and inject the same. And, this is exactly what the Spring Cloud connectors will do.
MessageProducer.java
package com.pras.springbootpcfrabbitmqmessageproducer;

import com.pras.springbootpcfrabbitmqmessageproducer.model.SampleRequest;
import org.springframework.amqp.rabbit.connection.ConnectionFactory;
import org.springframework.amqp.rabbit.core.RabbitTemplate;
import org.springframework.stereotype.Component;

@Component
public class MessageProducer {

  private final RabbitTemplate rabbitTemplate;

  public MessageProducer(ConnectionFactory connectionFactory){
    this.rabbitTemplate = new RabbitTemplate(connectionFactory);
  }

  public void sendMessage(SampleRequest request) {
    rabbitTemplate.convertAndSend("SAMPLE-INPUT", request.toString());
  }

}
Note: If you directly inject the RabbitTemplate that was created by Spring Boot into your component and try to use the same to call the convertAndSend method, it will not work in PCF. It is recommended to inject the auto-configured ConnectionFactory and then create the RabbitTemplate bean using that.
MessageConsumer.java
package com.pras.springbootpcfrabbitmqmessageproducer;

import com.fasterxml.jackson.databind.ObjectMapper;
import com.pras.springbootpcfrabbitmqmessageproducer.model.SampleRequest;
import org.springframework.amqp.rabbit.annotation.RabbitListener;
import org.springframework.stereotype.Component;
import java.io.IOException;

@Component
public class MessageConsumer {
  @RabbitListener(queues = "SAMPLE-INPUT")
  public void handleForwardEngineeringRequest(String jsonString) throws IOException {
    SampleRequest request = new ObjectMapper().readValue(jsonString, SampleRequest.class);
    System.out.println("User Id **************" + request.getUserId());
    System.out.println("Password **************" + request.getPassword());
  }
}
Here, we have taken the approach of using RabbitListener to consume the message from the queue. We could also use the message listener adapter approach.
MessageConfiguration.java
package com.pras.springbootpcfrabbitmqmessageproducer;

import org.springframework.amqp.core.Queue;
import org.springframework.context.annotation.Bean;
import org.springframework.context.annotation.Configuration;
@Configuration
public class MessageConfiguration {
  @Bean    public Queue queue(){
    return new Queue("SAMPLE-INPUT");
  }
}
SampleRequest.java
package com.pras.springbootpcfrabbitmqmessageproducer.model;

public class SampleRequest {
  private String userId;
  private String password;

  public String getUserId() {
    return userId;
  }
  public void setUserId(String userId) {
    this.userId = userId;
  }
  public String getPassword() {
    return password;
  }
  public void setPassword(String password) {
    this.password = password;
  }
  public String toString(){
    return "{ \"userId\" : \"" + getUserId() + "\",\n" +                "\"password\" : \"" + getPassword() + "\"\n" +                "}";
  }
}
Main.java
For testing purposes, I also exposed an API to drop the message into the queue.
ackage com.pras.springbootpcfrabbitmqmessageproducer;

import com.pras.springbootpcfrabbitmqmessageproducer.model.SampleRequest;
import org.springframework.boot.SpringApplication;
import org.springframework.boot.autoconfigure.SpringBootApplication;
import org.springframework.web.bind.annotation.PostMapping;
import org.springframework.web.bind.annotation.RequestBody;
import org.springframework.web.bind.annotation.RestController;
@SpringBootApplication
@RestController
public class SpringBootPcfRabbitmqMessageProducerApplication {

  private final MessageProducer messageProducer;

  public SpringBootPcfRabbitmqMessageProducerApplication(MessageProducer messageProducer){
    this.messageProducer = messageProducer;
  }

  public static void main(String[] args) {
    SpringApplication.run(SpringBootPcfRabbitmqMessageProducerApplication.class, args);
  }

  @PostMapping("/testRabbit")
  public void sendMessage(@RequestBody SampleRequest request){
    messageProducer.sendMessage(request);
  }
}
You could also drop a message directly using the RabbitMQ admin console, for testing purposes.
Once the above code is in place, we can compile the code and build the jar, which we will be pushing into PCF (by default, the jar will get created inside build/libs).
./gradlew clean build -x testOnce you have logged into your PCF org/space, we can push the application into PCF using the following command. Since the app is not bound to the RabbitMQ instance yet, the application will fail on startup. That's why we are pushing the application with --no-start.
cf push sampleapp -p build/libs/spring-boot-pcf-rabbitmq-message-producer-0.0.1-SNAPSHOT.jar --no-startCreate a new instance of rabbit-mq, which will be bound to the sample app later.
cf create-service p-rabbit-mq standard my-rabbitmqNext, we need to bind our application with the newly created rabbit-mq instance.
cf bind-service sampleapp my-rabbitmqAfter this, you will restage the application for the change to take effect.
cf restage sampleappIf you want to dockerize your app and deploy it in PCF, then you should set the SPRING_PROFILES_ACTIVE to cloud. If you don't set the env value, then you will get a connection refused error in your logs when you try to start the application.
cf set-env sampleapp SPRING_PROFILES_ACTIVE cloud Testing
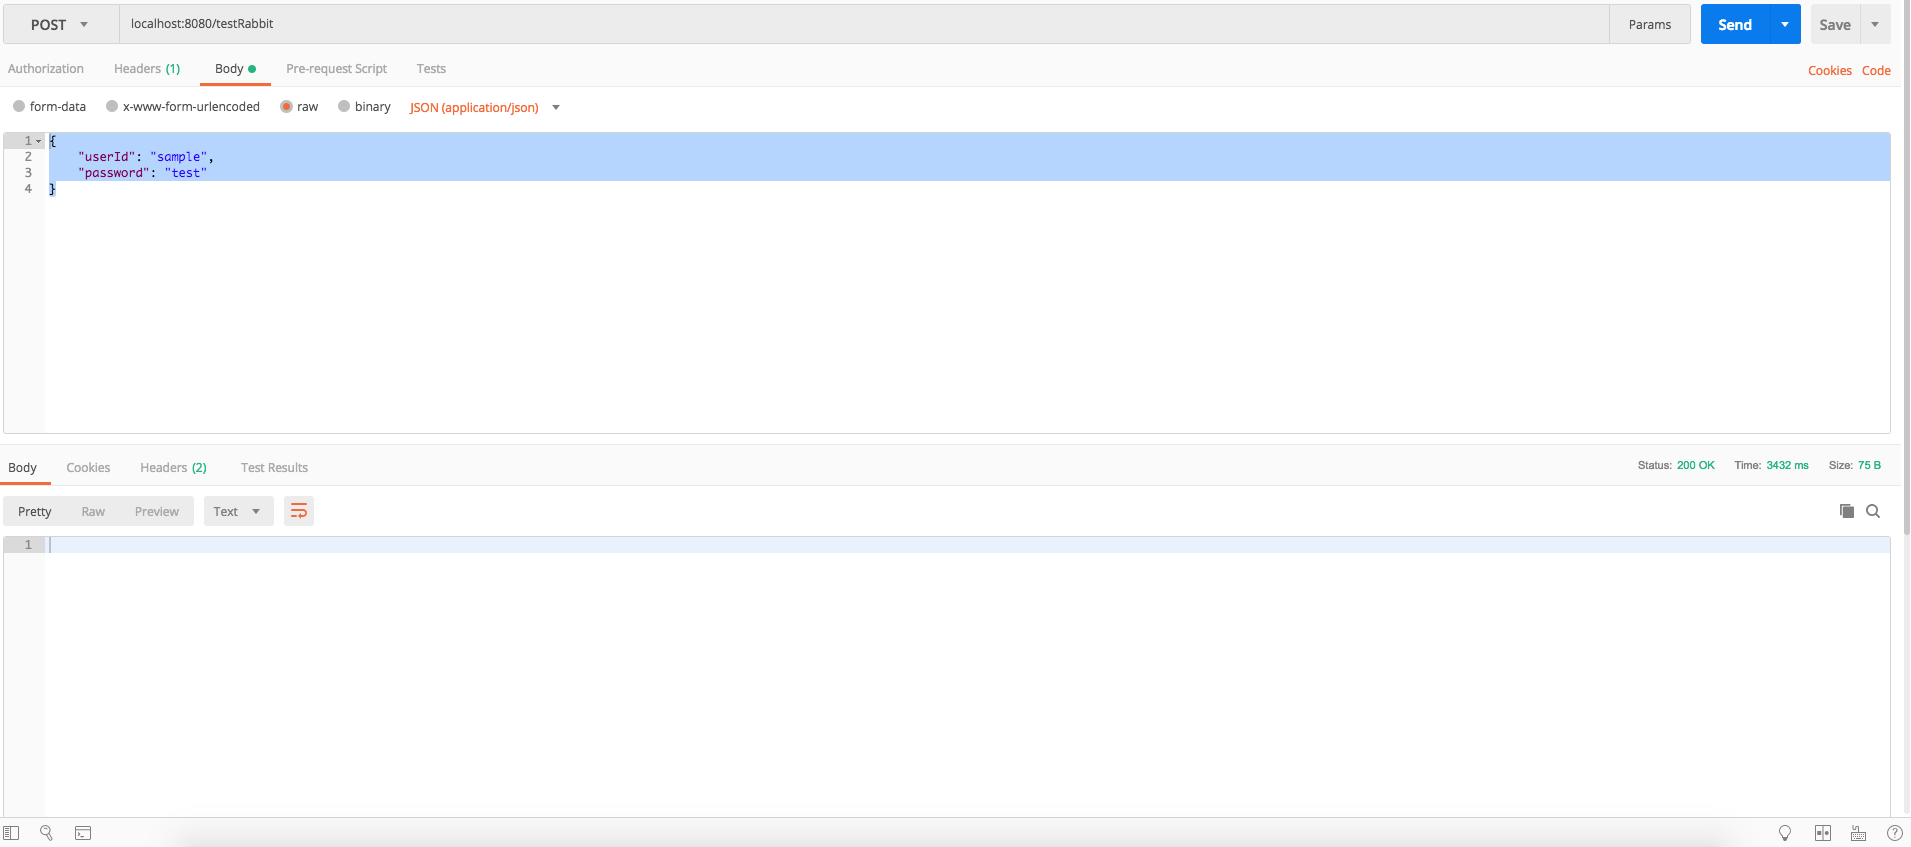
Drop a message into the queue by calling the REST API using postman.
Check the output in the cf logs:
2018-08-27T19:12:13.34+0530 [APP/PROC/WEB/0] OUT 2018-08-27 13:42:13.345 INFO 18 --- [ main] o.s.b.w.embedded.tomcat.TomcatWebServer : Tomcat started on port(s): 8080 (http) with context path ''
2018-08-27T19:12:13.35+0530 [APP/PROC/WEB/0] OUT 2018-08-27 13:42:13.352 INFO 18 --- [ main] ootPcfRabbitmqMessageProducerApplication : Started SpringBootPcfRabbitmqMessageProducerApplication in 6.326 seconds (JVM running for 7.254)
2018-08-27T19:12:13.36+0530 [APP/PROC/WEB/0] OUT User Id **************sample
2018-08-27T19:12:13.36+0530 [APP/PROC/WEB/0] OUT Password **************test
2018-08-27T19:12:14.72+0530 [CELL/0] OUT Container became healthyOpinions expressed by DZone contributors are their own.
Comments