Floats have become a very critical part of today’s CSS approach to visual layout. At first glance, the concept is very simple. While floating elements can assist us in doing all kinds of visual magic,there are challenges inherent to using them, including the way they are rendered in browsers.
The Basic Intention of Floats
Interestingly, floats were not really envisioned as a means for creating columns, although that’s often how we use them. Rather, they were developed to allow text to flow around another element which has been set to the left or the right, such as an image. This is something we see a great deal in design, as you can see in Figure 7.

Figure 7. Floating allows for text to flow around a floated box. In this case, the image is floated right, and the text flows around the image.
The more we use floats for layout, the more challenged we are to find ways of controlling and breaking the manipulation of flow. Floated elements are shifted to the left or right of the normal flow. In the case of Figure 8, the image element is shifted to the left and therefore the text flows to the right.

Figure 8.If the image is floated left, the text flows to the right.
It’s important to note that the markup stays the same—it’s only the CSS that changes. An example of the markup would be:
The CSS values will of be different in terms of manipulating the location of the image and the text flow, in the first case, the image is floated right, and in the second, left. Other elements will simply flow around the floated element once a float has been applied.
The Power and Problem of Floats, Continued
Float Behavior
Understanding how floats behave (or don’t) within a browser environment is critical to troubleshooting a variety of issues, particularly when it comes to layout. While floats can be your best layout friend in many, many situations, knowing how floats behave in general will give you the upper hand!
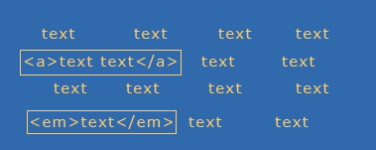
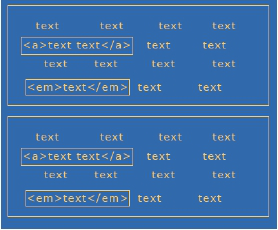
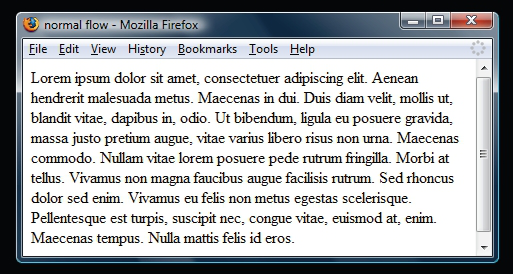
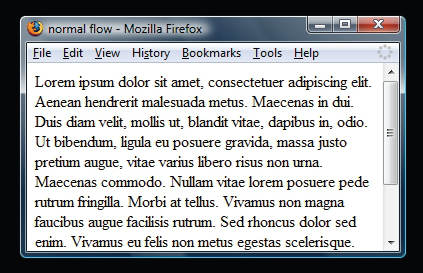
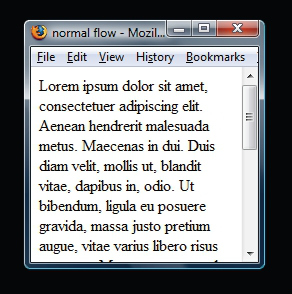
The first thing to know is that floats are not in the normal flow. This means that other text and elements will continue to flow around the floated elements. In Figure 9, we see what happens if two elements are floated to the right and left. If not contained by another element that has an explicit width, the floated elements will continue to spread apart as the browser size increases, and come together as the browser size decreases.
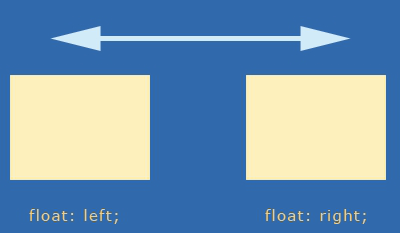
Figure 9. One box floated left, another right. If not contained, these boxes will continue to spread apart or get closer as the browser is resized.

If you’ve ever had text begin to unintentionally crawl up around the side of a floated box, the solution is float clearing (see “Clearing Floats” later in this reference).
In order to get floats to stack up nicely next to one another and avoid this behavior, we simply float them all in the same direction, typically left (Figure 10).
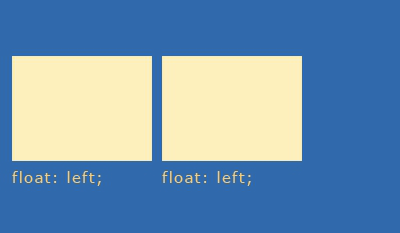
Figure 10. If we float elements in the same direction, they’ll line up next to each other. This is one way of creating columnar designs.
What happens if there’s not enough room within the browser (or the set width of a container element)? The subsequent floated element “falls off” the line and seeks the first available space (Figure 11).
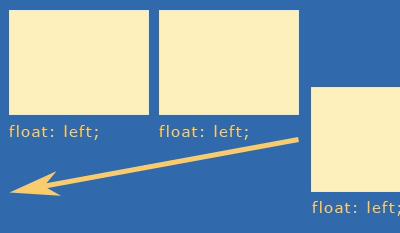
Figure 11. If an element cannot fit into the available space, the box will “fall off” the line and move to the first available space in the flow.
Float Behavior, Continued

IE6 will drop the float down in if there is no space, incongruent with other browsers. If you’re developing in a Firefox environment, be sure to test constantly in IE as well. This issue, referred to as “tolerance” can be remedied by modifying widths slightly to accommodate IE.
Floats can be contained by setting explicit widths on containing elements, and on the floated boxes themselves. This doesn’t eradicate tolerance problems, but it gives you a more finite idea of how to mathematically arrange your elements (Figure 12).
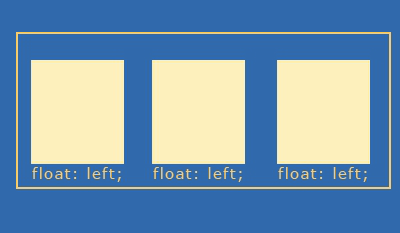
Figure 12. By containing elements and giving them a width, we can begin to create columns.
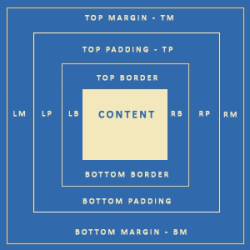
By containing elements, we can create contexts for interface components. If I wanted to create three columns as above, I could create three divs with specific widths, borders, padding and margins for each of the columns, and then set that within another div, which I would give an explicit width too, containing the three individual columns:
Of course, using divs for everything is overkill, because many HTML elements actually have this sort of mechanism built right in! Consider an unordered list with three list items:
As you can see, the
is an element, and therefore creates a box. We can then style that box as a container for the list items residing within. If there’s a logical reason to use a list, such as with navigation, or linked interface components, consider using semantic elements instead. This is called minimal markup and is an extremely helpful technique.

There’s no such thing as “div” based design. That term is popular but highly inaccurate. In CSS, it’s not that we use divs to create boxes, but that the element boxes are already there. Use divs only where necessary for containment and structure.
The Power and Problem of Floats, Continued
Clearing Floats
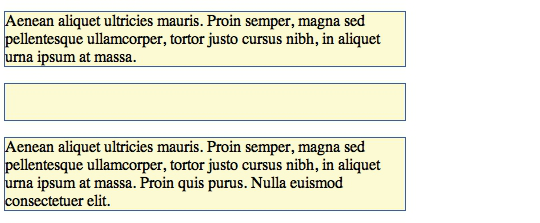
So what happens when you want to stop the flow of text, or a floated box, and return to the normal flow? You have to clear your floats (Figure 13).

Figure 13.Clearing floats is the process of returning the next consecutive element to the normal flow.
In terms of floats for layout, if you want to be able to have content below floated elements, such as a traditional “footer” where site information will go, clearing is necessary. This allows the subsequent elements to return to the normal flow (Figure 14).
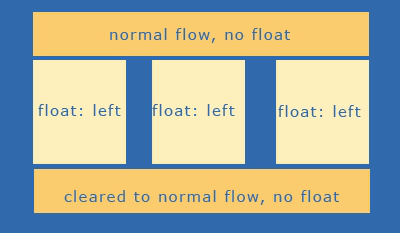
Figure 14.Once the float is properly cleared, we return to the normal flow, which is how we can create a footer beneath the floated columns.
There are numerous ways to clear floats. A very popular one is the creation of a clear class and the use of the property “clear” and a value of both:
People will then use a div or a break element to clear the float:
My preference of the two is the break element, as an empty div is a non-empty element with nothing inside it. While still slightly presentational, at least “break” has meaning in this case (Figures 15 and 16).

Figure 15.The float is properly cleared. Notice how the column to the left doesn’t fill the entire available space—this is normal behavior. The important issue is that the bottom-most element is cleared and does not try to “creep up” into the available space.

Figure 16.Even when a tolerance problem forces the far right column off the line, notice that it does not encroach upon the space above it. This is because it’s not in the normal flow. Also, note that despite the tolerance issue, the bottom-most element remains clear of the floated elements.

