Applying Oracle 19c Release Update (RU): A Practical Guide from My DBA Experience
Learn how to upgrade an Oracle 19c standalone database from 19.3 to 19.20 with a step-by-step guide covering preparation, patching, and validation.
Join the DZone community and get the full member experience.
Join For Free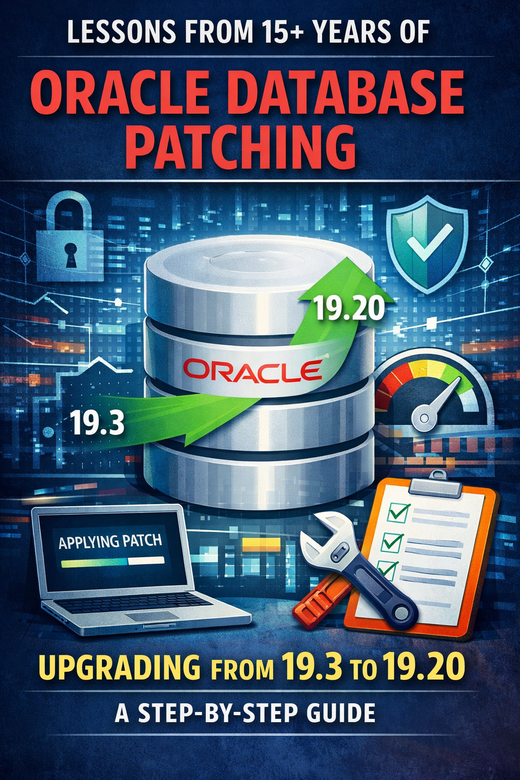
After working with Oracle databases for more than 15 years, one thing I have learned is that patching is not just a maintenance task, it’s a critical security and stability practice. Many production issues I have seen in enterprise environments could have been avoided simply by keeping databases updated with the latest Release Updates (RUs).
In this article, I will walk through how I typically apply an Oracle 19c Release Update, upgrading a standalone database from 19.3 to 19.20, using a structured approach that I have followed in multiple production environments.
The entire patching process can be divided into three phases:
- Pre-Patch Preparation
- Patching Execution
- Post-Patch Validation
Following this structured method significantly reduces risks during patching.
1. Pre-Patch Preparation
Before touching a production Oracle home, preparation is everything. Skipping preparation steps is where most patching failures happen.
Step 1: Verify Current Database Version
The first step I always take is confirming the current database version.
SELECT banner_full FROM v$version;

-- Example output:

Oracle Database 19c Enterprise Edition Release 19.0.0.0.0
Version 19.3.0.0.0
This confirms the starting patch level.
Step 2: Check Current Patch Level
Next, I verify which patches are already installed.
SELECT TO_CHAR(action_time,'YYYY-MM-DD') action_time,
       action,
       status,
       description,
       patch_id
FROM dba_registry_sqlpatch
ORDER BY action_time;

-- Example output shows the current RU applied:

Database Release Update : 19.3.0.0.190416
This helps me understand the patch history of the database.
Step 3: Check Patches from OS Level
I also confirm patch details from the operating system using OPatch.
$ORACLE_HOME/OPatch/opatch lspatches

## Example:
29517242;Database Release Update : 19.3.0.0
This cross-verification avoids confusion between binary patching and SQL patching.
Step 4: Verify OPatch Version
Oracle frequently requires newer OPatch versions for newer patches.
./opatch version
Example output:
OPatch Version: 12.2.0.1.17
If necessary, I download the latest OPatch (patch 6880880) from Oracle Support.
Step 5: Download Required Patch
From Oracle Support → Patches & Updates, I download:
- Latest OPatch
- Target Release Update
Example RU:
Patch 35320081 → Oracle 19.20 RU
Step 6: Backup Oracle Home and Inventory
One of the golden rules I always follow:
Never patch without backups.
Backup Oracle Home:
tar -pcvf /u02/backups/backup.tar dbhome_1Backup inventory:
cp -R inventory /u01/backupStep 7: Backup Database
Before patching production databases, I always take a full RMAN backup.
RMAN> BACKUP AS COMPRESSED BACKUPSET DATABASE
INCLUDE CURRENT CONTROLFILE PLUS ARCHIVELOG;
This ensures we can recover quickly if anything goes wrong.
Step 8: Check for Invalid Objects
Invalid objects sometimes cause datapatch failures.
SELECT * FROM dba_objects WHERE status='INVALID';If objects exist, I usually fix them before proceeding.
Step 9: Update OPatch Utility
Rename the old OPatch directory:
mv OPatch OPatch_backupThen unzip the latest OPatch:
unzip p6880880_190000_Linux-x86-64.zip -d $ORACLE_HOMEVerify the version again:
./opatch versionStep 10: Run Patch Conflict Check
Before applying the patch, I always check for conflicts.
opatch prereq CheckConflictAgainstOHWithDetail -ph ./This step confirms the patch can safely be applied to the Oracle home.
2. Applying the Patch
Once all preparation steps are complete, I proceed with patching.
Step 1: Shutdown Database and Listener
sqlplus / as sysdba
shutdown immediate
Then stop the listener.
Step 2: Set OPatch Path
export PATH=$ORACLE_HOME/OPatch:$PATHVerify:
which opatchStep 3: Apply the Patch
Navigate to the patch directory and execute:
opatch apply
-- The system prompts for confirmation:
Do you want to proceed? [y|n]
Enter y to continue.
During execution, OPatch updates multiple Oracle components such as:
- JDK
- ODBC
- Oracle middleware components
- Precompiler libraries
Once completed, you should see:
OPatch succeededThis confirms the binary patch has been successfully applied.
3. Post-Patch Activities
The patching process isn’t finished until post-patch validation is completed.
Step 1: Verify Installed Patches
opatch lspatches

## Example output:

35320081;Database Release Update : 19.20.0.0
Step 2: Start Database and Listener
startup

lsnrctl start
Step 3: Verify Database Version
SELECT banner_full FROM v$version;

-- Example output:

Oracle Database 19c Enterprise Edition
Version 19.20.0.0.0
Step 4: Run Datapatch
This is a critical step many DBAs forget.
datapatch -verboseDatapatch applies SQL changes associated with the binary patch.
Step 5: Validate SQL Patch Registry
SELECT TO_CHAR(action_time,'YYYY-MM-DD') action_time,
       action,
       status,
       description,
       patch_id
FROM dba_registry_sqlpatch
ORDER BY action_time;
You should see the newly applied patch.
Step 6: Verify Invalid Objects
Finally, check for invalid objects again:
SELECT count(*) FROM dba_objects WHERE status='INVALID';If any exist, compile them using:
@?/rdbms/admin/utlrp.sqlLessons I’ve Learned from Patching Production Systems
Over the years, I’ve learned a few practical lessons:
✔ Always test patches in staging environments first
✔ Never skip Oracle Home backups
✔ Always run datapatch after binary patching
✔ Check invalid objects before and after patching
✔ Schedule patching during planned maintenance windows
A disciplined patching strategy keeps Oracle environments secure, stable, and supported.
Final Thoughts
Oracle continuously releases Release Updates (RUs) to address:
- Security vulnerabilities
- Performance improvements
- Bug fixes
From my experience managing enterprise databases, staying current with patching is one of the simplest and most effective ways to prevent major production incidents. Over the years, I’ve seen several situations where systems ran into avoidable issues simply because critical patches were delayed or skipped. Small vulnerabilities or known bugs can become larger problems when databases are running on older patch levels.
A well-planned patching strategy ensures your databases remain secure, performant, and fully supported by Oracle. Security patches address newly discovered vulnerabilities that could otherwise expose sensitive data or allow unauthorized access. In today’s environment, where databases often store critical business information, staying on top of these updates is essential.
Patching also improves overall stability and performance. Oracle regularly fixes bugs, improves internal components, and resolves issues reported by customers in real-world environments. Applying these fixes helps avoid unexpected behavior, performance slowdowns, or system crashes that could affect business operations.
Another important factor is supportability. When a production issue occurs, Oracle Support typically expects the environment to be on a reasonably current patch level. If the system is far behind, troubleshooting can become more complicated, and in some cases, support may first recommend applying the latest patches before deeper investigation.
The key is to approach patching in a controlled and predictable way. Maintain a regular patching schedule, test patches in lower environments, and coordinate maintenance windows with application teams. This approach minimizes risk while keeping the database environment stable and secure. In the long run, consistent patching saves far more time and effort than dealing with preventable production problems.
Opinions expressed by DZone contributors are their own.
Comments