Continuous Deployment on Kubernetes With Spinnaker
In this article, learn how to setup Spinnaker and integrate it with Gitlab CI and Jenkins to build and run CI and CD pipelines.
Join the DZone community and get the full member experience.
Join For FreeSpinnaker is an open-source multi-cloud continuous delivery platform that was initially developed by Netflix. It provides support for all major cloud providers as well as Kubernetes. It has been battle-tested by Netflix in production since 2015. It is feature-rich, some of the features that are interesting to us include
- CI Integrations with Jenkins, Gitlab, CircleCI, and more
- RBAC
- Monitoring Integrations
- Deployment strategies
- Notifications
- Manual Judgements
- Chaos Monkey Integration
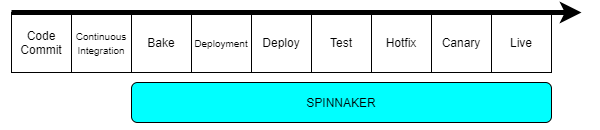
Our goal is to make reliable deployments using Spinnaker. We will make use of flexible deployment pipelines offered by Spinnaker for deployments at high velocity, fast and often.
Why Spinnaker with Kubernetes
Spinnaker complements Kubernetes by using deployment pipelines allowing for multiple deployment strategies that is not available with Kubernetes deployment API. Deployments are built-in and no custom scripting is needed.
Setup Spinnaker
Pre-Requisites
- Ubuntu 16.04 VM on which to install Halyard.
- Spinnaker will be downloaded and run on the single machine Halyard is installed on. At least 16GB RAM and 4 cores are required.
Preparing for Local Debian Installation
Launch a Compute Instance on your cloud of choice using image Ubuntu-16.04 and flavor idc_policy with 16GB RAM, 8 VCPU, and 200GB Disk.
Set the hostname. SSH into the VM using user ubuntu and set the hostname. This is required after a fresh install of Ubuntu, otherwise, sudo command may hang without prompting for the password.
sudo su -
echo "<IP Address> <hostname>" >> /etc/hosts # e.g., echo "10.75.152.101 randhir-spinnaker" >> /etc/hosts
Disable IPv6 completely. Right now many systems and applications still rely on IPv4 and may not work well with IPv6.
To disable IPv6 in APT, run the following command to create a configuration file for APT.
xxxxxxxxxx
sudo vi /etc/apt/apt.conf.d/99force-ipv4
Copy and paste the following line into the file.
xxxxxxxxxx
Acquire::ForceIPv4 "true";
Save and close the file. From now on, APT will use IPv4 only.
To disable IPv6 on your Ubuntu Linux system, then you need to make some changes to Linux kernel parameter.
Edit the 99-sysctl.conf file.
xxxxxxxxxx
sudo vi /etc/sysctl.d/99-sysctl.conf
Copy and paste the following 3 lines at the bottom of the file.
xxxxxxxxxx
net.ipv6.conf.all.disable_ipv6 = 1
net.ipv6.conf.default.disable_ipv6 = 1
net.ipv6.conf.lo.disable_ipv6 = 1
Save and close the file. Then execute the following command to load the above changes.
xxxxxxxxxx
sudo sysctl -p
Now run the following command. You should see 1, which means IPv6 has been successfully disabled.
xxxxxxxxxx
cat /proc/sys/net/ipv6/conf/all/disable_ipv6
Setup Proxies
Set the proxy for APT. Apt loads all configuration files under /etc/apt/apt.conf.d. We can create a configuration specifically for our proxy there, keeping it separate from all other configurations. Create a new configuration file named proxy.conf.
xxxxxxxxxx
sudo touch /etc/apt/apt.conf.d/proxy.conf
Open the proxy.conf file in a text editor, and then add the following lines.
xxxxxxxxxx
Acquire {
HTTP::proxy "http://www.my-proxy.com:80";
HTTPS::proxy "http://www.my-proxy.com:80";
}
Set the proxy for cURL. Create a file .curlrc in your home directory and add following lines.
xxxxxxxxxx
proxy = http://www.my-proxy.com:80
noproxy = localhost,127.0.0.1,<IP Address>
Set HTTP proxies as Shell environment variables. Create a file /etc/profile.d/proxy.sh and add following lines.
xxxxxxxxxx
export http_proxy=http://www.my-proxy.com:80
export https_proxy=http://www.my-proxy.com:80
export HTTP_PROXY=http://www.my-proxy.com:80
export HTTPS_PROXY=http://www.my-proxy.com:80
export no_proxy=localhost,127.0.0.1,<IP Address>
Execute the proxy.sh script file.
xxxxxxxxxx
. /etc/profile.d/proxy.sh
Install Java. Install SDKMAN.
xxxxxxxxxx
curl -s "https://get.sdkman.io" | bash
source "$HOME/.sdkman/bin/sdkman-init.sh"
sdk version
Install Java (11.0.3-zulu)
xxxxxxxxxx
sdk install java
Add java to the PATH variable.
xxxxxxxxxx
sudo ln -s /home/ubuntu/.sdkman/candidates/java/current/bin/java /usr/sbin/java
Install Halyard
All deployments of Spinnaker require Halyard in order to install, configure, and update Spinnaker. Halyard runs with non-root account.
Create user that will be used to run Halyard and Spinnaker.
Shell
xxxxxxxxxx1
123groupadd ubuntu4useradd -g ubuntu -G admin -s /bin/bash -d /home/ubuntu ubuntu5mkdir -p /home/ubuntu6cp -r /root/.ssh /home/ubuntu/.ssh7chown -R ubuntu:ubuntu /home/ubuntu8echo "ubuntu ALL=(ALL:ALL) NOPASSWD:ALL" >> /etc/sudoers
Install Halyard
Shell
xxxxxxxxxx1
123set -e4curl -O https://raw.githubusercontent.com/spinnaker/halyard/master/install/debian/InstallHalyard.sh5sudo bash InstallHalyard.sh --user ubuntu
Check the version of Halyard installed.
Shell
xxxxxxxxxx1
1hal -v
Configure Halyard to run behind proxy. In the file under /opt/halyard/bin/halyard, add the necessary proxy configuration to the variable DEFAULT_JVM_OPTS.
Shell
xxxxxxxxxx1
1DEFAULT_JVM_OPTS='"-Dhttp.proxyHost=www.my-proxy.com" "-Dhttp.proxyPort=80" "-Dhttps.proxyHost=www.my-proxy.com" "-Dhttps.proxyPort=80"'
Shutdown and start Halyard.
Shell
xxxxxxxxxx1
1hal shutdown2hal
Setup Minio as Storage Service
Install Docker and configure proxy for Docker daemon.
xxxxxxxxxx
curl -fsSL get.docker.com -o get-docker.sh
sh get-docker.sh
sudo usermod -aG docker ubuntu
sudo mkdir -p /etc/systemd/system/docker.service.d
sudo touch /etc/systemd/system/docker.service.d/http-proxy.conf
sudo cat << EOF > /etc/systemd/system/docker.service.d/http-proxy.conf
[Service]
Environment="HTTP_PROXY=http://www-proxy-hqdc.us.oracle.com:80/"
Environment="HTTPS_PROXY=http://www-proxy-hqdc.us.oracle.com:80/"
Environment="NO_PROXY=localhost,127.0.0.1:5555,oracle.com,oraclecorp.com,oraclevcn.com"
EOF
sudo systemctl daemon-reload
sudo systemctl restart docker
Install Minio and configure it as storage service that Spinnaker requires for persisting Application settings and configured Pipelines.
xxxxxxxxxx
sudo docker run -p 127.0.0.1:9090:9000 -d --name minio1 -v /mnt/data:/data -v /mnt/config:/root/.minio minio/minio server /data
sudo apt-get -y install jq apt-transport-https
MINIO_SECRET_KEY="minioadmin"
MINIO_ACCESS_KEY="minioadmin"
echo $MINIO_SECRET_KEY | hal config storage s3 edit --endpoint http://127.0.0.1:9090 \
--access-key-id $MINIO_ACCESS_KEY \
--secret-access-key
hal config storage edit --type s3
Deploy Spinnaker
Find out the versions of Spinnaker available. Install Google Cloud SDK and read the relevant Google Cloud storage to find out the versions available.
xxxxxxxxxx
echo "deb [signed-by=/usr/share/keyrings/cloud.google.gpg] https://packages.cloud.google.com/apt cloud-sdk main" | sudo tee -a /etc/apt/sources.list.d/google-cloud-sdk.list
sudo apt-get install apt-transport-https ca-certificates gnupg
curl https://packages.cloud.google.com/apt/doc/apt-key.gpg | sudo apt-key --keyring /usr/share/keyrings/cloud.google.gpg add -
sudo apt-get update && sudo apt-get install google-cloud-sdk
gcloud init
gsutil ls gs://halconfig/versions.yaml
gsutil cp gs://halconfig/versions.yml ~
cat versions.yml
Set Spinnaker version to be deployed, then install Spinnaker.
xxxxxxxxxx
# install dependencies
sudo apt update
sudo apt-get -y install redis-server
sudo systemctl enable redis-server
sudo systemctl start redis-server
echo 'spinnaker.s3:
versioning: false
' > ~/.hal/default/profiles/front50-local.yml
# env flag that need to be set:
SPINNAKER_VERSION=1.21.2
set -e
if [ -z "${SPINNAKER_VERSION}" ] ; then
echo "SPINNAKER_VERSION not set"
exit
fi
sudo hal config version edit --version $SPINNAKER_VERSION
sudo -E hal deploy apply
Restart Spinnaker services.
xxxxxxxxxx
sudo systemctl daemon-reload
sudo systemctl restart apache2
sudo systemctl restart gate
sudo systemctl restart orca
sudo systemctl restart igor
sudo systemctl restart front50
sudo systemctl restart echo
sudo systemctl restart clouddriver
sudo systemctl restart rosco
Kubernetes v2 Provider
Spinnaker’s Kubernetes provider fully supports Kubernetes-native, manifest-based deployments and is the recommended provider for deploying to Kubernetes with Spinnaker.
- Copy your Kubernetes cluster kubeconfig file into /home/ubuntu/.kube/ folder.
- Make sure you are able to run kubectl command successfully from Spinnaker host.
Enable Kubernetes on Spinnaker
Shell
xxxxxxxxxx1
1# download kubectl2curl -LO https://storage.googleapis.com/kubernetes-release/release/$(curl -s https://storage.googleapis.com/kubernetes-release/release/stable.txt)/bin/linux/amd64/kubectl3chmod +x kubectl4sudo mv kubectl /usr/local/bin5# enable kubernetes6hal config provider kubernetes enable7hal config provider kubernetes account add randhir-spinnaker \8--provider-version v2 \9--context $(kubectl config current-context)
Apply config and restart services.
Shell
xxxxxxxxxx111
1sudo -E hal deploy apply2sudo systemctl daemon-reload34sudo systemctl restart apache25sudo systemctl restart gate6sudo systemctl restart orca7sudo systemctl restart igor8sudo systemctl restart front509sudo systemctl restart echo10sudo systemctl restart clouddriver11sudo systemctl restart rosco
Expose Spinnaker to End Users
To prevent inadvertently exposing your cloud infrastructure to the whole world, Halyard installs Spinnaker in its most locked-down form. This means all services only bind to localhost , which only accepts connections from inside the same server.
We’ll specify the 0.0.0.0 host in both gate.yml and deck.yml in our default Halyard deployment with this command
xxxxxxxxxx
echo "host: 0.0.0.0" | tee \
~/.hal/default/service-settings/gate.yml \
~/.hal/default/service-settings/deck.yml
sudo -E hal deploy apply
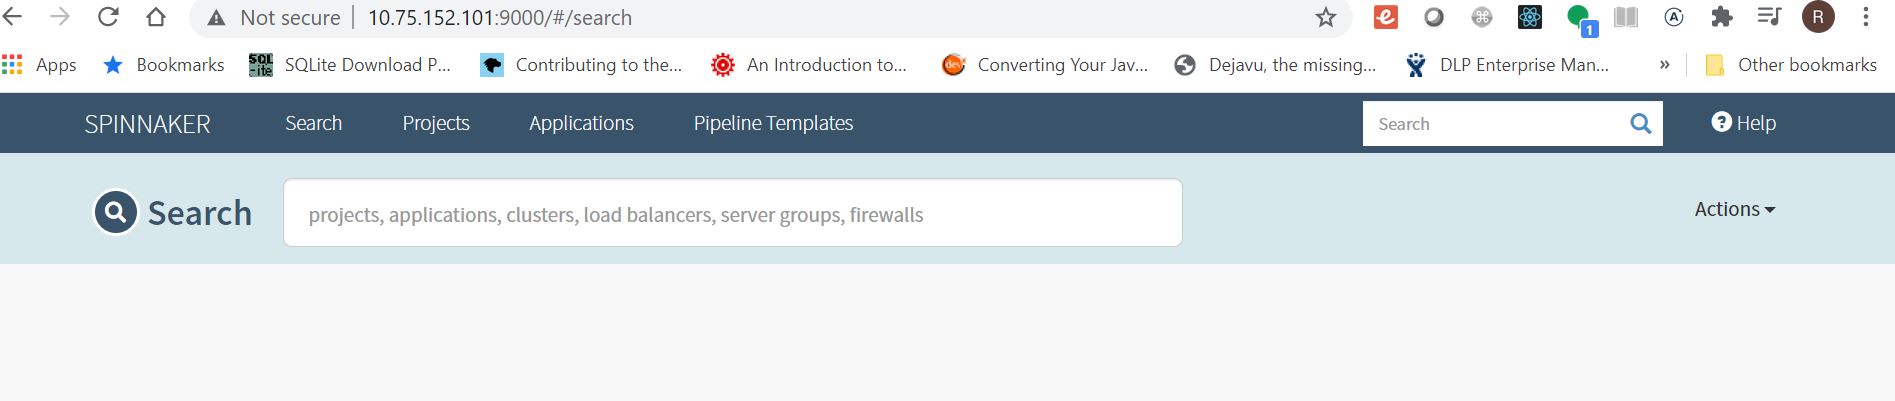
You can test this out by navigating to the instance’s public IP address on port 9000 in your browser.
Spinnaker with Jenkins
Setting up Jenkins as a Continuous Integration (CI) system within Spinnaker lets you trigger pipelines with Jenkins, add a Jenkins stage to your pipeline, or add a Script stage to your CD pipeline.
Make sure that your Jenkins master is enabled:
Shell
xxxxxxxxxx1
1hal config ci jenkins enable
Add Jenkins master
Shell
xxxxxxxxxx1
1hal config ci jenkins master add jenkins-cd \2--address $BASEURL \3--username $USERNAME \4--password <API Key here>
Re-deploy Spinnaker to apply your changes:
Shell
xxxxxxxxxx1
1sudo -E hal deploy apply
Integrating Spinnaker with GitLab CI Runner
Spinnaker deployment pipelines can be invoked via Webhook. Configure a Webhook trigger for your pipeline as shown below.
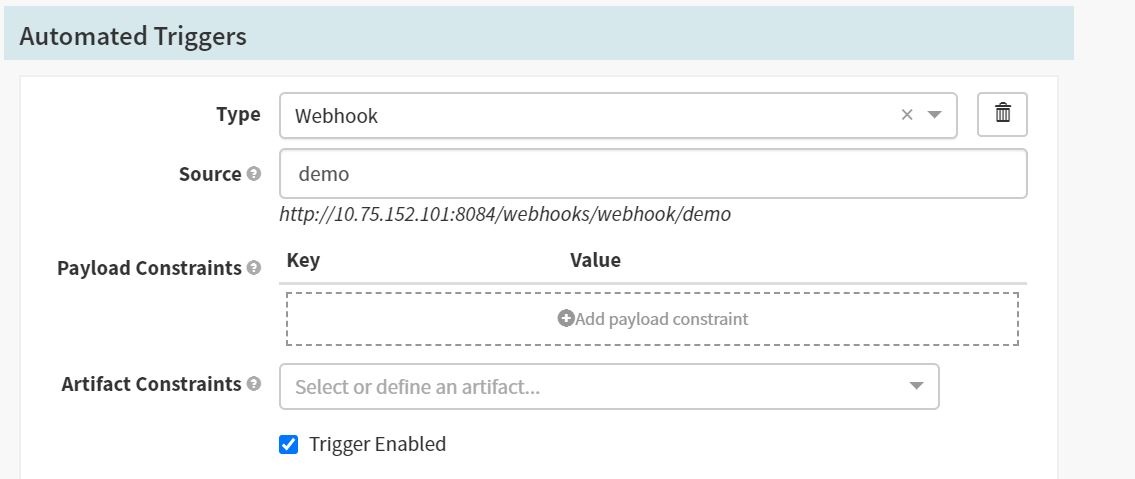
Once Webhook is configured, you can trigger this pipeline by calling the endpoint from a Gitlab CI job.
xxxxxxxxxx
deploy-app
stagedeploy
tags
runner1
script
curl http://10.75.152.101:8084/webhooks/webhook/demo -X POST -H "content-type:application/json" -d "{ }"
Conclusion
In this article, we set up a Spinnaker instance on Ubuntu and connected it to our Kubernetes environment. We then integrated it with Jenkins so that we can run the script stage on Spinnaker. Finally, we integrated Spinnaker with GitLab CI where we can run our CI pipeline.
Opinions expressed by DZone contributors are their own.
Comments