Creating a Vue.JS Websocket Server
In this tutorial, we will be covering how to set up a WebSocket server in Vue.JS, using a WebSocket server built in Node.JS and express.
Join the DZone community and get the full member experience.
Join For FreeUsing a WebSocket server is a great way to speed up your applications. APIs inherently come with their own HTTP overhead, which means every time you call an API, you have to wait a little bit for the HTTP response.
This is mostly fine, but if you have an application with a lot of time-sensitive and frequent server requests, it can become a problem. A good example of this is a chat app, where you need to see what the other person is saying immediately. APIs can still work in this scenario, but it's not the best solution for the job.
In this tutorial, we will be covering how to set up a WebSocket server in Vue.JS, using a WebSocket server built in Node.JS and express. Keep reading for more.
Getting Started: Create Your Vue Application
As usual, initiate a Vue application using Vue CLI. For example, write the below command to generate a Vue application called 'fjolt-app':
vue create fjolt-app
If this doesn't work, then try installing the Vue CLI tool by installing it via npm. The package can be found here.
If you are brand new to Vue, you can start up this dummy app by running npm run serve in the directory where you've created your application.
Create a Websocket Server
The next step is to create a WebSocket server. As mentioned, I've written an in-depth tutorial on how to do that here. In summary, you will need to create an index.js file. To make things easier, I created mine in the Vue directory itself, and called it index.mjs so I could immediately use import statements.
My file structure then looked like this:
| - node_modules
| - package.lock.json
| - package.json
| - public
| - README.md
| - src
  | - App.vue < -- Our app!
  | - assets
  | - components
  | - main.js
| - index.mjs <-- Our websocket server
Creating Our WebSocket Server in Javascript
Next up, let's create our WebSocket index file. In index.mjs, you can use the following code if you're feeling lazy. Don't forget to npm i all the modules you import.
    import path from 'path'
    import { fileURLToPath } from 'url'

    const __filename = fileURLToPath(import.meta.url);
    const __dirname = path.dirname(__filename);

    import express from 'express'
    import expressWs from 'express-ws'
    import http from 'http'

    // Our port
    let port = 3000;

    // App and server
    let app = express();
    let server = http.createServer(app).listen(port);

    // Apply expressWs
    expressWs(app, server);

    app.use(express.static(__dirname + '/views'));

    // Get the route /
    app.get('/', (req, res) => {
        res.status(200).send("Welcome to our app");
    });

    // Get the /ws websocket route
    app.ws('/ws', async function(ws, req) {
        ws.on('message', async function(msg) {
            console.log(msg);
            ws.send(JSON.stringify({ "message" : "hello" });
            // Start listening for messages
        });
    });
So clients will send data to our WebSocket server. That data will arrive as the msg variable, shown at the bottom of the code above. We can then take that message data, store it, or process it. Sometimes, we might want to send it to a database. Other times, we might want to send it back to the user.
Either way, within ws.on we can send messages back to the client. Let's say, when a message is received, I want to send an object that says { "message" : "hello" } back to the user. To do that, I'd do the following:
    // Get the /ws websocket route
    app.ws('/ws', async function(ws, req) {
        ws.on('message', async function(msg) {
            // Let's put our message in JSON.stringify, and send it to the user who just sent the message
            ws.send(JSON.stringify({ "message" : "hello" }));
        });
    });
When we're happy with our WebSocket server, we can run it in the terminal by typing node index.mjs, while in the directory where index.mjs exists. Now we have a live WebSocket we can connect to.
Simply put, we now have a way to create a direct connection between our server and a user with essentially instantaneous messaging. Now that we've tackled that bit, we need to be able to send and receive from Vue. Let's look at that next.
Adding a WebSocket to Vue.JS
Open up App.vue in the src folder. Edit the Javascript so it looks like this:
export default {
    name: 'App',
    data() {
        return {
            socket: {},
            connectedStatus: 'Not connected!',
            message: 'No message yet!'
        }
    },
    async mounted() {
        // Calculate the URL for the websocket. If you have a fixed URL, then you can remove all this and simply put in
        // ws://your-url-here.com or wss:// for secure websockets.
        const socketProtocol = (window.location.protocol === 'https:' ? 'wss:' : 'ws:')
        const port = ':3000';
        const echoSocketUrl = socketProtocol + '//' + window.location.hostname + port + '/ws'

        // Define socket and attach it to our data object
        this.socket = await new WebSocket(echoSocketUrl);

        // When it opens, console log that it has opened. and send a message to the server to let it know we exist
        this.socket.onopen = () => {
            console.log('Websocket connected.');
            this.connectedStatus = 'Connected';
            this.sendMessage(JSON.stringify({"message" : "Hello, server."}));
        }

        // When we receive a message from the server, we can capture it here in the onmessage event.
        this.socket.onmessage = (event) => {
            // We can parse the data we know to be JSON, and then check it for data attributes
            let parsedMessage = JSON.parse(event.data);
            // If those data attributes exist, we can then console log or show data to the user on their web page.
            console.log(parsedMessage);
            if(typeof parsedMessage.message !== "undefined" && parsedMessage.message == "hello") {
                this.message = parsedMessage.message;
                console.log('We have received a message from the server!')
            }
        }
    },
    methods: {
        waitForOpenConnection: function() {
            // We use this to measure how many times we have tried to connect to the websocket server
            // If it fails, it throws an error.
            return new Promise((resolve, reject) => {
                const maxNumberOfAttempts = 10
                const intervalTime = 200

                let currentAttempt = 0
                const interval = setInterval(() => {
                    if (currentAttempt > maxNumberOfAttempts - 1) {
                        clearInterval(interval)
                        reject(new Error('Maximum number of attempts exceeded.'));
                    } else if (this.socket.readyState === this.socket.OPEN) {
                        clearInterval(interval)
                        resolve()
                    }
                    currentAttempt++
                }, intervalTime)
            })
        },
        sendMessage: async function(message) {
            // We use a custom send message function, so that we can maintain reliable connection with the
            // websocket server.
            if (this.socket.readyState !== this.socket.OPEN) {
                try {
                    await this.waitForOpenConnection(this.socket)
                    this.socket.send(message)
                } catch (err) { console.error(err) }
            } else {
                this.socket.send(message)
            }
        }
    }
}
How To Create a Vue.JS WebSocket Server: The Detail
Although there are comments inline, let's look at this in a bit more detail. We first create two methods:
- sendMessage - this is a custom send message function using
socket.send(). The only difference is we test for a WebSocket server connection before sending, saving us a little bit of trouble. - waitForOpenConnection - this is only used by sendMessage, and it sets an interval to check for a socket connection or throws an error.
Saving Our Socket as Data
We then create a new WebSocket connection using the following lines, within mounted(). That means when the app is mounted into the browser window (or when it loads in), we create a new WebSocket connection which we then attach to our data(), by setting this.socket to the new WebSocket server connection.
const socketProtocol = (window.location.protocol === 'https:' ? 'wss:' : 'ws:')
const port = ':3000';
const echoSocketUrl = socketProtocol + '//' + window.location.hostname + port + '/ws'

// Define socket and attach it to our data object
this.socket = await new WebSocket(echoSocketUrl);
The added benefit of this is we can now reference our socket across methods, watchers, and all other kinds of Vue functionality. When our connection is created, we add two events. One is to check when the socket is open, and the other is to relay messages.
    // When it opens, console log that it has opened. and send a message to the server to let it know we exist
    this.socket.onopen = () => {
        console.log('Websocket connected.');
        this.connectedStatus = 'Connected';
        this.sendMessage(JSON.stringify({"message" : "Hello, server."}));
    }

    // When we receive a message from the server, we can capture it here in the onmessage event.
    this.socket.onmessage = (event) => {
        // We can parse the data we know to be JSON, and then check it for data attributes
        let parsedMessage = JSON.parse(event.data);
        // If those data attributes exist, we can then console log or show data to the user on their web page.
        console.log(parsedMessage);
        if(typeof parsedMessage.message !== "undefined" && parsedMessage.message == "hello") {
            this.message = parsedMessage.message;
            console.log('We have received a message from the server!')
        }
    }
The onmessage function is of perhaps the most interest to WebSocket creators since that is where data from the server is processed. Our message that we created earlier, will arrive at this event, and we can display it on the page. Other data can be processed here too.
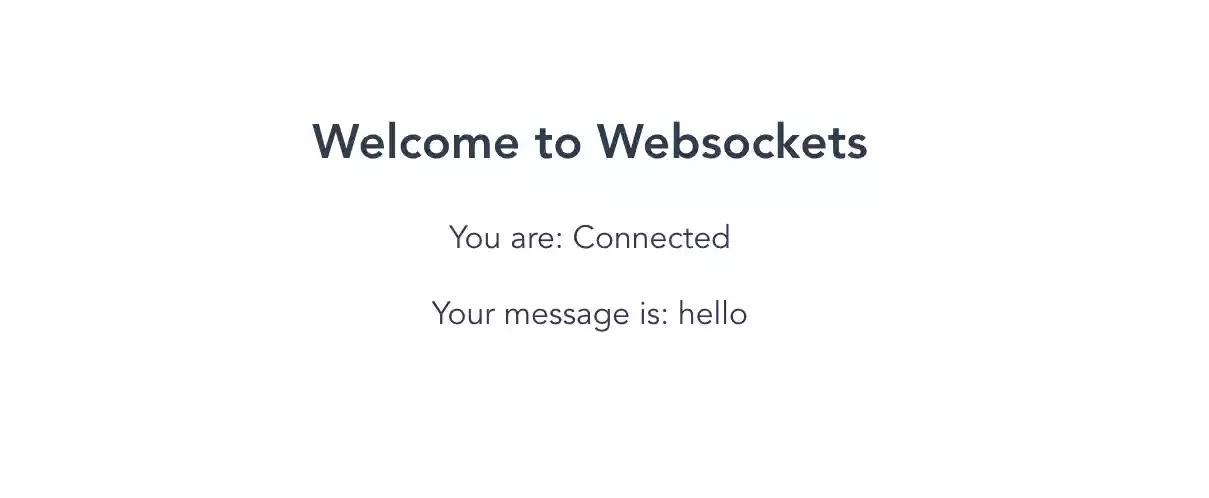
Since I also created two other data variables, message, and connectedStatus, we can use them in our template, to show the responses from our WebSocket server:
<template>
    <h2>Welcome to Websockets</h2>
    <p>You are: {{ connectedStatus }}</p>
    <p>Your message is: {{ message }}</p>
</template>
Our WebSocket Server Page
Conclusion
Websocket servers in Vue actually work quite elegantly. In this tutorial, we've covered all the basics. Now you can go ahead and send or receive data from your WebSocket server to your browser. The efficiencies WebSockets bring mean that your website will seem faster if you are switching from HTTP.
Don't forget to run npm run serve and node index.mjs both in separate terminal windows, so both your WebSocket server and Vue.JS app are running. As usual, here are some useful links:
Published at DZone with permission of Johnny Simpson. See the original article here.
Opinions expressed by DZone contributors are their own.
Comments