Start Coding With Google Cloud Workstations
Boost your development productivity with secure, GPU-powered Cloud Workstations. This guide shows you how to set up your environment and connect to BigQuery.
Join the DZone community and get the full member experience.
Join For FreeGoogle Cloud Workstations provide powerful, managed solutions for modern software development. By offering secure, consistent, and accessible cloud-based development environments, they tackle common frustrations associated with local setups, like configuration drift, dependency issues, and security concerns. Utilizing containerization and Google Cloud's scalable infrastructure, Workstations empower developers to code from anywhere with their favorite IDEs, guaranteeing a standardized and secure workflow. This approach simplifies developer onboarding, boosts collaboration, and significantly increases productivity by shifting the focus from environment management to writing code.
Prerequisites
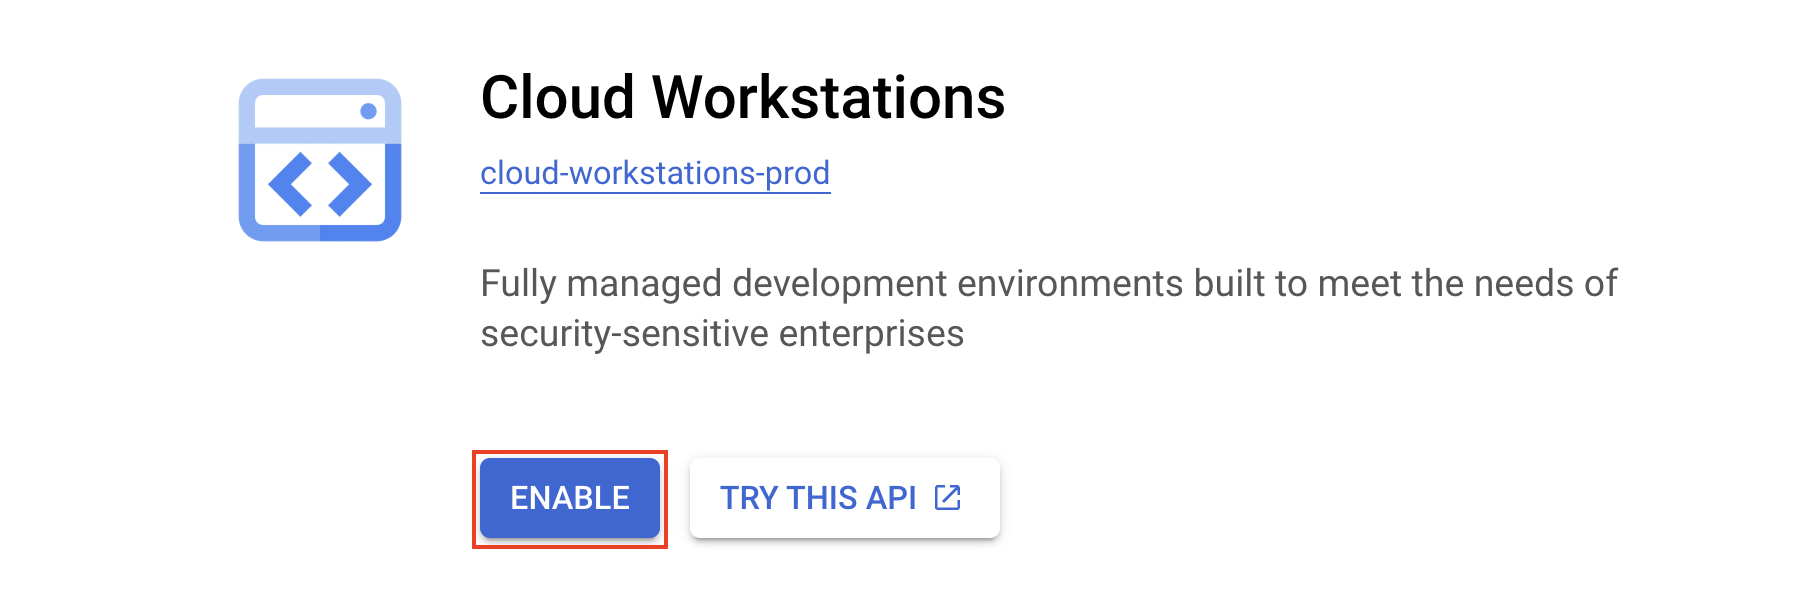
Enable the Cloud Workstations API: Before you begin, ensure the necessary API is active. Go to the Google Cloud Console's APIs & Services section. Search for and enable the "Cloud Workstations API" if it is not currently enabled.
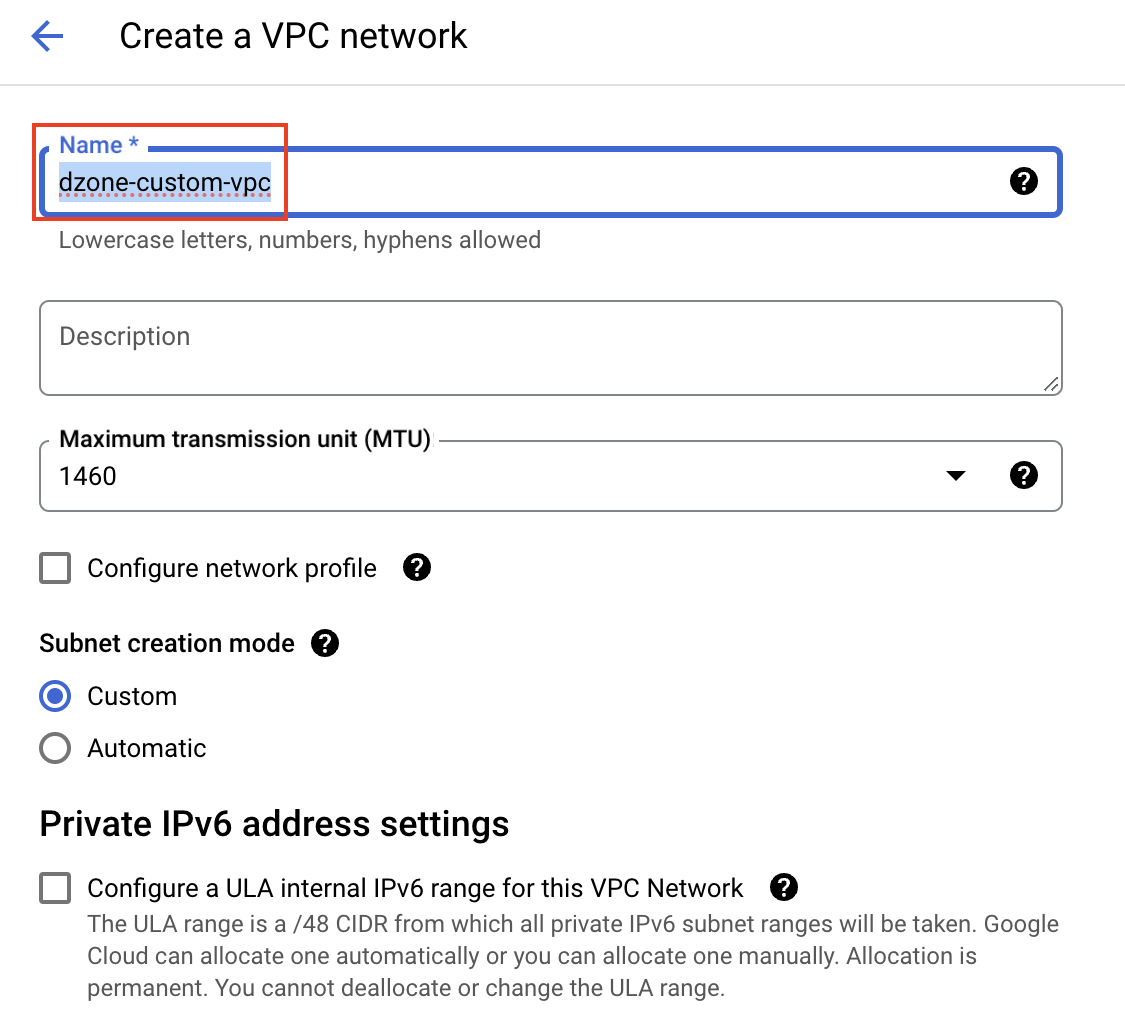
A Virtual Private Cloud (VPC) acts as your isolated, private network space within Google Cloud, allowing you to manage your cloud resources securely. It's the bedrock of your cloud networking, giving you control over IP addressing and security rules. Subnets are regional segments within your VPC, each with a defined IP address range used by resources within that region.
- Navigate to VPC network ➡️ VPC networks in the Google Cloud Console.
- Click "CREATE VPC NETWORK".
- Name: Enter "dzone-custom-vpc".
- Subnet creation mode: Select "Custom".
- Under New subnet:
- Name: Enter "dzone-custom-subnet".
- Region: Select "us-central1".
- IPv4 range: Enter "10.0.101.0/24".
- Private Google Access: Select On (This allows instances without external IPs to reach Google APIs and services).
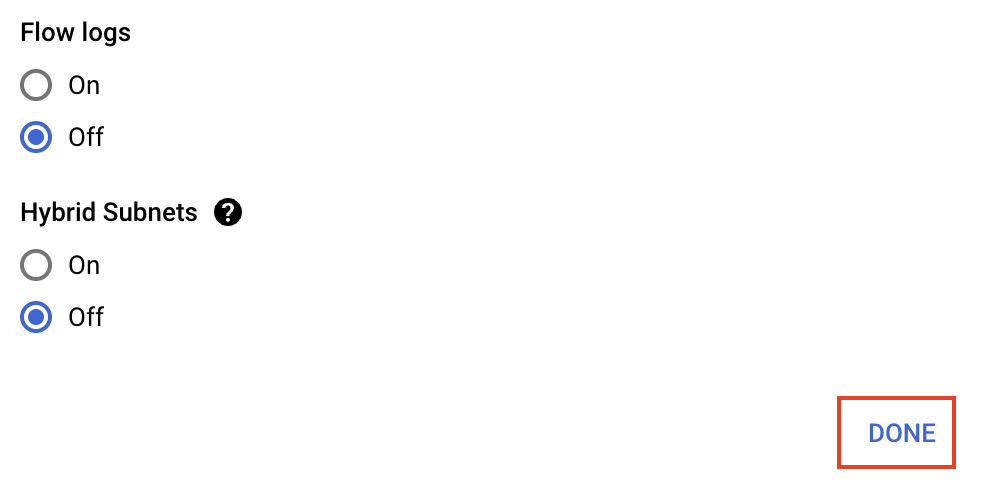
- Flow logs: Keep this Off.
- Hybrid Subnets: Keep this Off.
- Click "DONE" to finish defining the subnet.
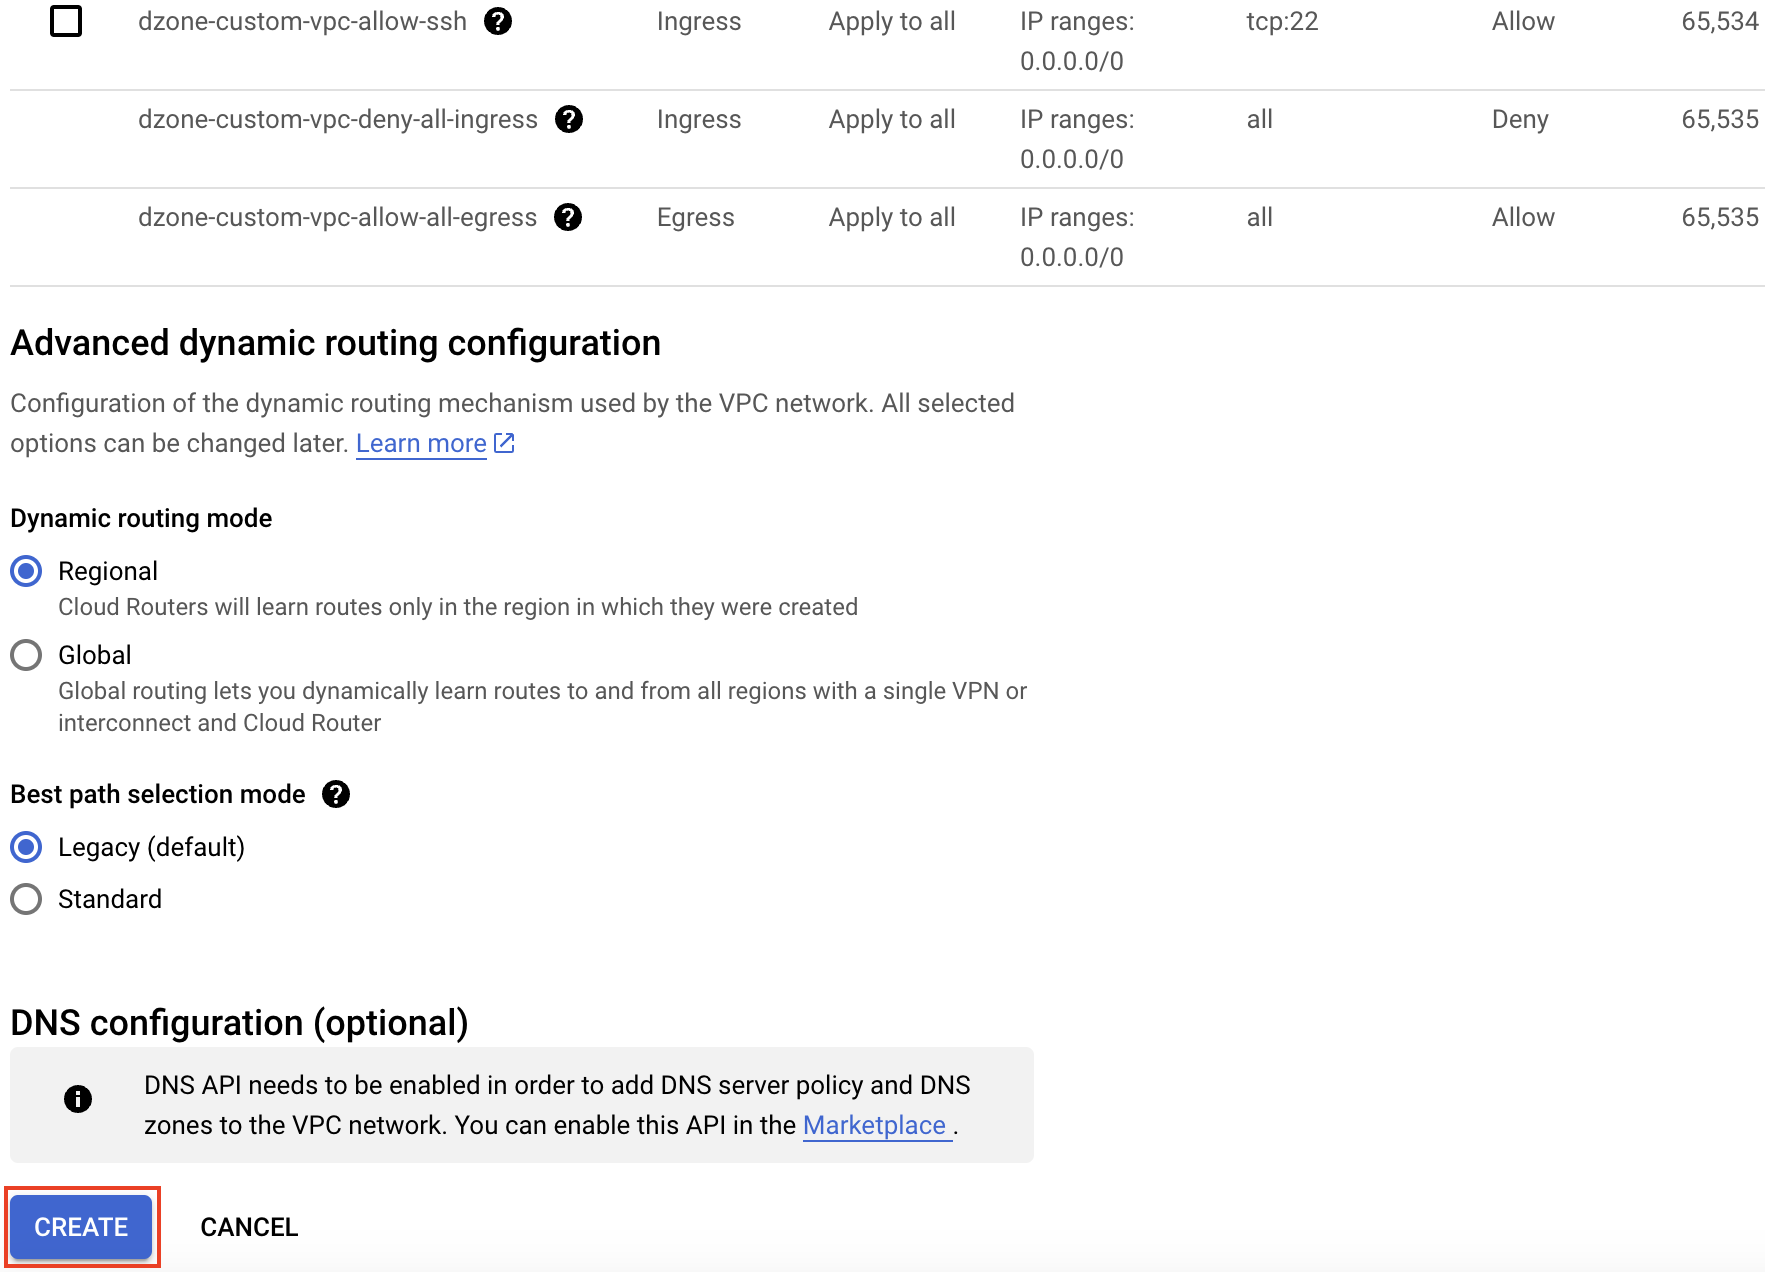
- Leave the Firewall rules, Dynamic routing mode, and Maximum transmission unit (MTU) settings at their defaults.
- Click "CREATE".

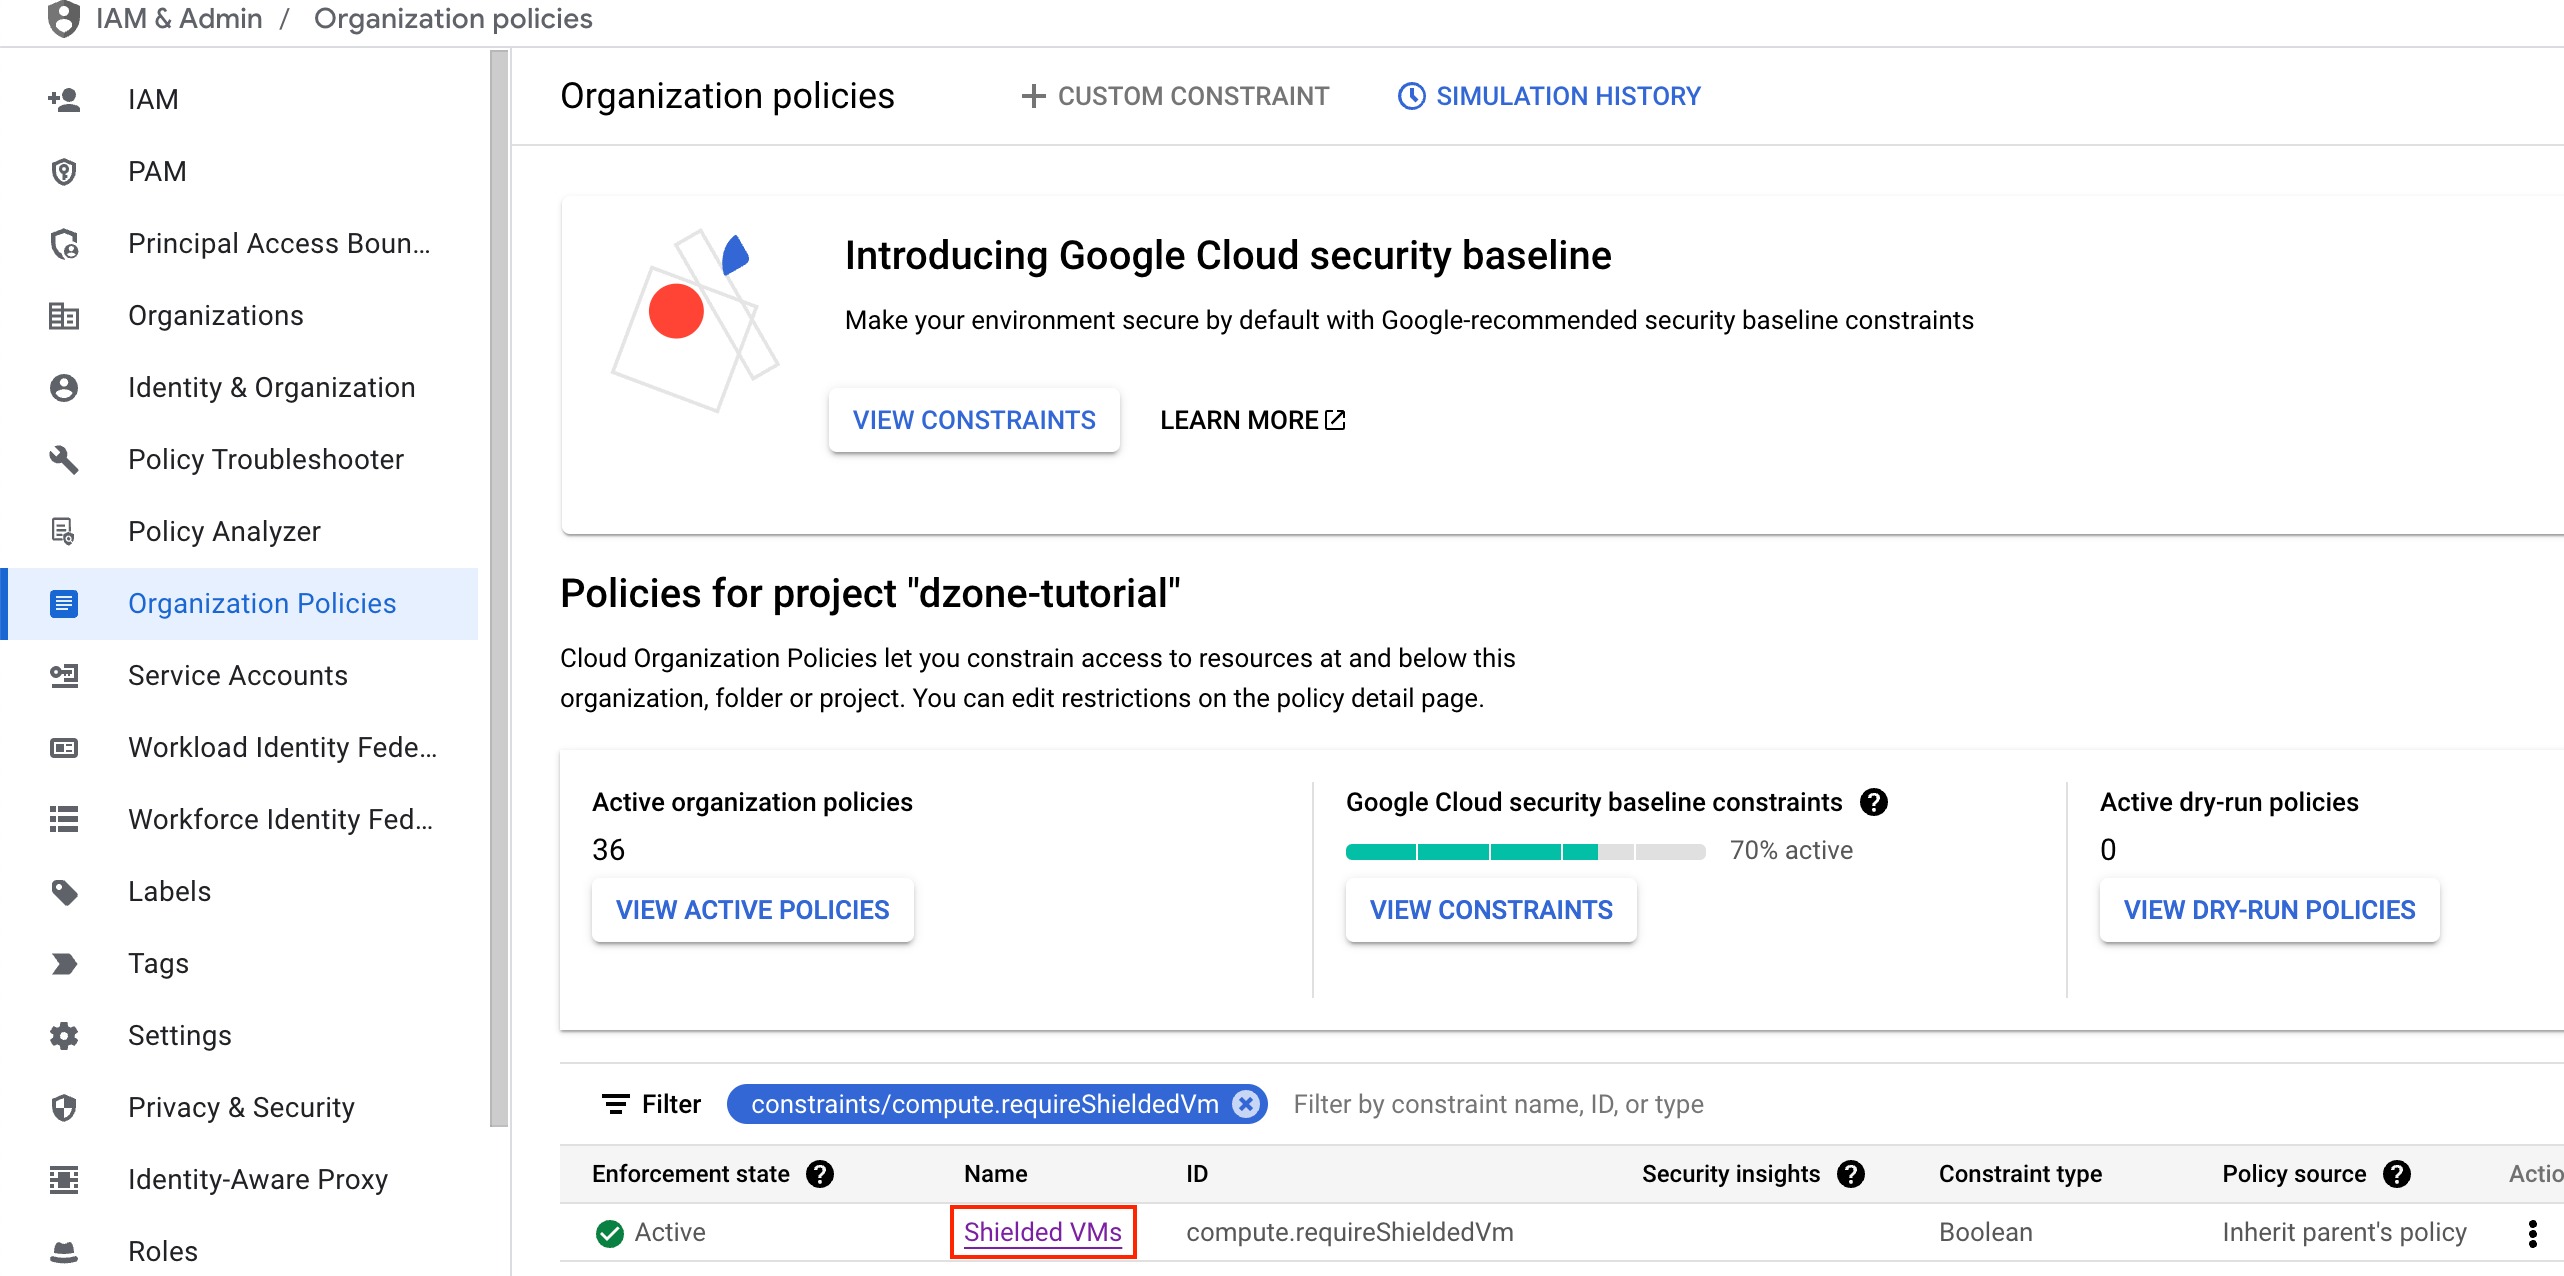
Organizational policies enforce constraints across your Google Cloud resources. We need to adjust two policies for our workstation setup.
Allow Non-Shielded VMs: By default, some organizations might require Shielded VMs for enhanced security. For flexibility with Workstation configurations, we'll disable this requirement temporarily or within the scope needed.
- Navigate to IAM & Admin ➡️ Organization Policies in the Google Cloud Console.
- In the filter bar, search for constraints/compute.requireShieldedVm. Click on the policy named Requires Shielded VM.
- Click MANAGE POLICY.
- Select Customize.
- Under Applies to, choose Customize.
- For Enforcement, select Off.
- Click SAVE. Confirm any prompts about the change.
![An image showing organization policies in the Google Cloud console.]()
Allow External IP Access for VMs: This policy controls whether VM instances can be assigned external IP addresses.
- Navigate back to IAM & Admin ➡️ Organization Policies.
- Search for "constraints/compute.vmExternalIpAccess". Click on the policy named "Define allowed external IPs for VM instances".
- Click "MANAGE POLICY".
- Select "Customize".
- Under Applies to, choose "Customize".
- For Policy values, select "Allow all".
- For Enforcement, select "Replace". (Note: Depending on your organization's setup, you might choose 'Merge with parent' if other rules exist).
- Click "SAVE".

Ensure your user account has the appropriate permissions. For this example, we'll grant the BigQuery Data Owner role (adjust roles based on your specific development needs).
- Navigate to IAM & Admin ➡️ "IAM".
- Click "GRANT ACCESS".
- In the New principals field, enter the email address of your Google Cloud user account.
- In the Select a role field, search for and select "BigQuery Data Owner".
- Click "SAVE".
Creating the Google Cloud Workstation
Setting up a Cloud Workstation involves three key components:
- Workstation Cluster: A regional resource that groups and manages your workstations, connecting them to your VPC.
- Workstation Configuration: A template defining the specifications for workstations created within that cluster (e.g., machine type, disk, environment image).
- Cloud Workstation: The actual virtual Google Cloud development environment instance used by a developer.
Initiate the creation of a new cluster by clicking on CREATE WORKSTATION CLUSTER.
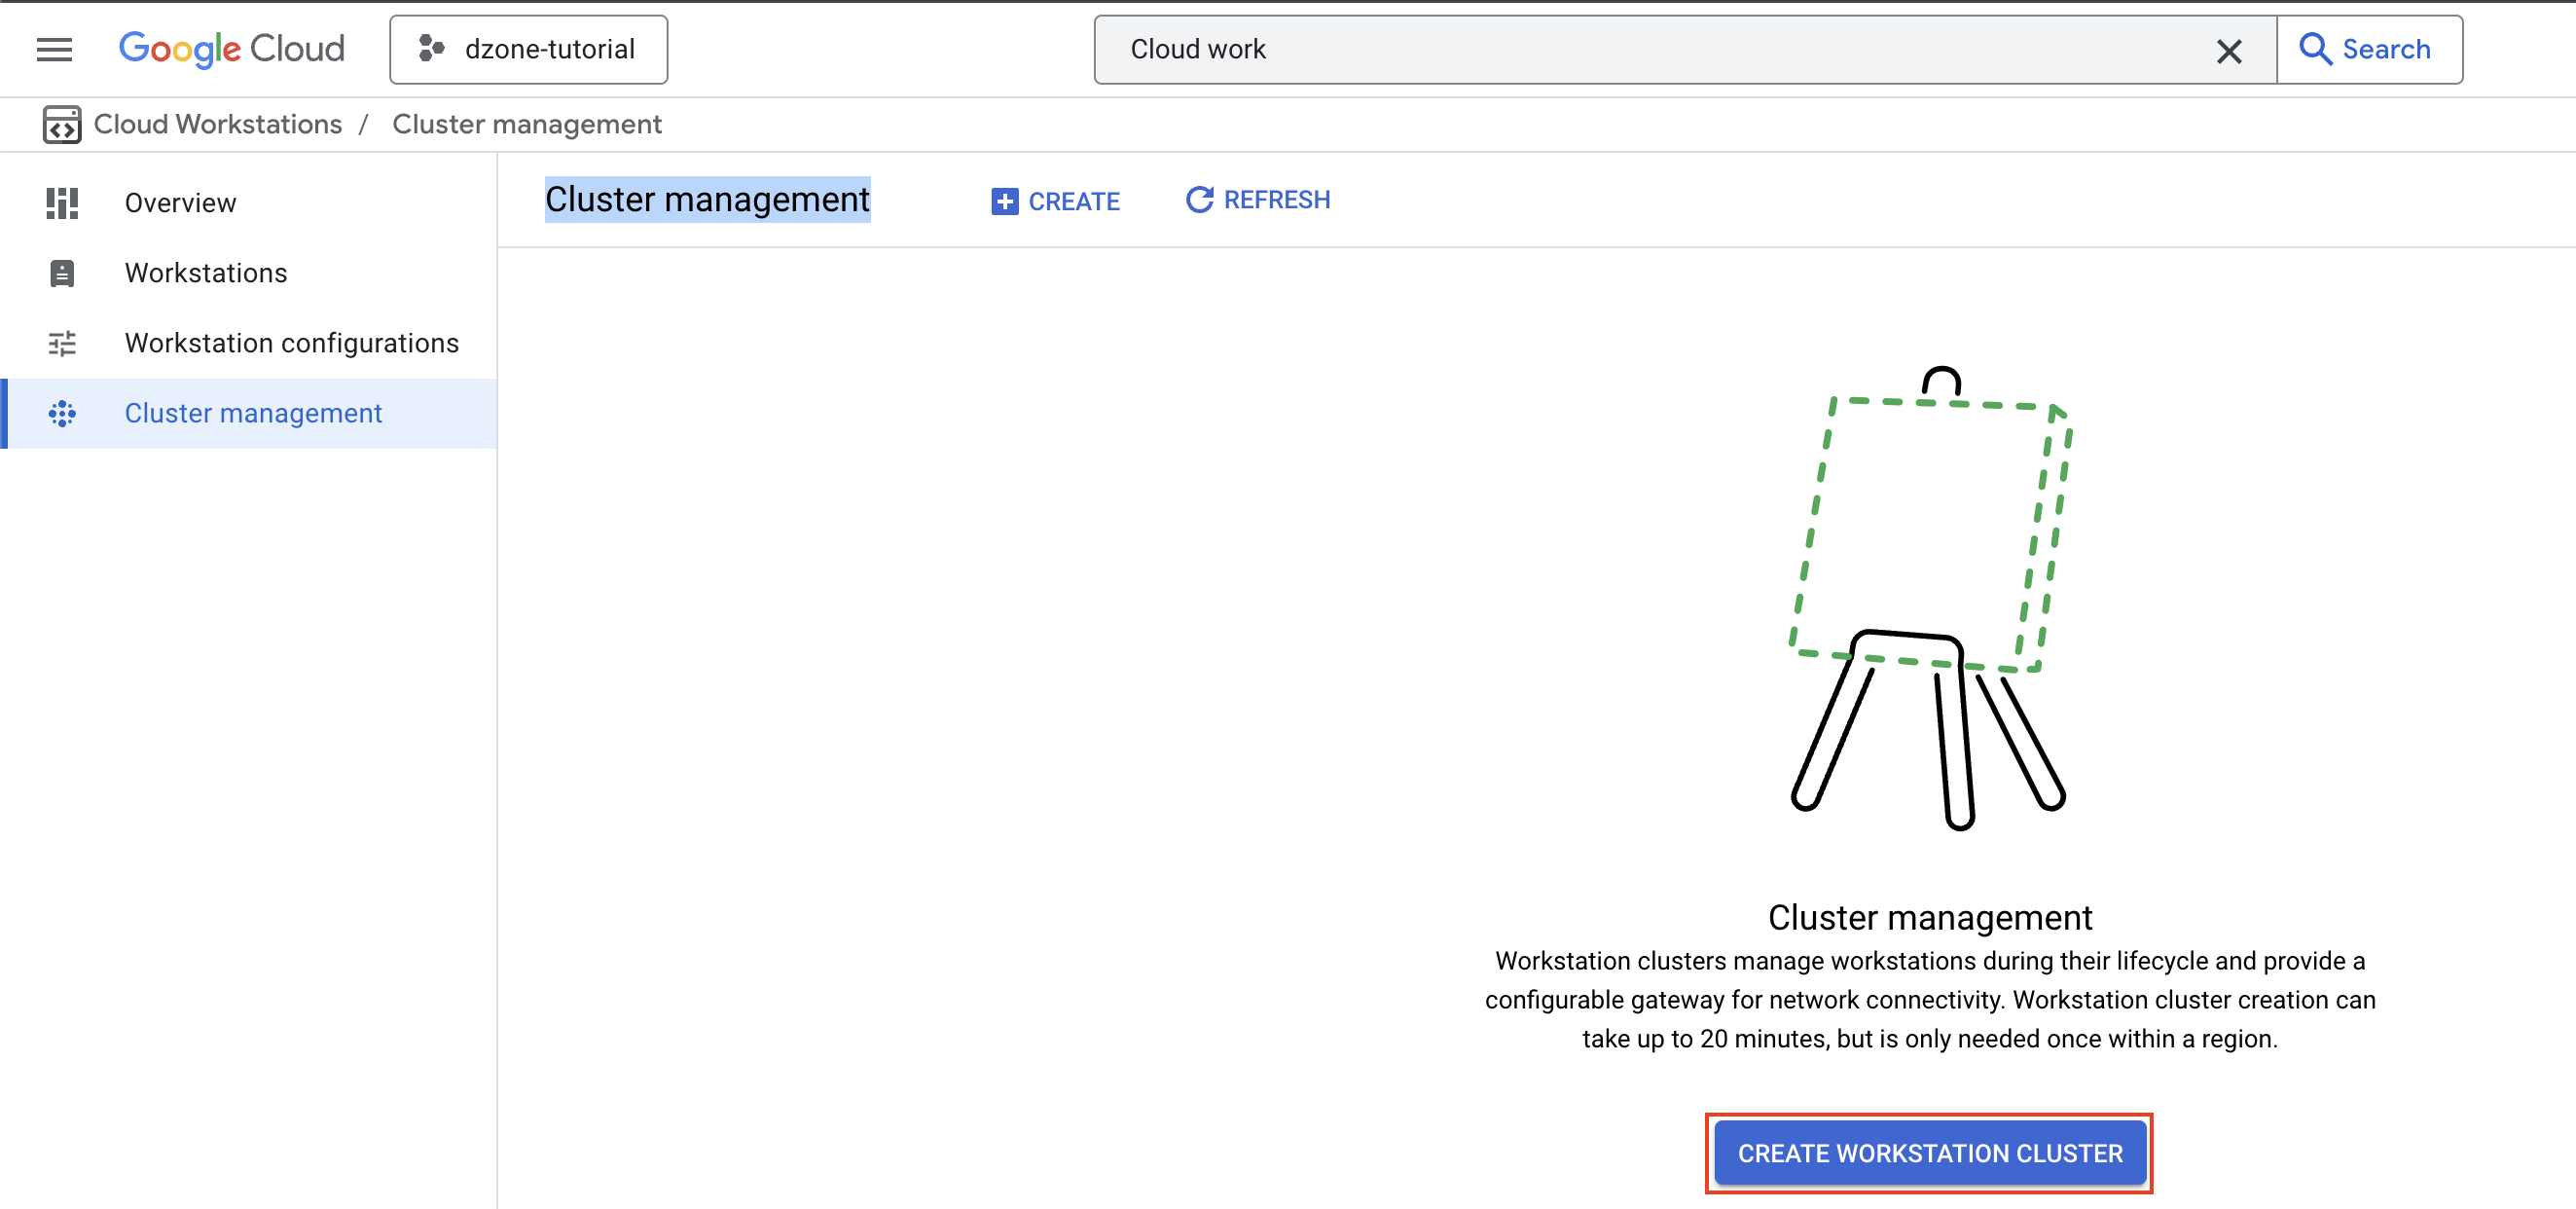
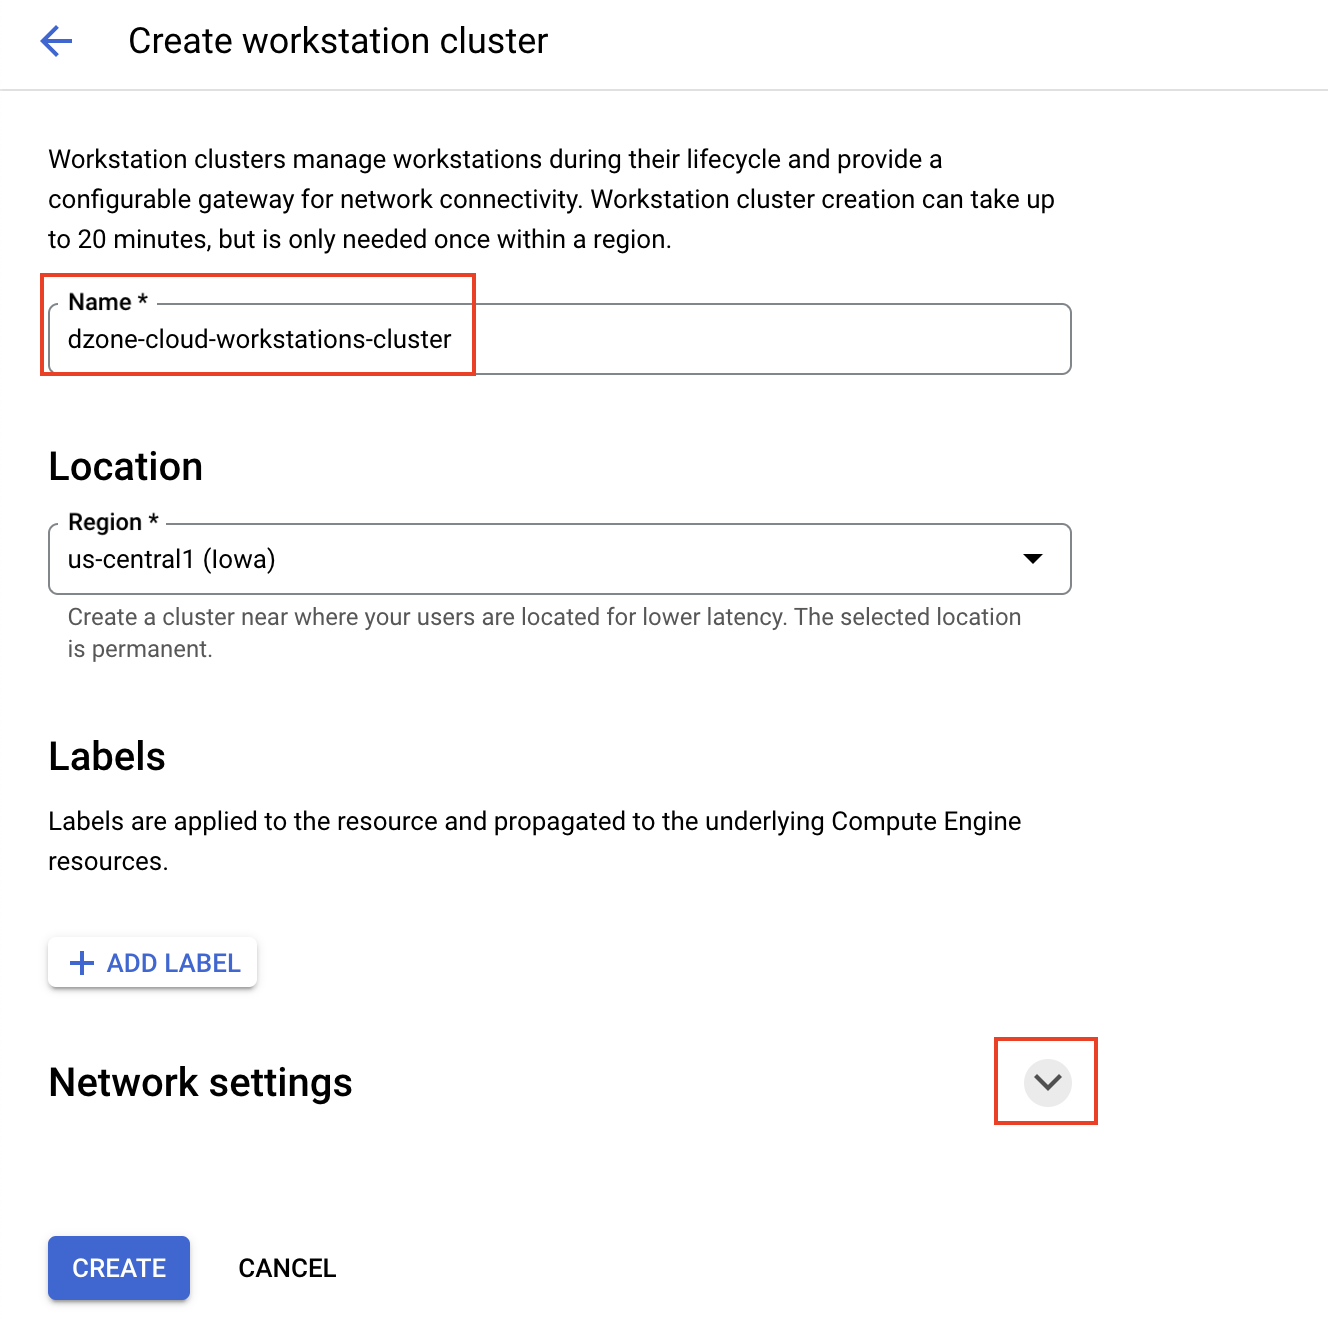
Assign a name to the cluster, for example, "dzone-cloud-workstations-cluster" and expand the Network Settings.
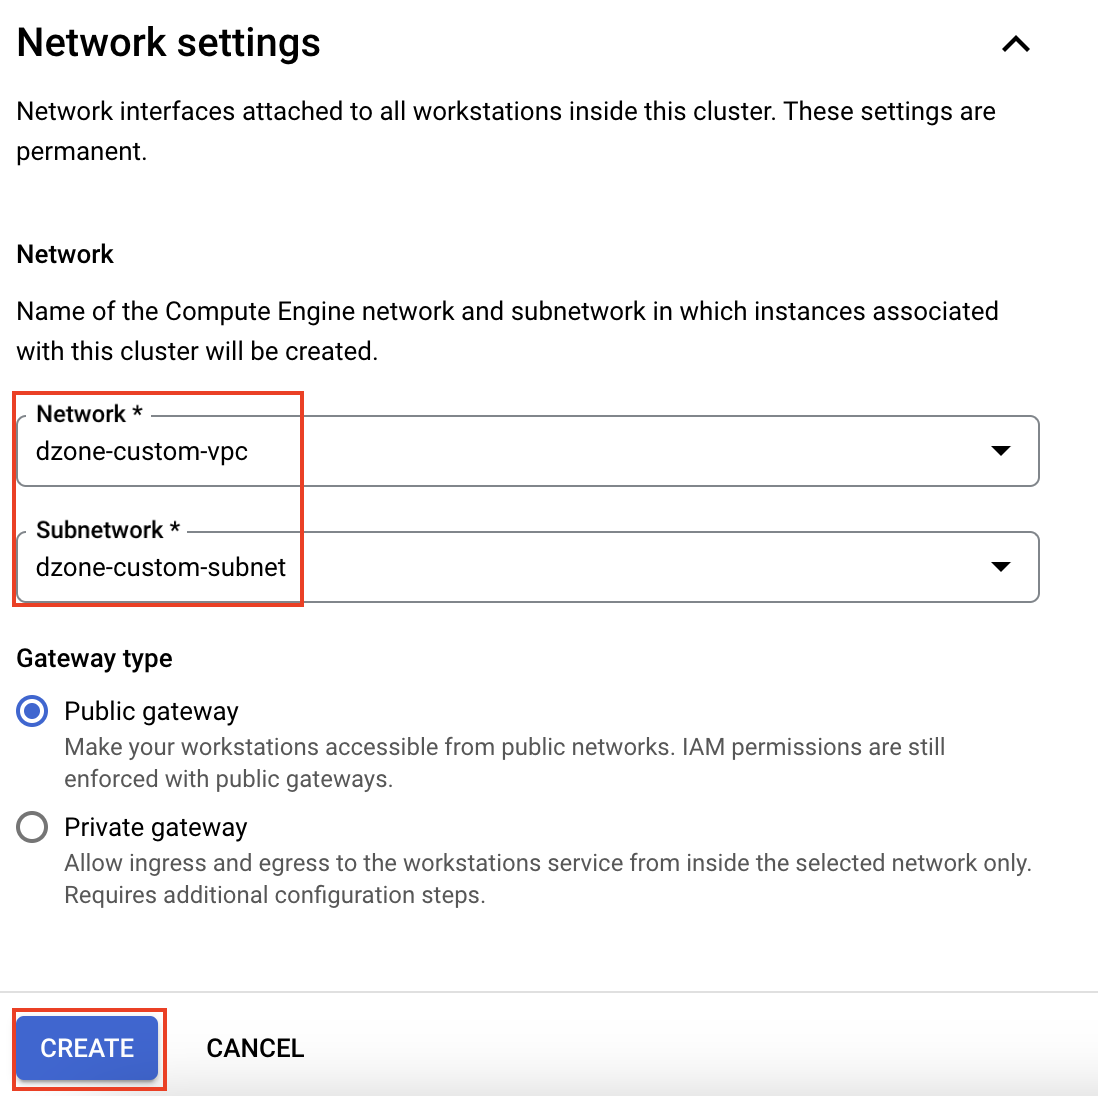
Select your pre-existing custom VPC (in our example it's "dzone-custom-vpc") and the desired subnetwork (in our example it's "dzone-custom-subnet"). Choose "Public Gateway" as the Gateway type to allow outbound internet access from the workstations.
Click "CREATE".
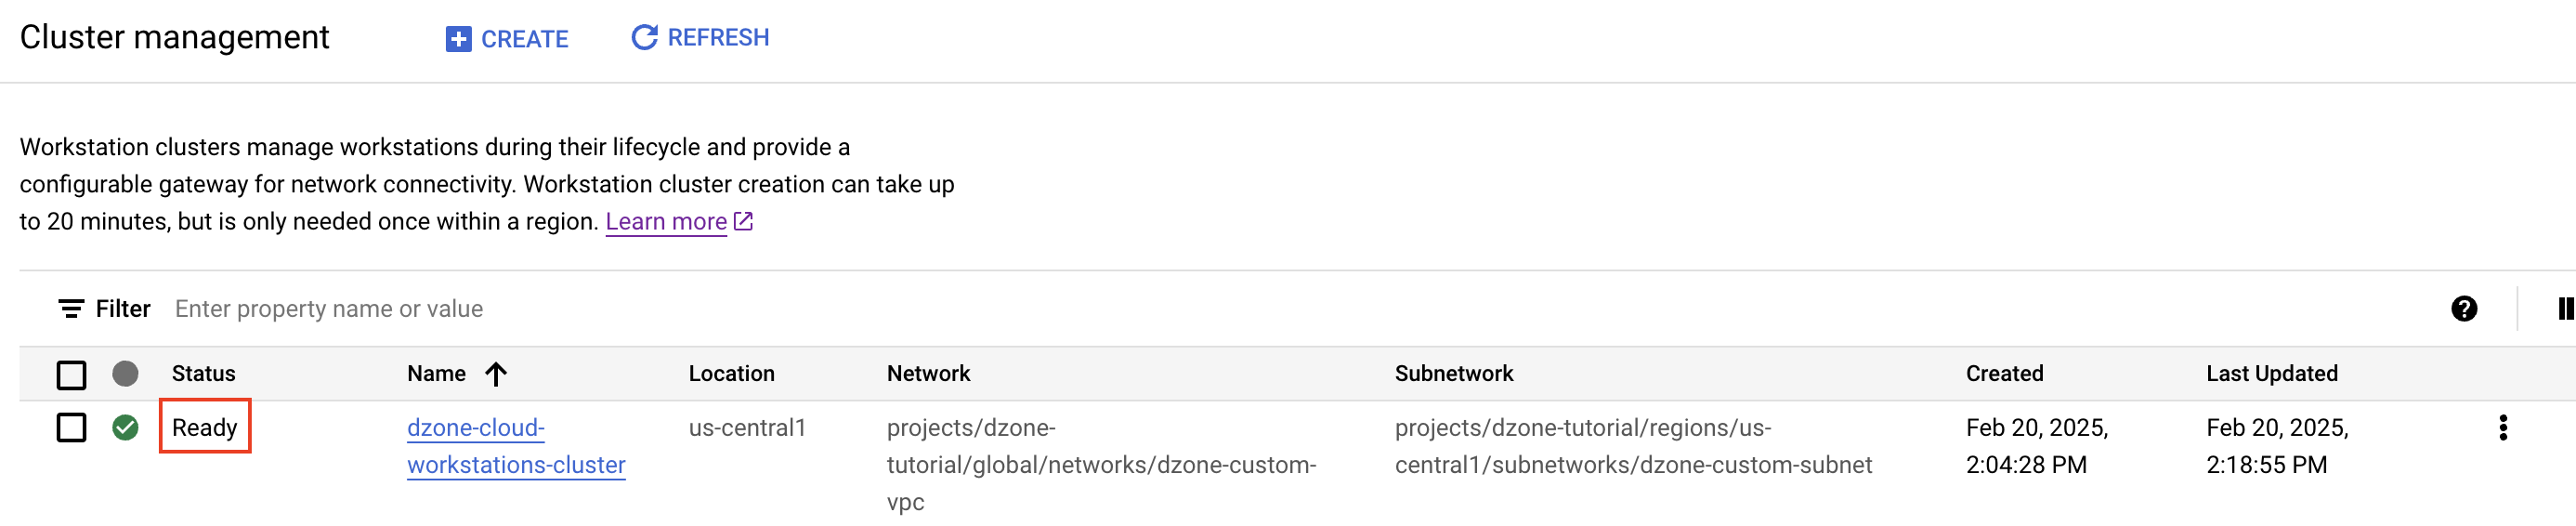
Cluster provisioning may take up to 20 minutes. Wait until the cluster status shows as "Ready" before proceeding.
Workstation Configurations are templates that allow platform teams to define the exact specifications of a developer workstation. These templates define the VM type, storage, container images for development environments and IDEs, and access is managed through IAM.
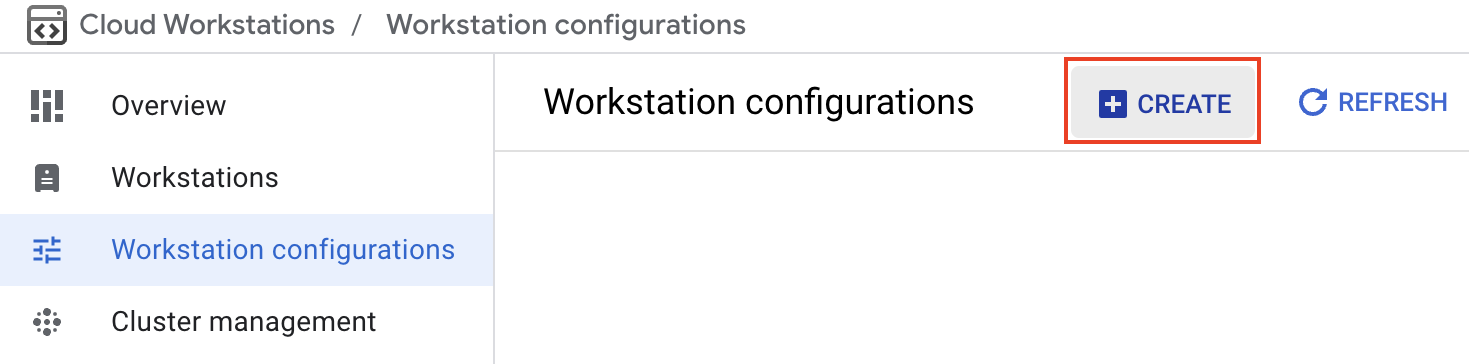
Go to Cloud Workstations ➡️ Workstation configurations and click "CREATE".
Enter a name for the configuration, such as "dzone-cloud-workstations-configuration". Select the cluster created in the previous step, "dzone-cloud-workstations-cluster".

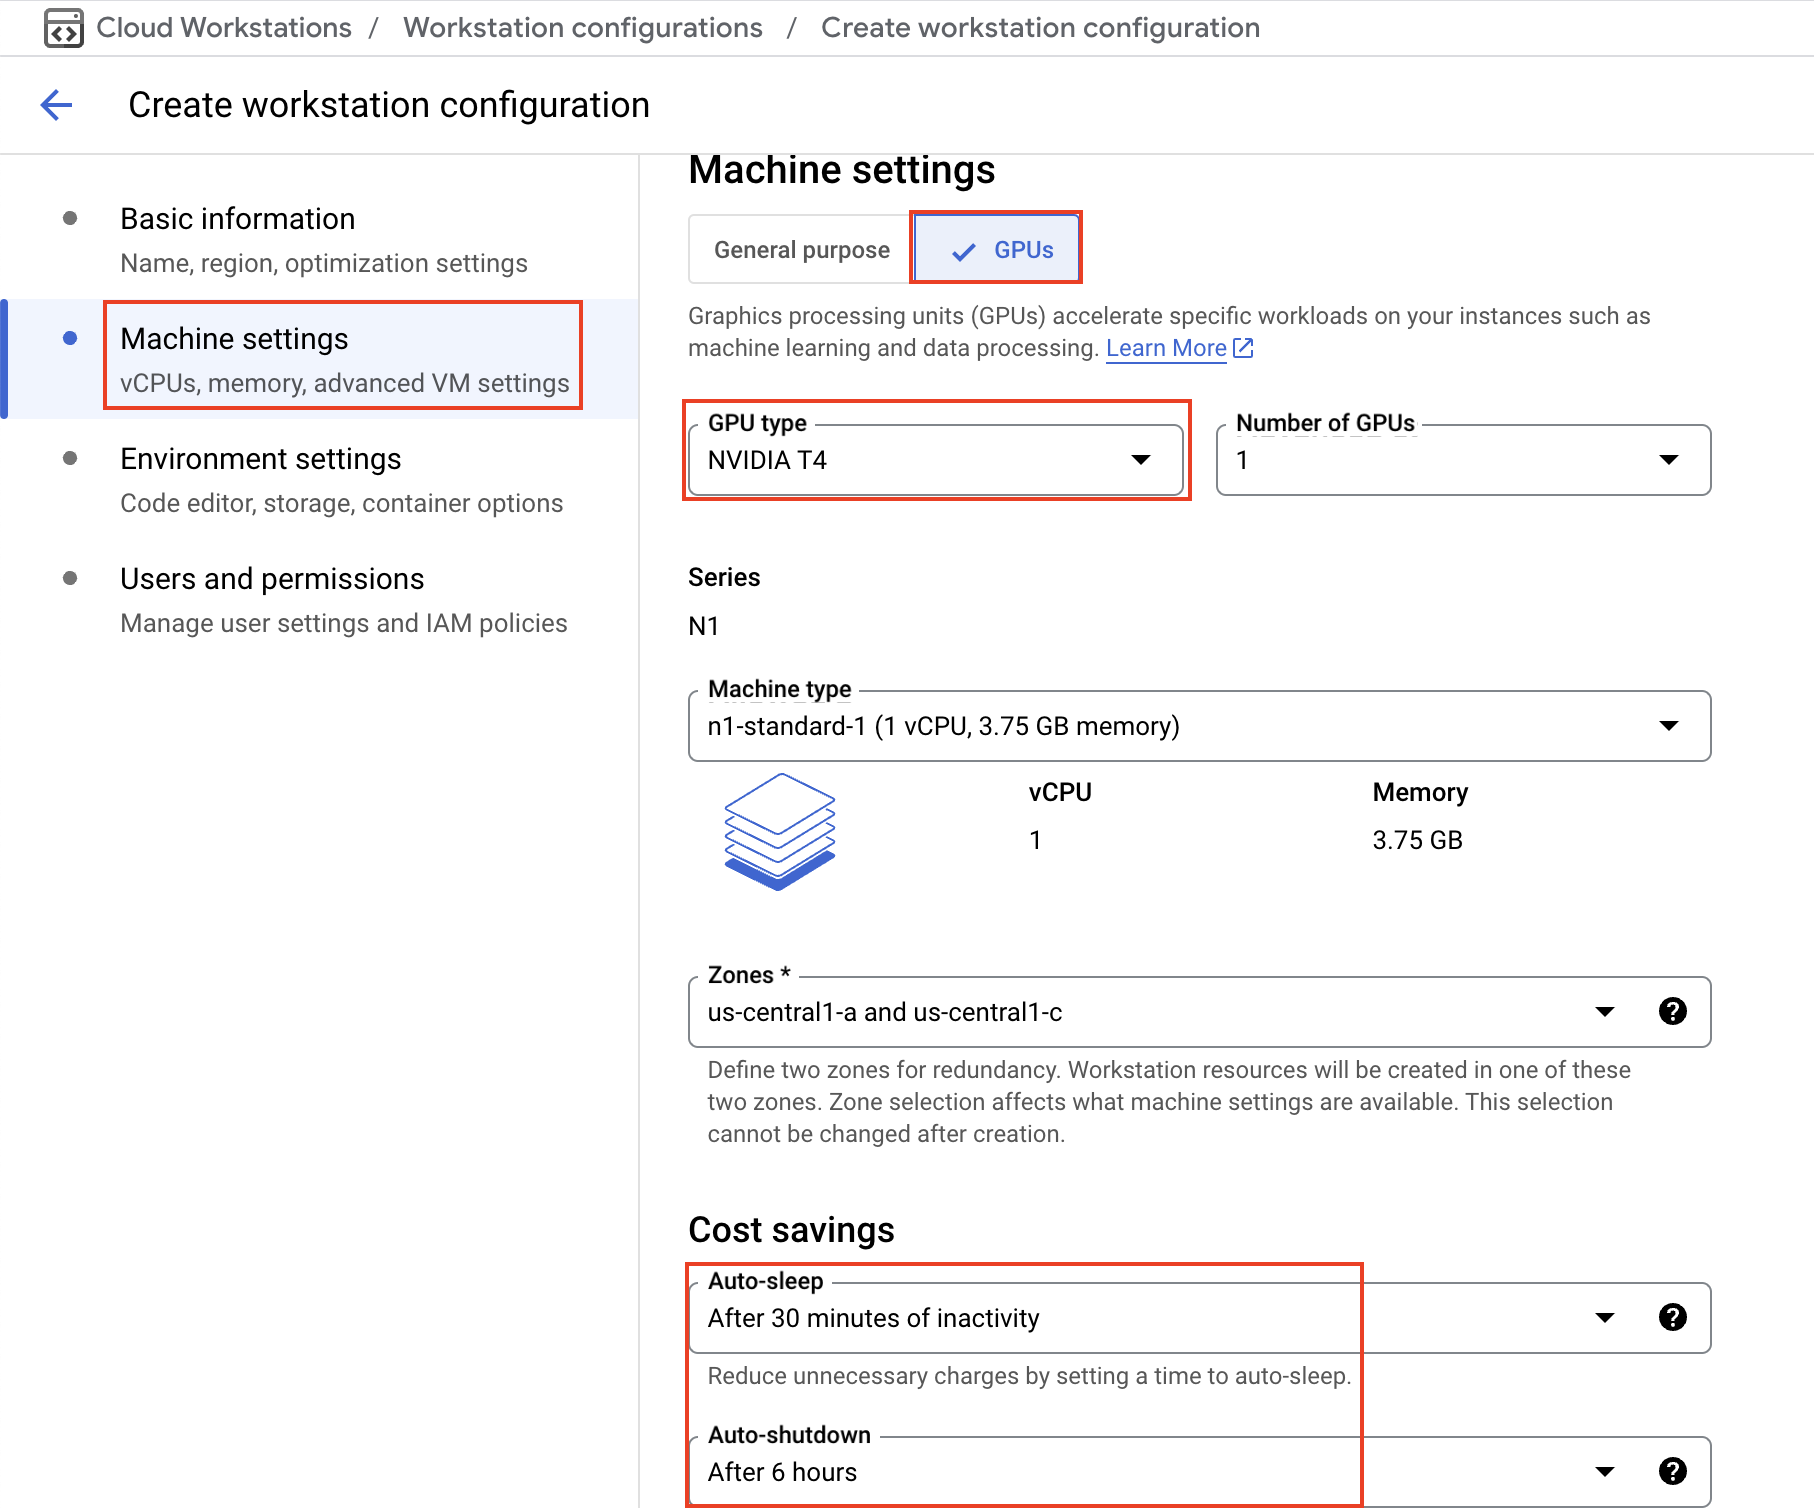
Proceed to Machine Settings:
- To enable GPU support, click "GPUs", select "NVIDIA T4" or any other GPU Type you want to use and ensure the corresponding driver version is selected.
- Choose a suitable machine type (e.g., n1-standard-1).
- Specify the desired availability zones within the cluster's region (e.g., us-central1-a and us-central1-c).
- Configure cost-saving options: set Auto-sleep (e.g., After 30 minutes of inactivity) and Auto-shutdown (e.g., After 6 hours)
![Image showing how to create workstation configuration on Google Cloud.]()
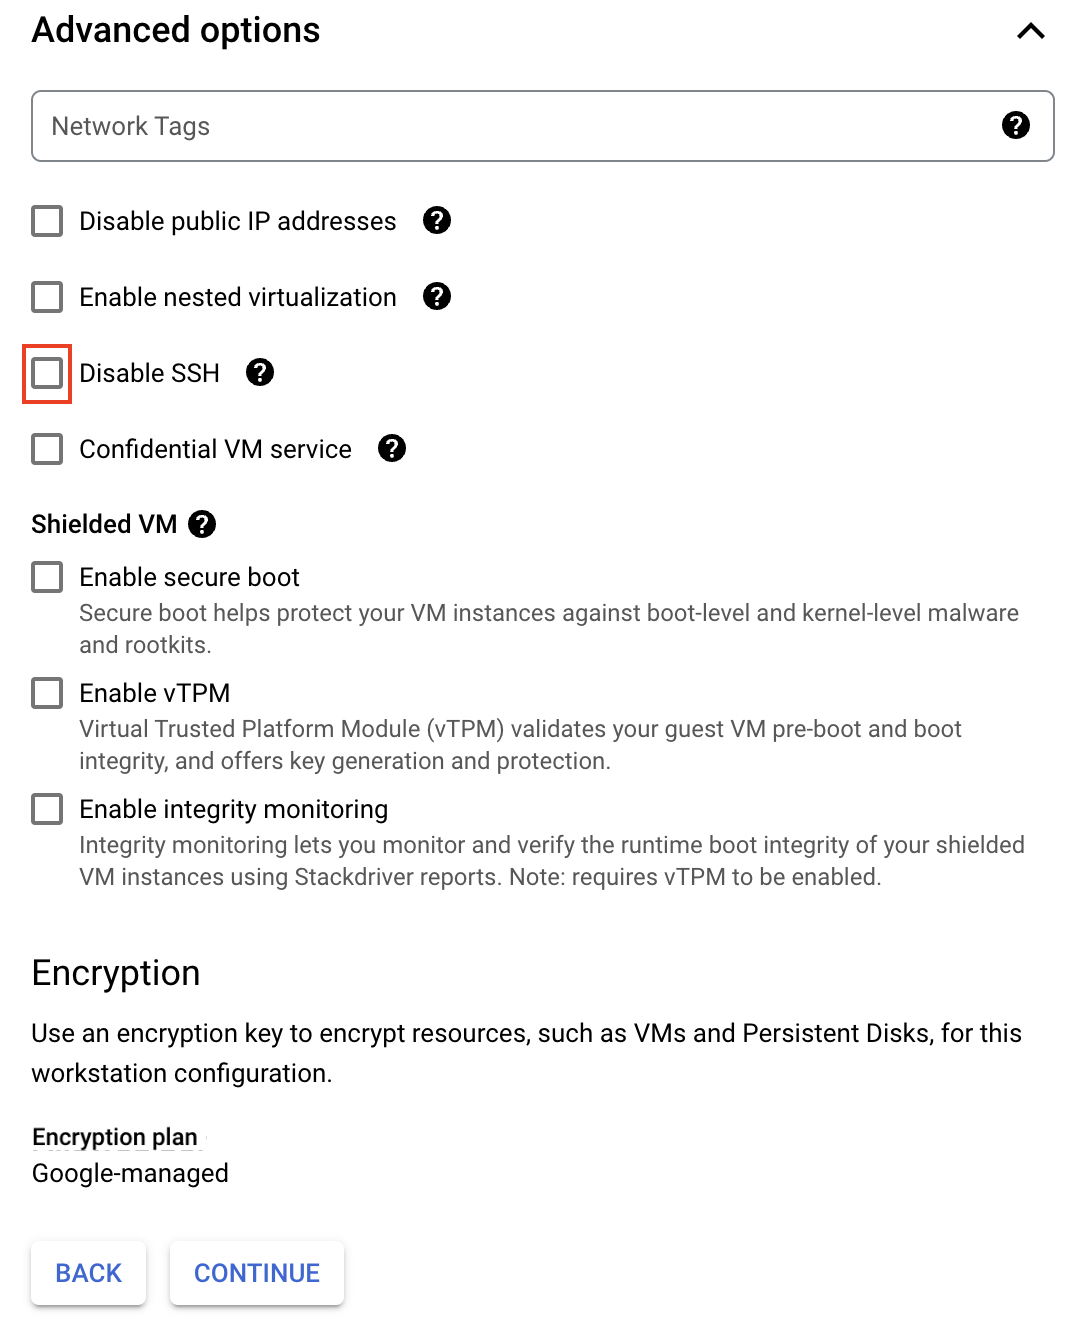
In the Advanced options, ensure Disable SSH access is unchecked if you require direct SSH connectivity.
Configure the Environment settings:
- Under Code editors on base images, select an editor like "Base Editor" (Code OSS for Cloud Workstations).
- Choose the Compute Engine default service account (or a custom one with appropriate permissions) for GCP interactions.
- In the Persistent disk settings, opt to "Create a new empty persistent disk". Select a Disk type (e.g., Balanced) and specify the desired Disk size (e.g., 200GB).
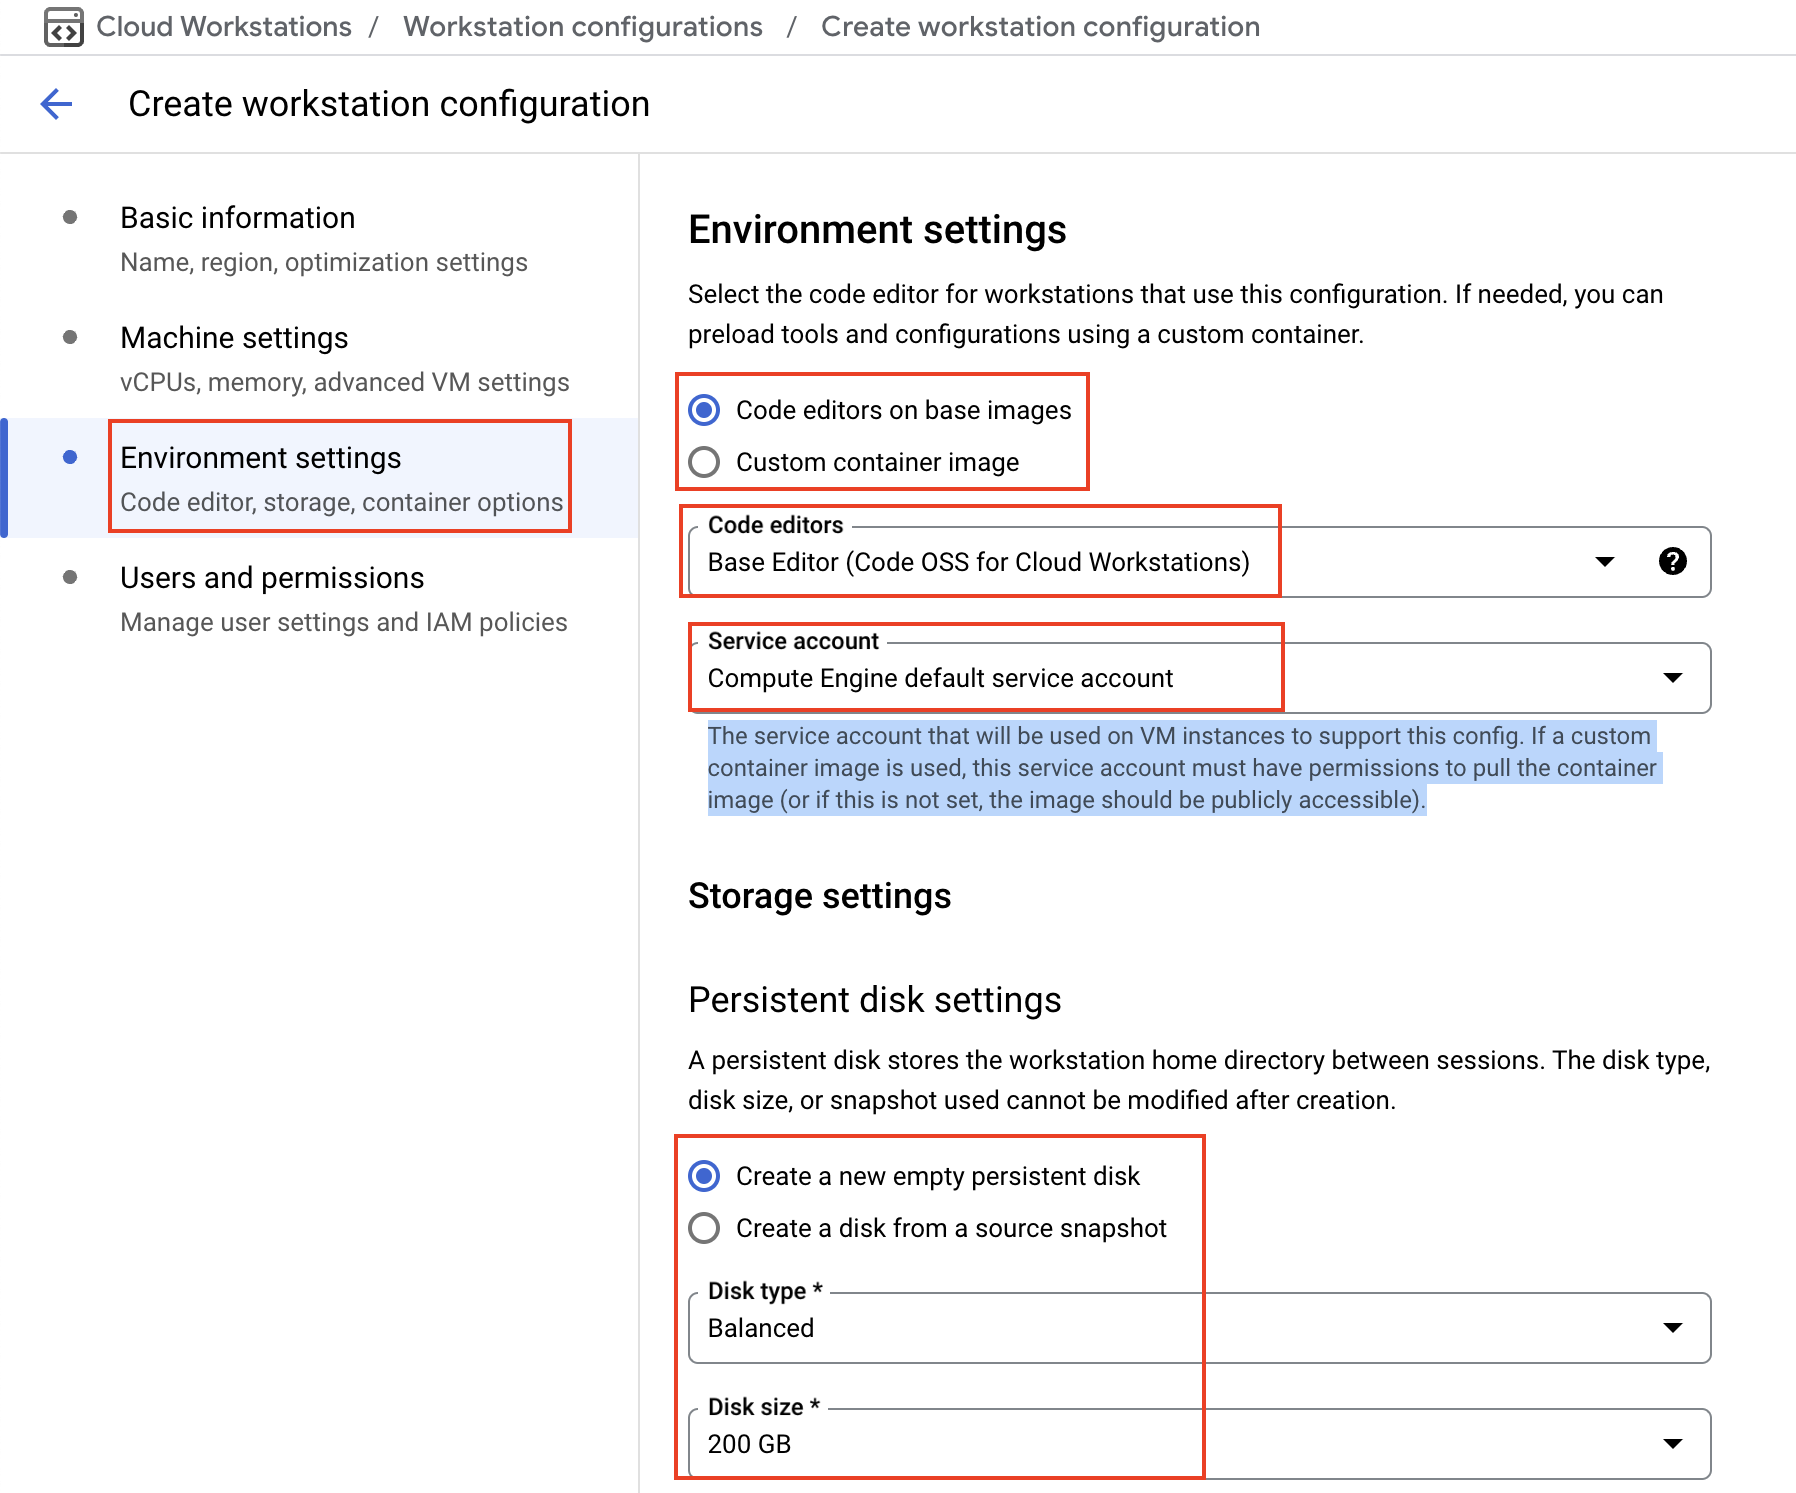
Optionally, configure Users and permissions to grant specific users or groups the ability to create workstations using this configuration. Click "CREATE".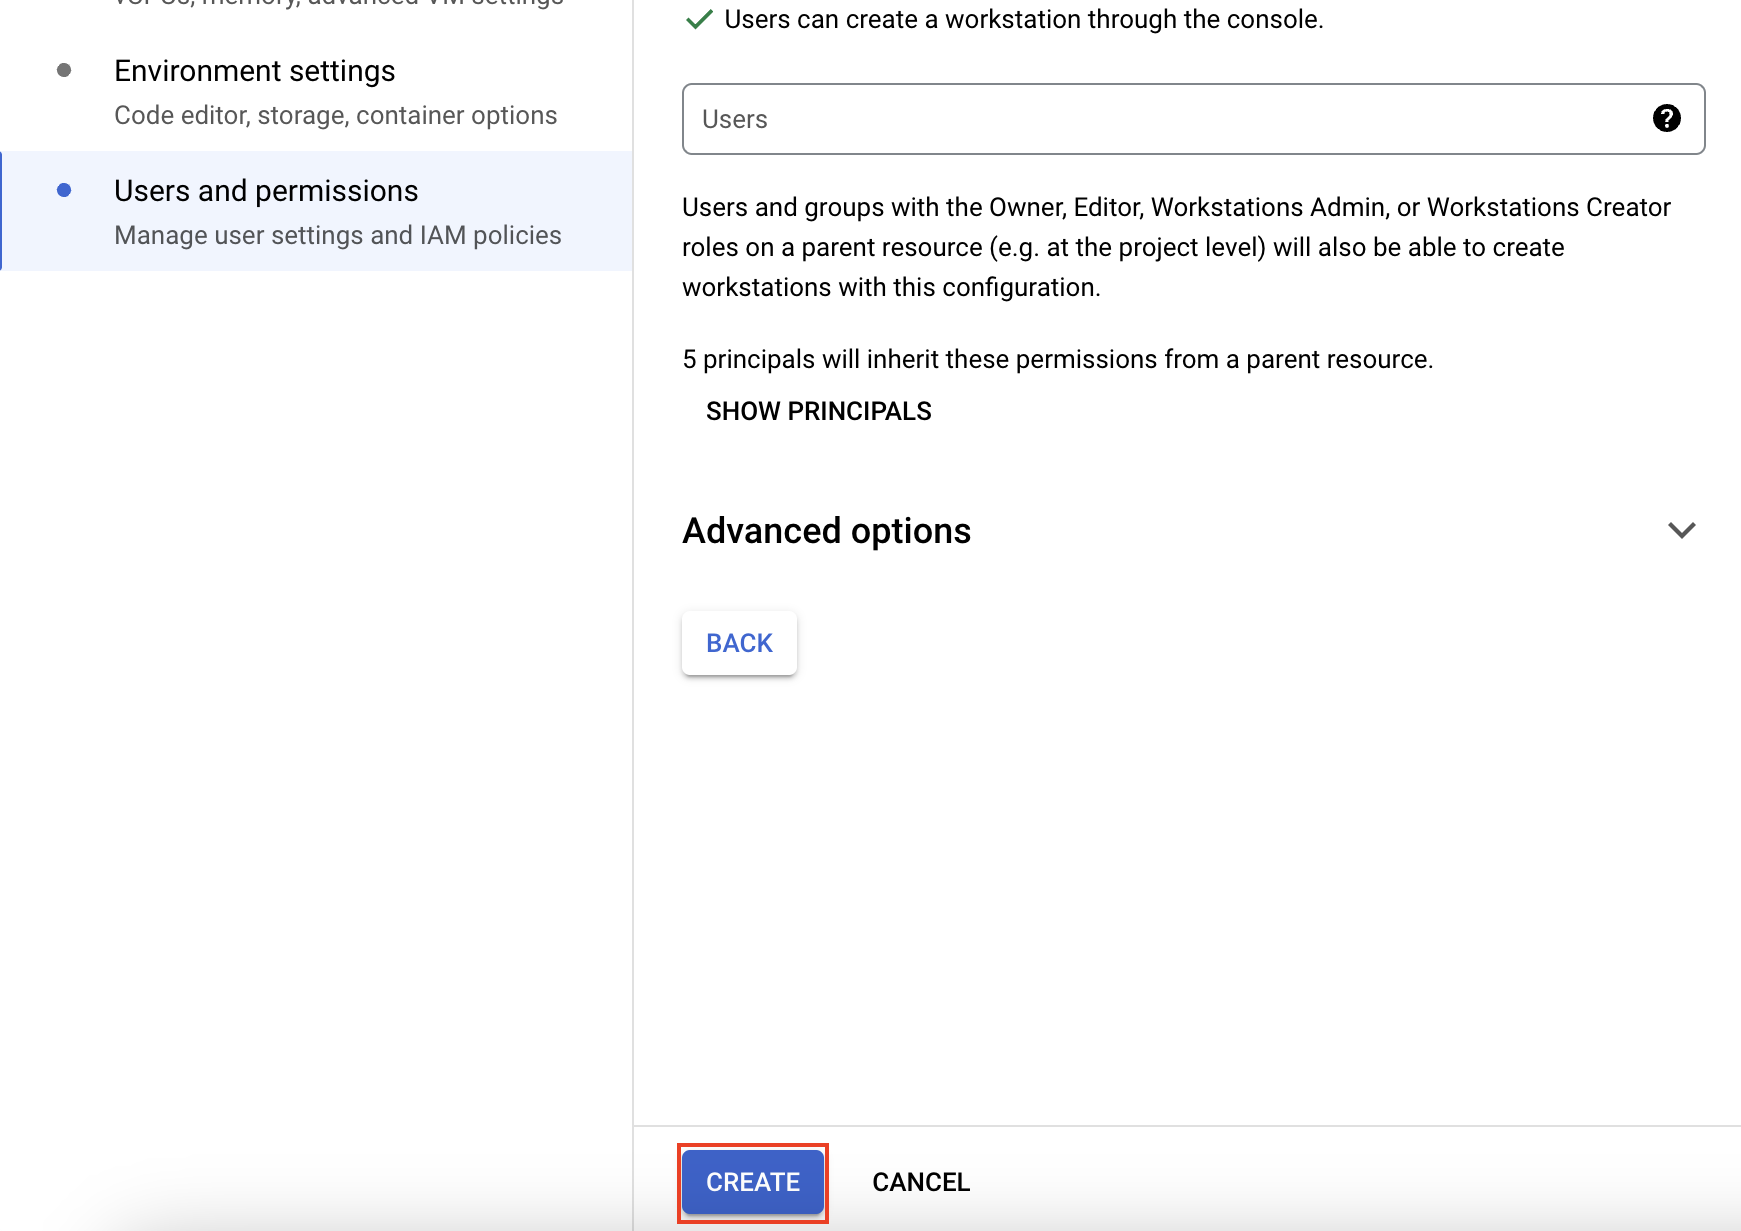
Wait for the configuration status to become "Ready".

Cloud Workstations are fully managed development environments in the cloud. They provide secure, pre-configured workspaces that developers can access anytime, anywhere, to build and deploy applications without worrying about any local setup or maintenance.
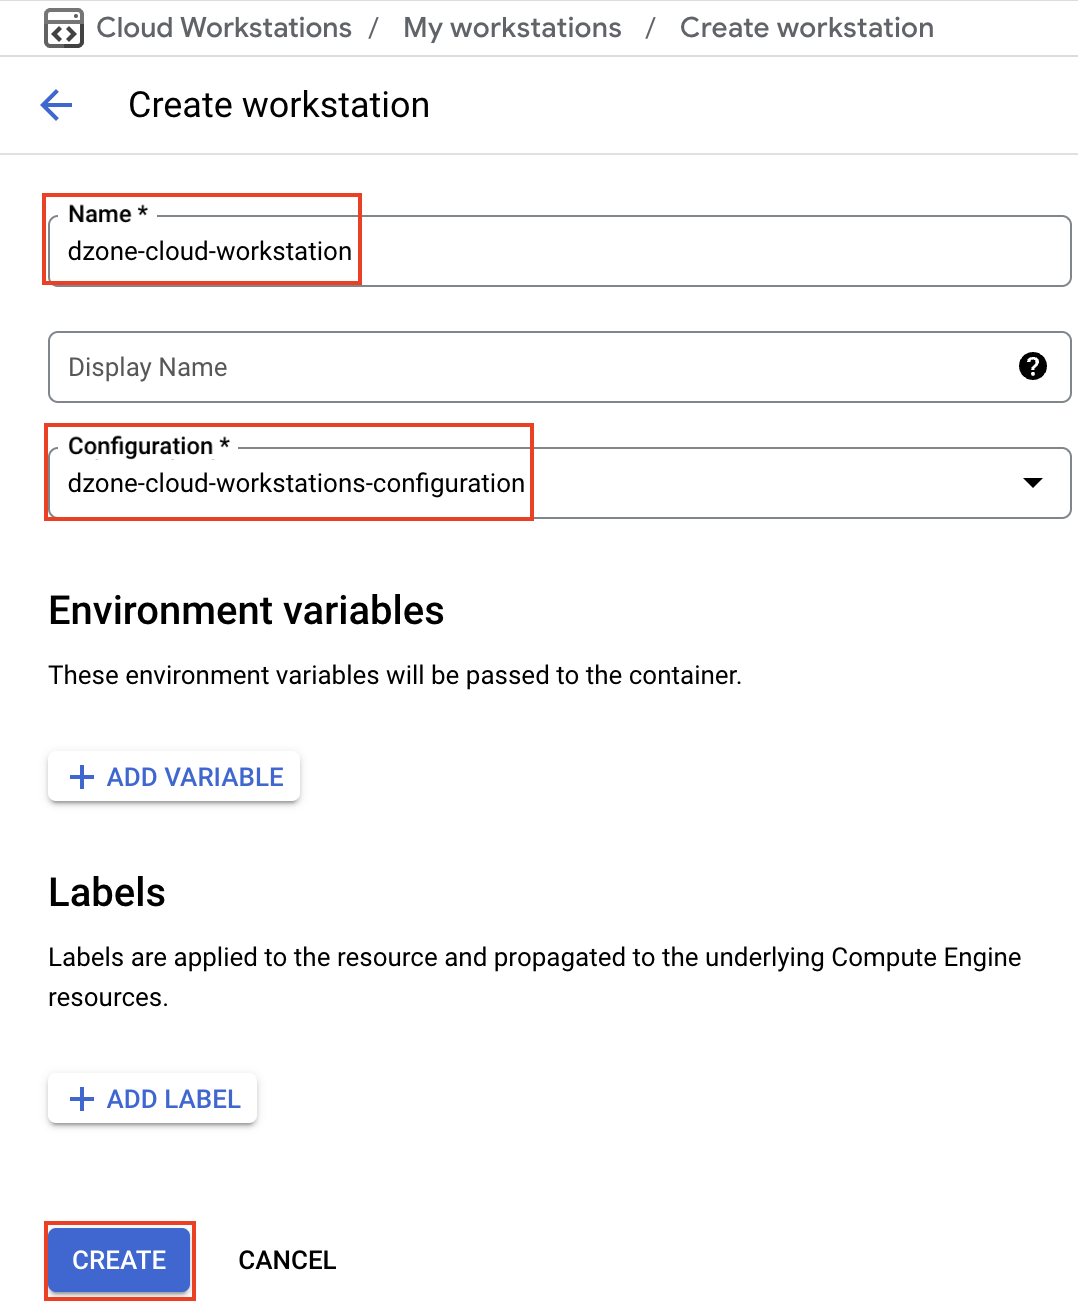
Go to to Cloud Workstations ➡️ Workstations and Click on "CREATE WORKSTATION".

Provide a name for your workstation (e.g., "dzone-cloud-workstation"). Select the configuration template created earlier ("dzone-cloud-workstations-configuration"). Click "CREATE".
Once the workstation is provisioned, click "START" to boot it up.

After it starts, click "LAUNCH" to open the Code OSS web-based IDE in your browser.

Installing the NVIDIA CUDA Toolkit
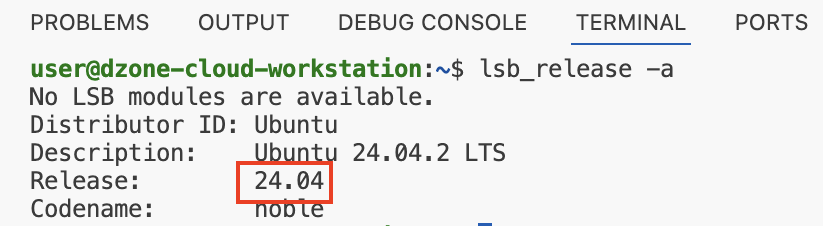
To utilize the GPU, install the CUDA toolkit within the workstation environment. Inside the launched workstation's Code OSS interface, open a new terminal (Menu ➡️ Terminal ➡️ New Terminal).

Verify the base Linux distribution version by running: lsb_release -a. Notice the Ubuntu version is 24.04.
To obtain the appropriate installation commands for the desired CUDA toolkit version (e.g., 12.8) compatible with your workstation's OS from the official NVIDIA CUDA Toolkit documentation. For Ubuntu 24.04 and CUDA 12.8, the commands typically resemble the following:
wget https://developer.download.nvidia.com/compute/cuda/repos/ubuntu2404/x86_64/cuda-keyring_1.1-1_all.deb

sudo dpkg -i cuda-keyring_1.1-1_all.deb

sudo apt-get update

sudo apt-get -y install cuda-toolkit-12-8

sudo apt-get install -y nvidia-open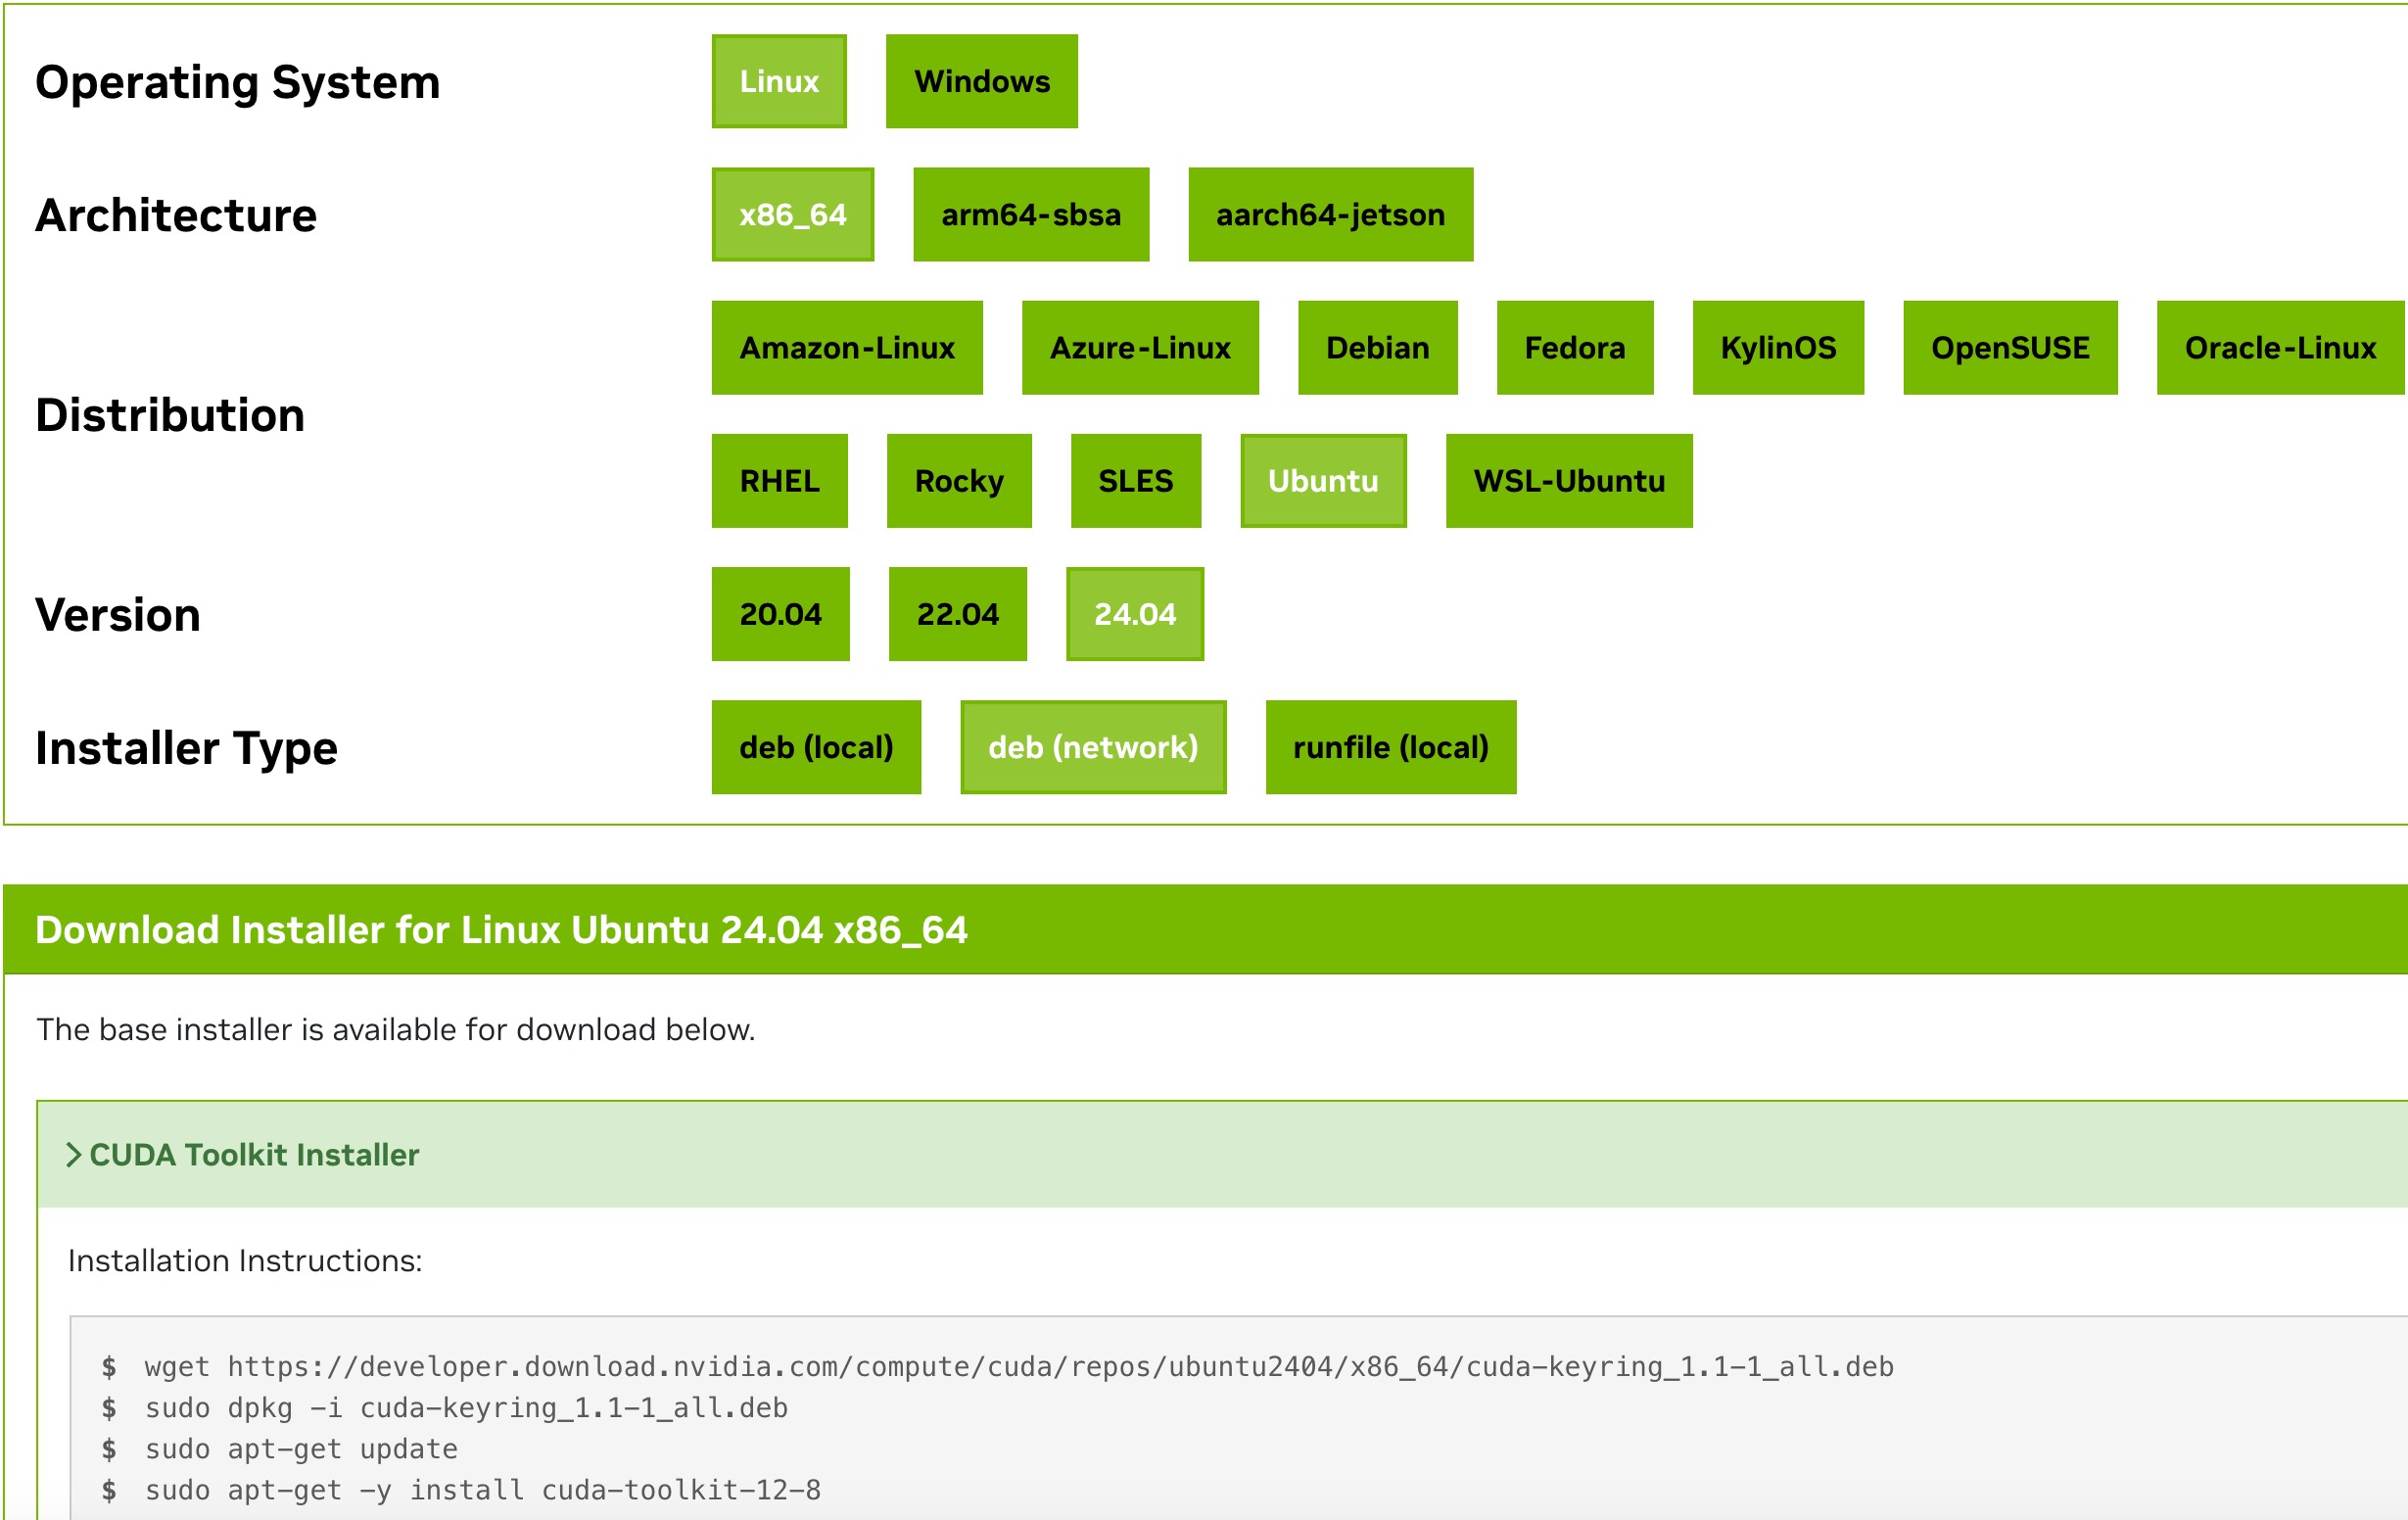
After installation, verify the GPU and driver are recognized by running the command:
nvidia-smi
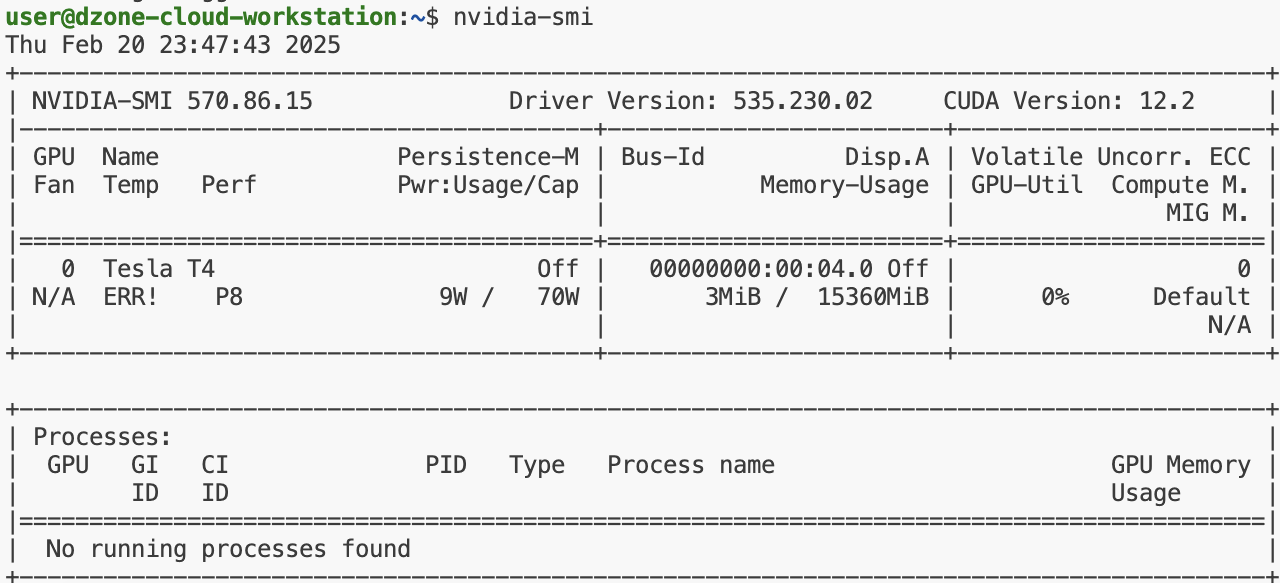
Notice that the CUDA toolkit is available for the Cloud Workstations.
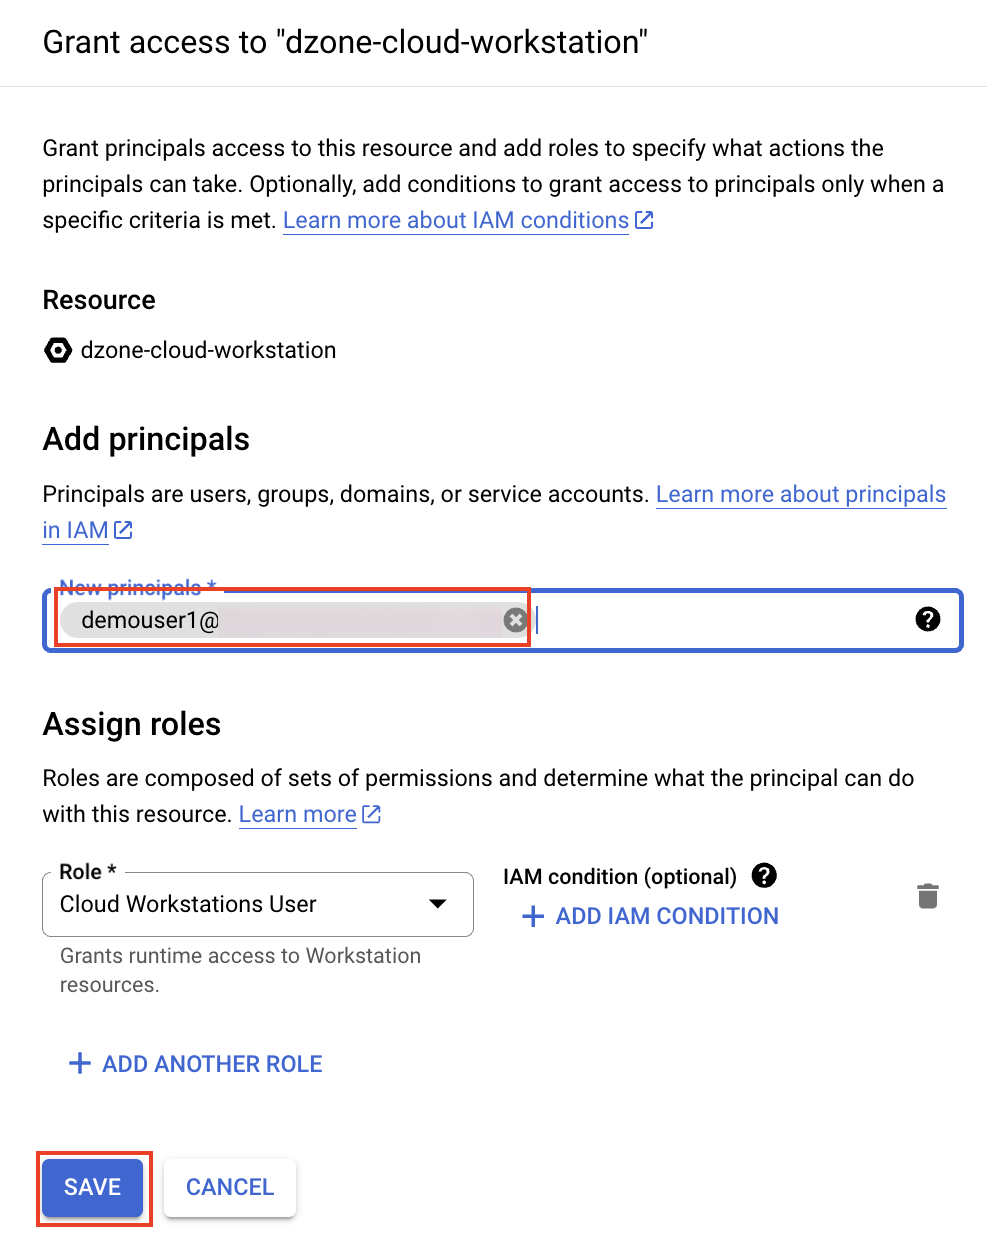
If other users need access to this specific workstation instance, you can add them in the Google Cloud Console.
Click "ADD USERS".
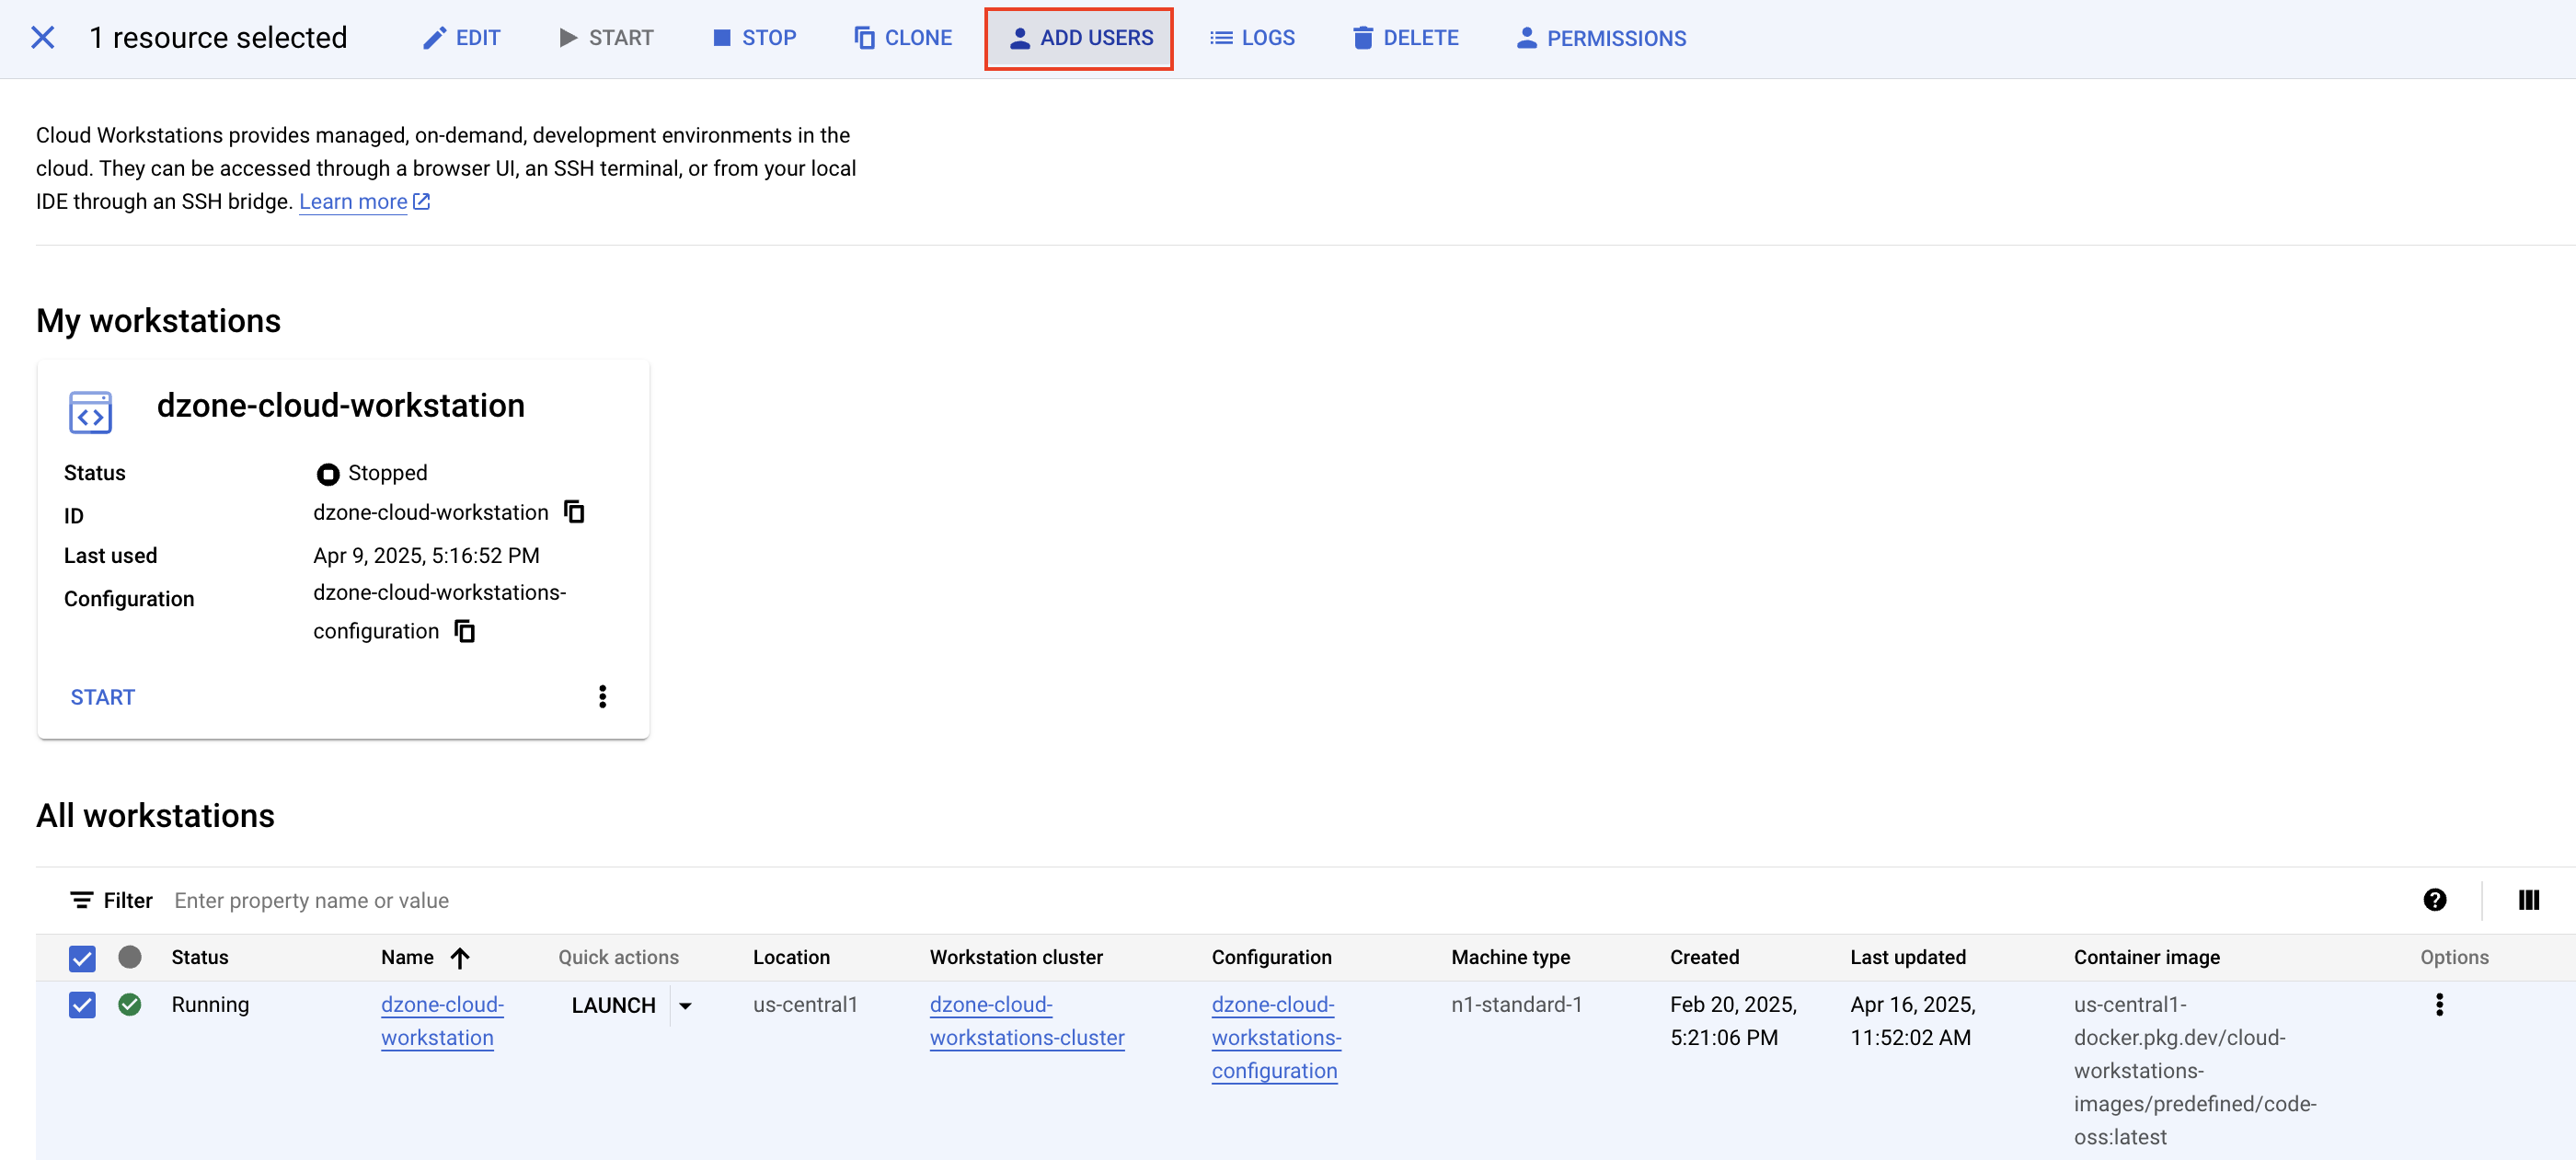
Enter the email addresses of the users and assign them the workstations user "IAM" role for that specific workstation. Click "SAVE".
Setting up Python and Connecting to BigQuery
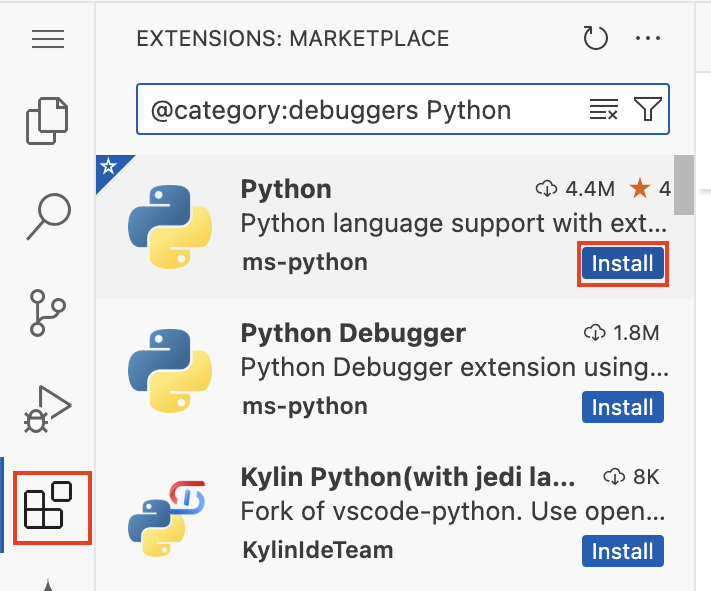
Install Python Extension: In the workstation's Code OSS editor, navigate to the Extensions view (usually on the left sidebar) and search for and install the official Python extension.
Create Python Virtual Environment:
In the workstation terminal:
- Check your Python 3 version: python3 -V (e.g., 3.12.3)
- Install the venv package if missing (adjust version number if needed):
sudo apt update && sudo apt install python3.12-venv - Create a virtual environment:
python3 -m venv .venv - Activate the environment:
source .venv/bin/activate - Install BigQuery Client Library: While the virtual environment is active, install the library:
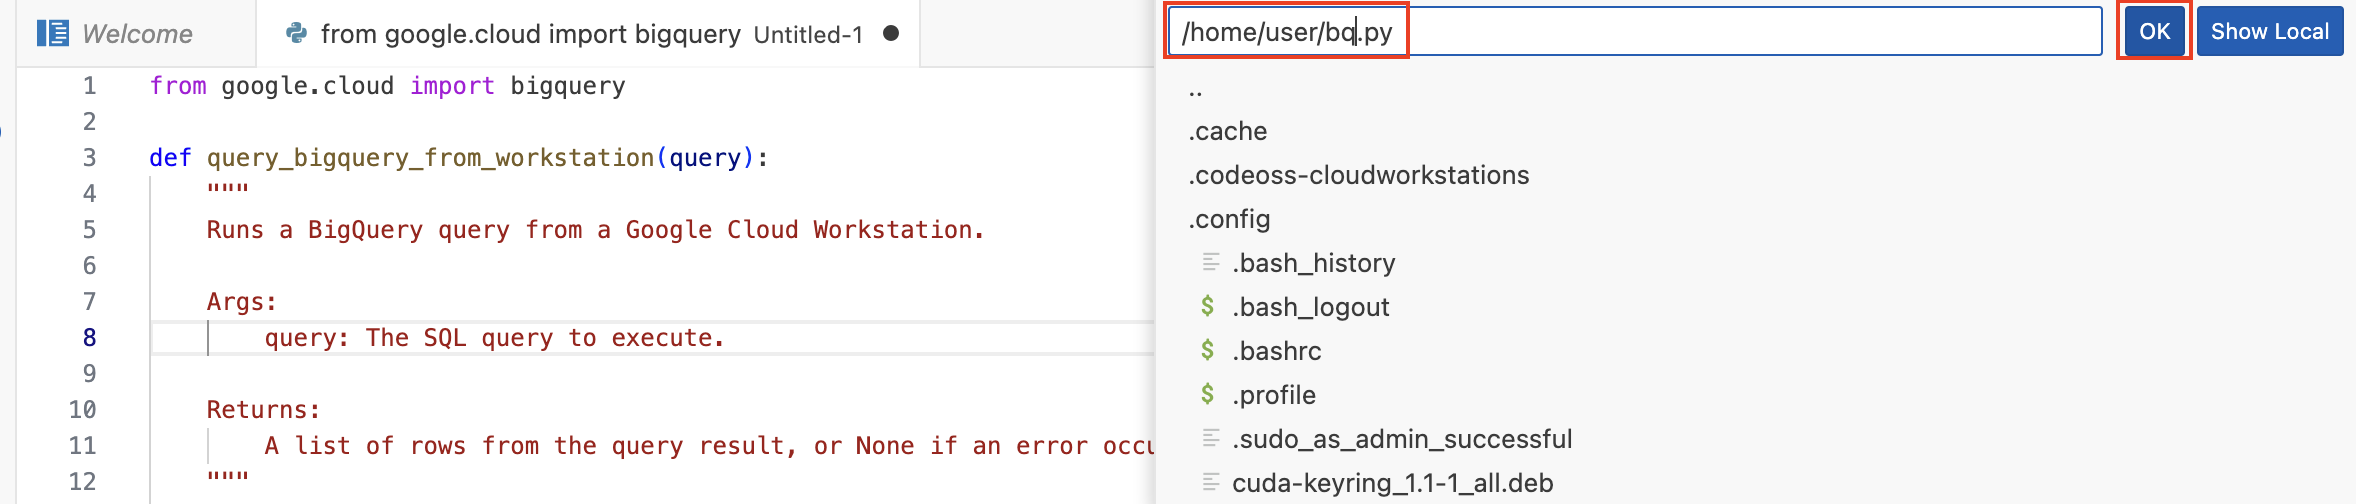
pip install google-cloud-bigquery - Using the Code OSS editor, create a new file (File ➡️ New File),
- Navigate to File ➡️ New File in the Cloud Workstation.

- Select Python as the language.

- Paste the code below to the Python File Created:
from google.cloud import bigquery

def query_bigquery_from_workstation(query):
    """
    Runs a BigQuery query from a Google Cloud Workstation.

    Args:
        query: The SQL query to execute.

    Returns:
        A list of rows from the query result, or None if an error occurs.
    """
    try:
        # On a Google Cloud Workstation
        # should work automatically.
        client = bigquery.Client()
        query_job = client.query(query)
        results = query_job.result()
        return list(results)

    except Exception as e:
        print(f"An error occurred: {e}")
        return None

# Sample Query
query = """
    SELECT
        COUNT(*) as total_rows
    FROM
        `bigquery-public-data.geo_us_boundaries.zip_codes`
"""

results = query_bigquery_from_workstation(query)

if results:
    for row in results:
print(f"Total rows in zip_codes tables: {row.total_rows}")- Save the file as "bq.py".
If successful, the script will authenticate using the ADC you just set up and print the total number of rows found in the public zip codes table.
To allow your script to access Google Cloud services, authenticate using Application Default Credentials (ADC). Run the command :
gcloud auth application-default login
Open the provided URL in a browser, authenticate with your Google account that has permissions for BigQuery, and paste the verification code back into the terminal.

Execute your Python script.
python3 bq.py

If successful, the script will authenticate using the ADC you just set up and print the total number of rows found in the public zip codes table in BigQuery.
Summary
Google Cloud Workstations offer a powerful solution for developers by providing managed, secure, and customizable cloud-based development environments. This approach standardizes setups across teams and removes the burden of local machine configuration.
This guide detailed the practical steps for deploying a high-performance Cloud Workstation equipped with GPU capabilities (NVIDIA T4) within a specific Google Cloud network (custom VPC and subnet). It walked you through creating the necessary workstation cluster and configuration template, launching the Google Cloud workstation instance, installing the NVIDIA CUDA toolkit for GPU acceleration, and setting up a Python environment to interact with Google BigQuery.
By authenticating using Application Default Credentials, the workstation successfully queried BigQuery datasets, demonstrating a complete workflow suitable for developers or data scientists needing robust, cloud-based computational resources for demanding tasks.
Opinions expressed by DZone contributors are their own.
Comments