Custom Domains for HTTP/2 on Heroku
Learn how to set up a custom domain with HTTPS on Heroku in just a few minutes and take advantage of HTTP/2 support for better site performance.
Join the DZone community and get the full member experience.
Join For FreeSeveral months ago, Heroku announced HTTP/2 support from browser to router. This is pretty awesome, as it means our Heroku applications can now reap the benefits of multiplexing and stream prioritization. It looks like Heroku’s roadmap will eventually get HTTP/2 all the way to the dyno, which means we’ll get gRPC down the road, too. Sweet.
But, as I read the announcement more closely, I noticed something that’s worth paying attention to:
In the Common Runtime, we support HTTP/2 on custom domains, but not on the built-in <app-name-cff7f1443a49>.herokuapp.com domain.
I really enjoy the convenience of getting a quick herokuapp.com URL and immediate SSL support. This is great for spinning up prototypes or POCs to share with clients for feedback. However, if I want to take advantage of the improved speeds that come with HTTP/2 on Heroku, I’ll need to use a custom domain.
I wanted to walk through the steps to gauge how much more work this would involve. As it turns out, the additional effort to get a custom domain so that I can leverage HTTP/2 is minimal.
Since I was already documenting the process for myself, I decided to write it up here to help out other developers who want to use HTTP/2 on Heroku.
Introduction to Our Basic Application
For our application, I wanted to spin up a simple framework example app, so I went with SvelteKit. It’s easy to bootstrap, and it has a smooth-looking getting-started application. I followed the instructions here to initialize a new project:
~$ npm create svelte@latest http2-app
~$ cd http2-app
~/http2-app$ npm install
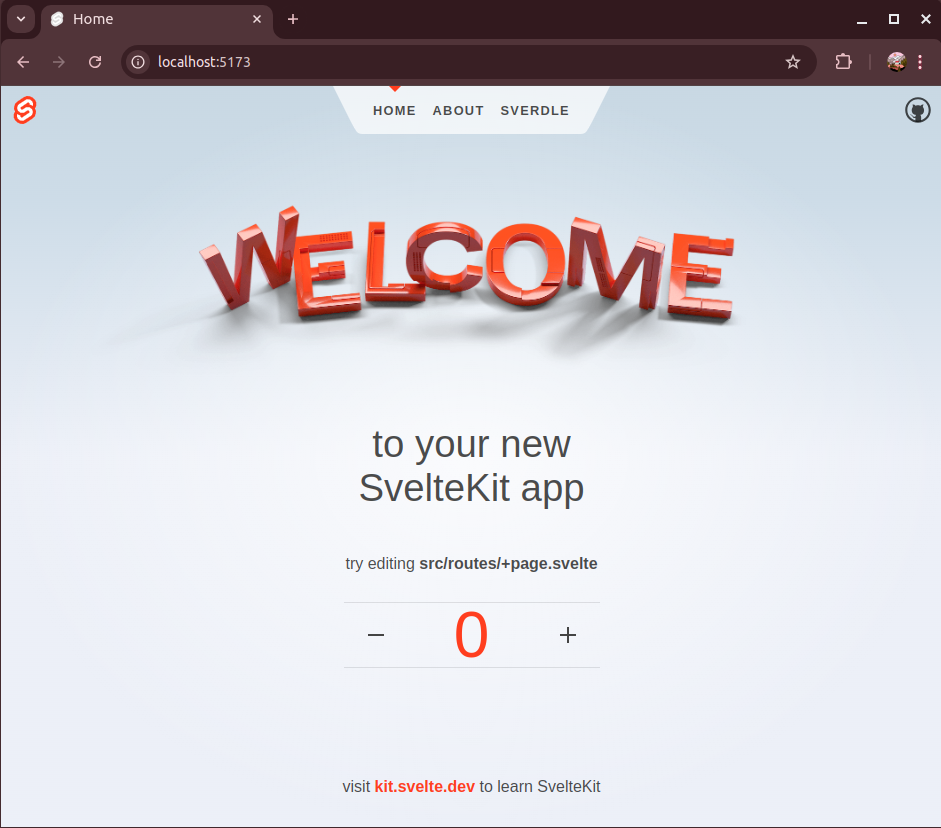
~/http2-app$ npm run devThis uses Vite to serve the SvelteKit application on port 5173, which looks like this in the browser:
Deploy the Application to Heroku
Next, I deployed the application to Heroku. To do this, I made a few changes to the package.json file. First, I changed all devDependencies to be dependencies. Then, I updated the dev script to look like this:
"dev": "vite dev --port=$PORT --host",The --port flag sets the port that Vite will use for the server to match the PORT environment variable, which is set by Heroku on the dyno in real-time. Then, the --host flag exposes the application for access via the network.
Lastly, I added a Procfile to the root folder for my project. This file tells Heroku what command to run when spinning up the application. The file contains one simple line:
web: npm run devI used the Heroku CLI to log into Heroku and create my app.
~/http2-app$ heroku login

~/http2-app$ heroku apps:create sveltekit

Creating ⬢ sveltekit... done
https://sveltekit-f84a7460b41b.herokuapp.com/ | https://git.heroku.com/sveltekit.git
Next, I pushed my repo code with the SvelteKit application.
~/http2-app$ git push heroku main

Enumerating objects: 48, done.
Counting objects: 100% (48/48), done.
Delta compression using up to 8 threads
Compressing objects: 100% (44/44), done.
Writing objects: 100% (48/48), 532.77 KiB | 21.31 MiB/s, done.
Total 48 (delta 1), reused 4 (delta 0)
remote: Updated 35 paths from b242729
remote: Compressing source files... done.
remote: Building source:
...
remote: -----> Build succeeded!
remote: -----> Discovering process types
remote: Procfile declares types -> web
remote:
remote: -----> Compressing...
remote: Done: 69.3M
remote: -----> Launching...

remote:        Released v3

remote:        https://sveltekit-f84a7460b41b.herokuapp.com/ deployed to Heroku

remote:

remote: Verifying deploy... done.
Check the Heroku App in Browser and Network Inspector
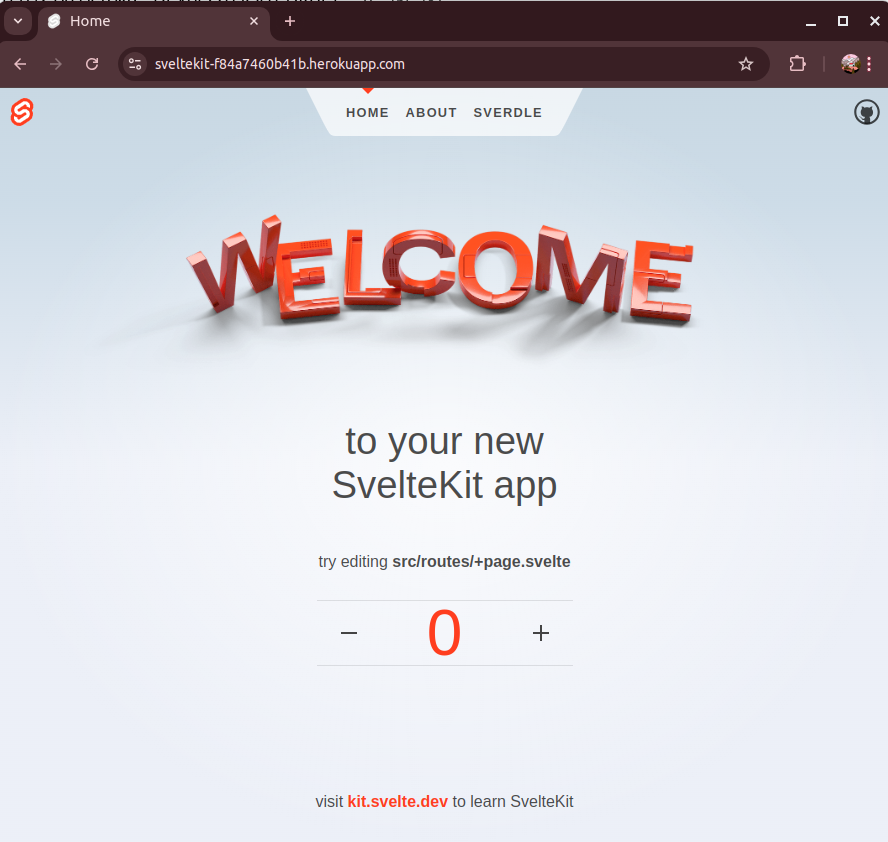
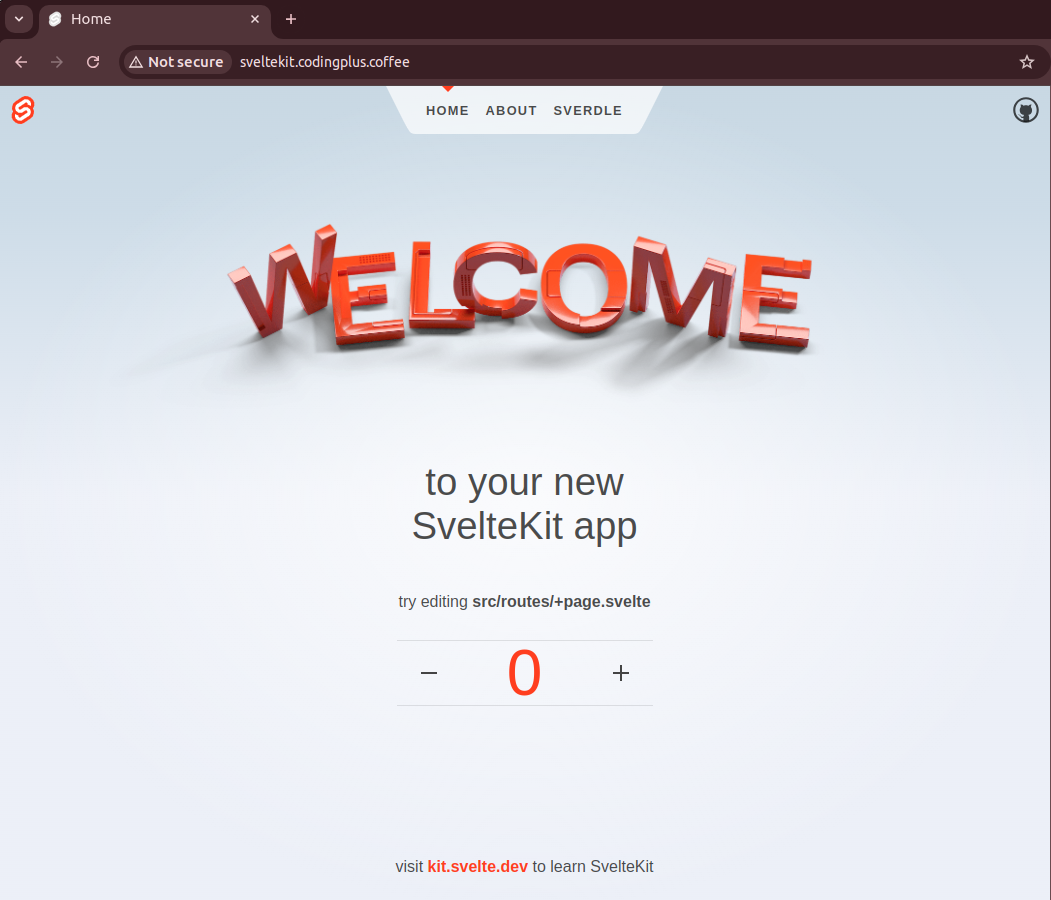
I did a quick check in my browser, pointing to my Heroku app URL, and this is what I saw:
Next, I looked at the network inspector in my browser’s dev tools.
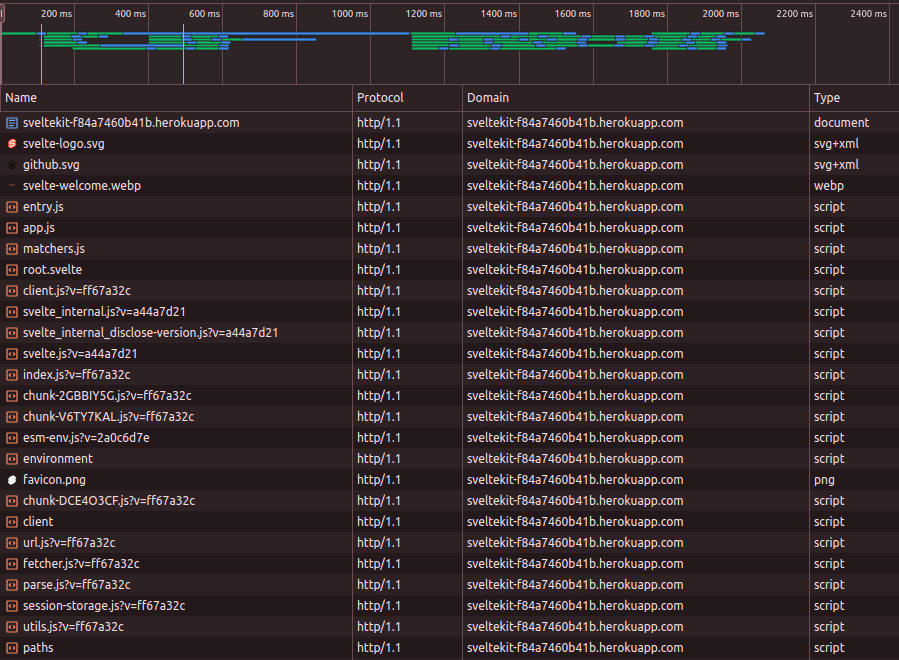
As expected, Heroku sent over all of the site’s resources with HTTP/1.1. This is the standard situation, which means we have a little bit of work to do. Let’s get to it.
Enable HTTP/2
My Heroku app was running on an Eco Dyno, which uses the Common Runtime. Since I wasn’t part of the Routing 2.0 Public Beta for Heroku, I manually enabled HTTP/2 support for my application by running this command:
~/http2-app$ heroku labs:enable http-routing-2-dot-0 --app sveltekit

Enabling http-routing-2-dot-0 for sveltekit... done
I refreshed my browser, but I didn’t expect my network inspector would start showing resources delivered via HTTP/2. And I was correct. As I noted at the start of this post, HTTP/2 support for the Common Runtime requires a custom domain.
Create a Custom Domain
As the owner of the codingplus.coffee domain, I decided to point sveltekit.codingplus.coffee to my Heroku app.
Add the Custom Domain to the Heroku App
First, I added this custom domain to my app:
~/http2-app$ heroku domains:add \
             sveltekit.codingplus.coffee \
            --app sveltekit

Configure your app's DNS provider to point to the DNS Target rigid-chard-3tijqfh6ixecjl5pbrw5tqn9.herokudns.com.
For help, see https://devcenter.heroku.com/articles/custom-domains
The domain sveltekit.codingplus.coffee has been enqueued for addition
Run heroku domains:wait 'sveltekit.codingplus.coffee' to wait for completion
Adding sveltekit.codingplus.coffee to ⬢ sveltekit... done
Add a CNAME Record to DNS
Heroku provided the information that I need for adding a CNAME record to my DNS settings for codingplus.coffee. I went to my domain name provider and added the CNAME record.
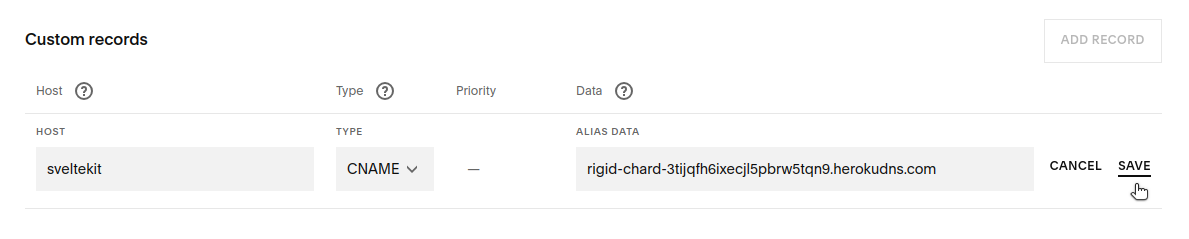
Within minutes, my custom domain was pointing to my Heroku app.
Progress! However, I was still on HTTP, not HTTPS, since I didn’t have an SSL/TLS certificate for my custom domain. Of course, the network inspector was still showing the HTTP/1.1 protocol. So, I needed to get my certificate.
Add SSL Certificate for HTTPS
To get my certificate, I thought I needed to mess with Let’s Encrypt and TXT records for DNS verification. And then do this every three months for renewal. As it turned out, I was wrong. It was a lot easier than that.
To set up the SSL certificate, I used Heroku’s Automated Certificate Manager (ACM). Because I already added my custom domain to my Heroku app, all I needed to do was run this command:
~/http2-app$ heroku certs:auto:enable --app sveltekit

Enabling Automatic Certificate Management... starting. See status with heroku certs:auto or wait until active with heroku certs:auto --wait
=== Your certificate will now be managed by Heroku. Check the status by running heroku certs:auto.
A minute later, I ran this:
~/http2-app$ heroku certs:auto

=== Automatic Certificate Management is enabled on sveltekit

Renewal scheduled for 2024-11-22 01:15 UTC.

Certificate details:
Common Name(s): sveltekit.codingplus.coffee
Expires At: 2024-12-22 01:15 UTC
Issuer: /CN=R11/O=Let's Encrypt/C=US
Starts At: 2024-09-23 01:15 UTC
Subject: /CN=sveltekit.codingplus.coffee
SSL certificate is verified by a root authority.

Domain Status Last Updated
----------------------------   ------------   ----------------

sveltekit.codingplus.coffee    Cert issued    2 minutes
Wait… that was it? Yeah, that was it.
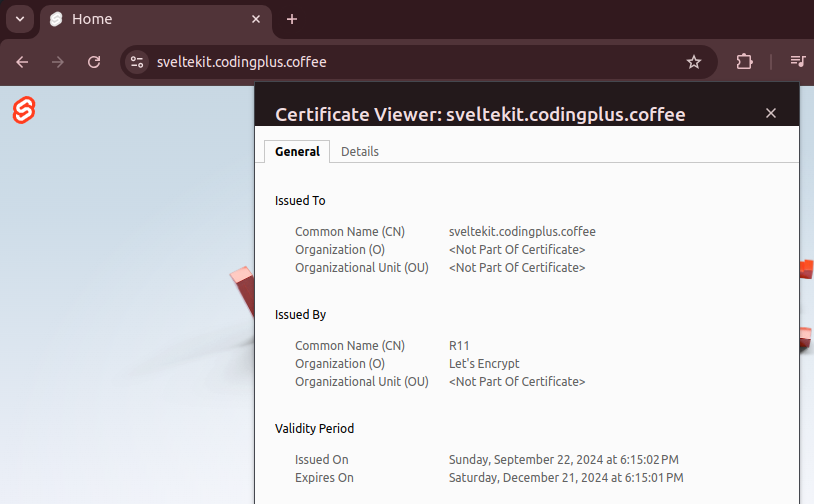
Test in the Browser
It was time for the moment of truth. I pointed my browser to my custom domain with HTTPS. The certificate was created, and I had HTTPS.
Finally, I opened the network inspector in my browser’s dev tools to see the protocol used for retrieving assets from the site.
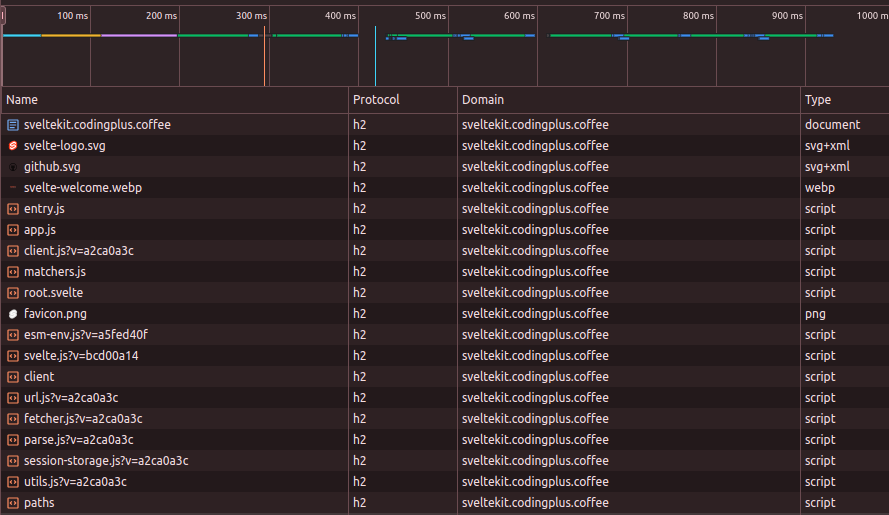
Seeing h2 for the protocol means we’re taking advantage of HTTP/2. Success!
What’s Next?
Let’s briefly review the steps we need to take for HTTP/2 support for our application in Heroku.
- Deploy the application to Heroku.
- Enable HTTP/2 support on our app (
heroku labs:enable http-routing-2-dot-0). - Add a custom domain to our Heroku app (
heroku domains:add). - Add a CNAME record to point our custom domain to the DNS target on Heroku.
- Enable Heroku ACM for our Heroku app (
heroku certs:auto:enable).
All in all, I only needed to run a few additional CLI commands and add a single CNAME record for a domain that I owned. The additional effort to get HTTP/2 support took me less than five minutes.
And now, with my notes to guide you, you could probably set this up for yourself in less than three minutes.
After taking care of HTTP/2 support, this opens the doors to various speed-enhancing features for our applications, including:
- Header compression
- Multiplexing
- Stream prioritization
HTTP/2 support for my Heroku apps now provides many new possibilities. And all it took was several extra minutes to set it up.
Happy coding!
Opinions expressed by DZone contributors are their own.
Comments