Deploy Spring Boot App to AWS Fargate
Learn how Spring Boot lets you create a working application without all the configuration and complexity, with Docker and Travis CI to deploy it.
Join the DZone community and get the full member experience.
Join For FreeTraditionally, Spring applications have a lot of dependencies and require a lot of configuration, which ends up introducing a lot of complexity during development. Spring Boot by Pivotal helps create a fully working application (web app or otherwise) very quickly by providing you intelligent default configurations that you would normally choose to start with. It is the common choice to build microservices in Java.
In November 2017, AWS released ECS backed AWS Fargate, which is the new managed service that allows you to run containers without having to manage servers or clusters. It takes the complexity out of running ECS service.
In this two-part series, we will create a basic Spring Boot application, Dockerize it, and use Travis CI to push the docker image to docker hub. In part 2, we will use the image from docker hub and deploy it to AWS Fargate.
Here are the steps we will cover in this article:
- Scaffold a Spring Boot application from spring.io.
- Containerize and push the application to Docker Hub.
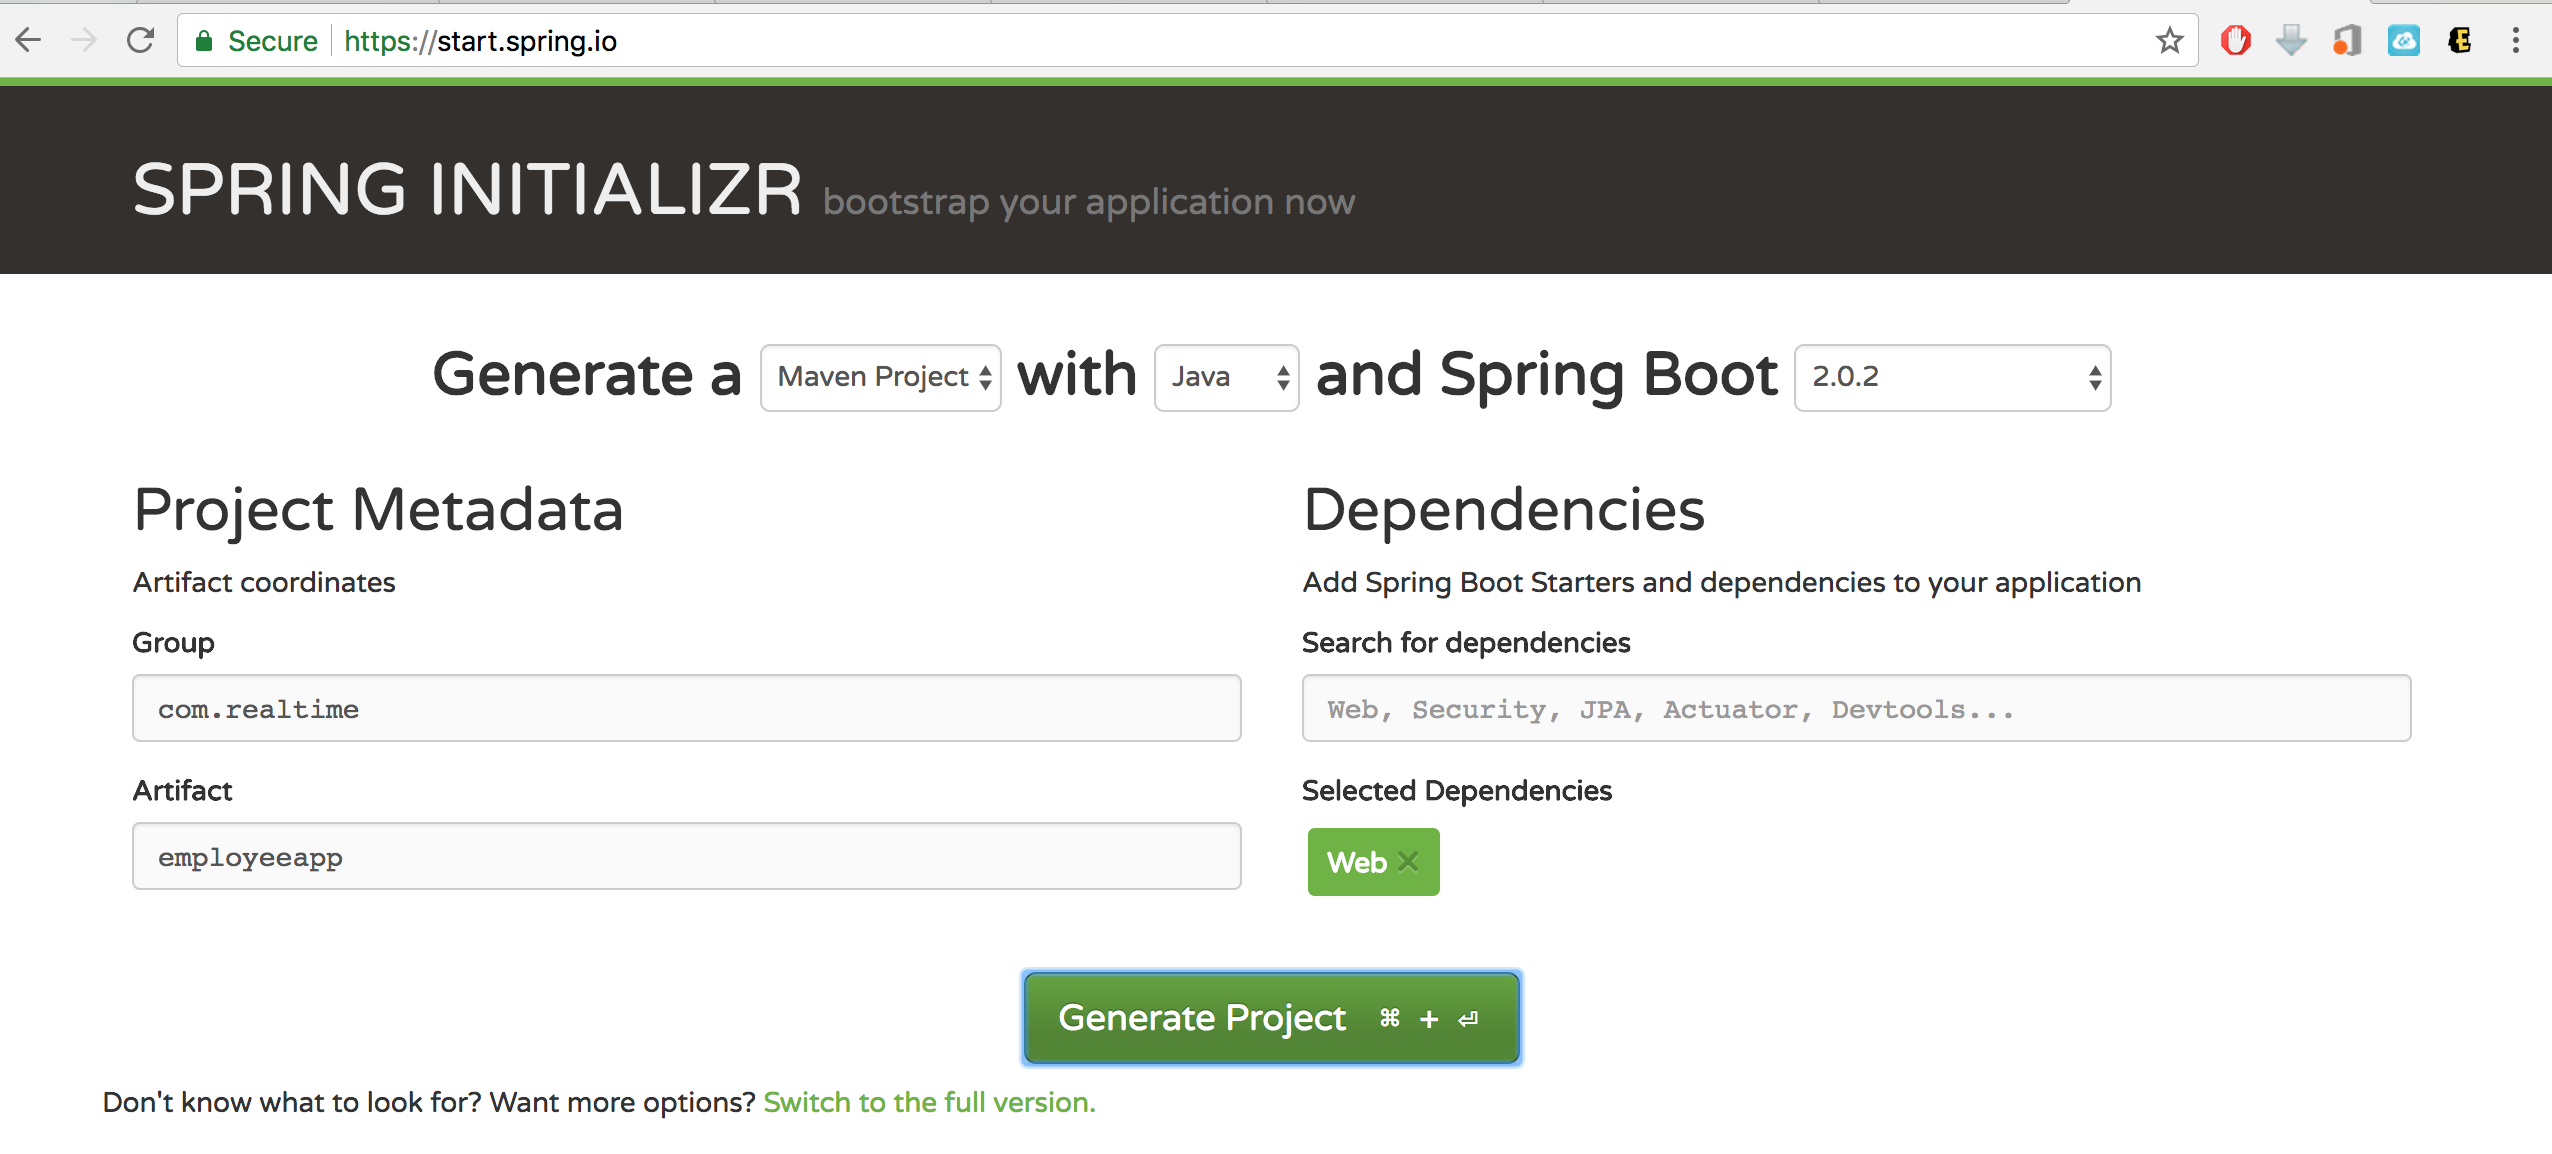
The best way to bootstrap a Spring Boot application is by using Spring Initializr. Let’s first start by opening http//start.spring.io.
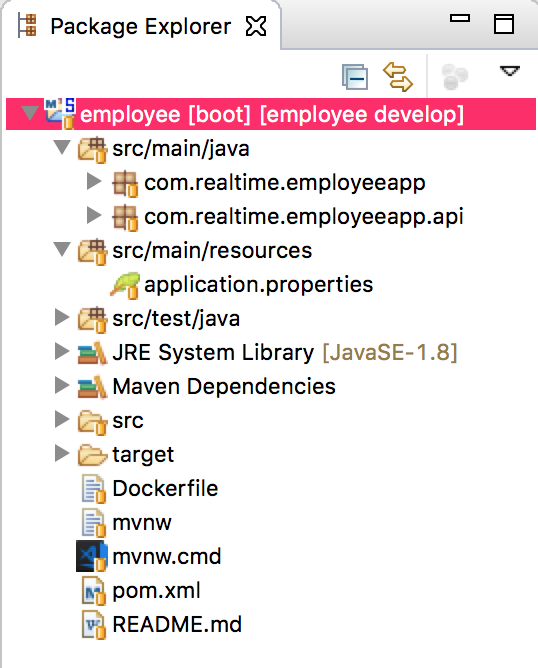
Click generate and open this Maven project in IDE of your choice. The package structure should look like this with a few additional items.
The pom.xml should look like this.
<?xml version="1.0" encoding="UTF-8"?>
<project
	xmlns="http://maven.apache.org/POM/4.0.0"
	xmlns:xsi="http://www.w3.org/2001/XMLSchema-instance"
xsi:schemaLocation="http://maven.apache.org/POM/4.0.0 http://maven.apache.org/xsd/maven-4.0.0.xsd">
	<modelVersion>4.0.0</modelVersion>
	<groupId>com.realtime</groupId>
	<artifactId>employeeapp</artifactId>
	<version>0.0.1-SNAPSHOT</version>
	<packaging>jar</packaging>
	<name>employeeapp</name>
	<description>Demo project for Spring Boot</description>
	<parent>
		<groupId>org.springframework.boot</groupId>
		<artifactId>spring-boot-starter-parent</artifactId>
		<version>2.0.2.RELEASE</version>
		<relativePath/>
		<!-- lookup parent from repository -->
	</parent>
	<properties>
		<project.build.sourceEncoding>UTF-8</project.build.sourceEncoding>
		<project.reporting.outputEncoding>UTF-8</project.reporting.outputEncoding>
		<java.version>1.8</java.version>
	</properties>
	<dependencies>
		<dependency>
			<groupId>org.springframework.boot</groupId>
			<artifactId>spring-boot-starter-web</artifactId>
		</dependency>
		<dependency>
			<groupId>org.springframework.boot</groupId>
			<artifactId>spring-boot-starter-test</artifactId>
			<scope>test</scope>
		</dependency>
	</dependencies>
	<build>
		<plugins>
			<plugin>
				<groupId>org.springframework.boot</groupId>
				<artifactId>spring-boot-maven-plugin</artifactId>
			</plugin>
		</plugins>
	</build>
</project>
To test, you can perform a local build using the maven wrapper with ./mvnw clean install.
After a clean build, we can dockerize the application. If you need help with Docker installation, please visit this link. We will create a Dockerfile, which looks like this:
FROM frolvlad/alpine-oraclejdk8:slim
VOLUME /tmp

ADD ./target/employeeapp-0.0.1-SNAPSHOT.jar  realtime.jar
RUN sh -c 'touch /realtime.jar'
ENV JAVA_OPTS="-Xdebug -Xrunjdwp:server=y,transport=dt_socket,address=8787,suspend=n"
EXPOSE 8080
ENTRYPOINT [ "sh", "-c", "java $JAVA_OPTS -Djava.security.egd=file:/dev/./urandom -Dspring.profiles.active=docker -jar /realtime.jar" ]
We are making progress …..
Given this, we can build and run the application encapsulated in a Docker container locally:
docker build --file=Dockerfile --tag=realtime:latest.
docker run --publish=8080:8080 realtime:latest
After a successful build and the application running, you can see the results at http://localhost:8080/returnname in the browser or using curl on a command line.
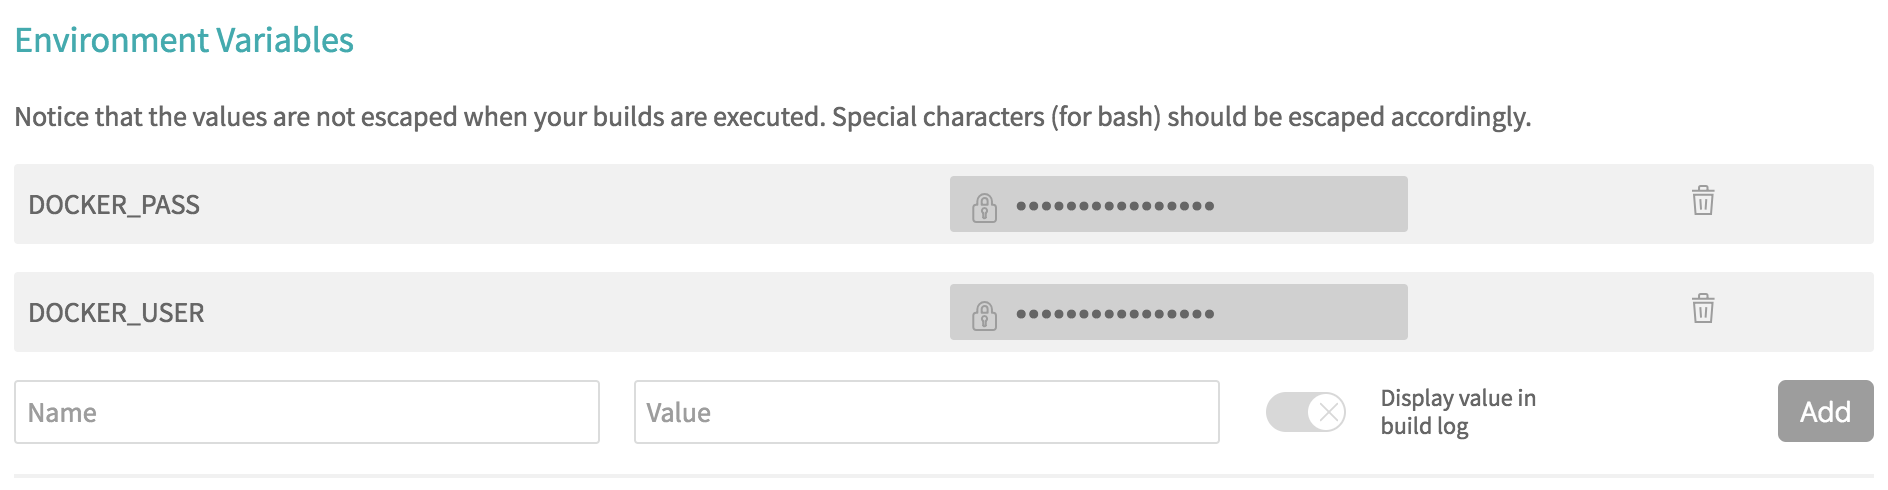
We are going to use Travis-CI for continued Integration. For that, we will need a free account with Travis-CI. This provides excellent integration with GitHub. All you need is to provide a .travis.yml with your code. Travis CI will require you to provide your account details for the docker hub account to publish the docker image. You can also provide these same inside of a .travis.yaml file as Travis secrets.
The .travis.yml file looks like this.
language: java
sudo: required
jdk: oraclejdk8
services:
- docker
env:
global:
- COMMIT=${TRAVIS_COMMIT::7}
cache:
directories:
- '$HOME/.m2/repository'
script:
- ./mvnw clean install -B
after_success:
- docker login -u $DOCKER_USER -p $DOCKER_PASS
- export TAG=`if [ "$TRAVIS_BRANCH" == "develop" ]; then echo "latest"; else echo $TRAVIS_BRANCH; fi`
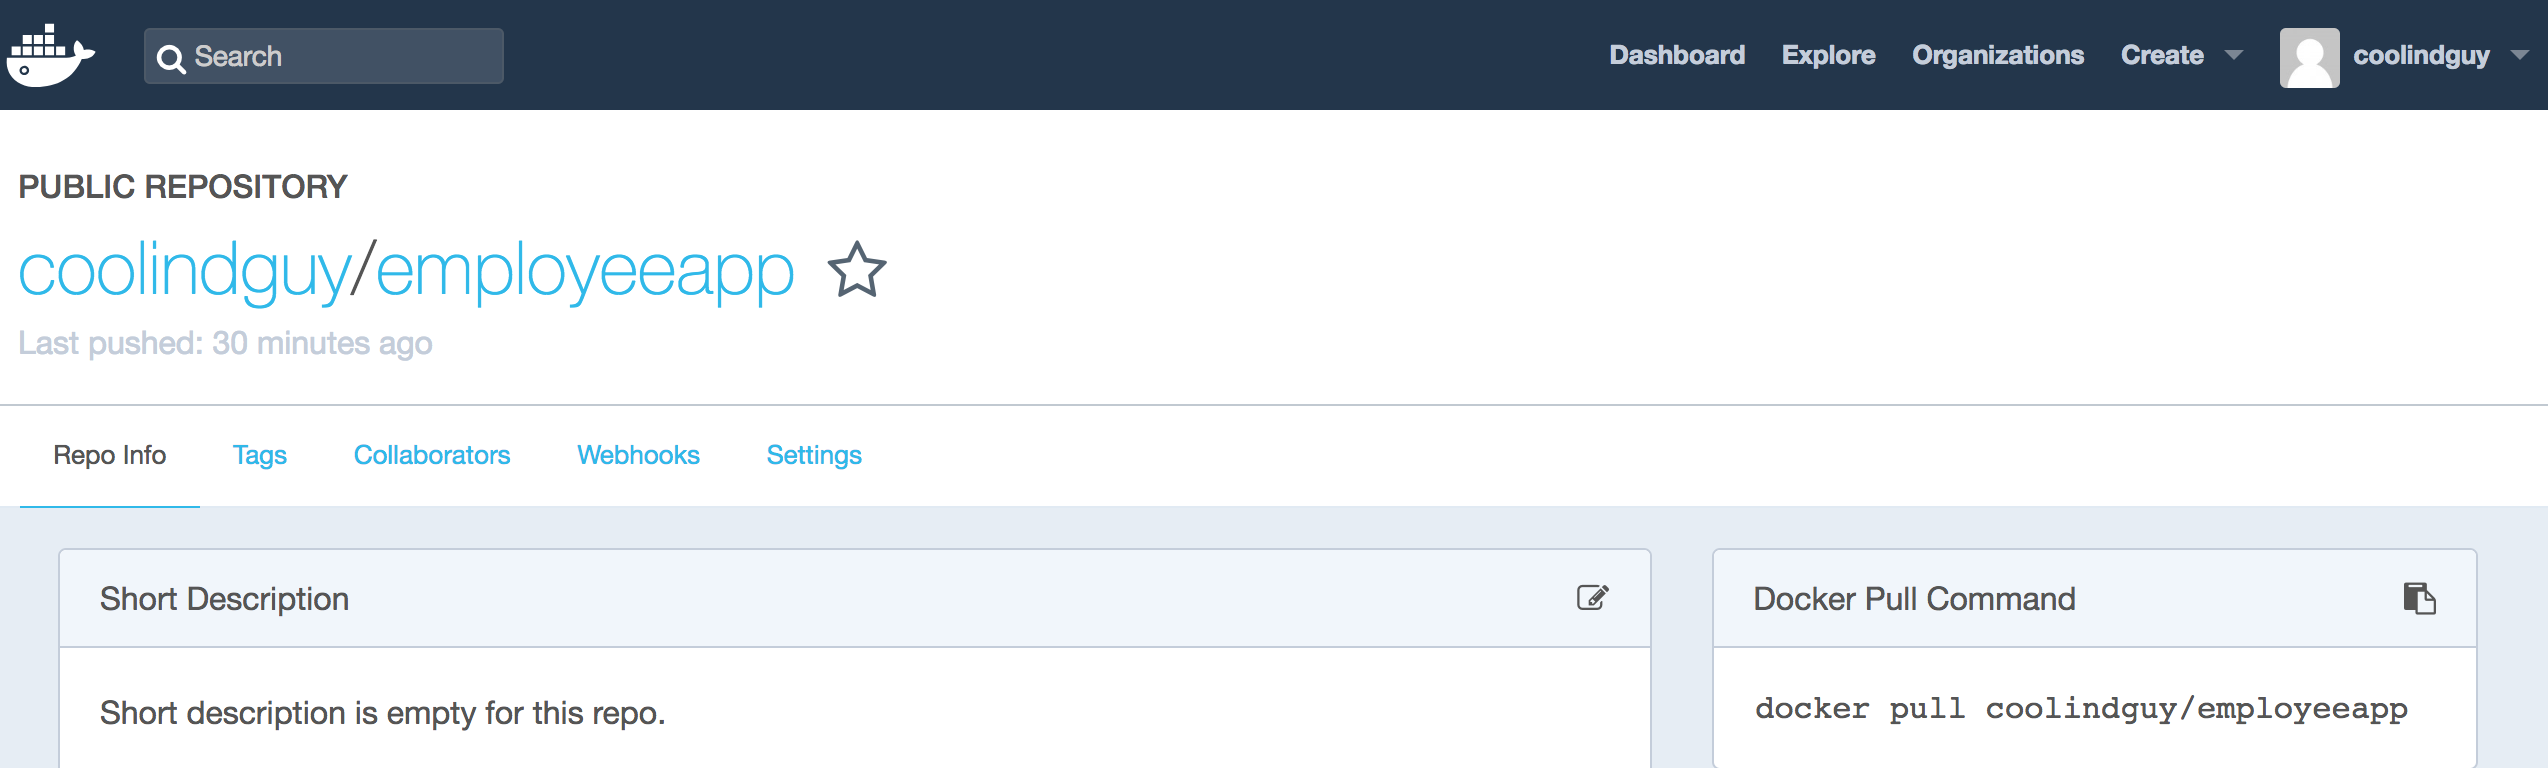
- export IMAGE_NAME=coolindguy/employeeapp
- docker build -t $IMAGE_NAME:$COMMIT .
- docker tag $IMAGE_NAME:$COMMIT $IMAGE_NAME:$TAG
- docker push $IMAGE_NAMEThis YAML script will identify the prerequisites for our environment and build our code using maven wrapper script. After a successful build, the script will login to the Docker hub, create a docker image and push the image to the docker hub repository.
Please stay tuned for the next article. Meanwhile, you can clone the complete project for GitHub.
Opinions expressed by DZone contributors are their own.
Comments