DIY Wireless Magnetic Levitating Moon Lamp
Want to learn how to make your own levitating moon lamp?
Join the DZone community and get the full member experience.
Join For FreeIf your child ever makes a special wish, you will do everything in your power to make it happen, right? So, my daughter's wish was a 'moon lamp'. And here is it: a magnetic, levitating (MagLev) wireless moonlight:
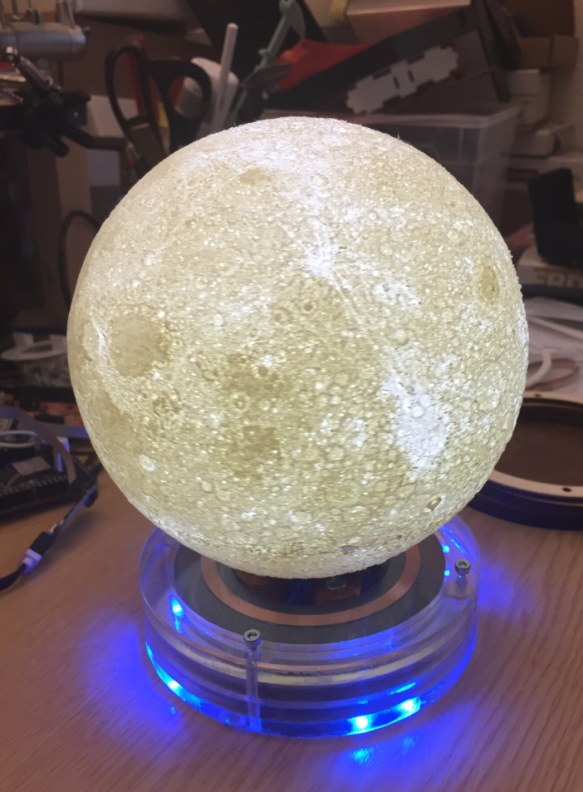
MagLev Wireless LED Moon
It is the 50th anniversary of the moon landing, so I thought that that wish needs to be realized.
To build it, I used the following:
- A laser cutter or access to it (I used an enhanced version) to cut plywood and PMMA material
- A 3D printer or access to it (I used an Ultimaker 2) to print the moon and a white PLA
- 3D model of the moon: I used the fantastic work from Leung Chan (https://www.thingiverse.com/thing:3242080)
- MagLev Kit, search the usual vendors, e.g. this one: https://www.aliexpress.com/item/32826436109.html
- For a wireless moon illumination, search for “Magnetic levitation wireless power supply module,” e.g. this one: https://www.aliexpress.com/item/32822002952.html
- For a battery/USB-based LED kit with remote controller, see the following: https://www.aliexpress.com/item/32998601607.html
The wireless LED module gets placed into a 3D-printed enclosure:

Wireless LED Module
The magnet is put inside the enclosure and the LED module is glued on top of it:

LED Module With Magnet
Below, a test with the 4″ version of the moon:
4-inch Moon Version
The module gets glued into the moon while it's printed. Below is the 6″ version of it:

LED Module Placed Into Moon
I printed the moon without any support, with 100 percent infill, and using a white PLA. To stabilize it, I used some scrap plywood to keep it in place:

Fixing the Moon While Printing
MagLev Base
The original MagLev base came with 8 LEDs on the side. I have cut them and re-attached them to have everything inside a circle.

Ring LEDs
Below is a version of the enclosure using a laser cut 5mm PMMA/Acrylic:

PMMA Enclosure
I have put the wireless charging board into the bottom part of the PCB and added an on-off switch to turn off the light:

MagLev Bottom Side
Placing the moon on the base takes a bit of practice and should be done quickly; otherwise, the coils get very hot and could overheat. The video below demonstrates the process:
The magnetic field can pull the magnet away with up to about 500 g. Of course, no sensitive devices should be placed in the magnetic field.
A cool use case is to levitate small things or a cactus on the magnet :-):

MagLev Cactus
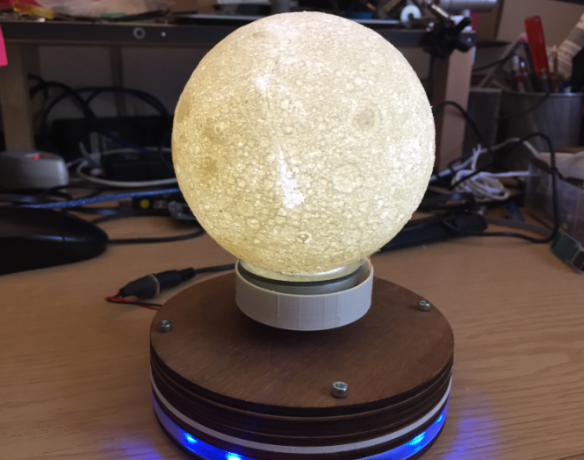
Desk Lamp
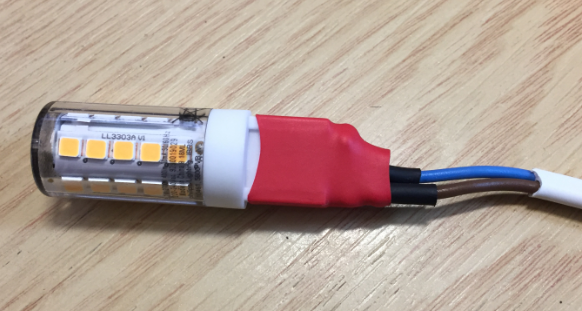
I have built a version of the moon lamp with a LED bump inside. I used a 40W (10 or 20W would do it as well) LED light bulb with a cable and a switch:
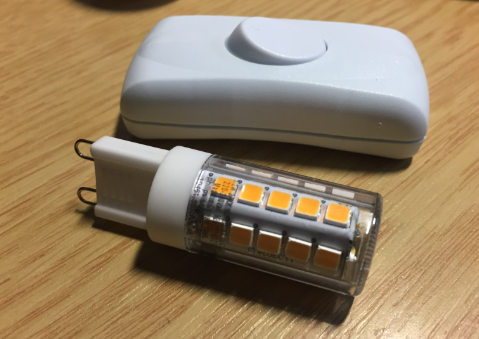
LED Light Bulb
LED Lamp
The LED bulb then gets placed inside the moon and it can hang up. I used a 'warm white' LED here:

Another option is to use a charged version: This includes an IR sender and a microcontroller board with 4 LEDs (white, red, green, blue). The picture below shows it with a 4″ moon version:

The board with the battery is glued into a 3D-printed socket:

3-D-Printed Socket
With this, I have a color cycling moon!
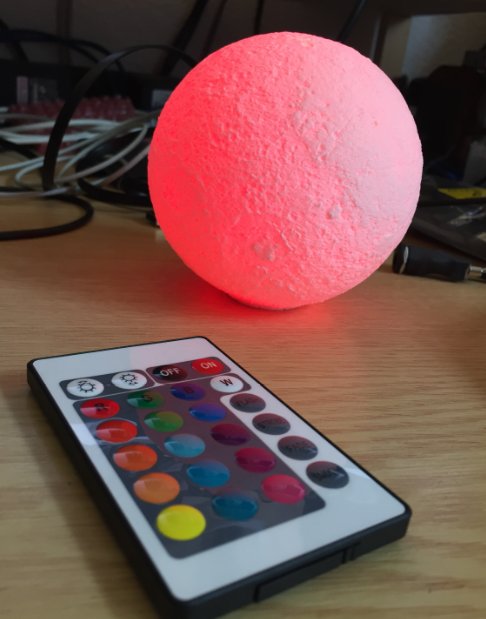
Red Moon

Purple Moon
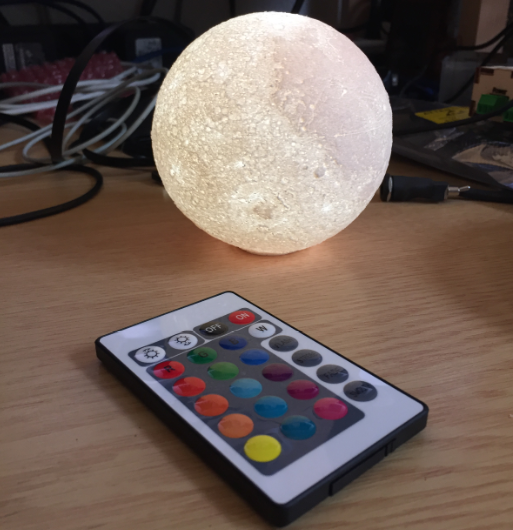
White Moon
Looking for another use case? At the university, our institute's Chief Assistant designed his own nameplate:

Nameplate
Kind of boring, right? The next step in the evolution is to have something laser cut like this:

Laser-cut Plywood Nameplate
Having a MagLev available makes things a bit more exiting:

MagLev Plywood Nameplate
I like the Acrylic one too:

Acrylic MagLev Nameplate
But maybe you like the version with the moon too:

MagLev Moon Nameplate
It is a really cool thing to make such a MagLev device. All that it needs are some pre-built parts that you later put together.
Happy Mooning!
Published at DZone with permission of Erich Styger. See the original article here.
Opinions expressed by DZone contributors are their own.
Comments