Easy and Fast Integration: GitHub in Android Studio
In this article, readers will learn an easy and fast way to integrate GitHub in Android Studio. This article includes guide code to make the tutorial easier.
Join the DZone community and get the full member experience.
Join For FreeThis tutorial will guide you through the process of installing Git on your system, setting up a new GitHub account, integrating it with an Android Studio project, and performing various Git operations like committing, pushing, pulling, branching, and merging. It will also cover resolving merge conflicts, viewing commit history, creating and managing pull requests, using Git stash and cherry-pick, and managing ignored files. This tutorial will help developers to efficiently use Git in Android Studio for source code management and collaboration during software development.
Git Installation
Let us now look at the various steps in the Git installation. Download the latest version of Git and choose the 64/32 bit version. After the file is downloaded, install it in the system. Once installed, select “Launch the Git Bash,” then click on “finish.” Now the Git Bash is launched.

In the Git Bash, you can check the version of Git installed by running the command git --version.
Next, you will need to set up your username and email address for Git. This is important as it is used to identify you as the author of commits. You can set your username and email by running the following commands in the Git Bash:
git config --global user.name“Your Name”git config --global user.email“[email protected].”
Once Git is installed and configured, you can start using it to track changes in your project. To integrate an existing Android Studio project with Git, you can go to the VCS menu and select “Enable Version Control Integration.” This will create a new local repository for your project.
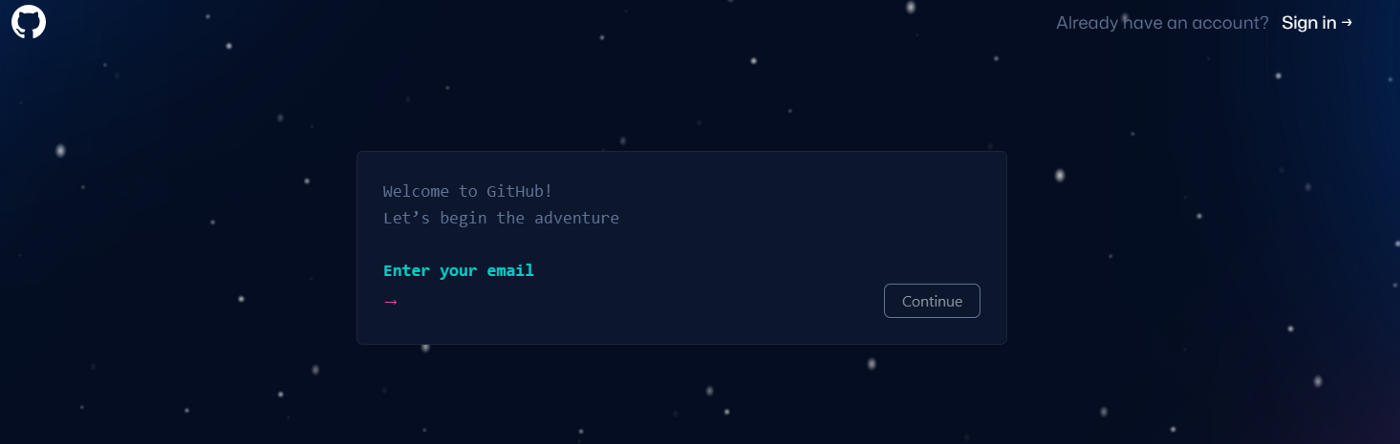
Signing Up for a New Account in GitHub
GitHub offers personal accounts for individuals and organizations for teams of people working together. You can create a personal account, which serves as your identity on GitHub.com, or an organization, which allows multiple personal accounts to collaborate across multiple projects. For registration, use GitHub’s official website:
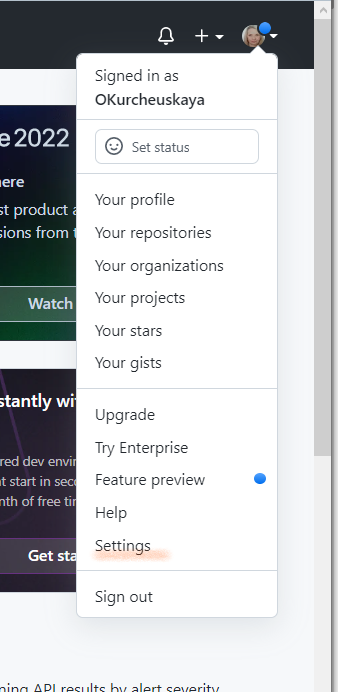
After, go to “Settings:”
Click on your avatar in the top right hand corner.
Choose Settings -> Developer settings -> Personal access tokens.
Click on the “Generate new token” button.
This will allow you to generate a personal token:
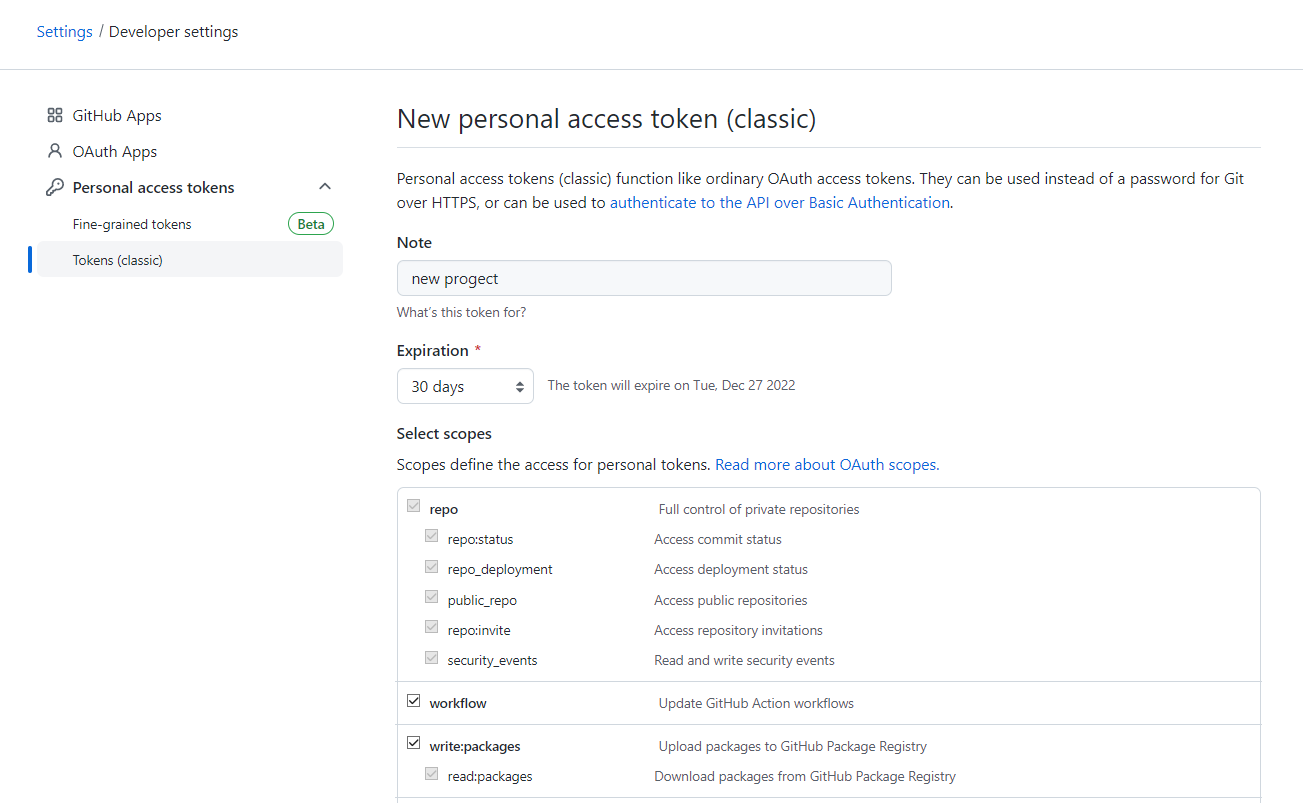
Copy this token because you will need it later on.
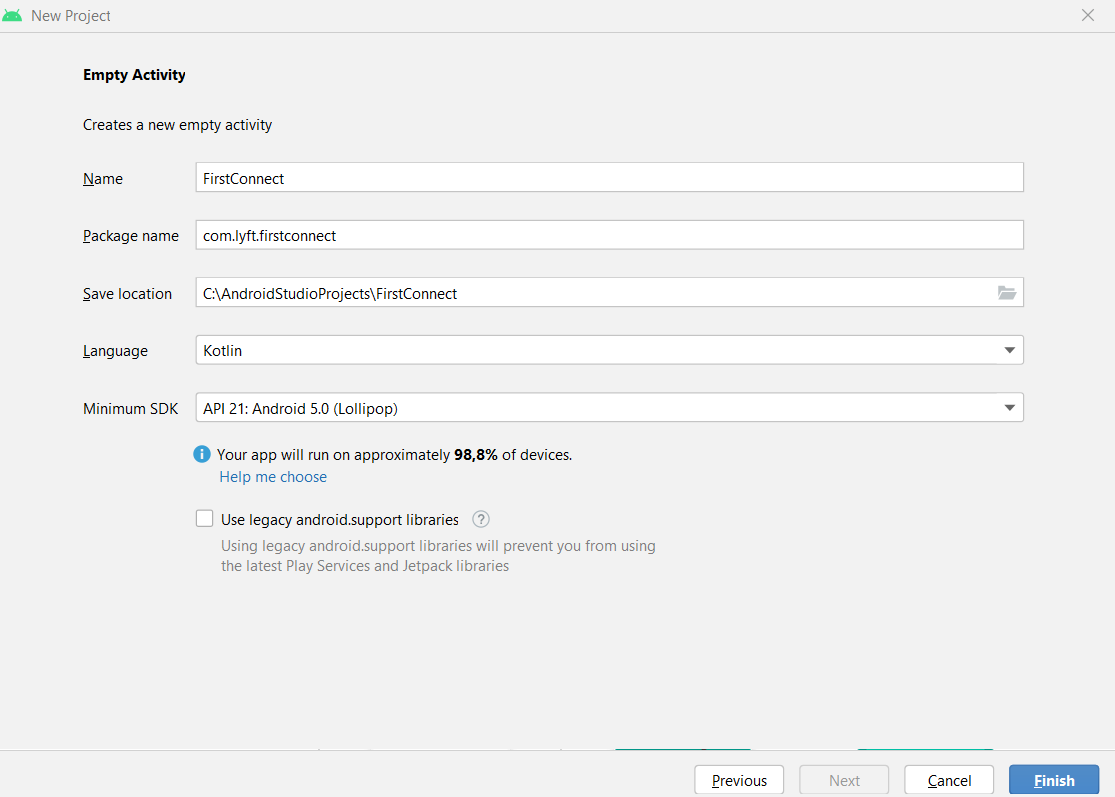
Create an Android Studio Project
Fire up Android Studio and create a new project:
After your Android Studio project has been set up:
Go to File -> Settings -> Version Control -> GitHub -> Add an account
Click on the “Use Token” hyperlink.
Paste your token, click “login,” and click “ok.”
Once you have your project integrated with Git and your commits pushed to a remote repository, you can share your project on GitHub. In Android Studio, you can do this by going to the VCS menu and selecting the option “Share Project on GitHub.”
You will be prompted to sign into your GitHub account if you haven’t already, and then you can select the repository you want to use or create a new one. Once you have selected or created the repository, you can then click on “Share” and your project files will be pushed to the GitHub repository.
Note: Before sharing the project on GitHub, you should make sure that you have committed all the necessary files and that your project is in a stable state. Also, it’s a good practice to have a .gitignore file that contains files and folders that should not be tracked by git, such as build files, temporary files, and sensitive information.
Once your project is shared on GitHub, other developers can clone the repository and start collaborating on the project by making changes, committing, and pushing their changes to the remote repository. It’s also a good practice to keep your local repository up-to-date by pulling the changes from the remote repository frequently.
Create First Commit
To create the first commit in an Android Studio project that is already integrated with Git, you will need to add the files you want to track to the staging area and then commit them. Here are the steps to do this:
- Go to the “Project” window in Android Studio and select the files and folders you want to include in the first commit.
- Right-click on the selected files and choose the option “Git > Add” or you can use the option “Ctrl + Alt + A” to add the files to the staging area.
- Once the files are added, you can open the “Version Control” window by going to the VCS menu and selecting “Git > Commit File” or use the option “Ctrl + K.”
- In the “Commit Changes” window, you can enter a commit message describing the changes you made. The commit message should be brief, clear, and informative.
- After the commit message, you can select the files you want to commit. By default, all the files in the staging area will be selected.
- Once you have finished, click on the “Commit” button to create the first commit.
Note: You can also commit changes to multiple files at once and see the changes in the files before committing them by clicking on the file name in the “Commit Changes” window.
It’s also a good practice to commit often, with small and logical commits, that way you can easily revert to a specific version of your project in case of errors.
Pushing on GitHub
Once you have created the first commit in your Android Studio project, you can push it to a remote repository, such as GitHub. Here are the steps to do this:
- Go to the “VCS” menu and select “Git > Push,” or you can use the option “Ctrl + Shift + K” to open the push dialog.
- In the push dialog, you can select the branch you want to push. By default, it will be the current branch you are working on.
- If you are pushing for the first time, you will be prompted to set the remote repository. You can either select an existing remote, or create a new one. It’s recommended to use
HTTPSoverSSHfor pushing your first time. - Once you have selected the remote repository, click on the “Push” button to push your local commits to the remote repository.
- If the push is successful, you will see a message in the Version Control window confirming the commits were pushed to the remote repository.
Note: If you have a collaborator working on the same repository, you should always pull the changes from the remote repository before pushing your own changes to avoid conflicts.
Once you have successfully pushed your commits to the remote repository, other developers can clone the repository and start collaborating on the project by making changes, committing, and pushing their own changes to the remote repository.
It’s also a good practice to keep your local repository up-to-date by pulling the changes from the remote repository frequently and review the commits before pushing.

After you project pushed on your GitHub:
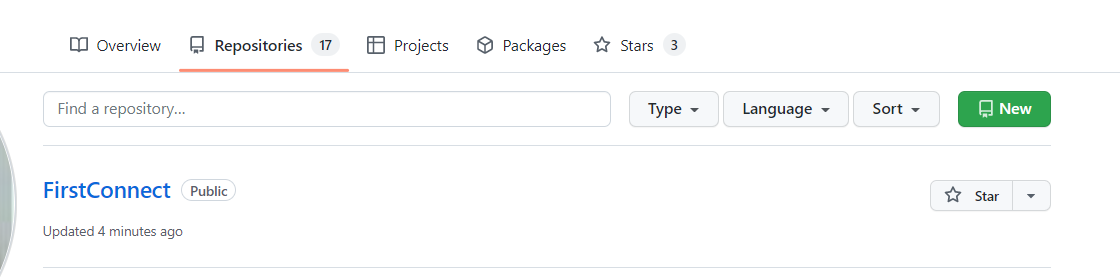
Now, your project is stored locally and in a remote repository.
Conclusion
In this tutorial, you learned how easy it is to integrate Git to Android Studio. Using Android Studio’s Git tools makes it easier and more efficient to collaborate on Android projects with other developers.
Published at DZone with permission of Volha Kurcheuskaya. See the original article here.
Opinions expressed by DZone contributors are their own.
Comments