Flutter Webview URL Listeners
Join the DZone community and get the full member experience.
Join For Free
If you are new to Flutter development and want to learn how to use WebView, handle various WebView operations, and open native application pages from WebView, here are some tips for you.
What Is WebView?
If developers want to show any web page or website or load a URL inside an application, a WebView can be displayed without the help of any browser, so, basically, it displays the content of web pages directly inside the application.
Let’s get started on how to integrateWebView inside a Flutter application. If Flutter is not configured in your Android Studio, please visit the link below to know how to configure it.
https://flutter.dev/docs/get-started/editor
You may also like: Practical Flutter: 6 Tips for Newcomers.
Create a Flutter Application
Open Android Studio.
Open File → New → New Flutter Project → Flutter Application, and click on Next.
Enter the project name, and give the Flutter SDK path on your machine
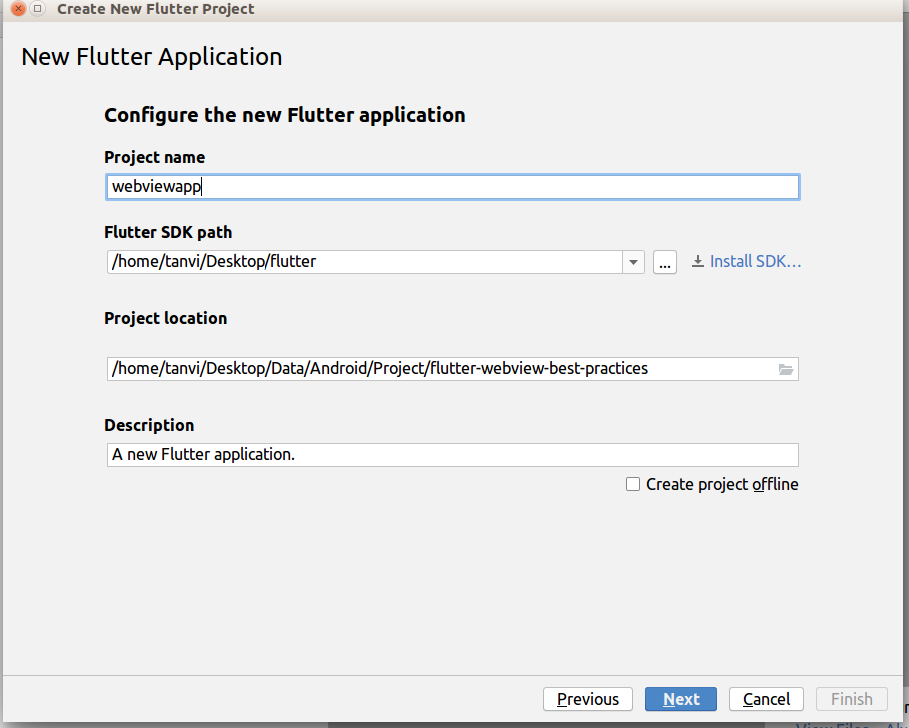
Click on Next.
Enter your company domain and package name and click Finish.
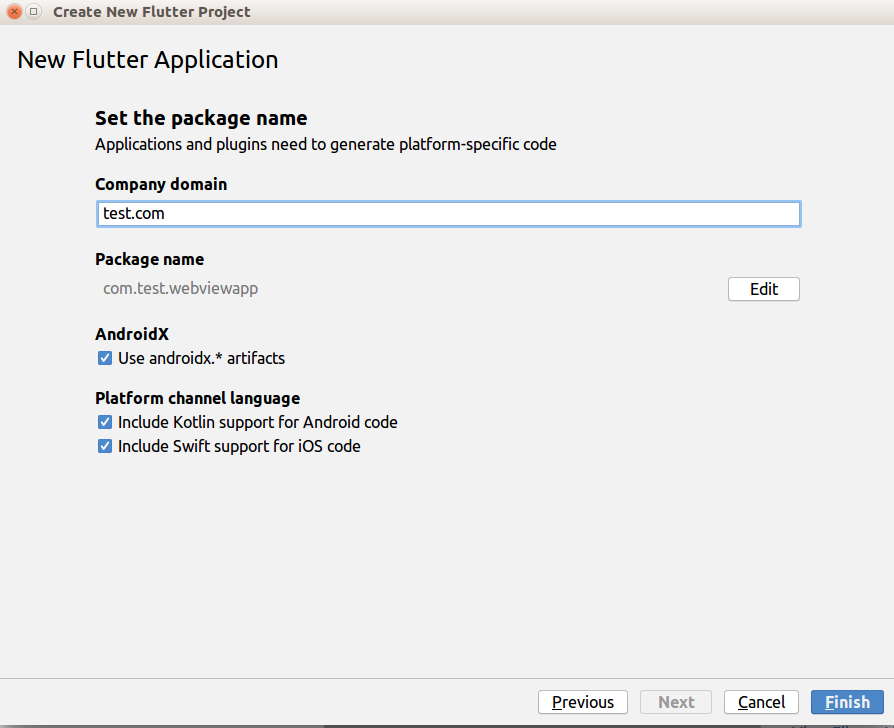
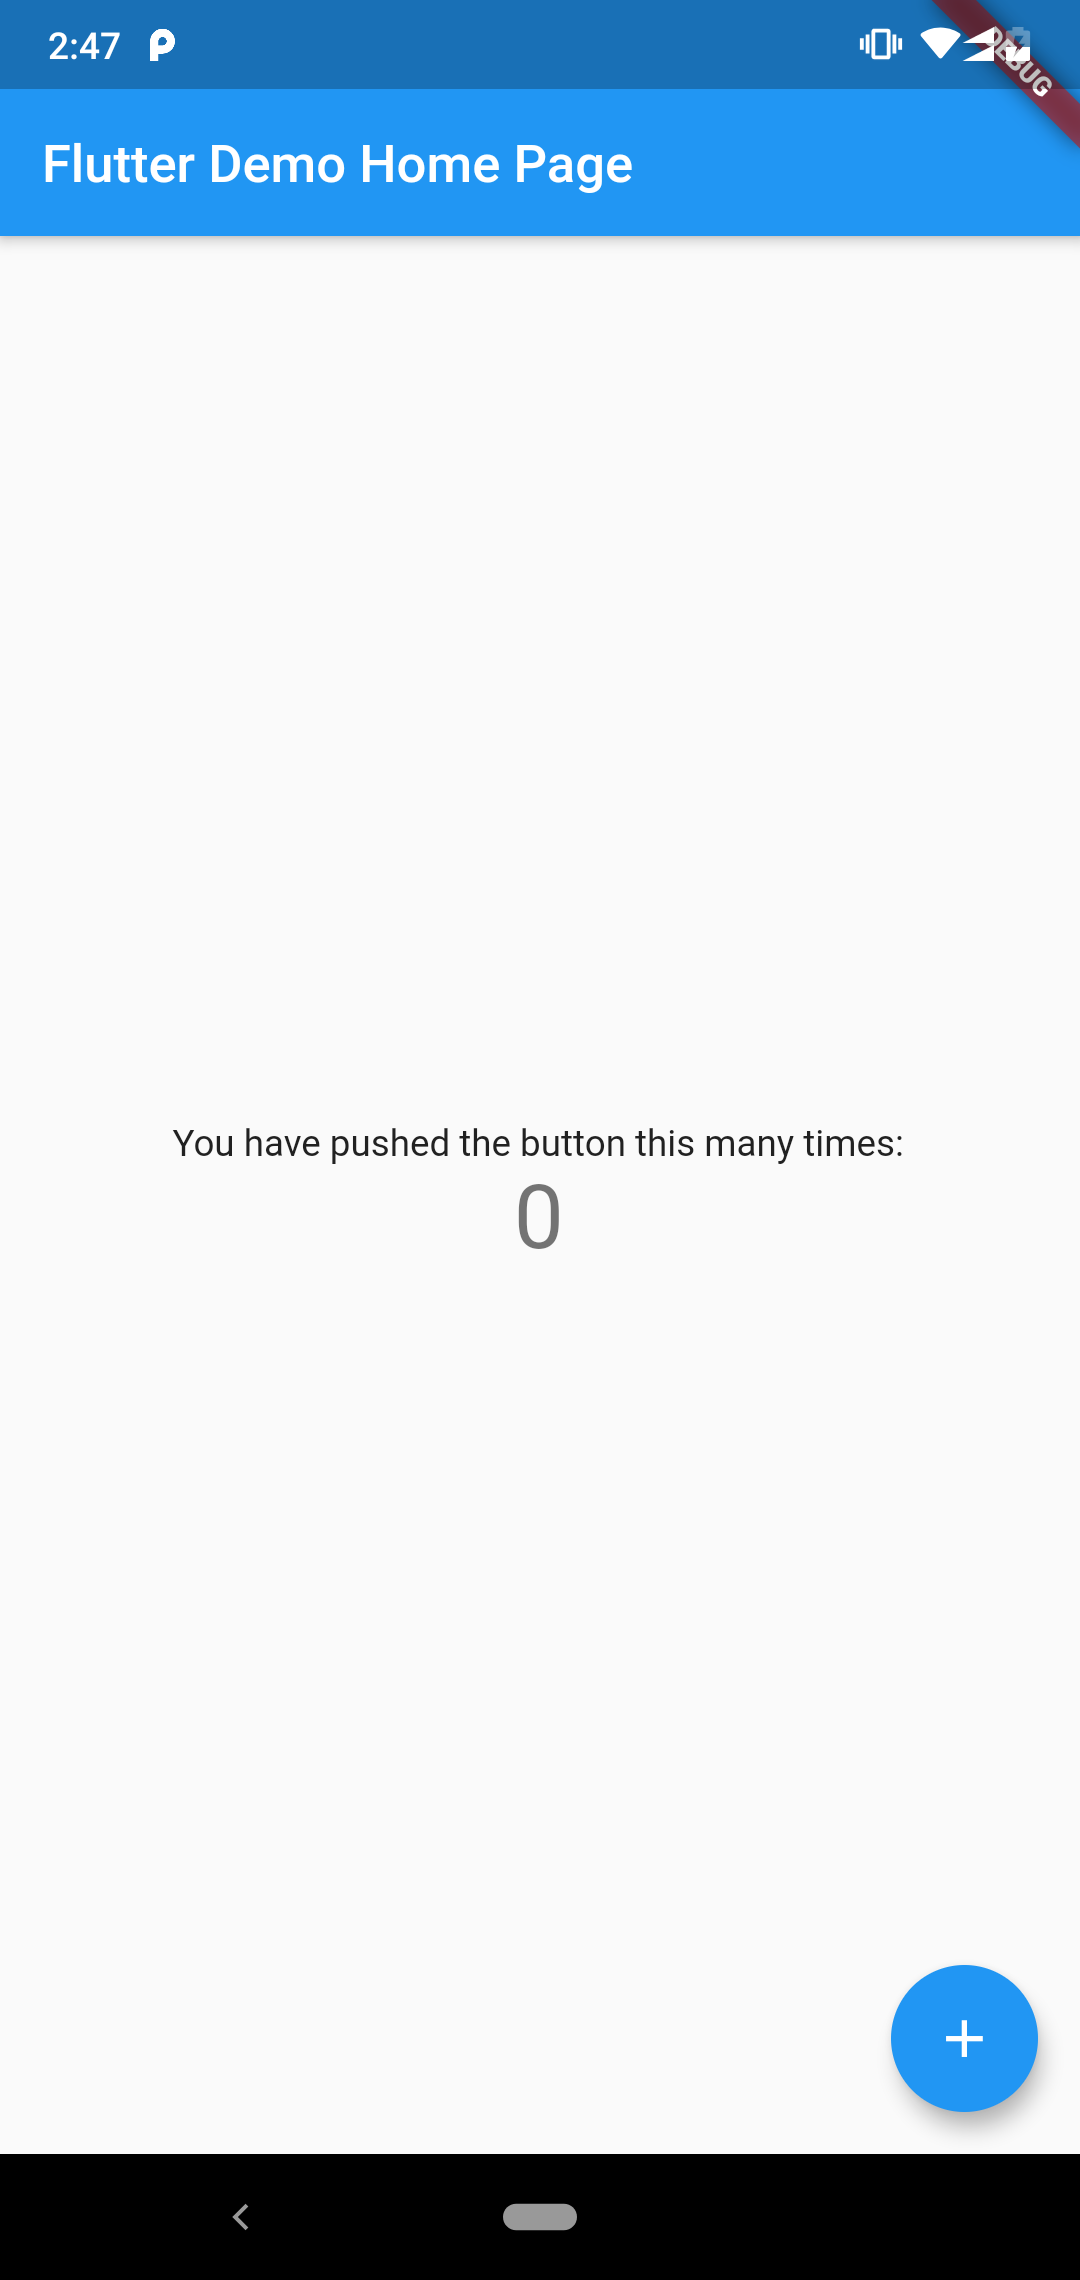
Android Studio will generate a default application. Click on the run button, and if everything works fine, it should show below page on the device
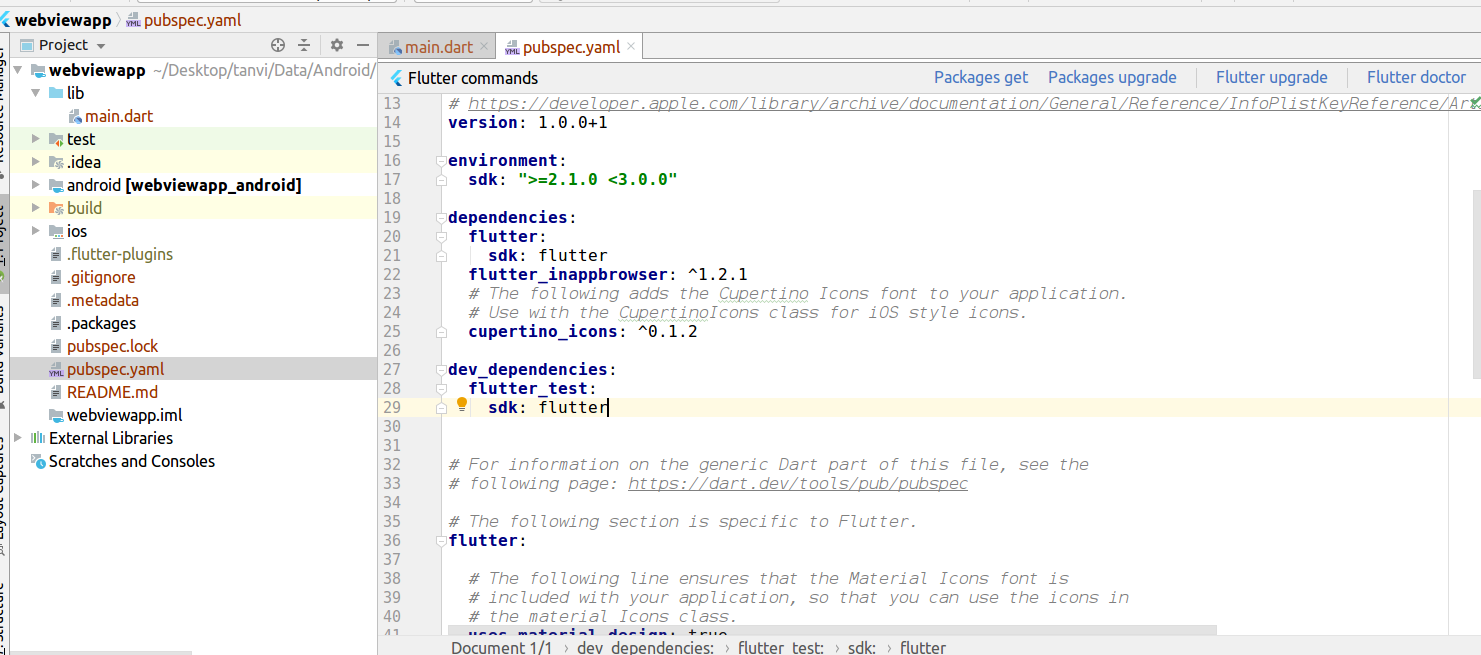
Add the following dependency in your pubspec.yaml file and click on Packages get.
flutter_inappbrowser: ^1.2.1
Go to Android→ app→ build.gradle. In the default Config, change minSdkVersion to 17.
Remove the auto-generated code and add the following code to create a simple page
( flutter-webview-best-practices/webviewapp/lib/main.dart )
import 'package:flutter/material.dart';

void main() => runApp(MyApp());

class MyApp extends StatelessWidget {
 // This widget is the root of your application.
 @override
 Widget build(BuildContext context) {
   return MaterialApp(
     title: 'Flutter Demo',
     theme: ThemeData(
       primarySwatch: Colors.blue,
     ),
     home: WebViewWebPage(),
   );
 }
}

class WebViewWebPage extends StatefulWidget {
 @override
 _WebViewWebPageState createState() => _WebViewWebPageState();
}

class _WebViewWebPageState extends State<WebViewWebPage> {
 @override
 Widget build(BuildContext context) {
   return Scaffold(
     appBar: AppBar(
       title: Text("Webview App"),
     ),
   );
 }
}
iOS setup
If you're running on macOS and have Xcode installed on your system, go to iOS → Right-click → Flutter → Open iOS module in Xcode.

Once the project gets loaded, select Runner project. Then, go to the info tab and set the following key io.flutter.embedded_views_preview value to true, as shown below.
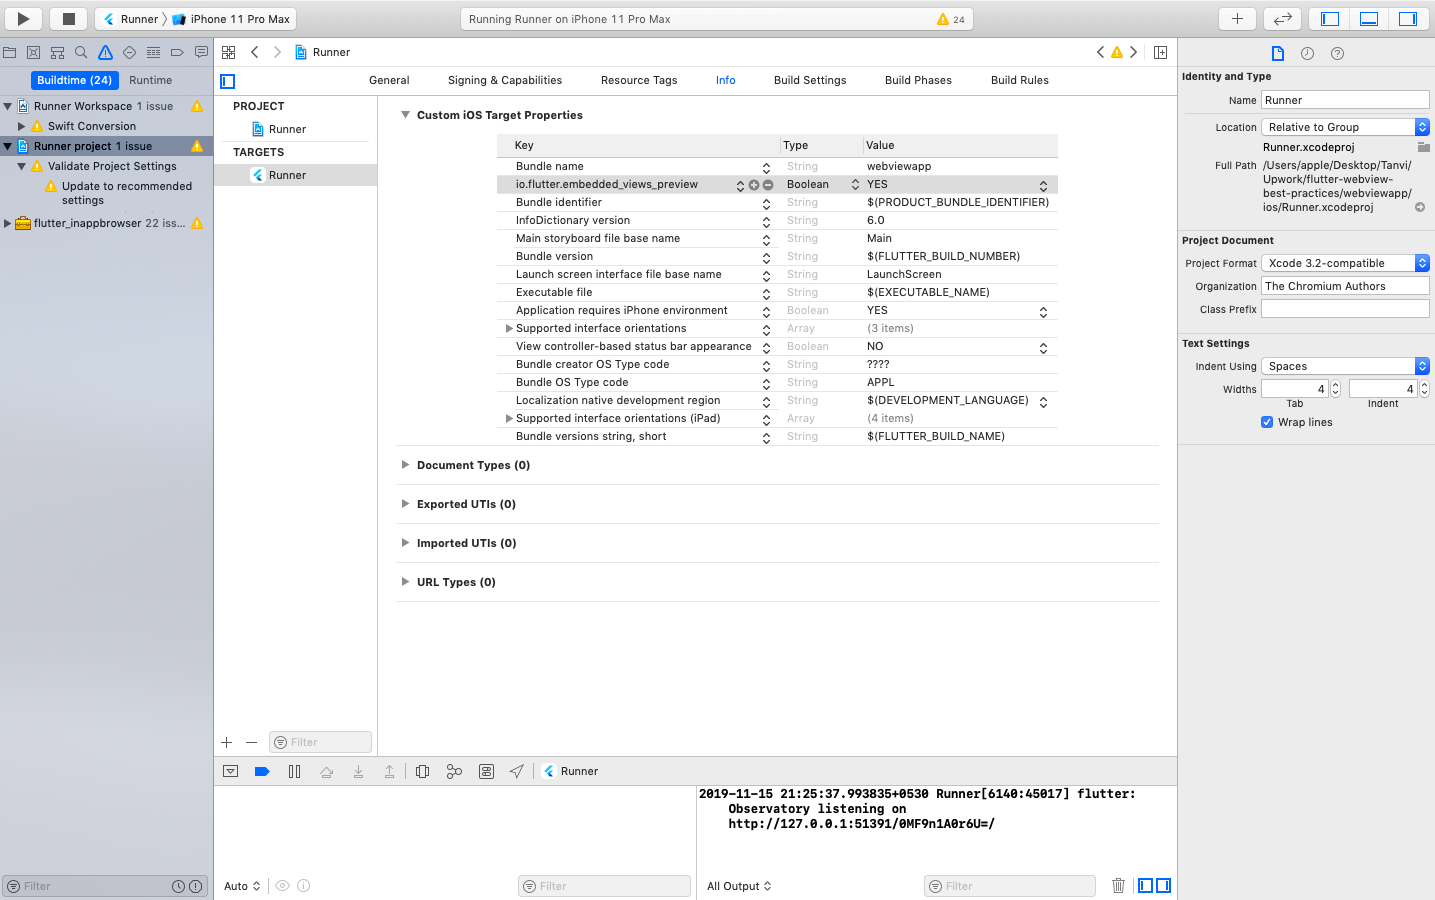
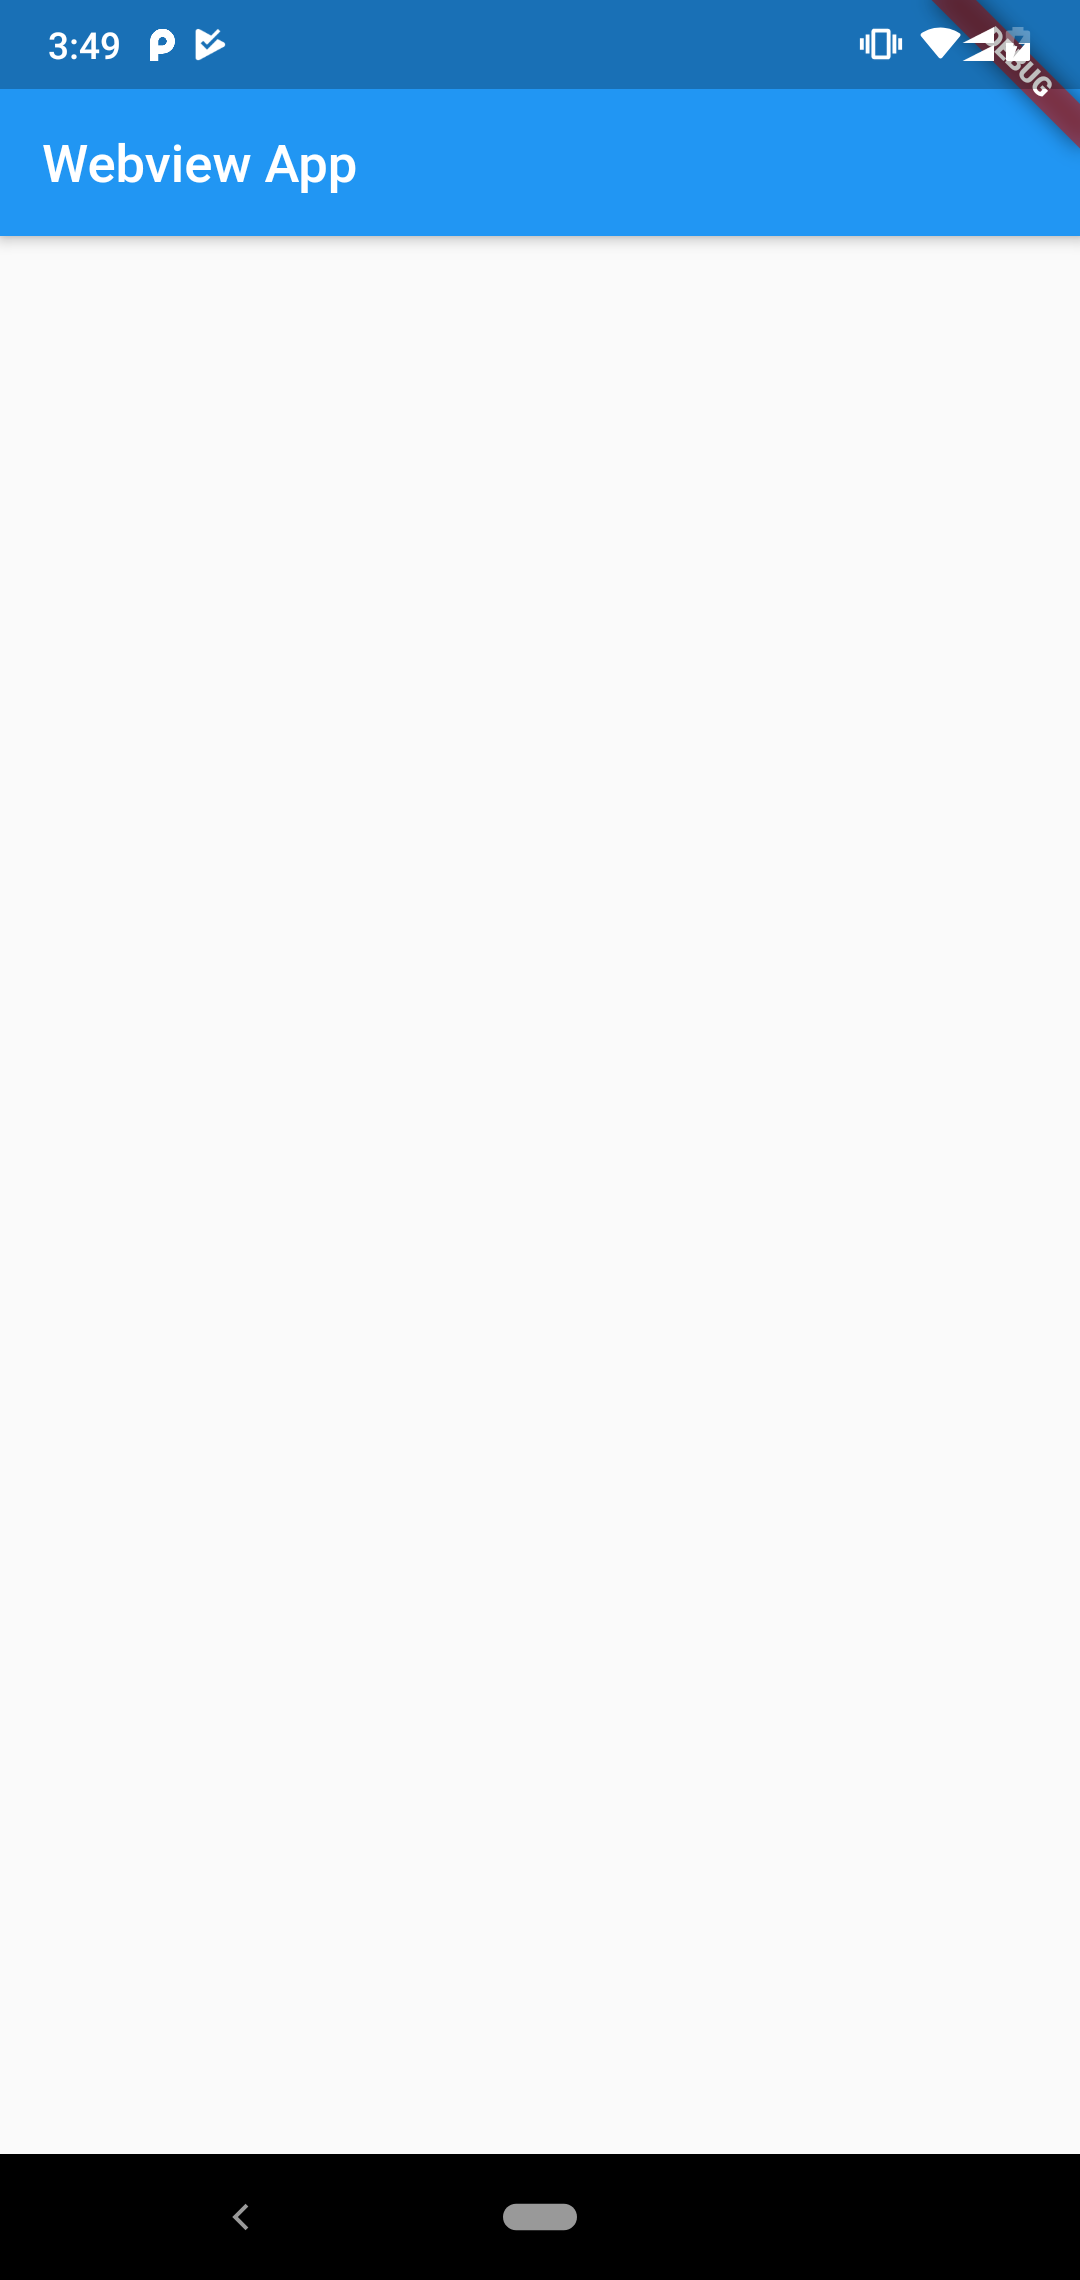
After running the application, it will show following the page. As you see, we cleaned up our generated default Flutter APP Codes, and the application now shows a blank Webview App screen.
Add the WebView Component
Now, let’s add a WebView to load the page. Add InAppWebView inside your view to load URLs, as shown below.
flutter-webview-best-practices/webviewapp/lib/main.dart
class _WebViewWebPageState extends State<WebViewWebPage> {
 var URL = "https://google.com.tr";

 @override
 Widget build(BuildContext context) {
   return Scaffold(
     appBar: AppBar(
       title: Text("Webview App"),
     ),
     body: Container(
       child: InAppWebView(
           initialUrl: URL,
           onWebViewCreated: (InAppWebViewController controller) {}),
     ),
   );
 }
}
Show Progress While Loading the WebView
Let’s add and progress bar while the user opens the page in WebView component.
flutter-webview-best-practices/webviewapp/lib/main.dart
 class _WebViewWebPageState extends State<WebViewWebPage> {

 // URL to load
 var URL = "https://google.com.tr";
 // Webview progress
 double progress = 0;

 @override
 Widget build(BuildContext context) {
   return Scaffold(
       appBar: AppBar(
         title: Text("Webview App"),
       ),
       body: Container(
           child: Column(
               children: <Widget>[
         (progress != 1.0)
             ? LinearProgressIndicator(
                 value: progress,
                 backgroundColor: Colors.grey[200],
                 valueColor: AlwaysStoppedAnimation<Color>(Colors.purple))
             : null,    // Should be removed while showing
         Expanded(
           child: Container(
             child: InAppWebView(
               initialUrl: URL,
               initialHeaders: {},
               initialOptions: {},
               onWebViewCreated: (InAppWebViewController controller) {
               },
               onLoadStart: (InAppWebViewController controller, String url) {
               },
               onProgressChanged:
                   (InAppWebViewController controller, int progress) {
                 setState(() {
                   this.progress = progress / 100;
                 });
               },
             ),
           ),
         )
       ].where((Object o) => o != null).toList())));  //Remove null widgets
 }
}
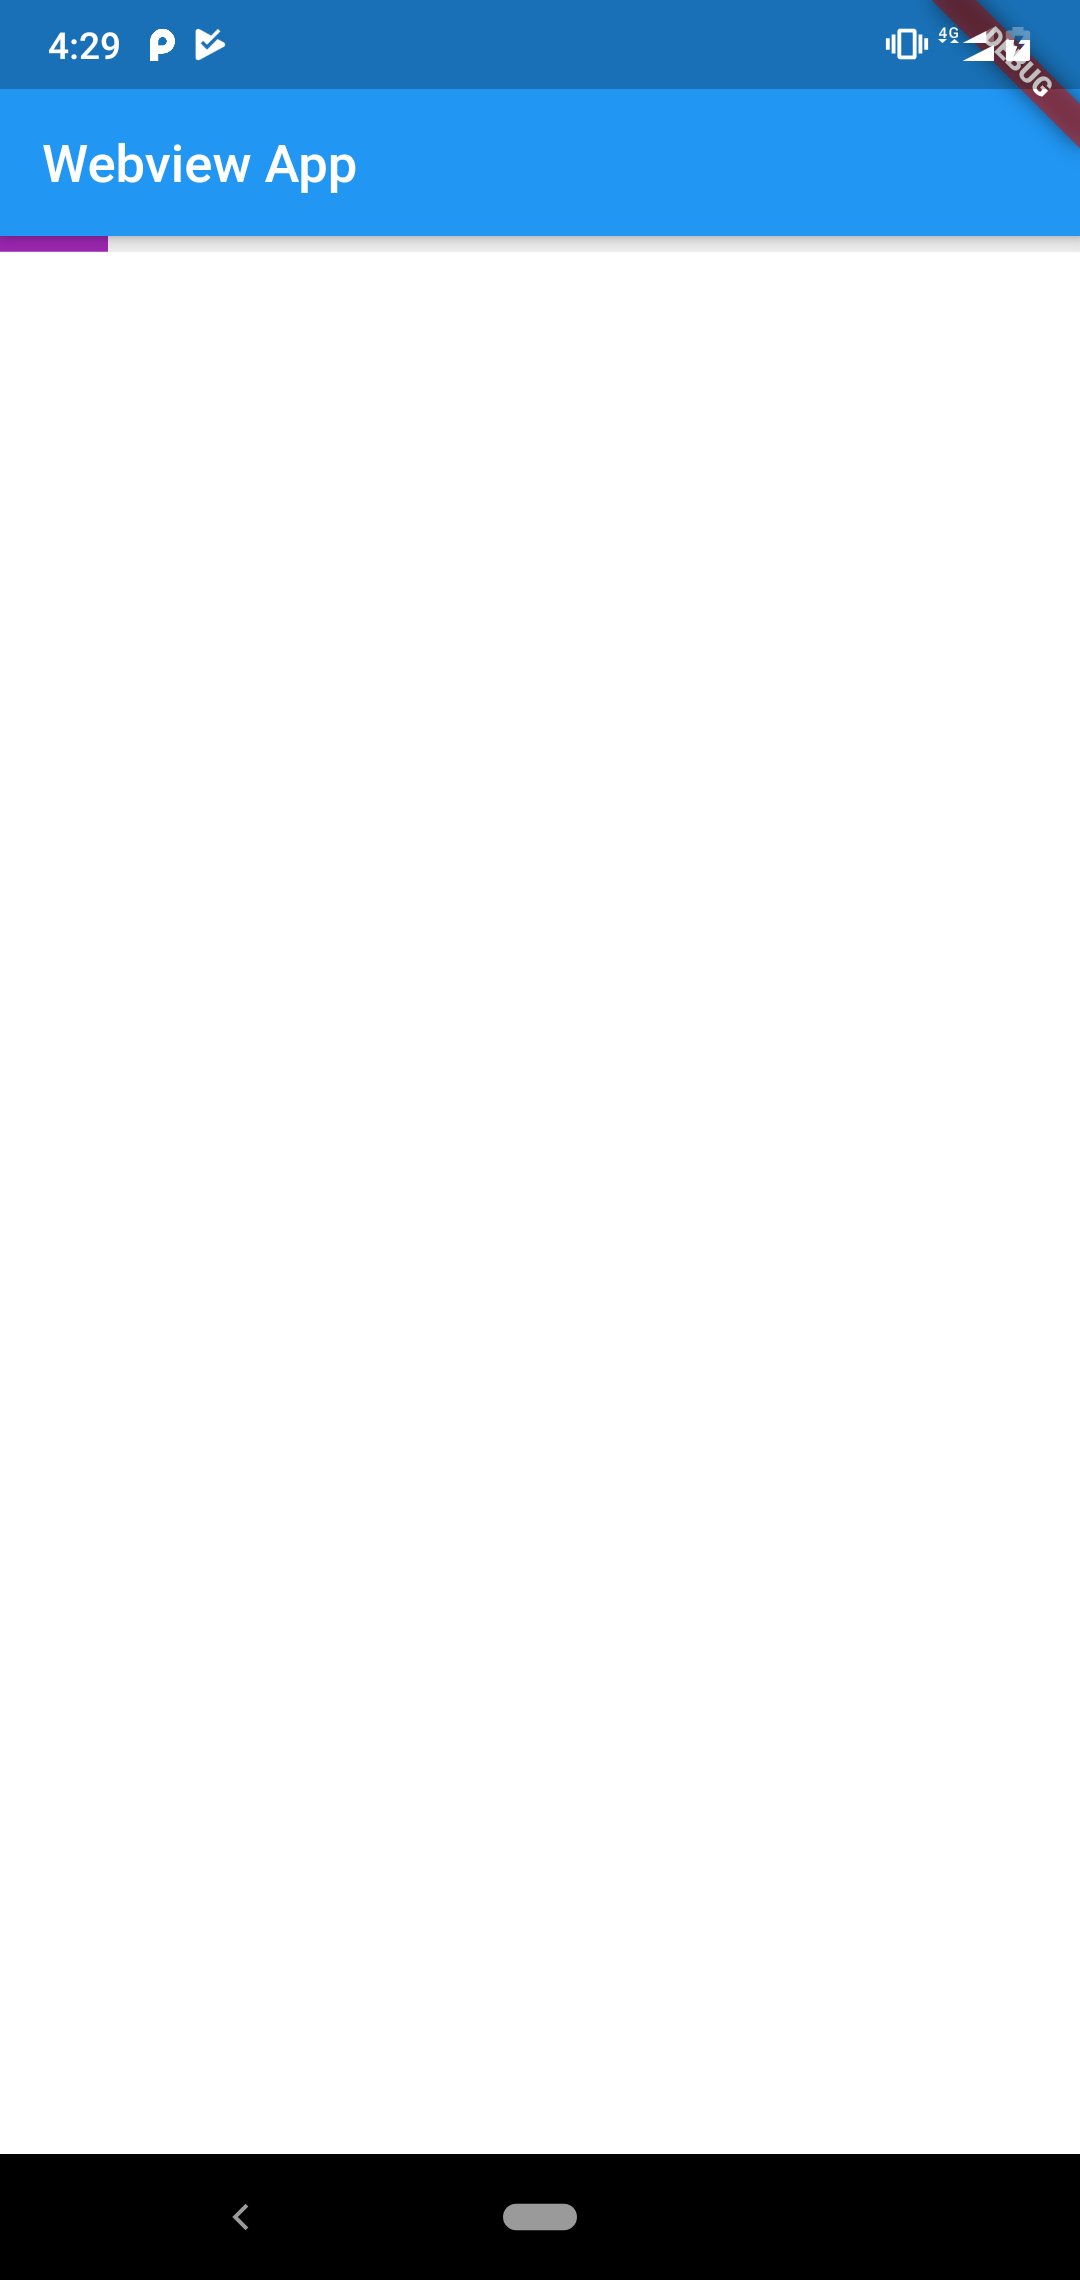
The above code will display a progress bar as shown below
How to Open Native Flutter Page From the WebView
To open a native page, the application needs to listen to URL changes in the WebView, and when a particular URL starts to load, we can open the Flutter native page.
Let’s look at an example :
When a user opens the LinkedIn page, the application should redirect to the Flutter native page.
Whenever any URL starts loading, the WebView gets a callback in the onLoadStart method. So, to listen for URL changes, modify the onLoadStart method, as shown below:
flutter-webview-best-practices/webviewapp/lib/main.dart
onLoadStart: (InAppWebViewController controller, String url)
{
                  // Listen URL change
                  if(URL == LISTENINGURL) {     // Add your URL here
                  // TODO open native page
                  }
                }
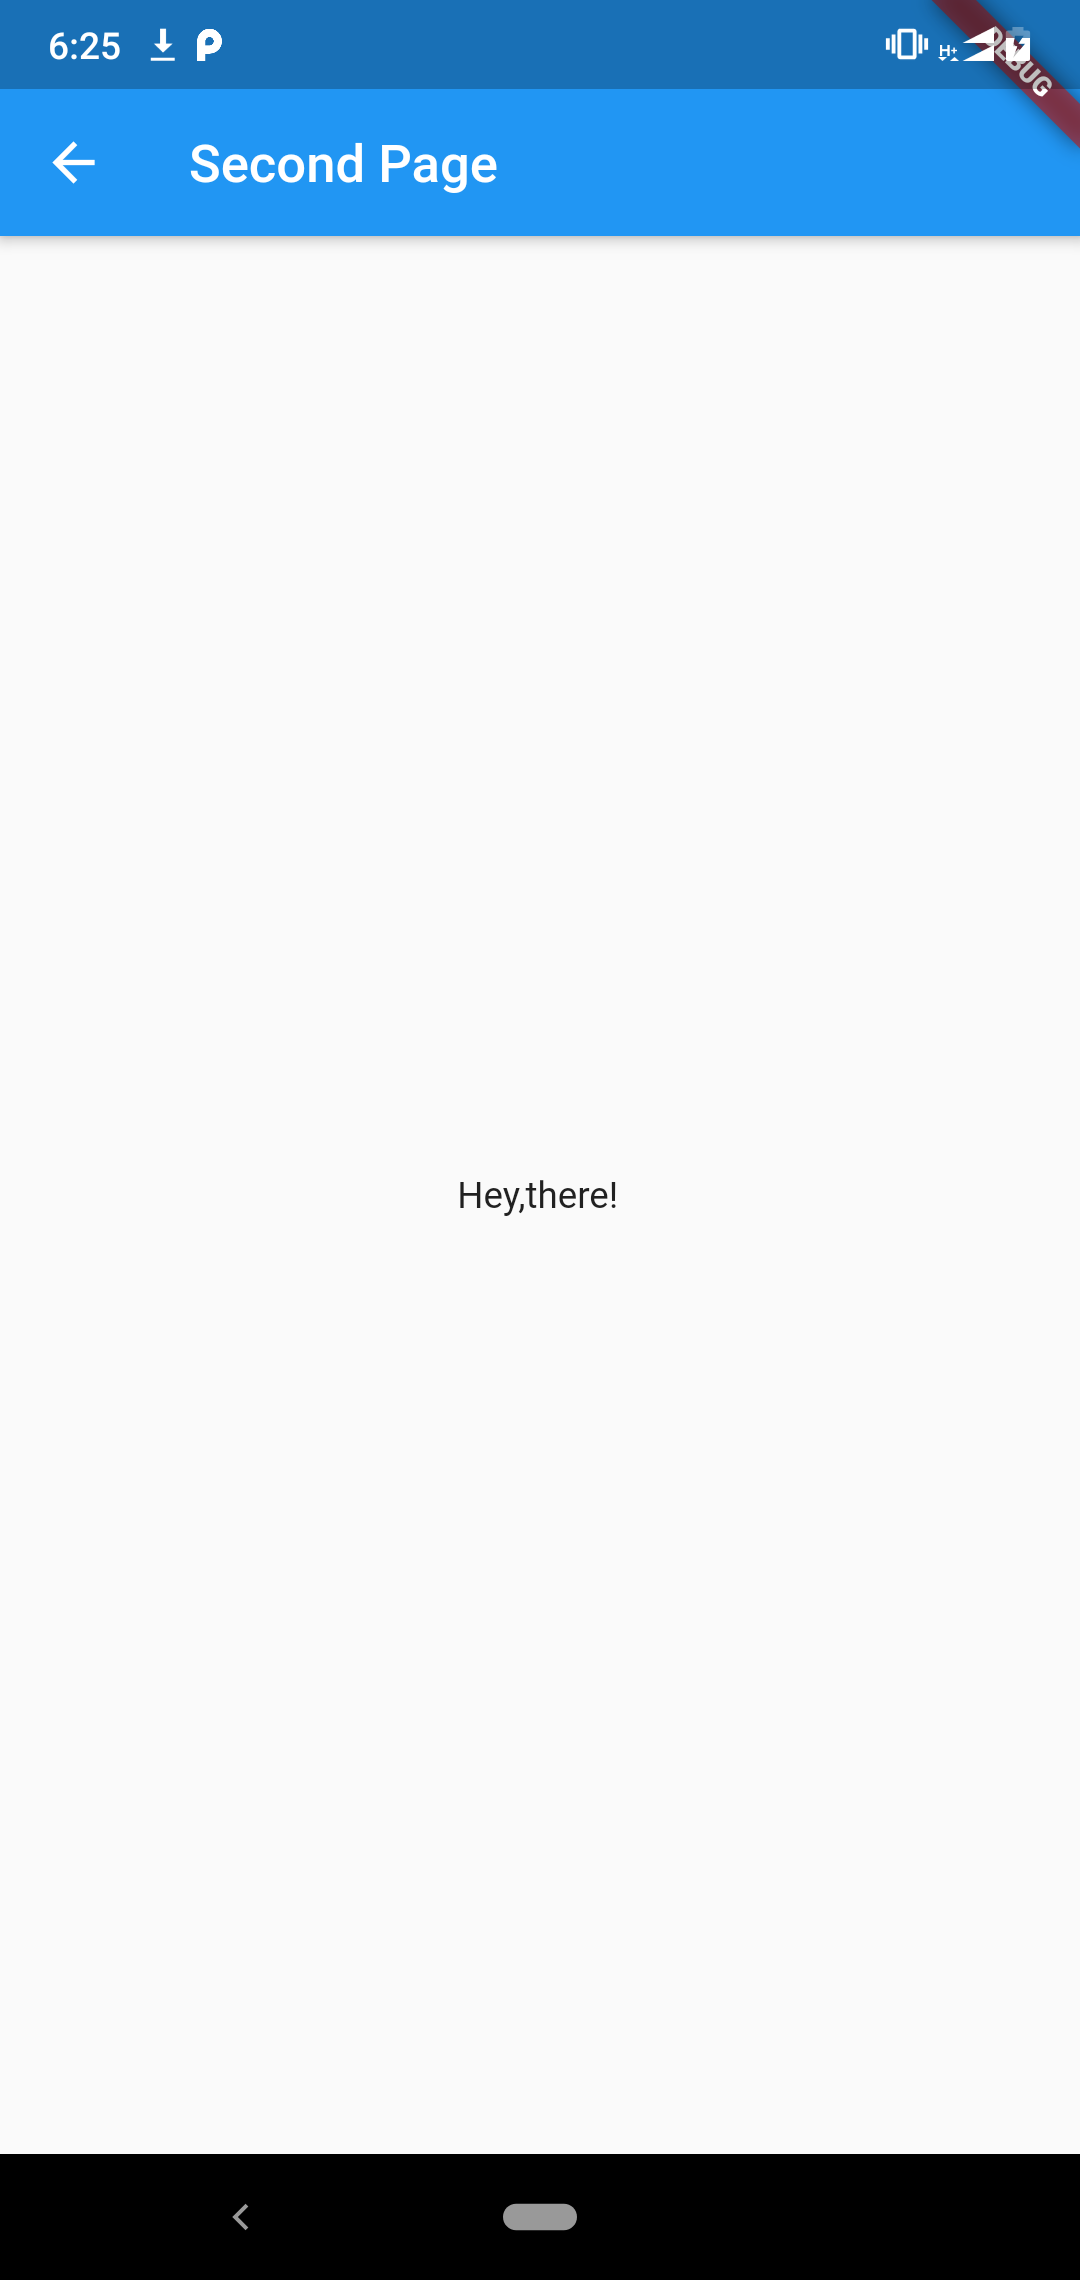
Create one Flutter native page by going to lib → right-click → new → dart file → SecondPage and pressing Ok.
flutter-webview-best-practices/webviewapp/lib/SecondPage.dart
class SecondPage extends StatelessWidget {
 @override
 Widget build(BuildContext context) {
   return Scaffold(
     appBar: AppBar(
       title: Text("Second Page"),
     ),
     body: Container(
      child: Center(
      child: Text("Hey,there!"),
       ),
     ),
   );
 }
}
Open this native page with the onLoadStart method, as shown below:
if(URL == LISTENINGURL){
 Navigator.of(context, rootNavigator: true)
     .push(MaterialPageRoute(
     builder: (context) => new SecondPage()));
}
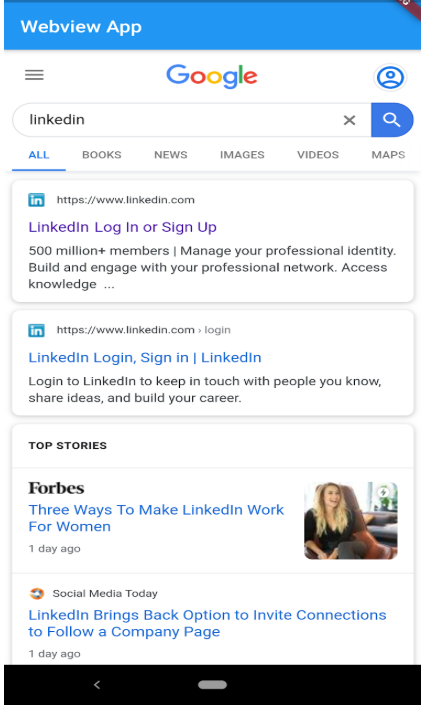
Run the application type LinkedIn on Google and click on search. It will show the following screen:
Click on the first link, and it will open the following Flutter native page.
Further Reading
- Flutter vs. React Native: Choosing the Best Hybrid Framework for Mobile Development.
- Serverless Application with Google Flutter and Lambda.
- The Journey of an App – From Native to Progressive.
Opinions expressed by DZone contributors are their own.

Comments